We are happy to welcome Sarvi back to the blog. In the past she has stopped by for the Size 5 Project and Tea Party Dress sew-along. She did a fantastic series about preserving patterns, which included several different methods: freezer paper, Swedish tracing paper, and carbon tracing paper. Then she did another fun series all about photography that included photography 101: finding your spot and photography 102: working with kids.
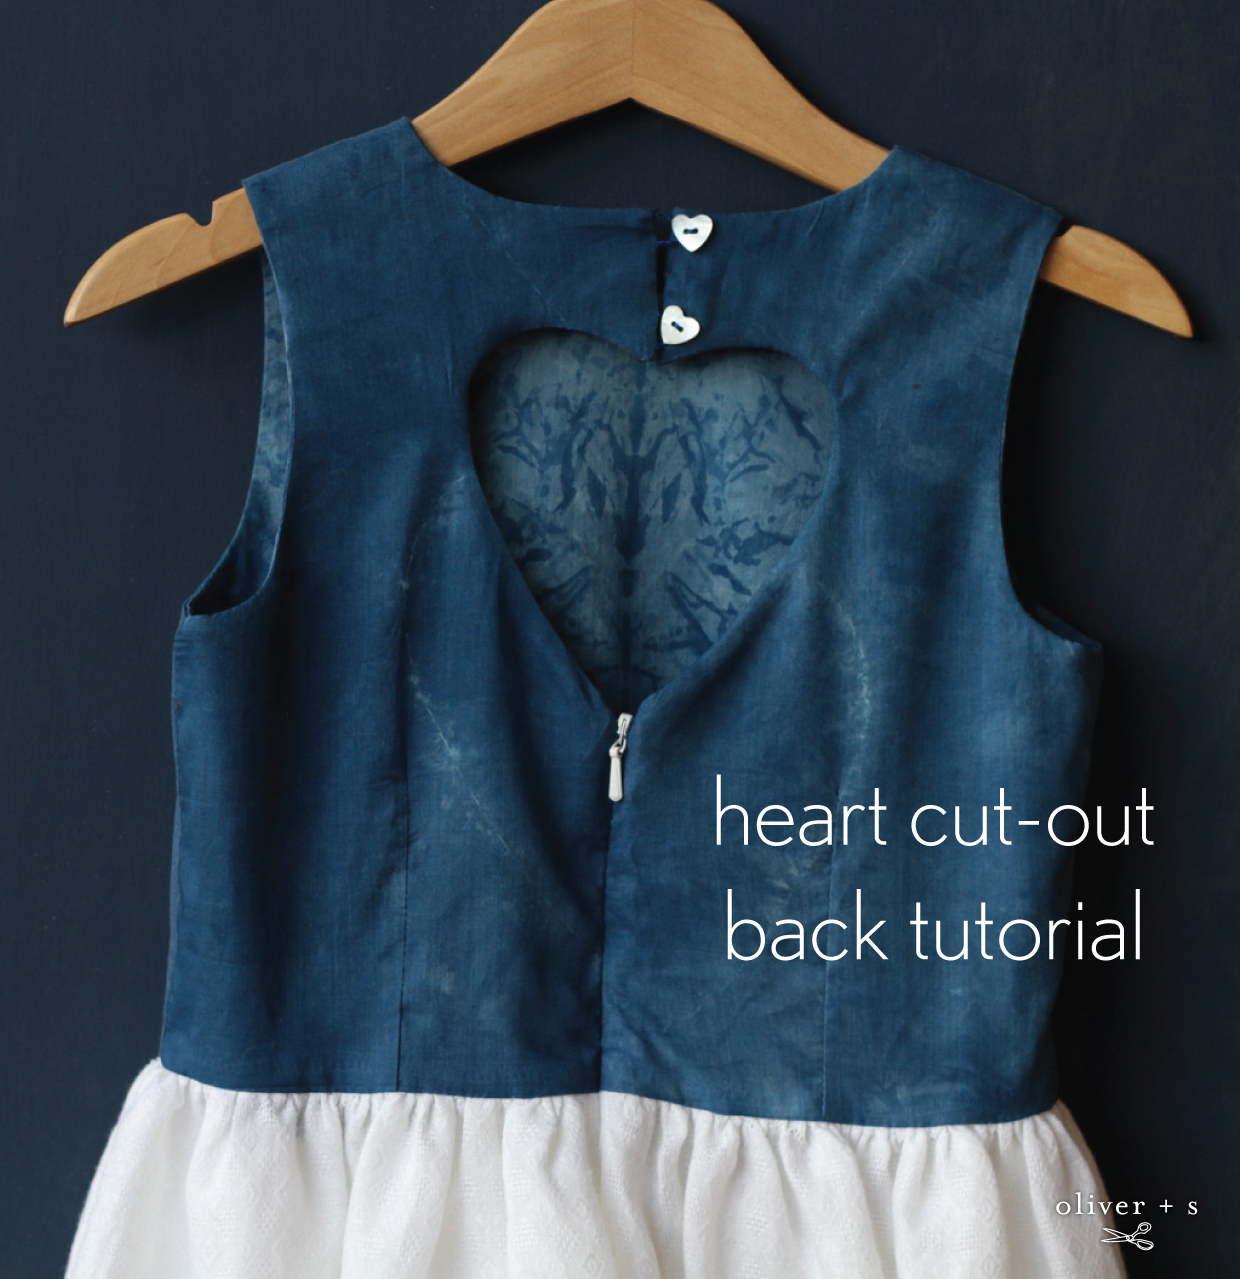
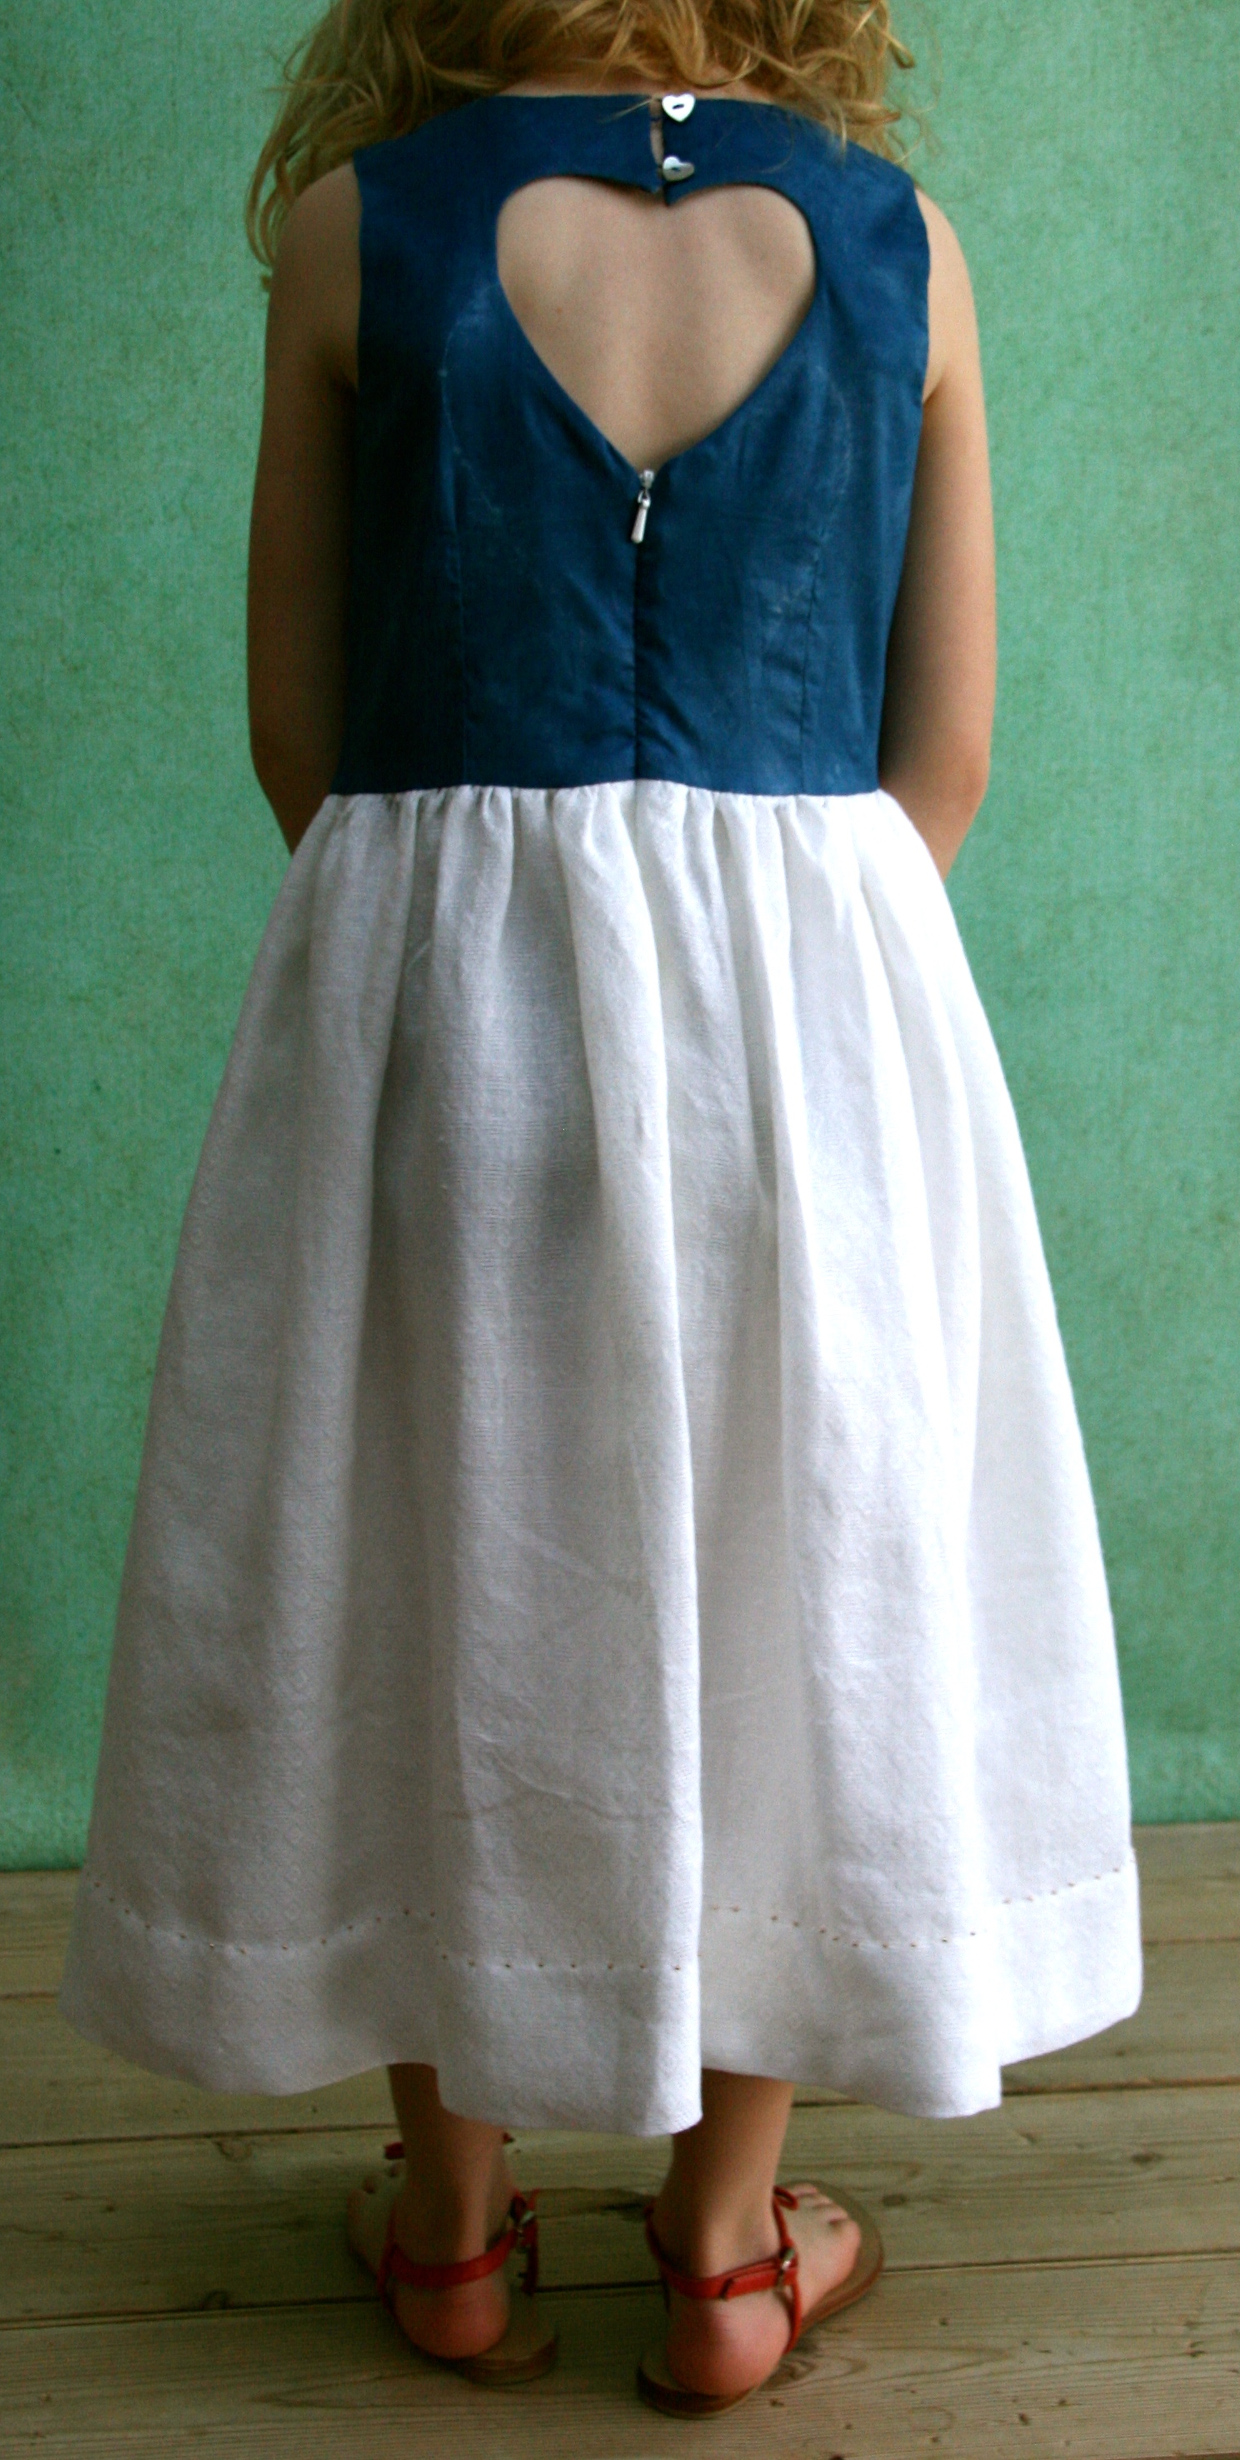
We’ve got a fun project for you today. Sarvi created a lovely Fairy Tale dress with a heart shaped cut-out back. She put together a step-by-step photo tutorial for us, so we can make our own. Here’s the tutorial.
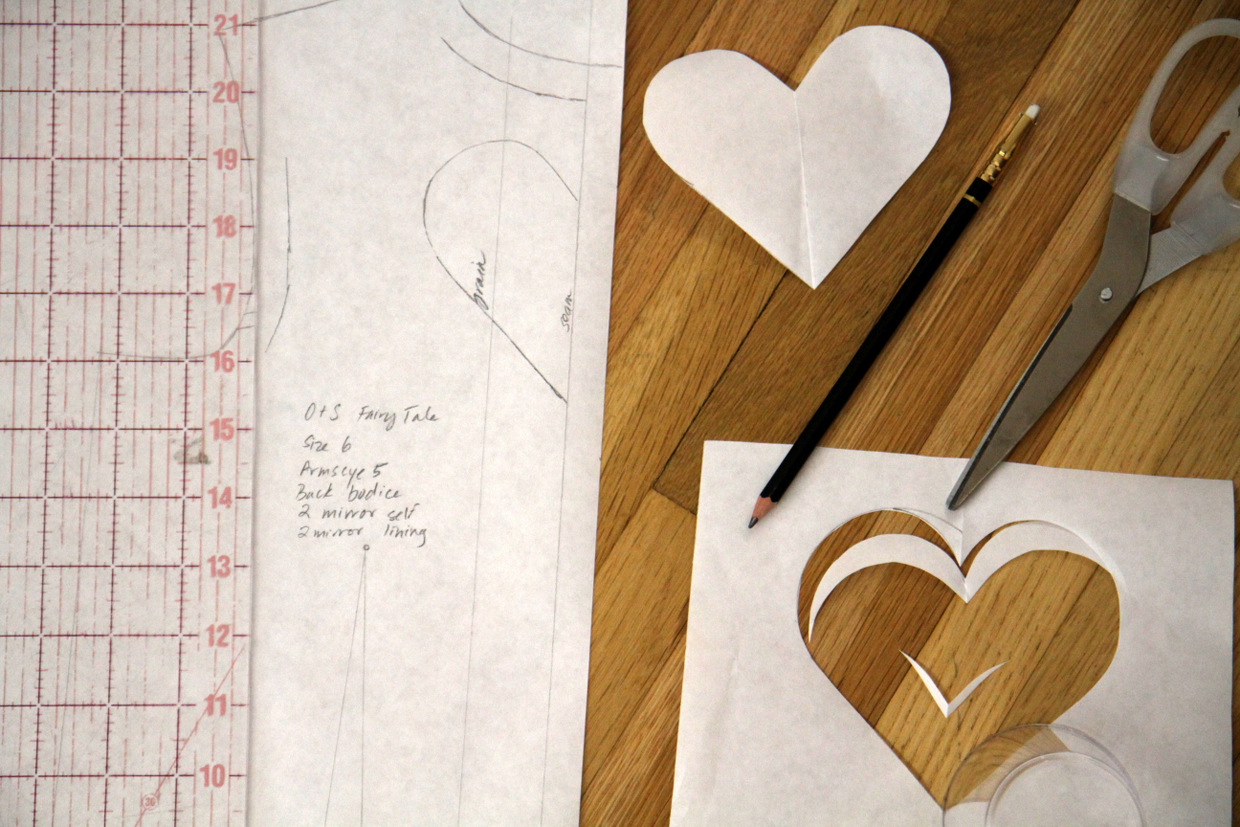
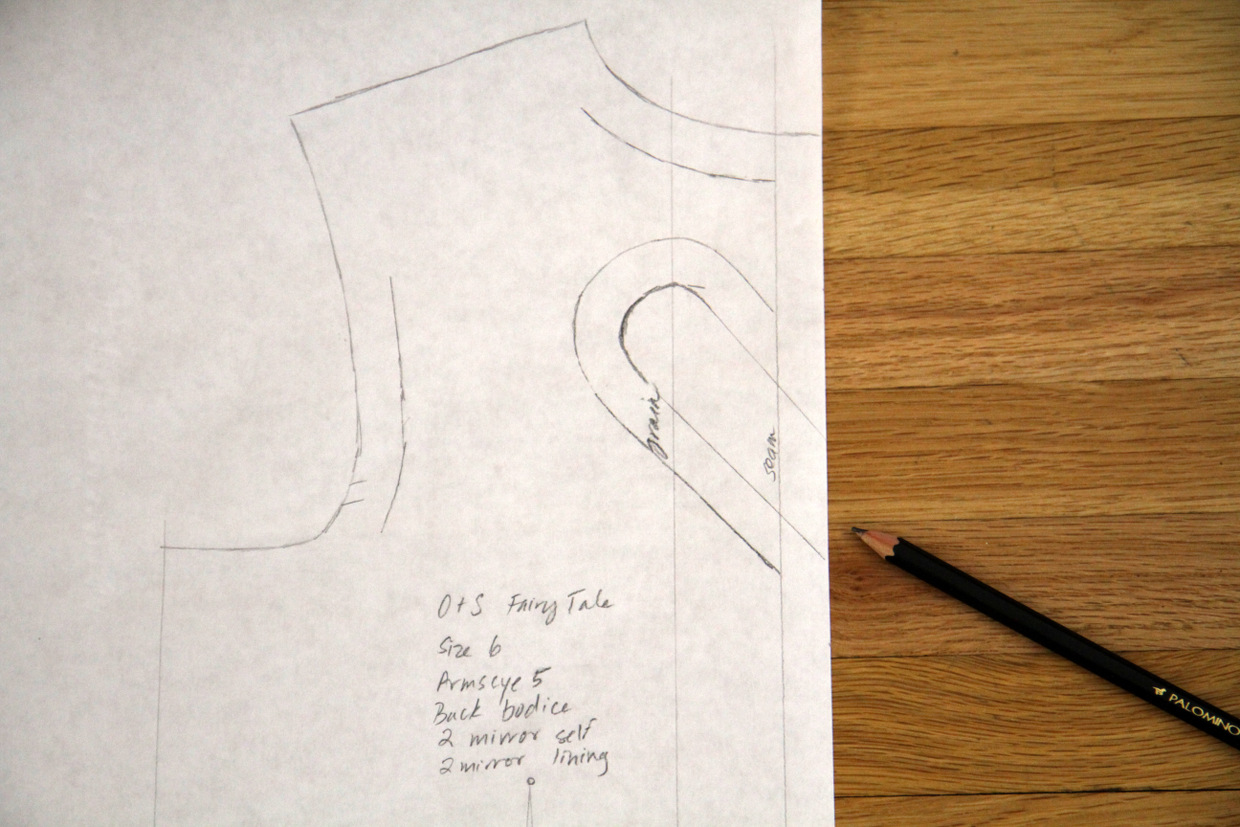
1) Trace the back bodice, and draw in the seam lines. Although I was only working with the center back edge, I drew in portions of the arm and neck seams as well, to help me with placement of my cutout.
2) Cut out half a heart shape from a folded piece of paper, to be sure the halves are symmetrical. I made mine about the size of my palm. I used the edge of a cup as a guide to draw a smooth curve, and trimmed it a few times to get a shape I liked.
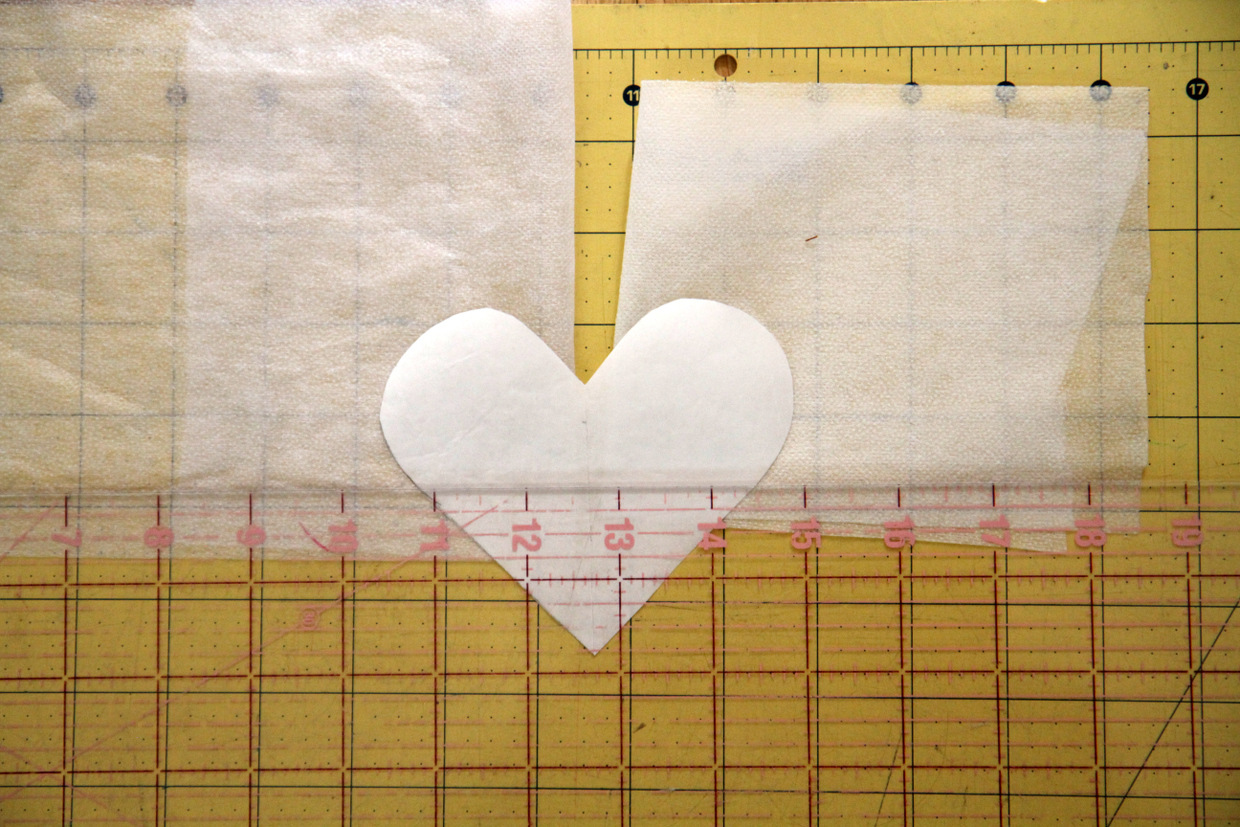
3) Add seam allowances to the half-heart, and cut out back bodice and lining pieces.
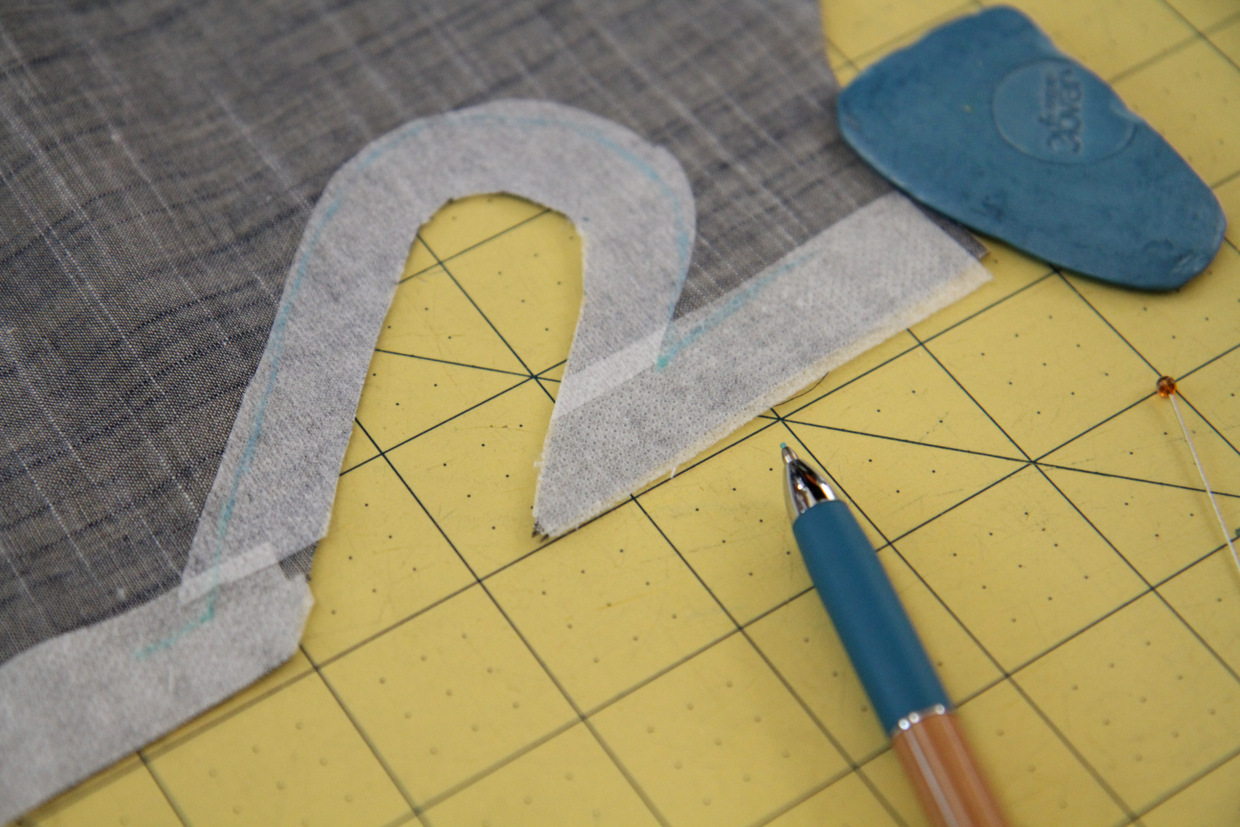
4) Cut out interfacing for around the heart, and along the center back edge. I used a very light weight one for the heart shape, as I’m using a very light fabric and didn’t want it to be too stiff. I used a bit firmer one for the edge where the buttons/zip will go. You can use the paper heart as a guide for cutting out the interfacing but should probably make it a bit bigger than I did here, to reinforce both side of the seam.
5) Draw in your stitching line. I used pins to mark pivot points.
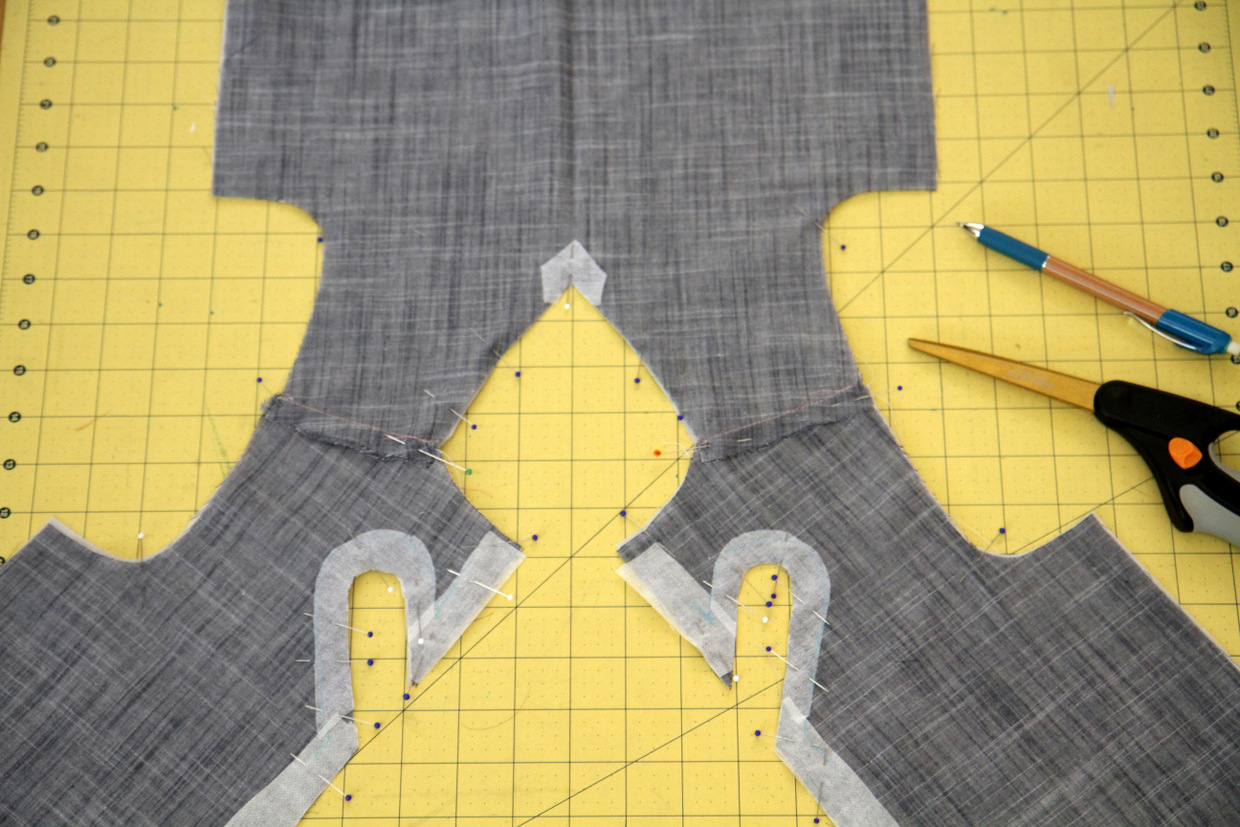
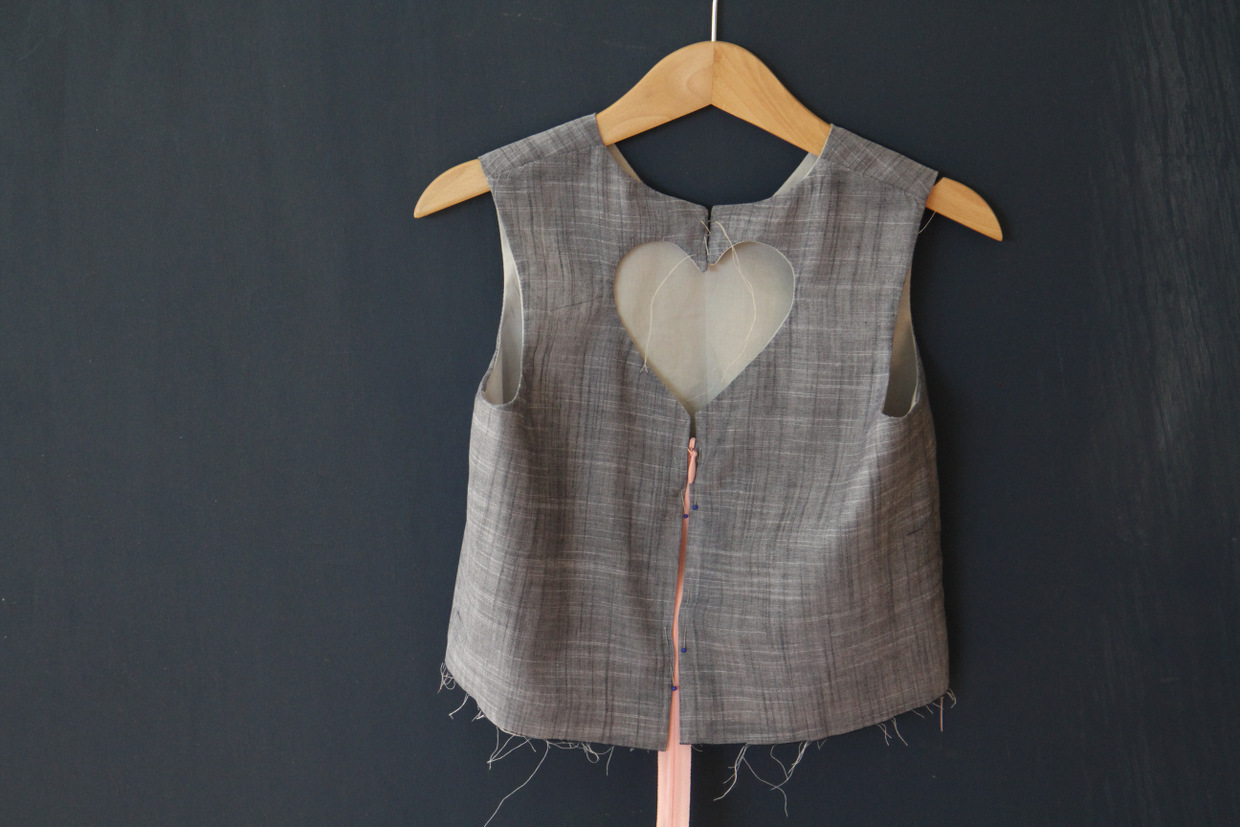
6) Stitch, trim seam allowances, and turn. I stitched about an inch down below the bottom point of the heart — when I insert the zipper, I will undo these stitches, but for now they help me with pressing.
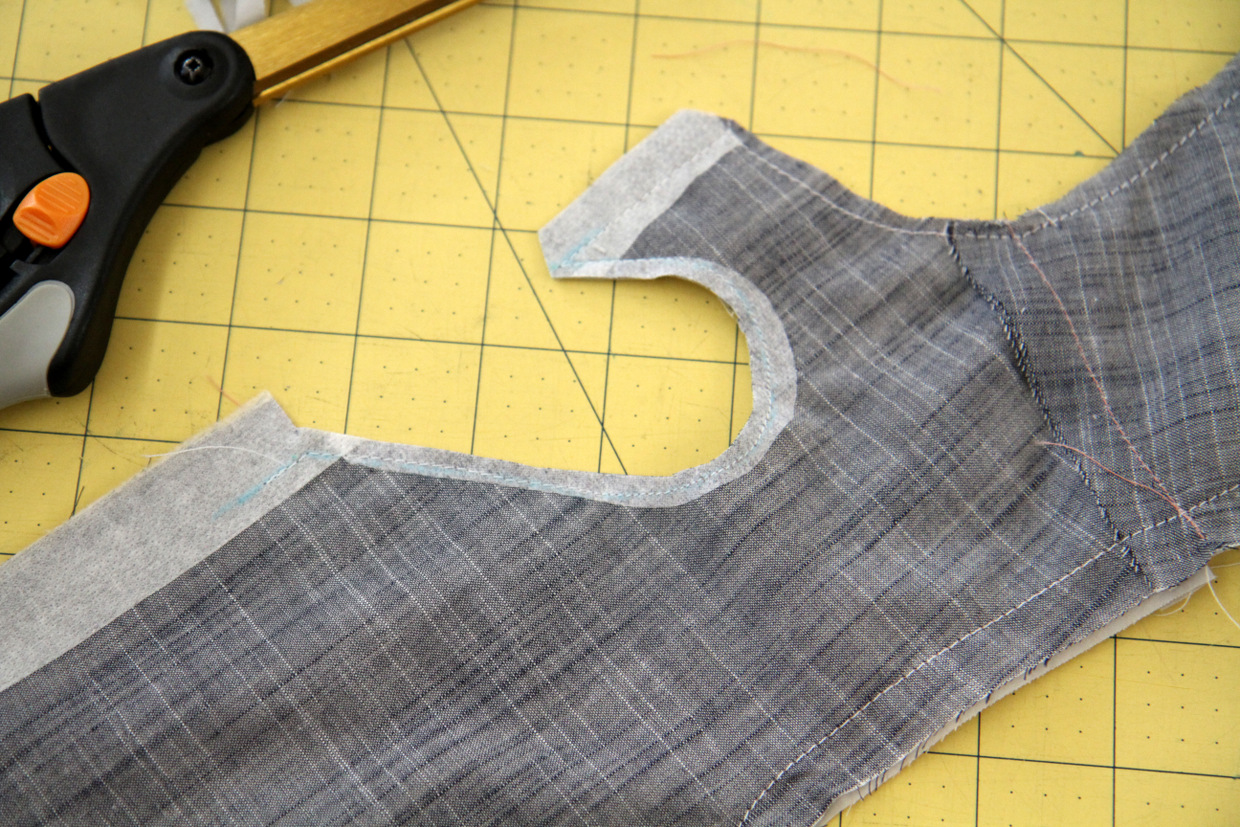
7) Turning the piece and poking out all the points is fiddly. You can try to get extremely sharp points, and there are lots of little tricks for doing that, but I find that they tend to get a bit frayed/blunted in the wash anyhow, so I leave them a speck more blunt.
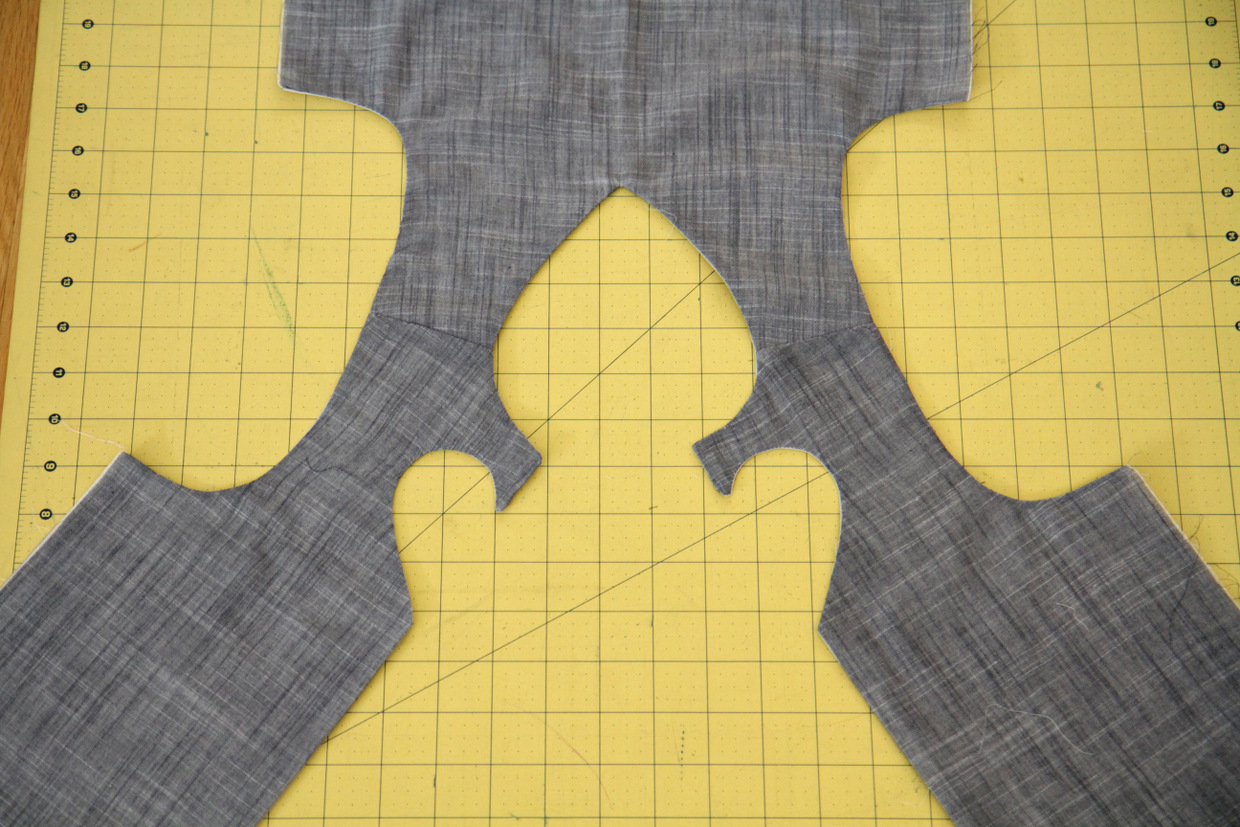
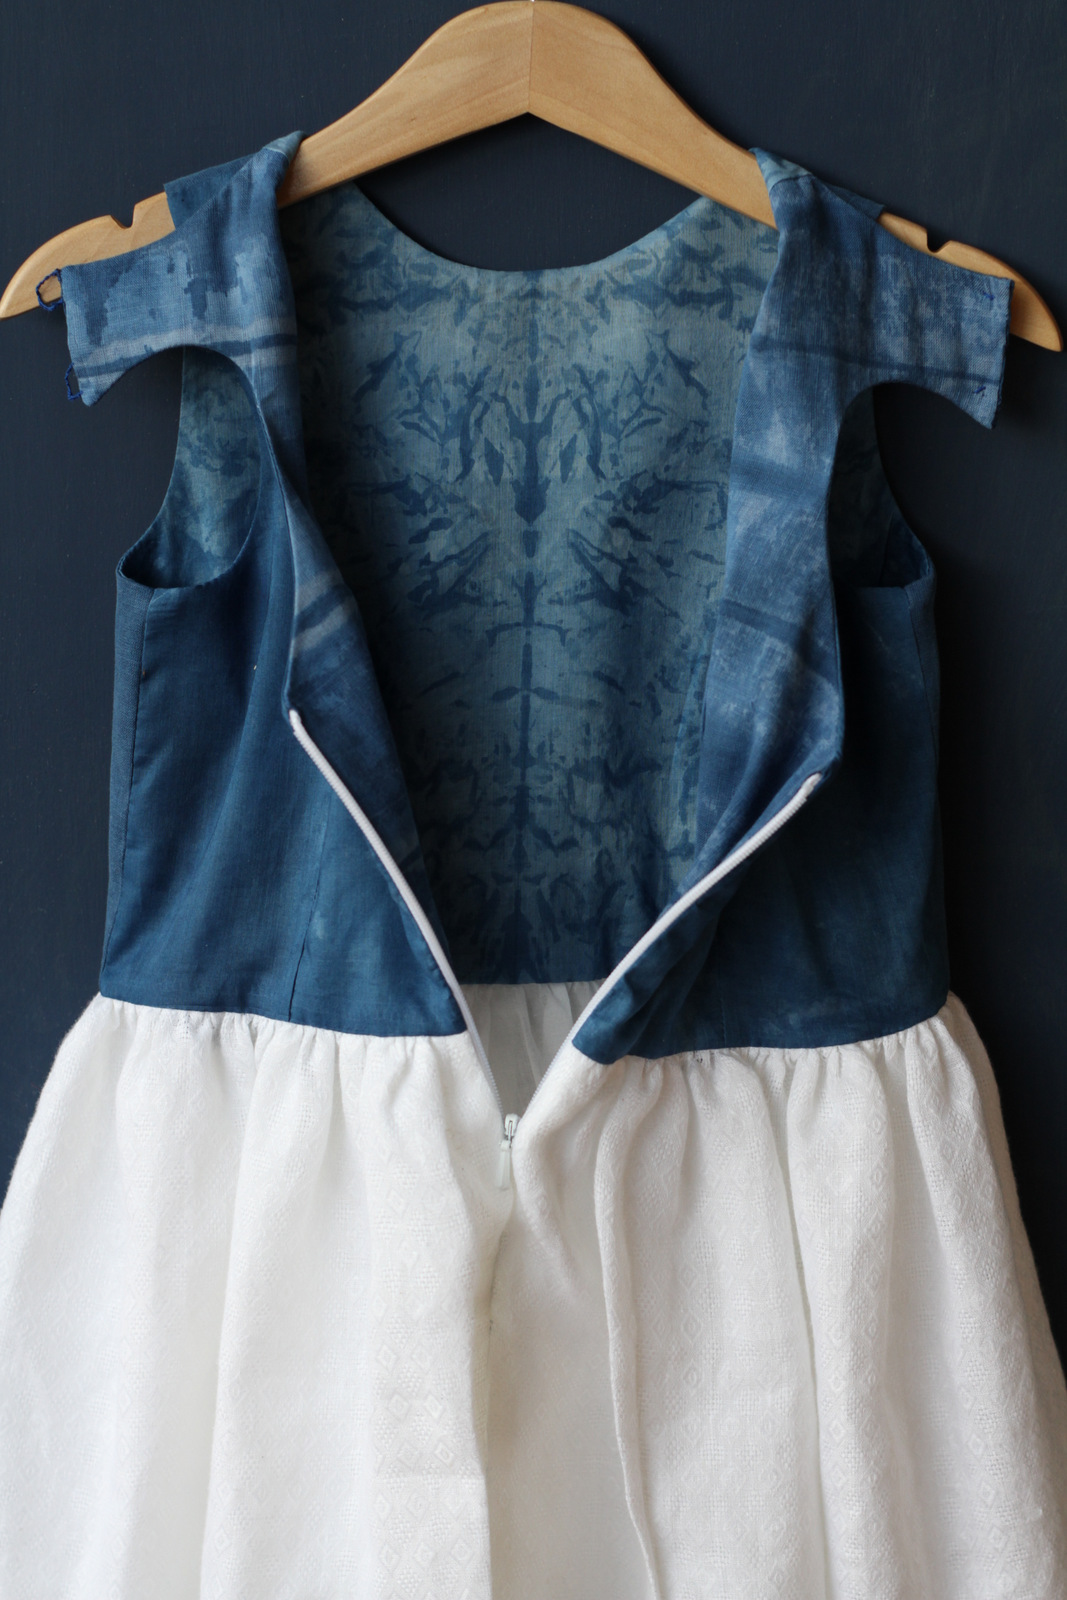
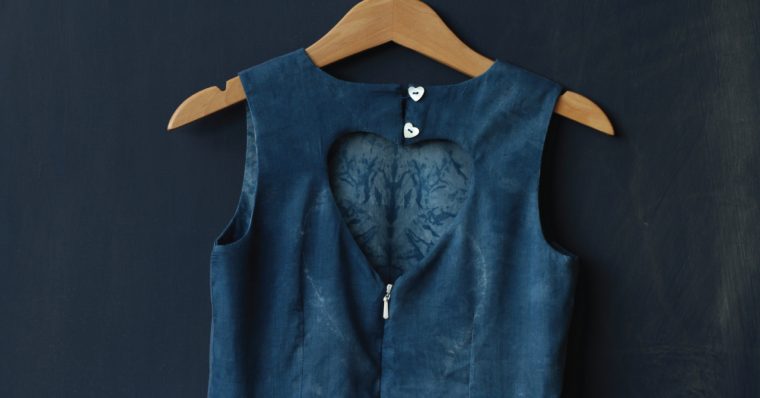
8) Finish stitching the side seams, and then attach your skirt, skirt lining, and zipper as usual. For the top of the heart make two small thread chain loops, and stitch buttons on the other side. You could also sew on two little hook-and-eyes. I have just pinned and basted mine together at this point as I’m still making some decisions about the rest of the dress.