Smocking is known as slow crafting, and a large smocking project can feel overwhelming to someone giving it a try for the first time. So here is a nice little smocking project that is perfect for beginners. It’s smocking on pockets, the rounded and gathered ones from the Puppet Show Shorts or Jump Rope Dress. This demonstration will be done by Sharon. You may remember her School Photo Dress tutorial or when she shared her favorite pattern. These smocked pockets turn out absolutely adorable and it’s details like this that a good seamstress will appreciate. We’re so happy you’re here, Sharon!
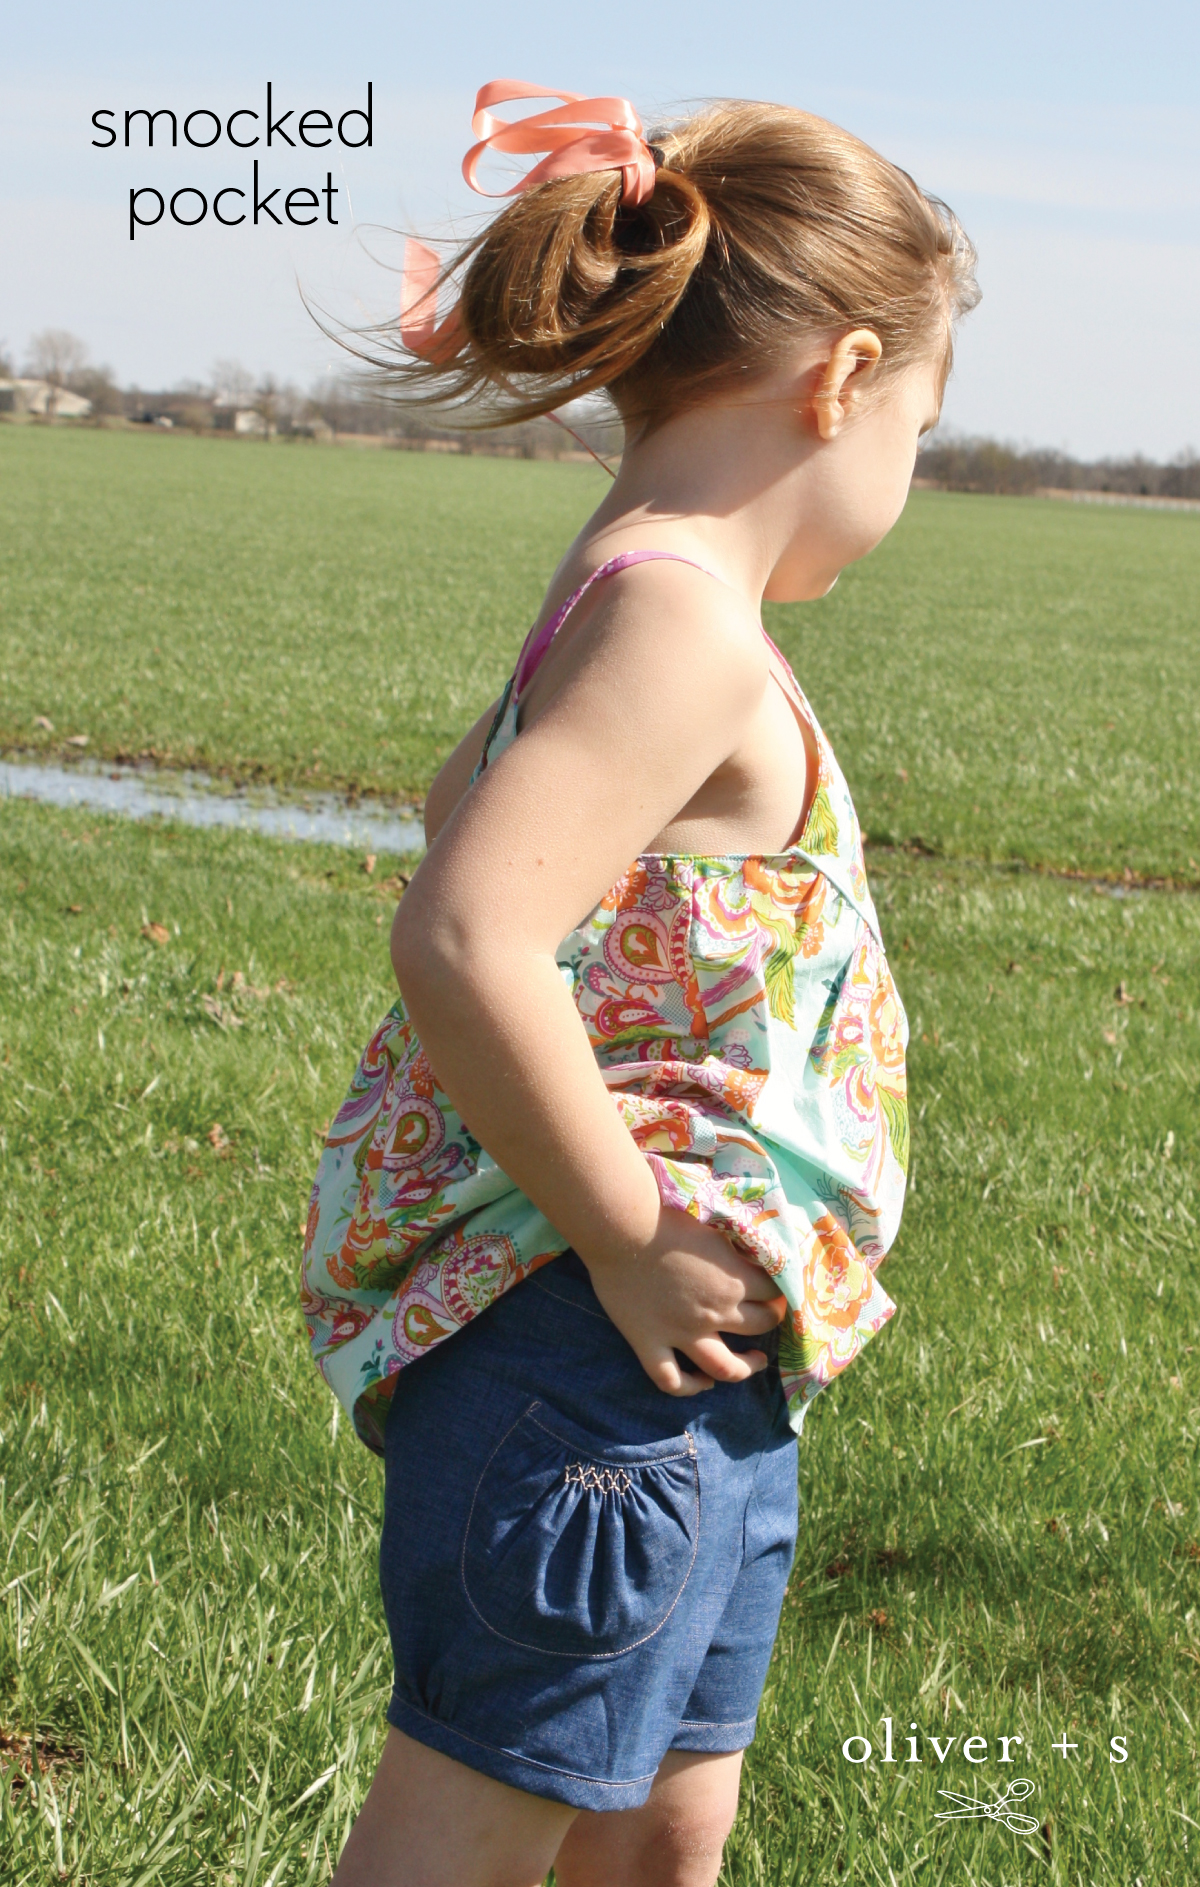
Hello and thank you for having me here today! Smocking is one of my favorite things to do and I love adding this little detail to my daughter’s wardrobe. When I was making a smocked pinafore top a few weeks back I knew that the Puppet Show Shorts would go perfect with it. Then I got to thinking “Could those gathered pockets be pleated and smocked?” I had to try it out and was so thrilled when it worked out great! I am going to show you today how to do just that!
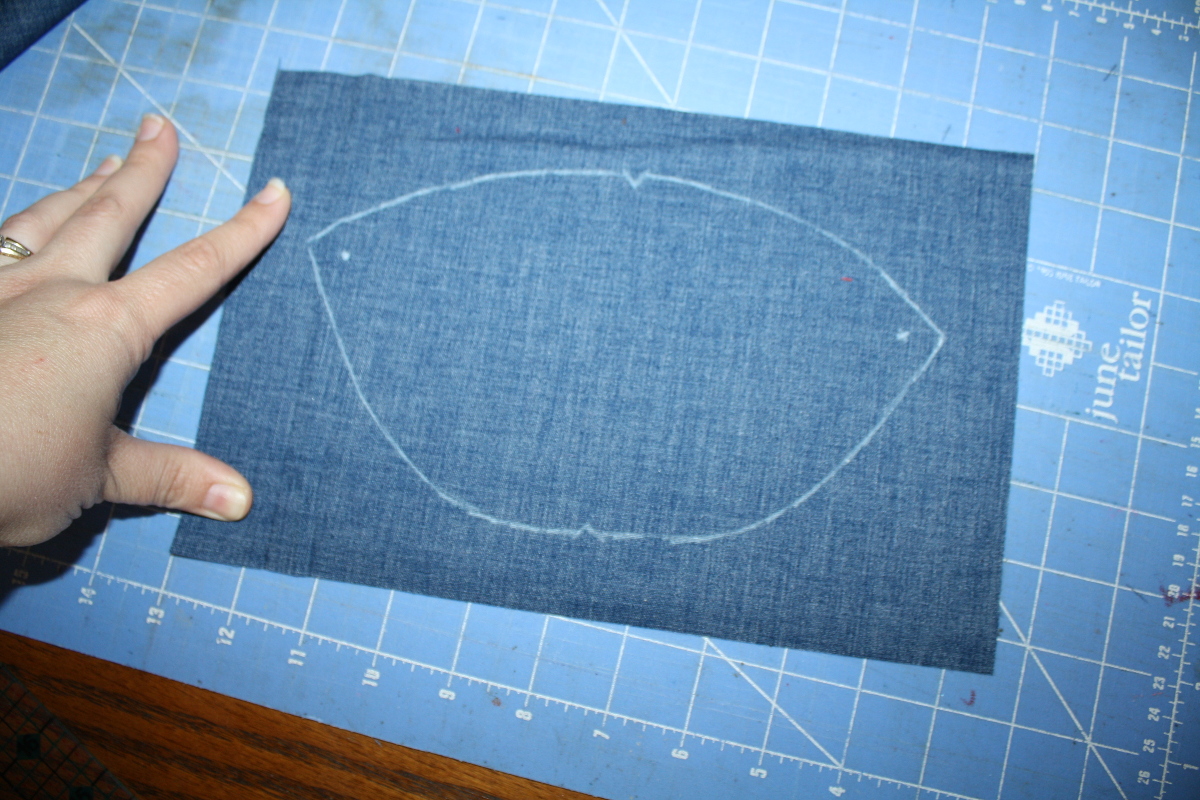
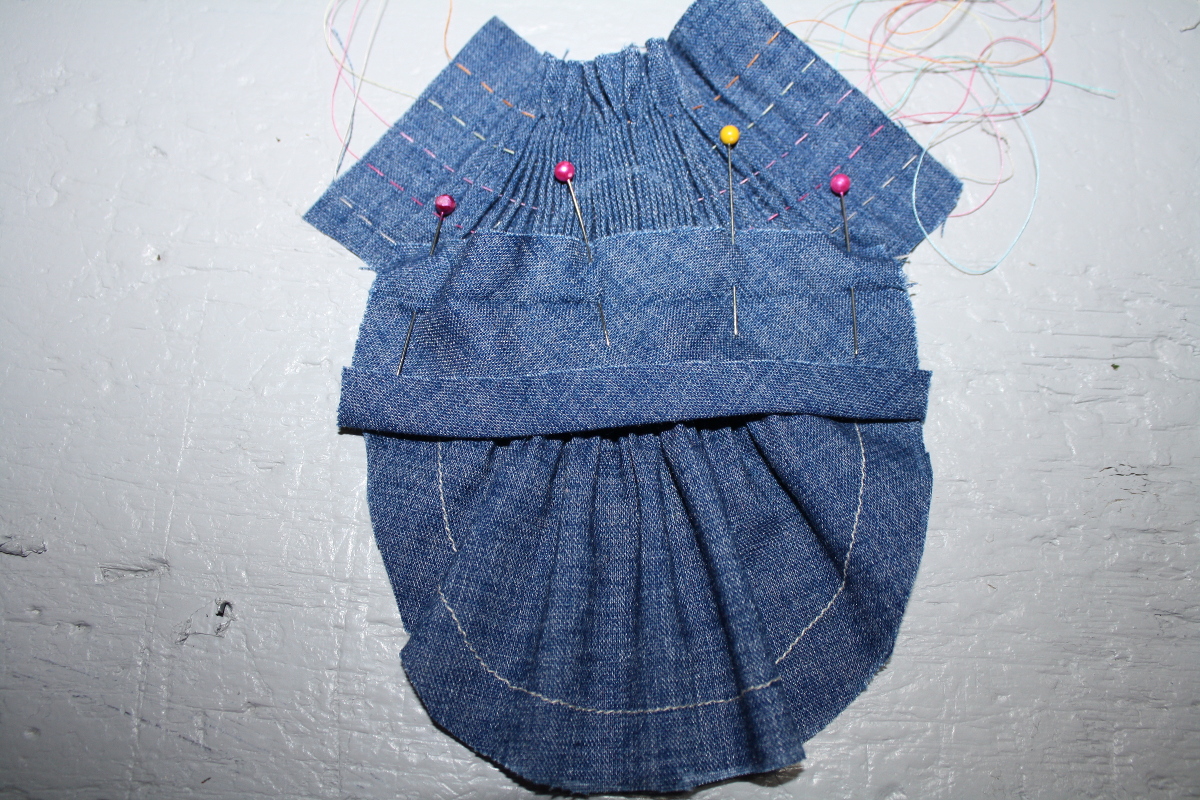
First take your fabric and trace out both pockets and be sure to transfer the markings as well. Trim fabric to a 1” border around the pocket outline. (Do not cut out pocket yet!!) I am making a size five so for the smaller sizes you not need as many rows of pleating.
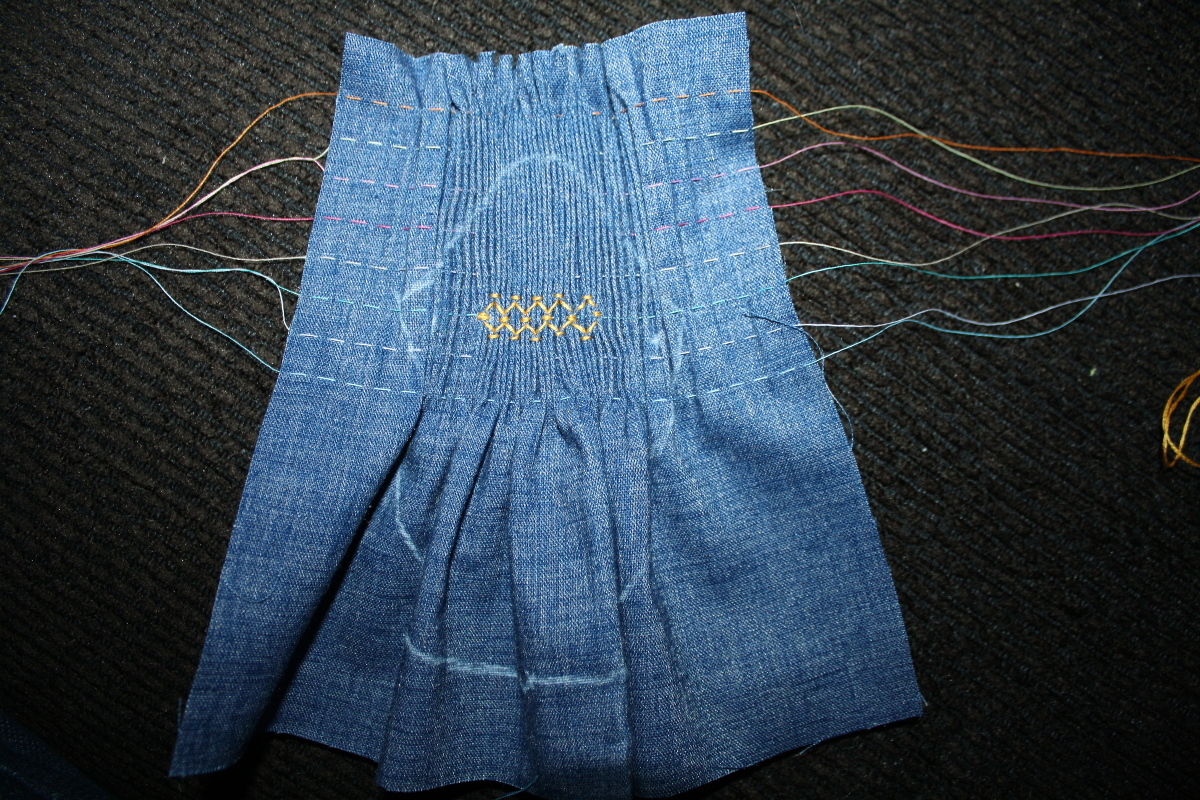
Now time to pleat the pockets. For the size five I pleated eight rows, not all of these rows will be used for smocking but are needed to help hold the smocking in place as the pocket is constructed. The first pleated row needs to start a ½” above the top of the pocket.
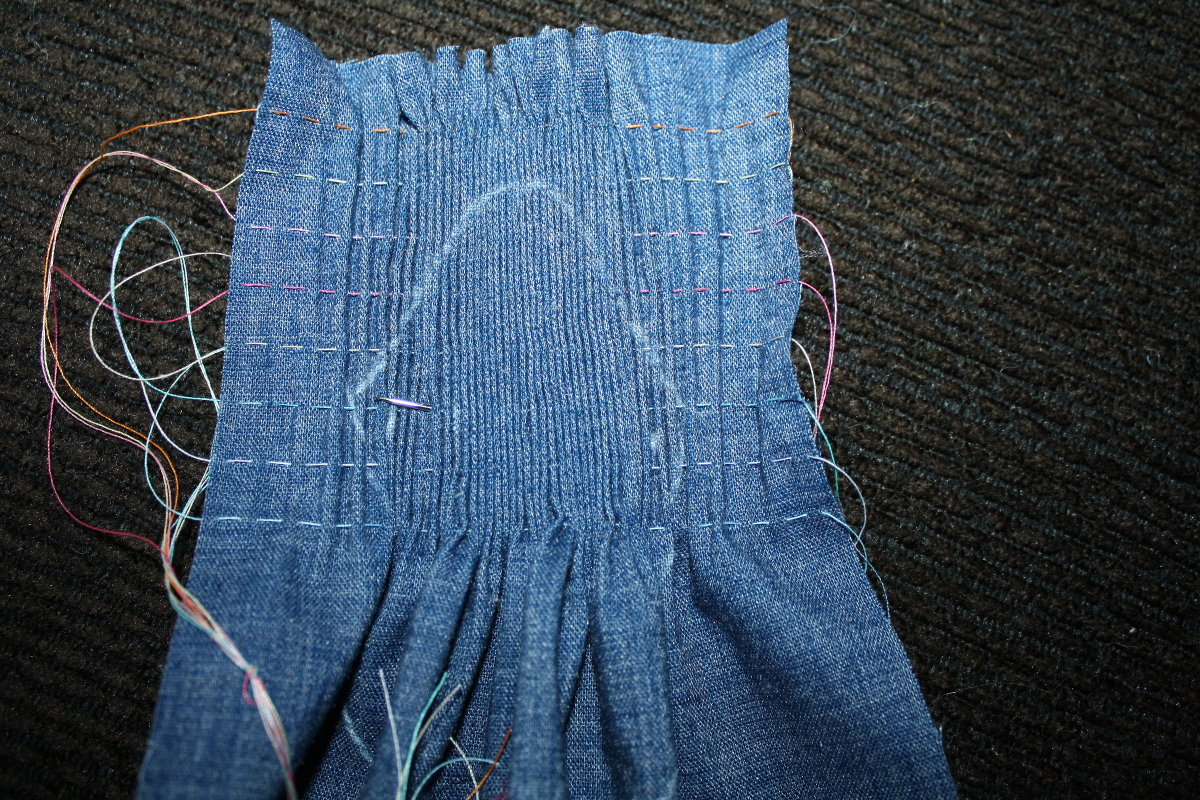
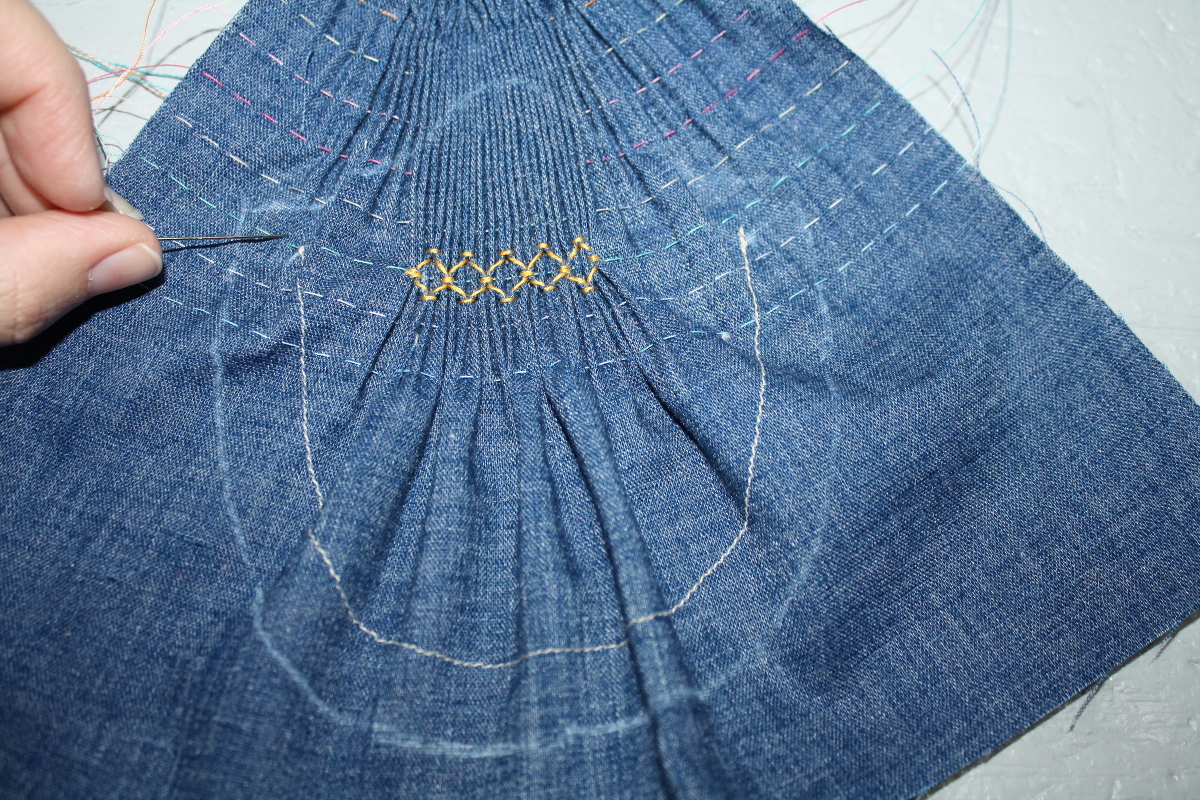
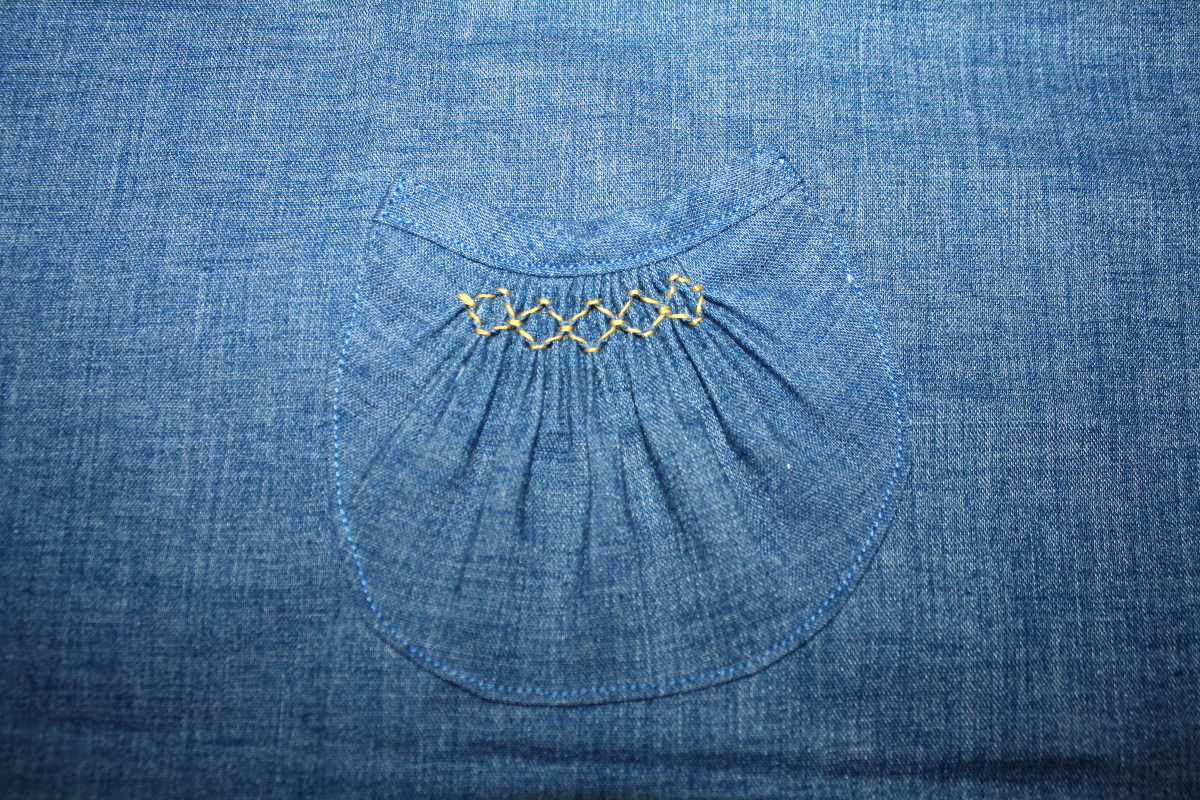
Then start your pleating in the row with the corner of the pocket. I did baby waves on mine, five sets in two rows. You can do whatever design you like best but I like these due to the tiny size of them on the pockets.
Next stitch the ½” seam allowance for the pocket as called for in the pattern.
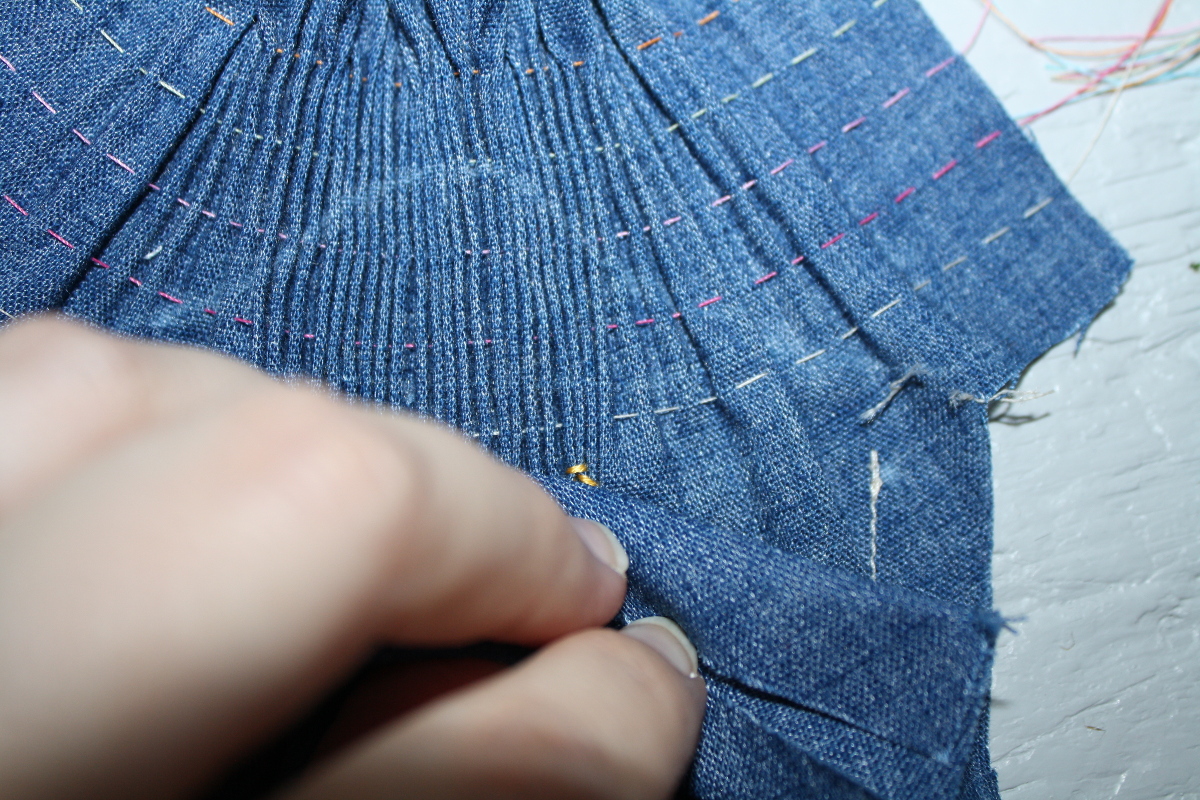
Now remove the last three rows of pleating, from the pocket corner and down. Cut the pocket bottom out, only the bottom of the pocket for right now.

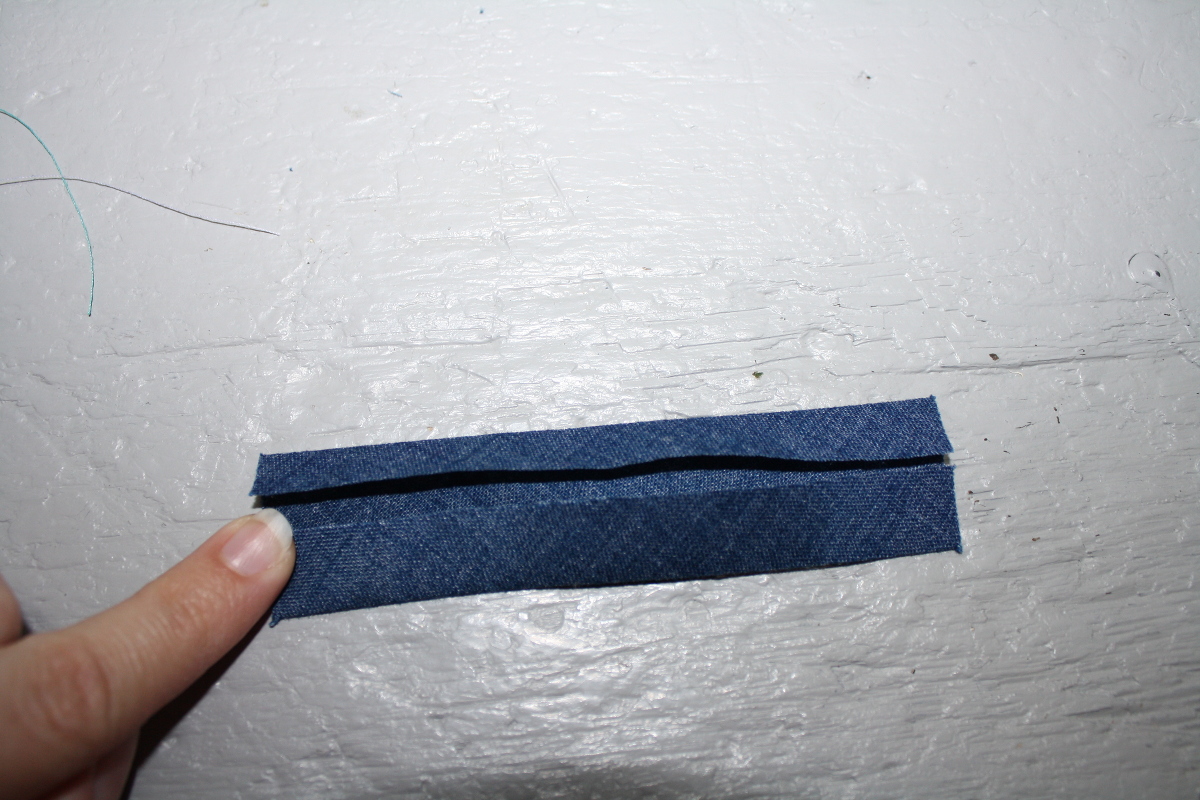
Take your top band of your pocket. Press the 3/8” of seam allowance as called for in the pattern and then flip the band over and press the ½” seam allowance on this side. This will help place the band above the smocking stitches.
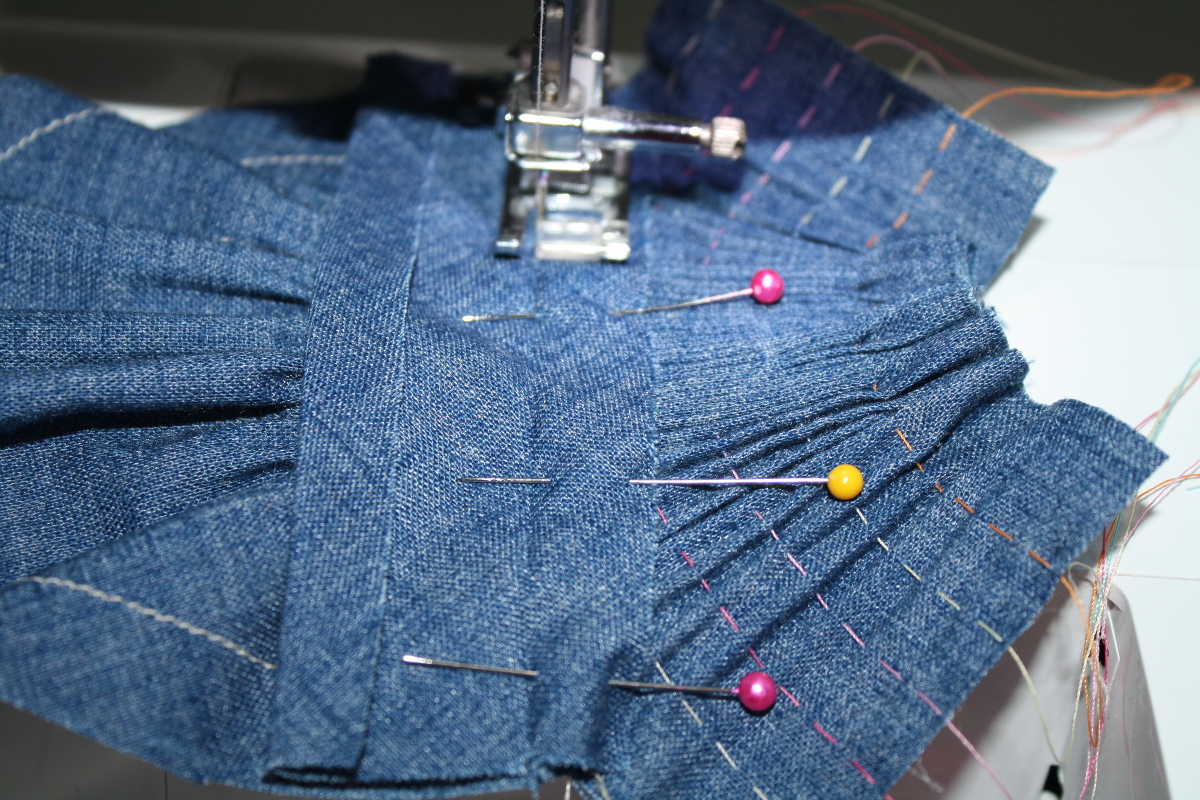
Carefully place your top pocket band at the top of the pocket by using the folded press line as your guide. Start out by matching the two outer ends by placing the top of the band at the top of the pocket corner.
Bend the smocking down a bit and carefully pin in place the rest of the top band right above the smocking. (There will be a bit of the top curve of the pocket that is traced that will be sewn onto the pocket, it will be trimmed away in the next few steps).
Stitch on the fold line of the top band.
Check to make sure that the smocking is right under the band, then press the seam allowance up.
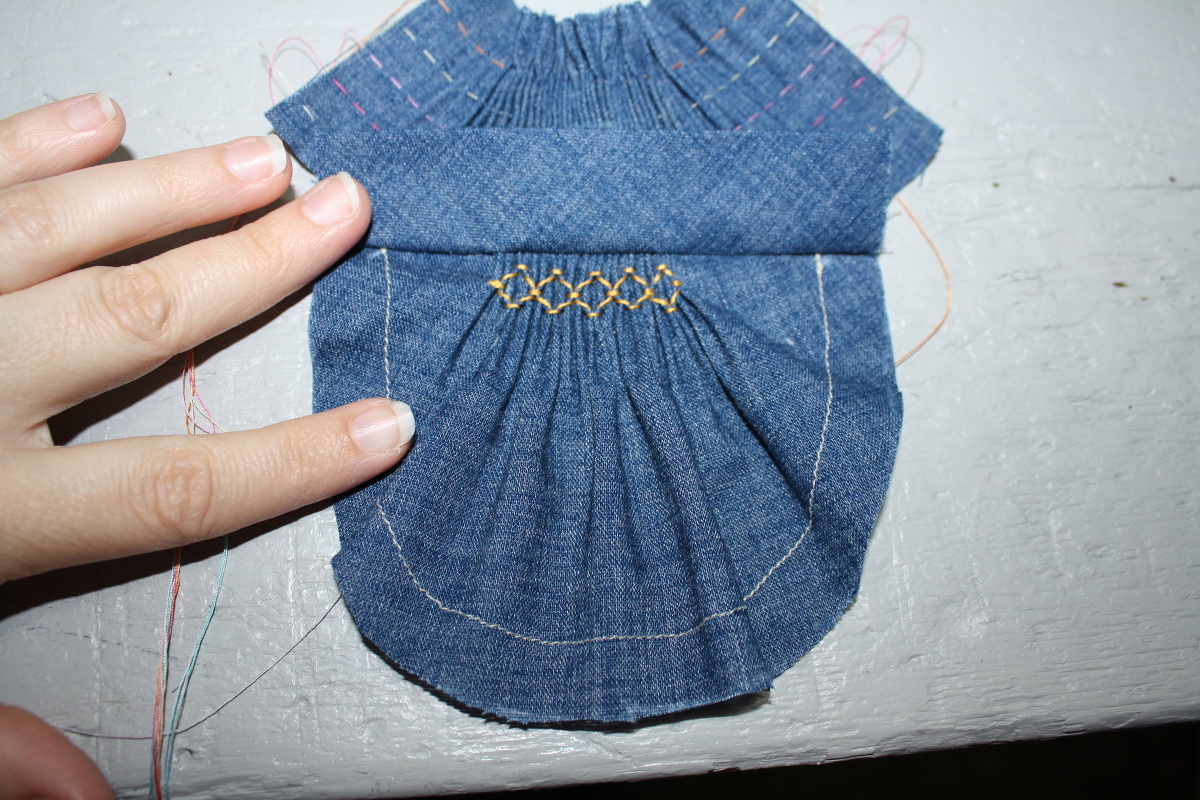
Remove all pleating threads and then trim away the extra fabric form the top of your pocket. Trim the seam allowance to a ¼” to make sewing the top easier.
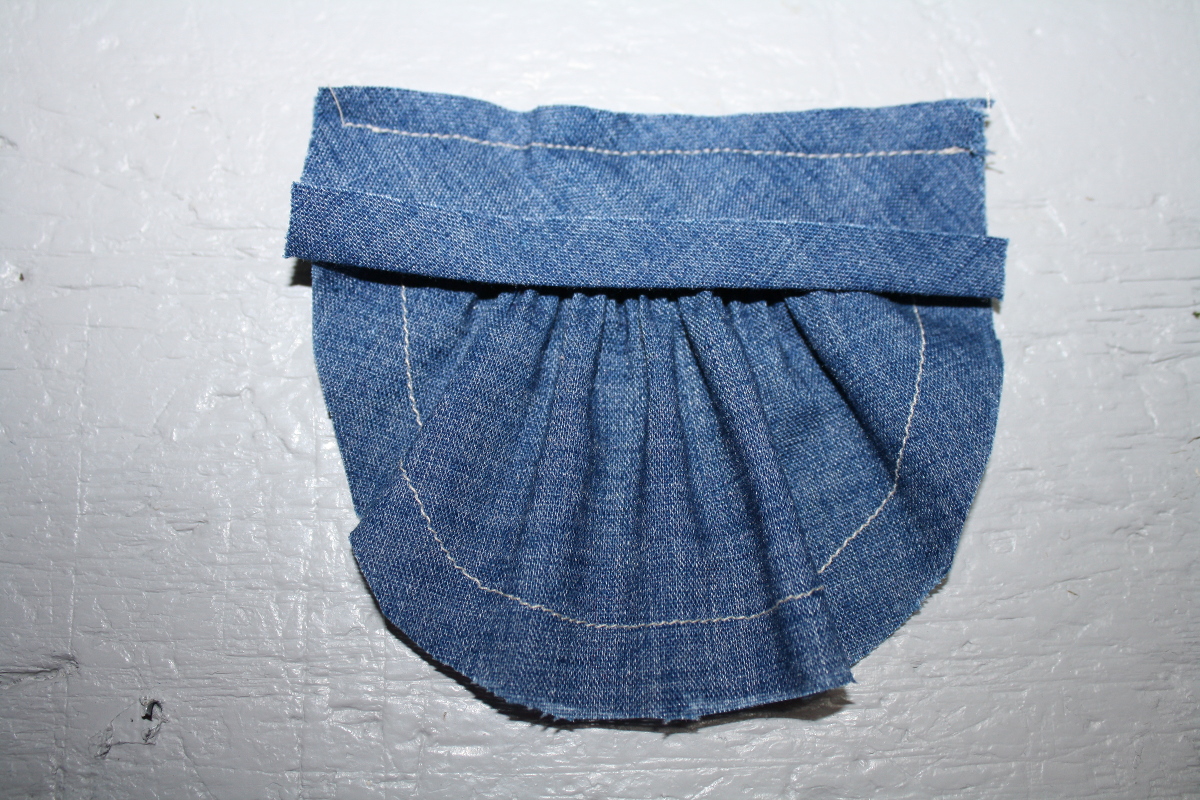
Finish the pocket according to the pattern instructions. And you have a lovely smocked pocket! I am going to be giving these a try on the Jump Rope Dress next.
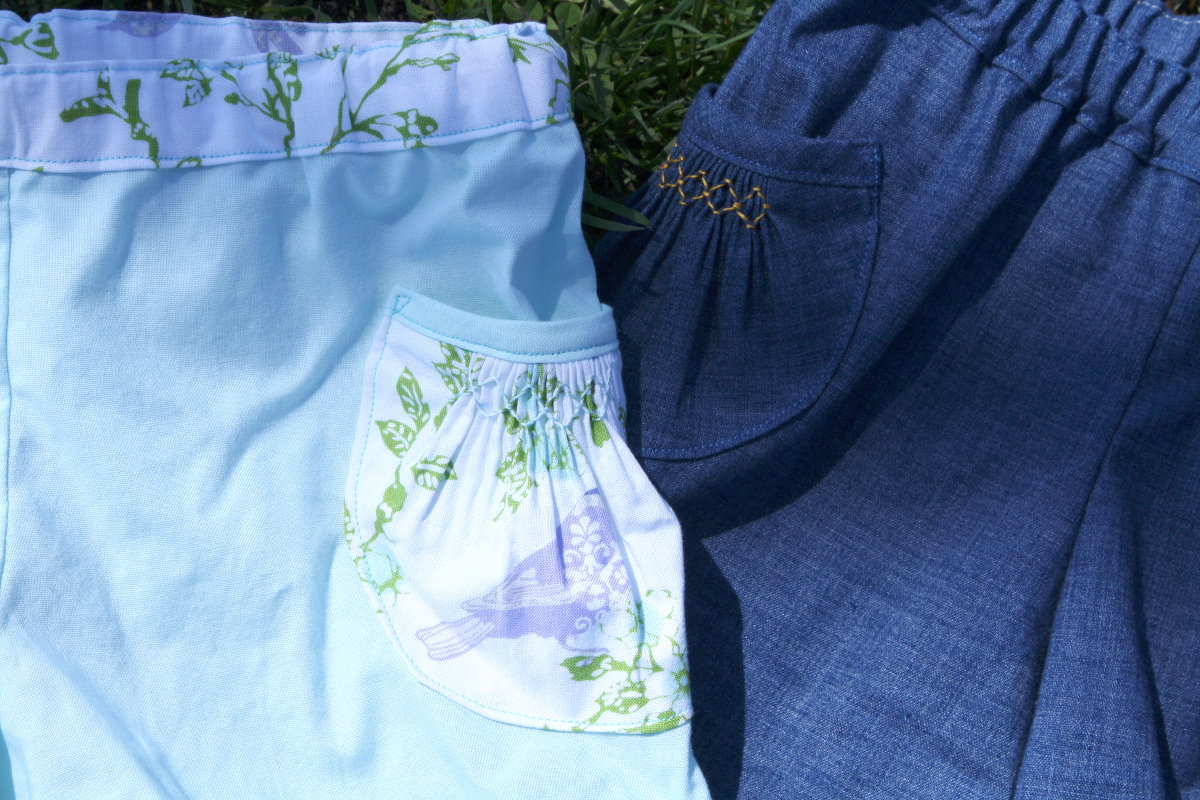
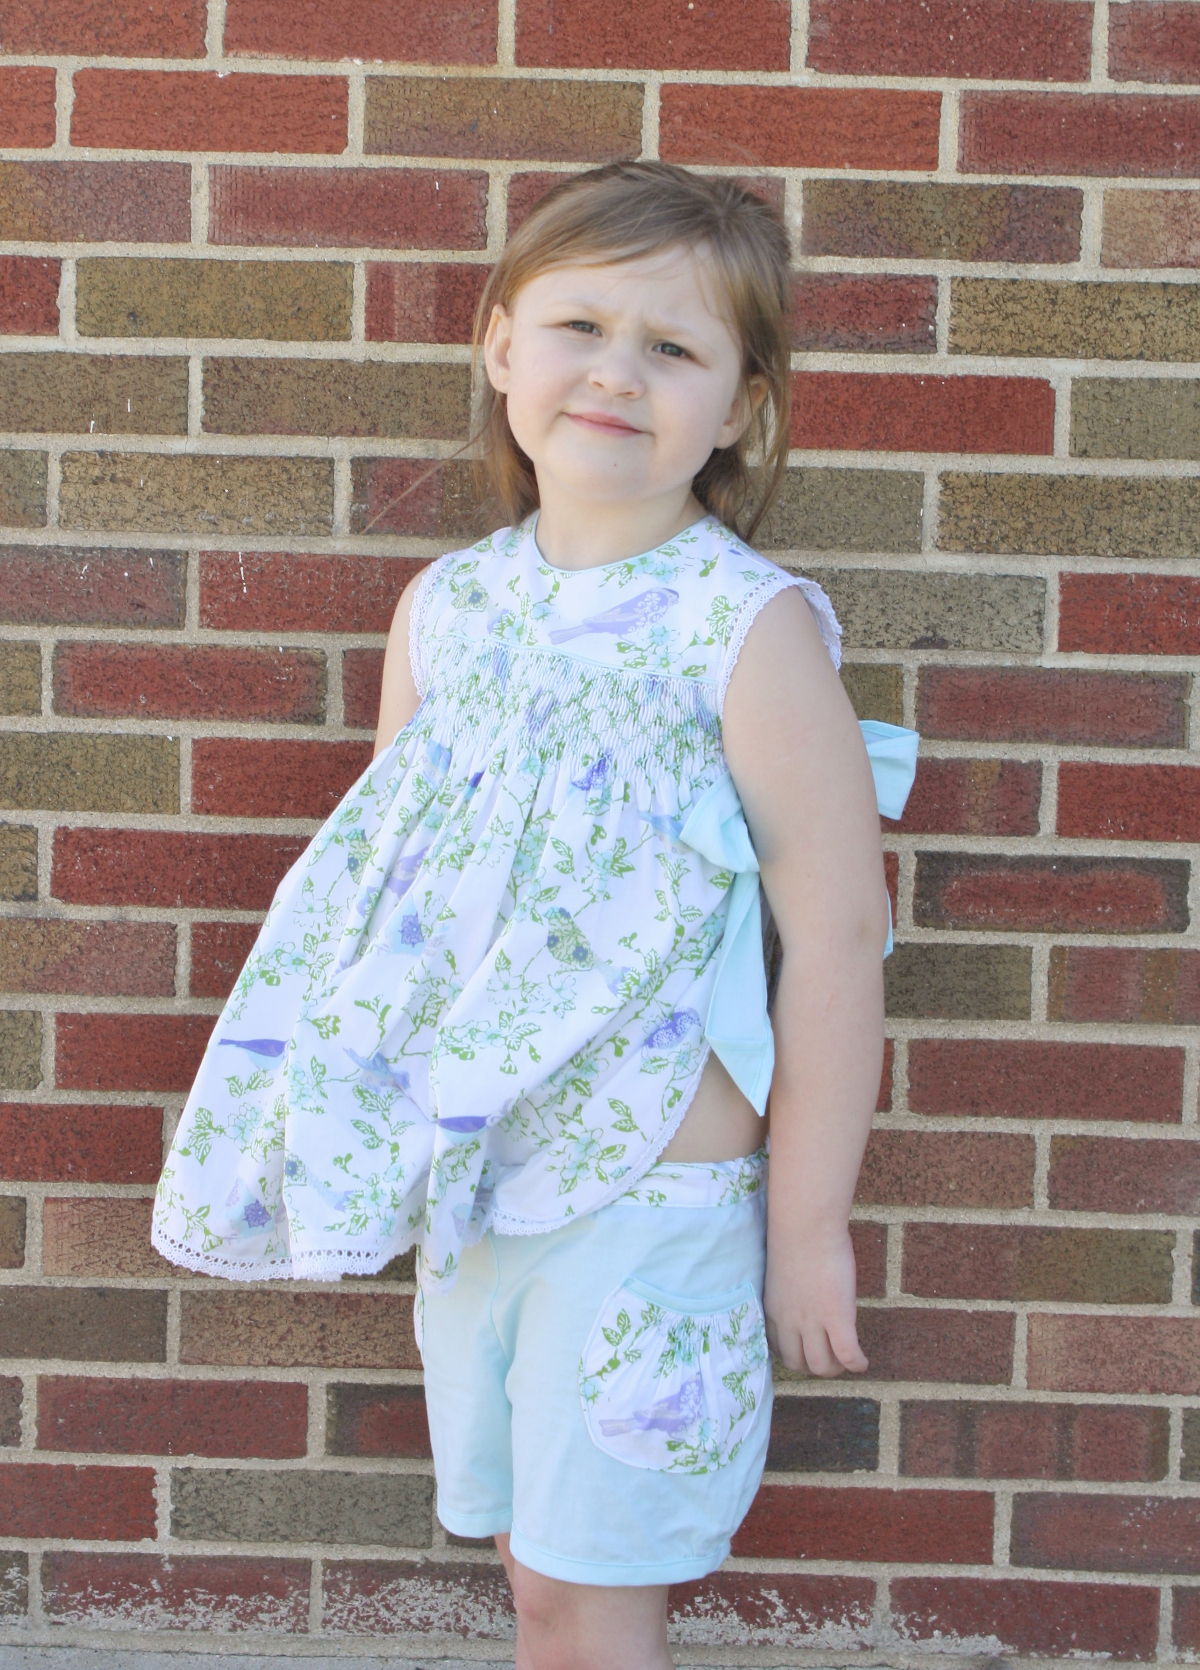
The pockets go great with a classic look to a fun summer look. A great detail to add to any wardrobe!