
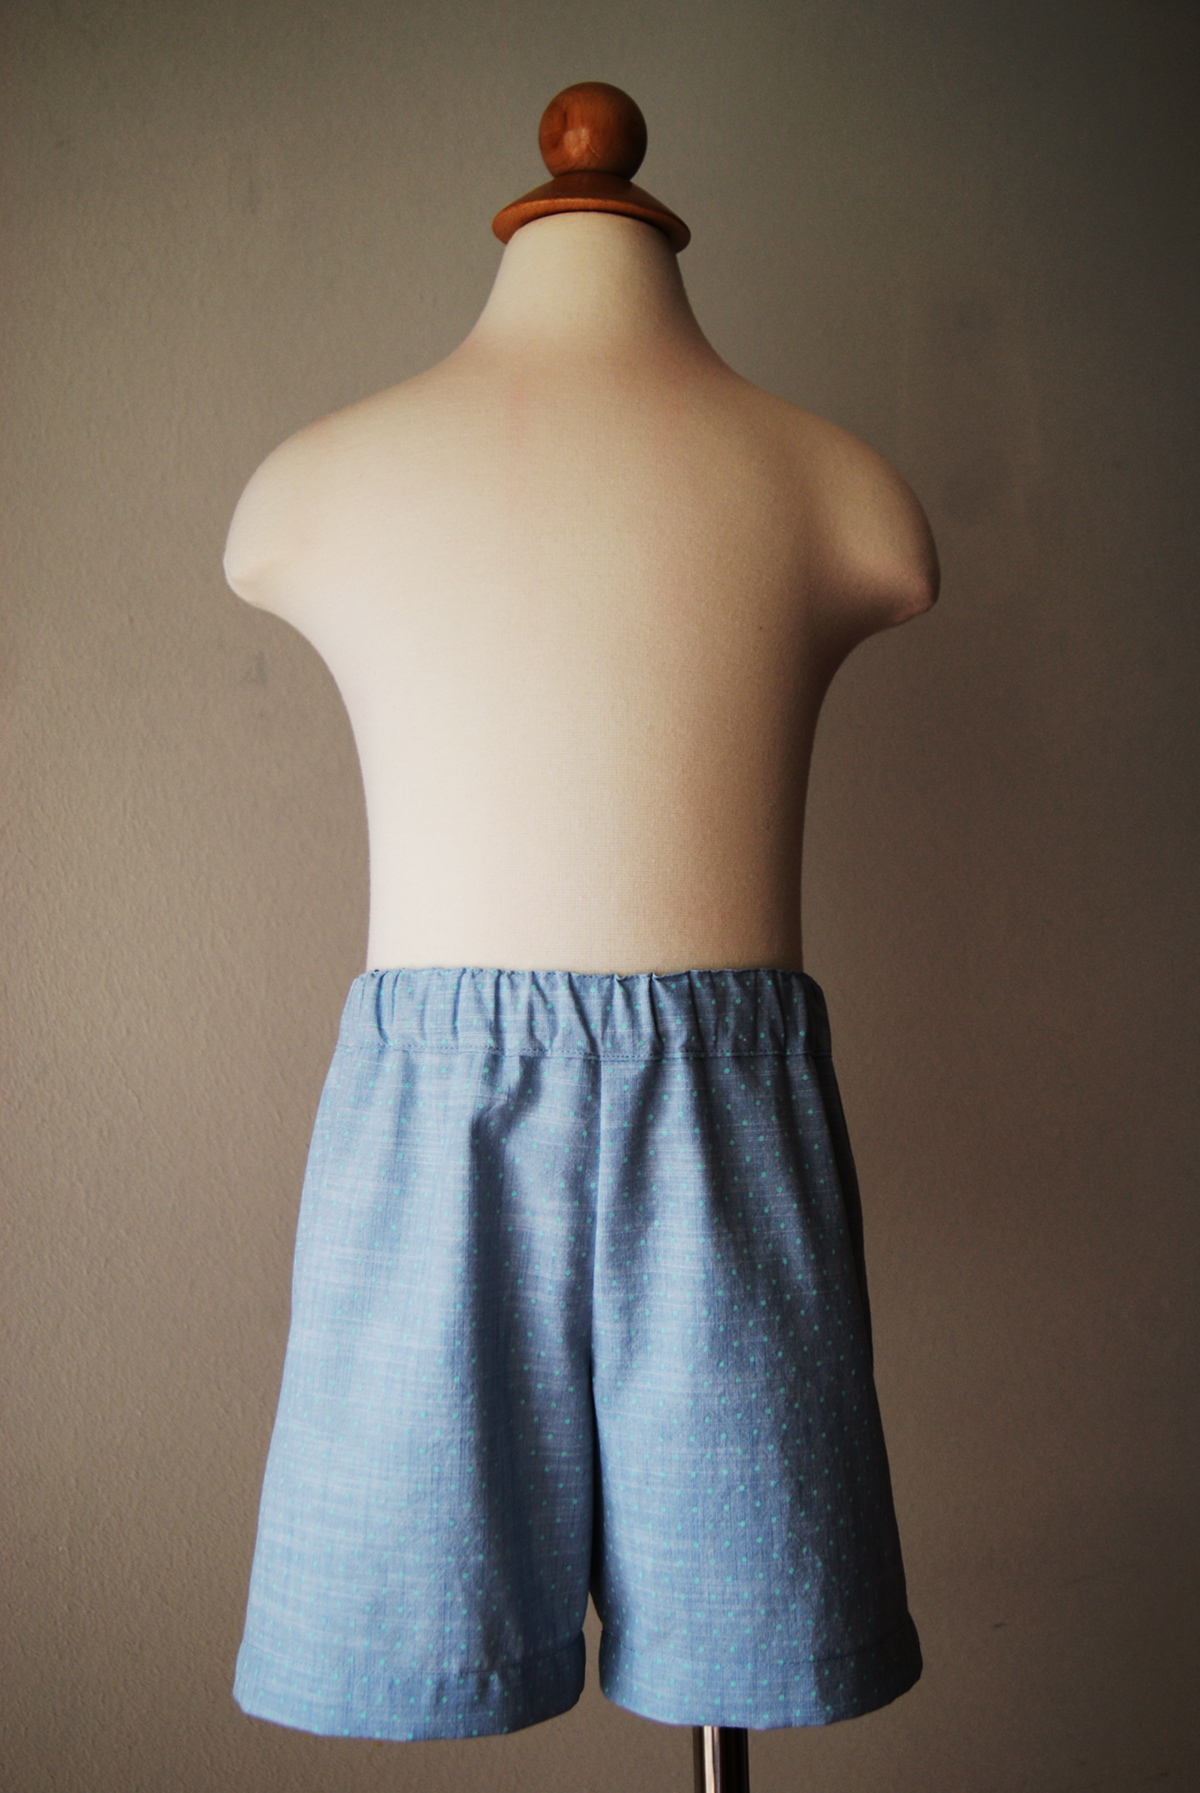
Less than a month ago the new Sunny Day Shorts pattern was introduced. In that short time, Kristin has already shared how to customize them into Beach Bum Shorts. Today and tomorrow we are going to be sewing them up by the pattern with lots of photographs for those of you who like to work visually. So let’s get started.
Preparation
First you’ll need the Sunny Day Shorts instructions and pattern. Gather the amount of fabric you need for the size you’re sewing, as well as 1 yard of 3/4″ elastic and some coordinating thread.
Print out the pattern pages, find the size you need, and cut out your patterns pieces. Join the pattern pieces together with some tape.
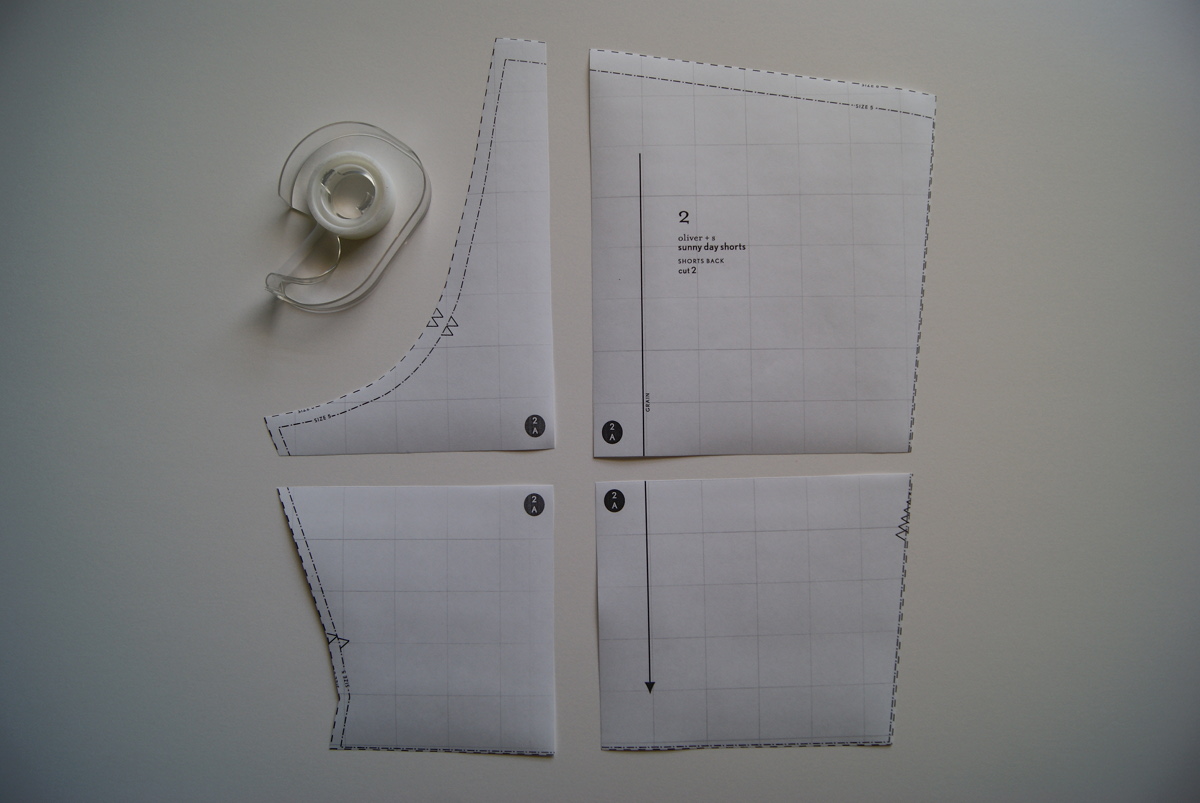
Cut the pieces out of the fabric.

Sewing Instructions
Prepare the Front and Back
1. Align and pin one shorts front to the corresponding shorts back, with right sides together, and stitch the inseam and outseam (the side seam) with 1/2″ seam.

Press the seam allowances open.
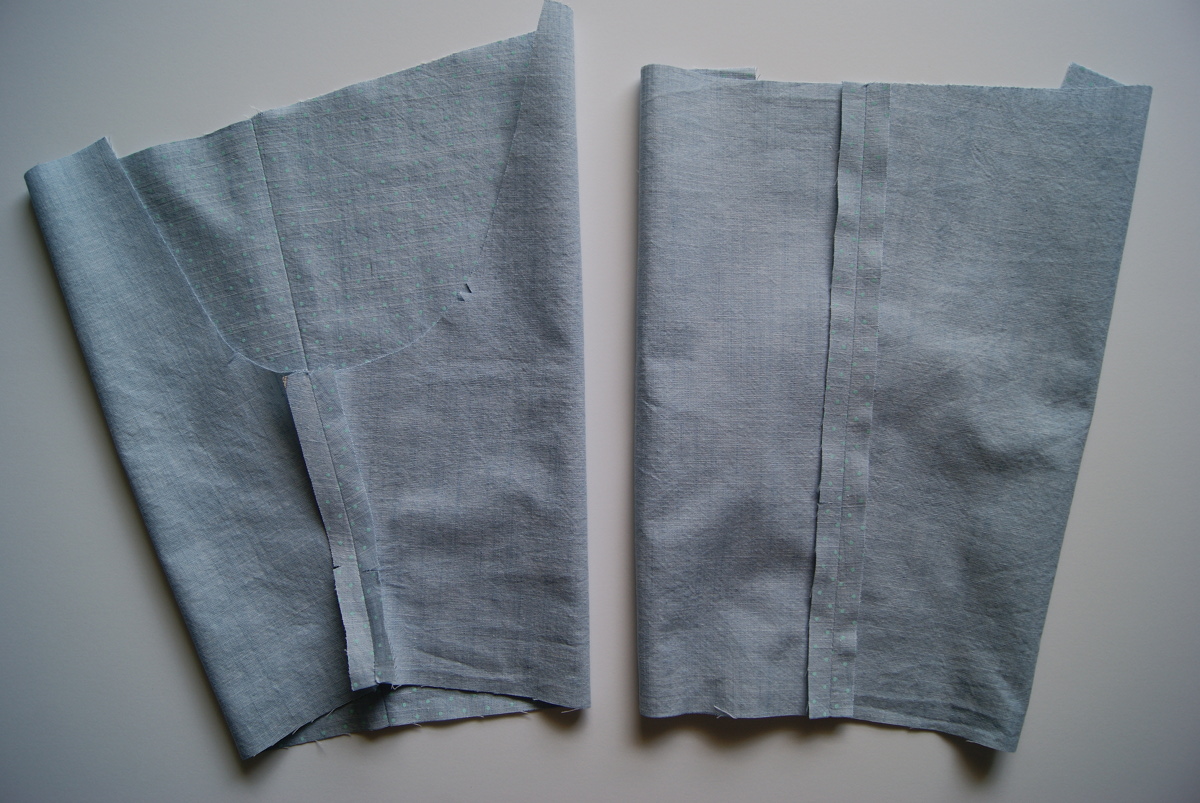
Finish the seam allowances with your preferred method.
Note: There are several seam finishing tutorials available on the Oliver + S website: straight stitch, pinking, bound, French, and flat-felled.
Enclosed straight stitch finished seams were used for the shorts in this tutorial.

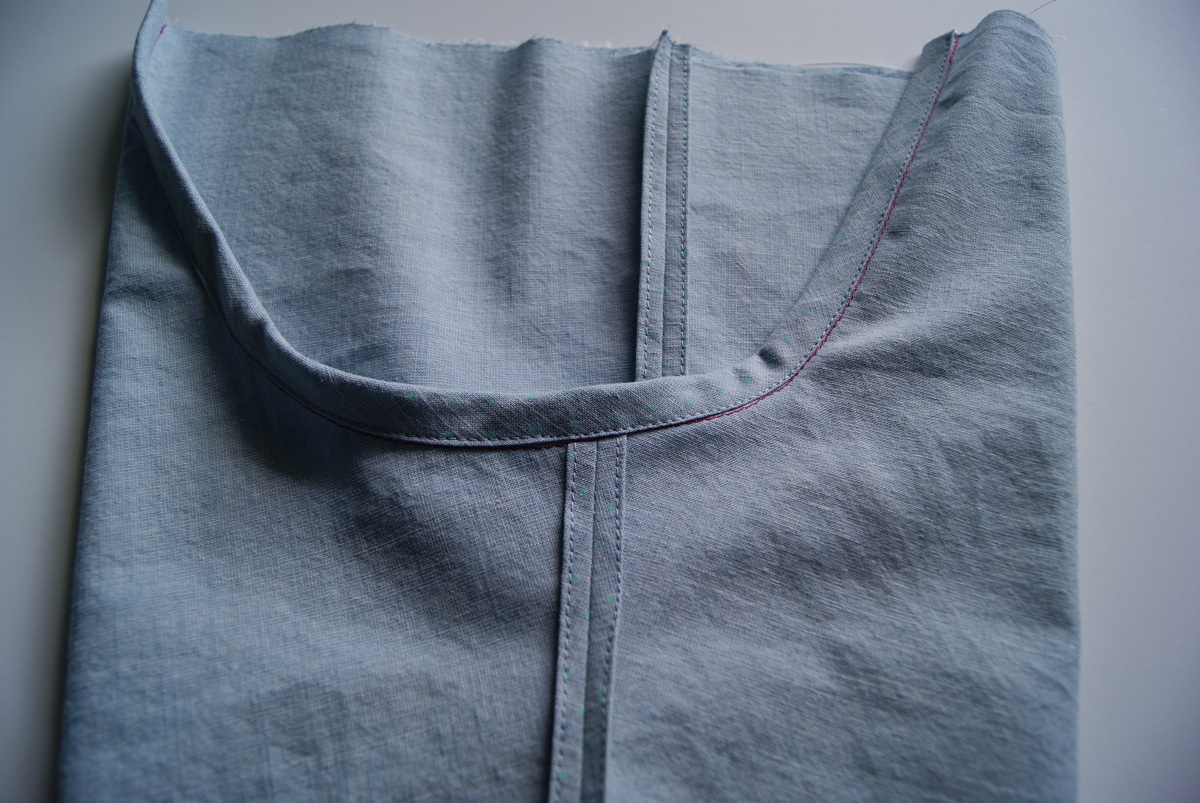
2. Turn one shorts leg right side out and the other leg wrong side out. Slip the right-side-out leg into the wrong-side-out leg, and pin the layers together with the edges, notches, and seams aligned. Stitch the rise (the crotch) with a 1/2″ seam. Stitch the rise a second time on top of or just inside of the first seam, starting at the single notch and ending at the double notches. Stitching a second time will help strengthen this seam.

3. Press the rise’s seam allowances open or to one side. Since the fabric is cut on bias at the curved part of the rise, the seam allowances will stretch, so you can use the curved front part of your ironing board to help you open the seam allowances. If you turn the shorts wrong side out and position the rise along the ironing board’s curved edge, you’ll be able to press the seam allowances to one side of the seam without creasing the rest of the fabric.

Finish the seam allowances together using your preferred method. Bound (with bias tape) seams were used for the shorts in this tutorial.
Tomorrow we will tackle the waistband and finish up the shorts.
If you have any questions on any of the steps so far, please ask them in the comment section.