
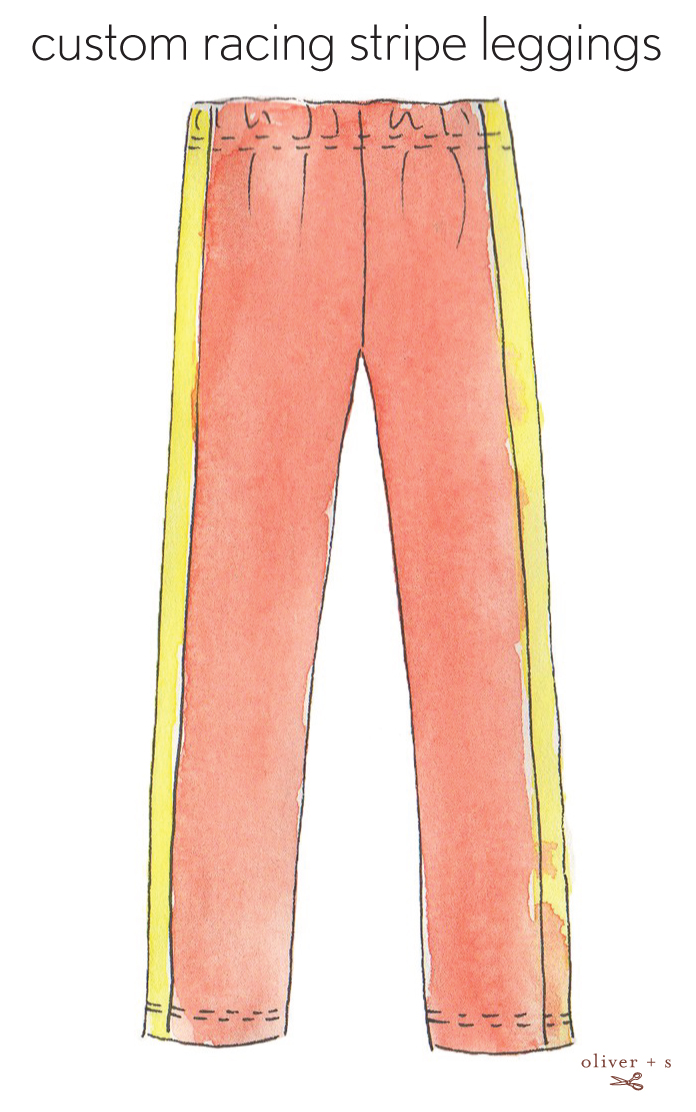
It’s surprisingly easy to add a racing stripe to the leggings pattern. The process is really just color blocking, so if you were following along with color blocking 101 or our color blocked raglan tutorial this will be familiar to you.
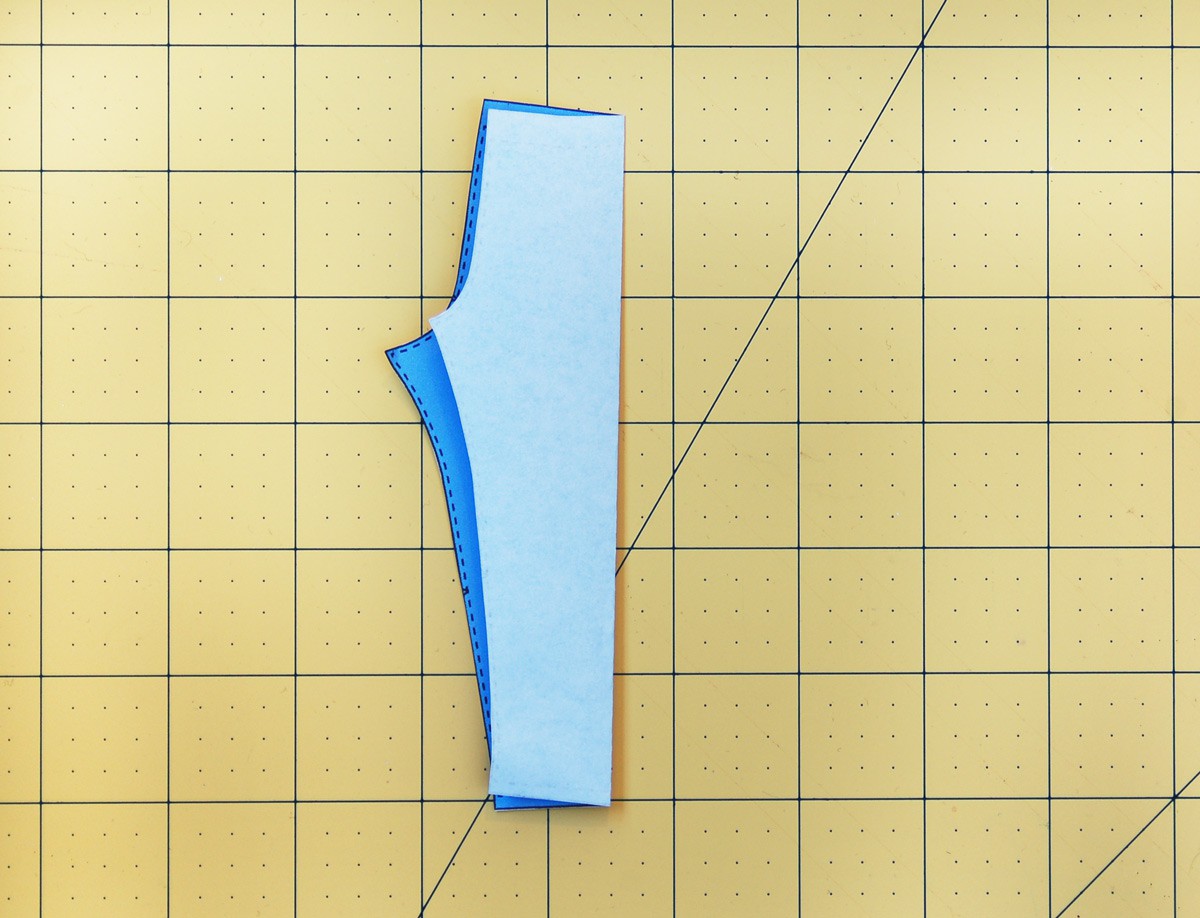
To get started we need to find the the approximate location of the side seam, if there was one. (The legging pattern consists of a single pattern piece–no side seams.)
The easiest way to do this is to fold the pattern in half at the waist and at the hem and form a straight crease all the way down the pattern piece. Don’t worry about the rise or the rest of the legs: the back of pants patterns is wider than the front, and that’s not important. We simply want to find the half-way point on the waistband and the hem of the pants and connect them with a crease. Like this:
Once you’ve made the crease, open it up and draw a straight line along the fold. This is the location of our theoretical side seam.
Now it’s time to decide how wide to make the racing stripe. Two inches seems about right to me, but the width of the stripe depends entirely on the look you want and the size you’re making. (Larger sizes could support a wider strips and smaller sizes would probably look more balanced with a smaller stripe.) Draw the stripe over your faux side seam, either centering it (mine would be 1″ on either side of the side seam line if this mini-pattern was real size) or pushing the stripe slightly toward the front of the leggings if you like. You might decide to put 1 1/2″ of the stripe at the front and only 1/2″ on the back. It depends on the look you’re going for. My stripe lines are red in this photo so you can distinguish them from the pencil-drawn side seam line.
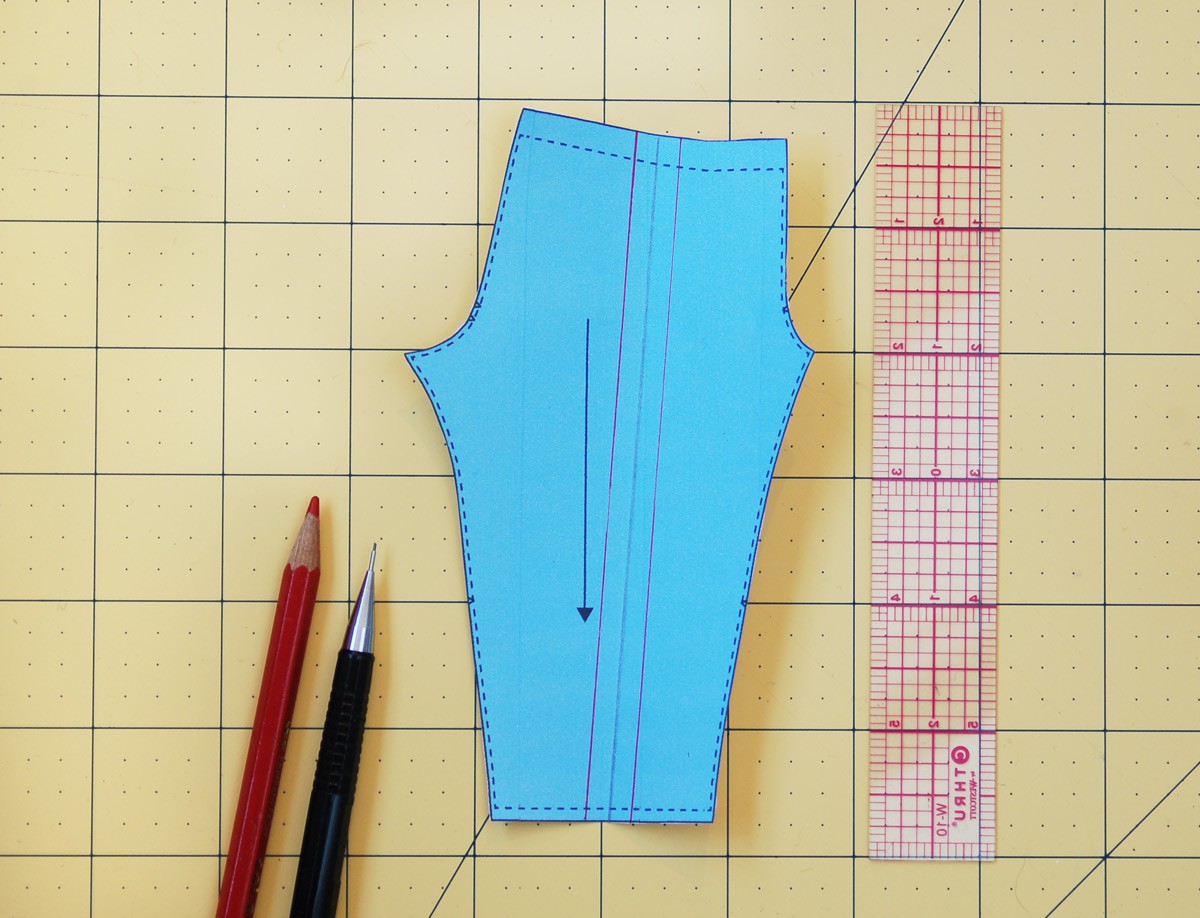
Once you’ve got your stripe drawn, it’s time to cut the pattern apart along the drawn stripe lines. And then, just like with color blocking a pattern, then you’ll add paper to the cut lines for the 1/4″ seam allowances. My seam allowances are orange in these photos so you can see them. (Psst: this is when our little clear 6″ x 1″ graph rulers come in really handy!)

Once you’ve added the seam allowances you can cut your fabric. The grain line for all the pieces can be parallel to the stripe lines now, so that will make it easy to lay out and cut the pieces from fabric. Most knit fabrics don’t stretch as much in the warp (the length) as they do in the weft (the width), but you’ll still want to use a stretch stitch when you sew the pieces together along these vertical seams to make the stripe. And once you’ve re-assembled the pieces and the stripe is in place, you can continue to assemble the leggings in the usual manner, following the instructions.
Easy, right?
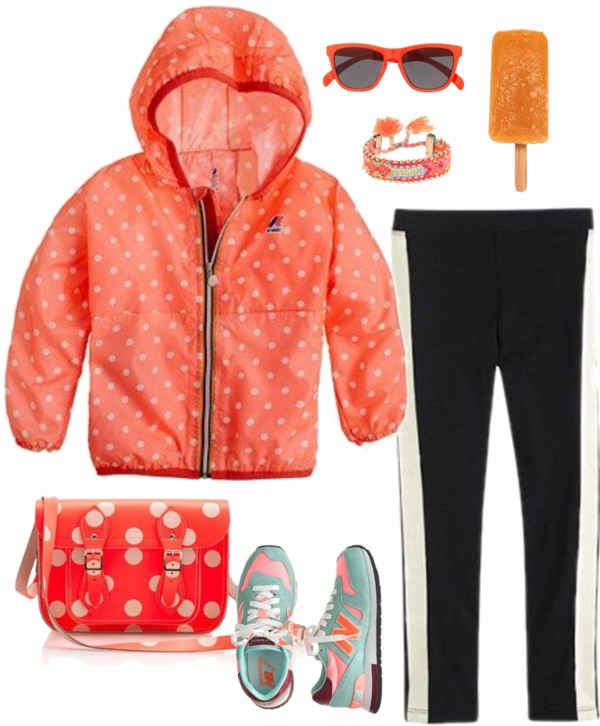
Oh, and you want styling? Ok!
By the way, if you’re reading these posts and feeling at all nervous about sewing with knit fabrics, don’t be! Here are a few tips, and we have lots of detailed instructions in the leggings pattern instructions themselves. We include those instructions with all our patterns designed for knit fabrics, so you can feel confident that you’ll be able to tackle a new challenge and I’ll be there to hold your hand. Well, maybe not personally. Buy you know what I mean.