
Over the past year or so, we’ve posted many tutorials that demonstrate some of the many things you can do with a single sewing pattern. There are so many creative opportunities within each pattern! We’ve called this series Customizing with Oliver + S, and all of these tutorials have been collected on our tutorials page so you can find them easily when you need them.
As part of that series, and to celebrate the release of our expanded collection of Oliver + S Singles patterns, I thought it would be useful to show you some examples of how our raglan T-shirt can be altered to make a variety different looks. Let’s make this into a short series. And who better than to help kick it off than some of our favorite sewing bloggers?
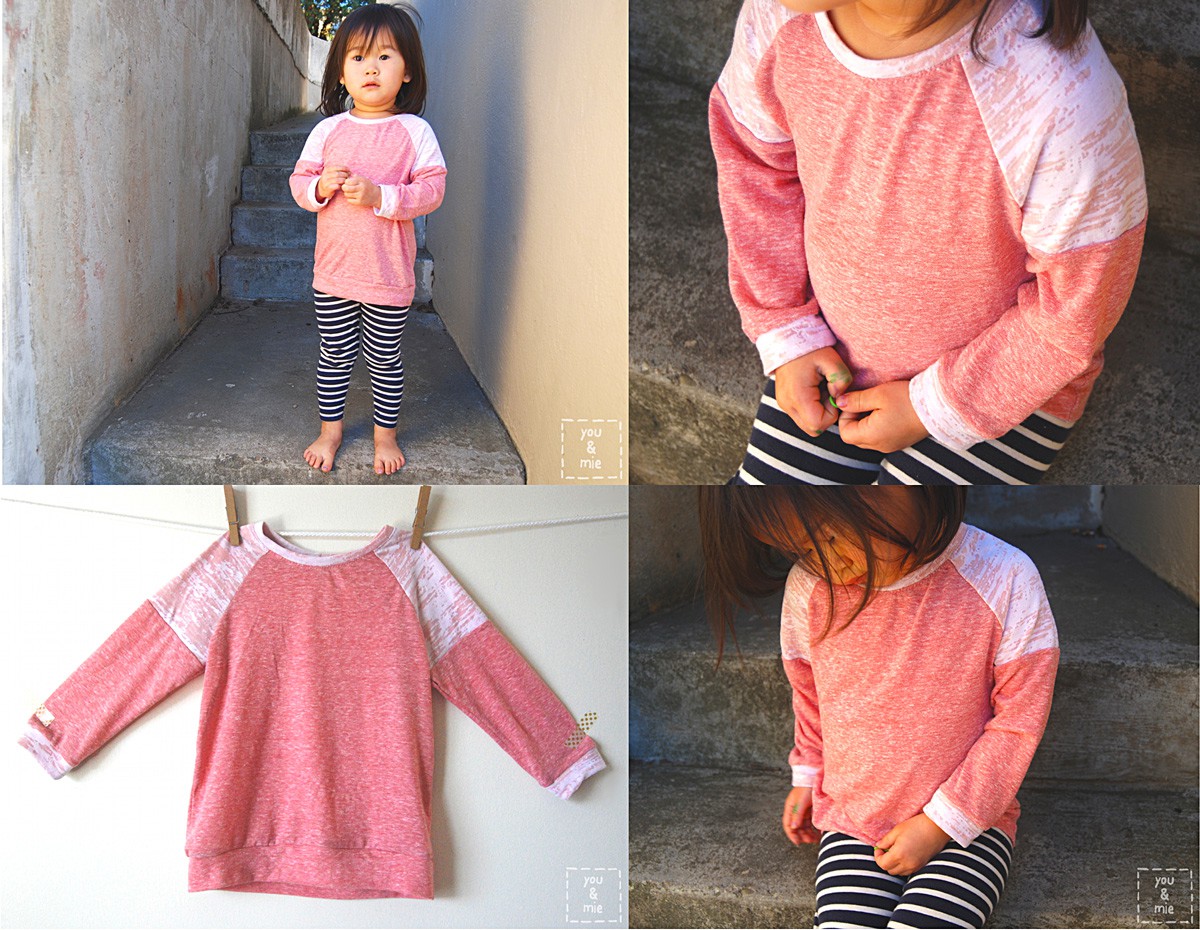
Cherie color-blocked the sleeves of her raglan T and used a burnout knit to add a little texture to the shirt. You can read all about her darling take on the pattern on her blog, You and Mie.
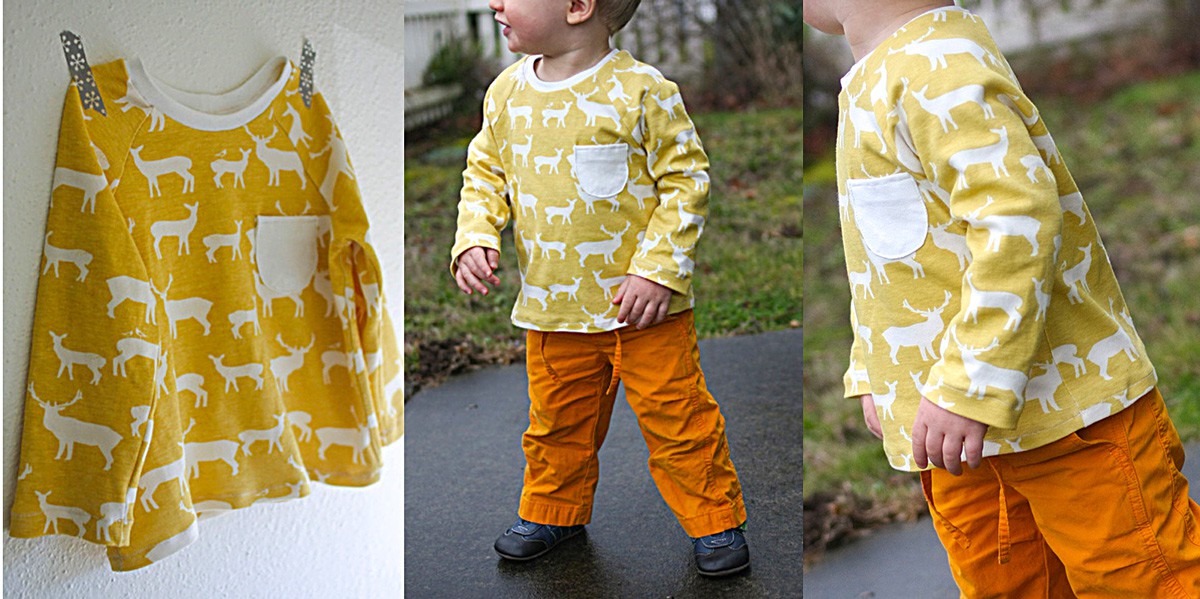
Gail used an adorable deer-printed knit for her version. She used the same print for the entire shirt instead of using a contrast color for the sleeves. It looks great like this, doesn’t it? You can read her post at Probably Actually. I think it’s fun to see all the different looks you can get from the pattern just by playing with color and print placement on the sleeves and body. (Back to that color blocking idea again: see here and here.)
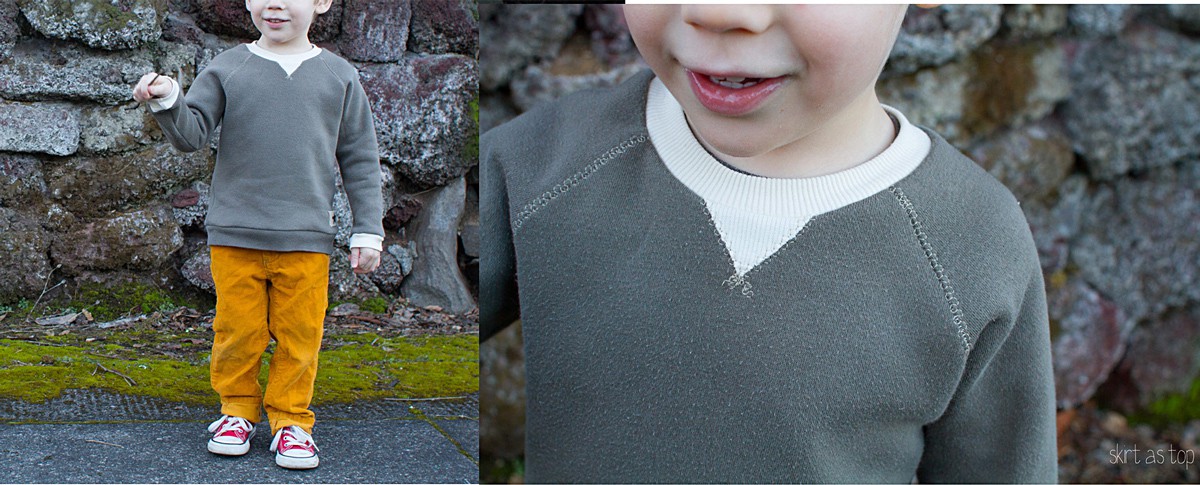
And Kristin turned the raglan pattern into a sweatshirt! Cute and easy to do, this makes the raglan pattern even more versatile because it can become a layering piece both as the base T-shirt and as the sweatshirt on top of it! Kristin simply went up a size and shortened the sleeves and hem before adding rib knit. You can read more about it at Skirt as Top.
Next week I’ll have some more ideas for the raglan T-shirt for you. Have you done any customizing of this pattern yet? If you have, let us know!