
Today we welcome Jessica from A Little Gray with a great tutorial on how to change the facings on the Playtime Tunic into an adorable collar!
I love all the new Oliver + S patterns that came out this fall, but the Playtime Dress + Tunic has definitely become my favorite. It’s simple and versatile, which is just what I look for because I love to use my patterns over and over again.
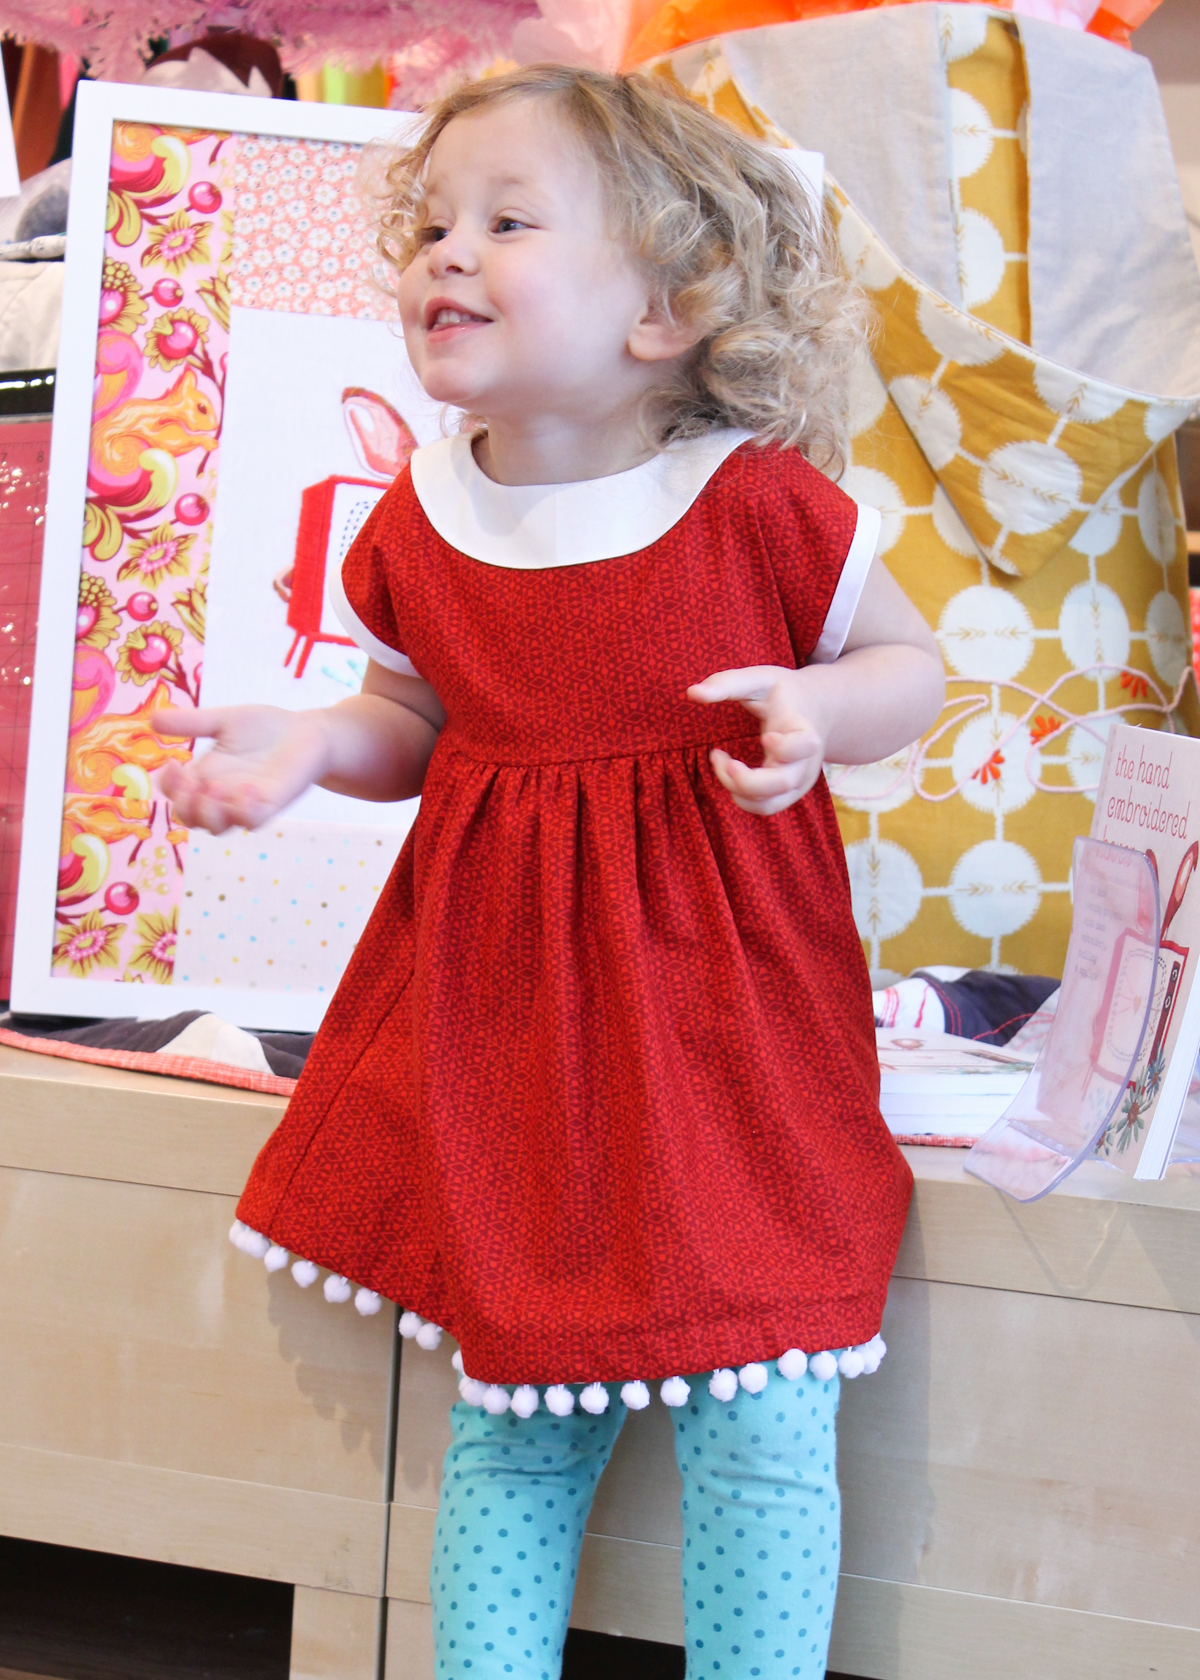
You can see my first version here, which also has the facings on the outside. On that one, I cut the front facing to look like a faux peter pan collar, but on this one I kept the pattern as is and I love the result just as much.
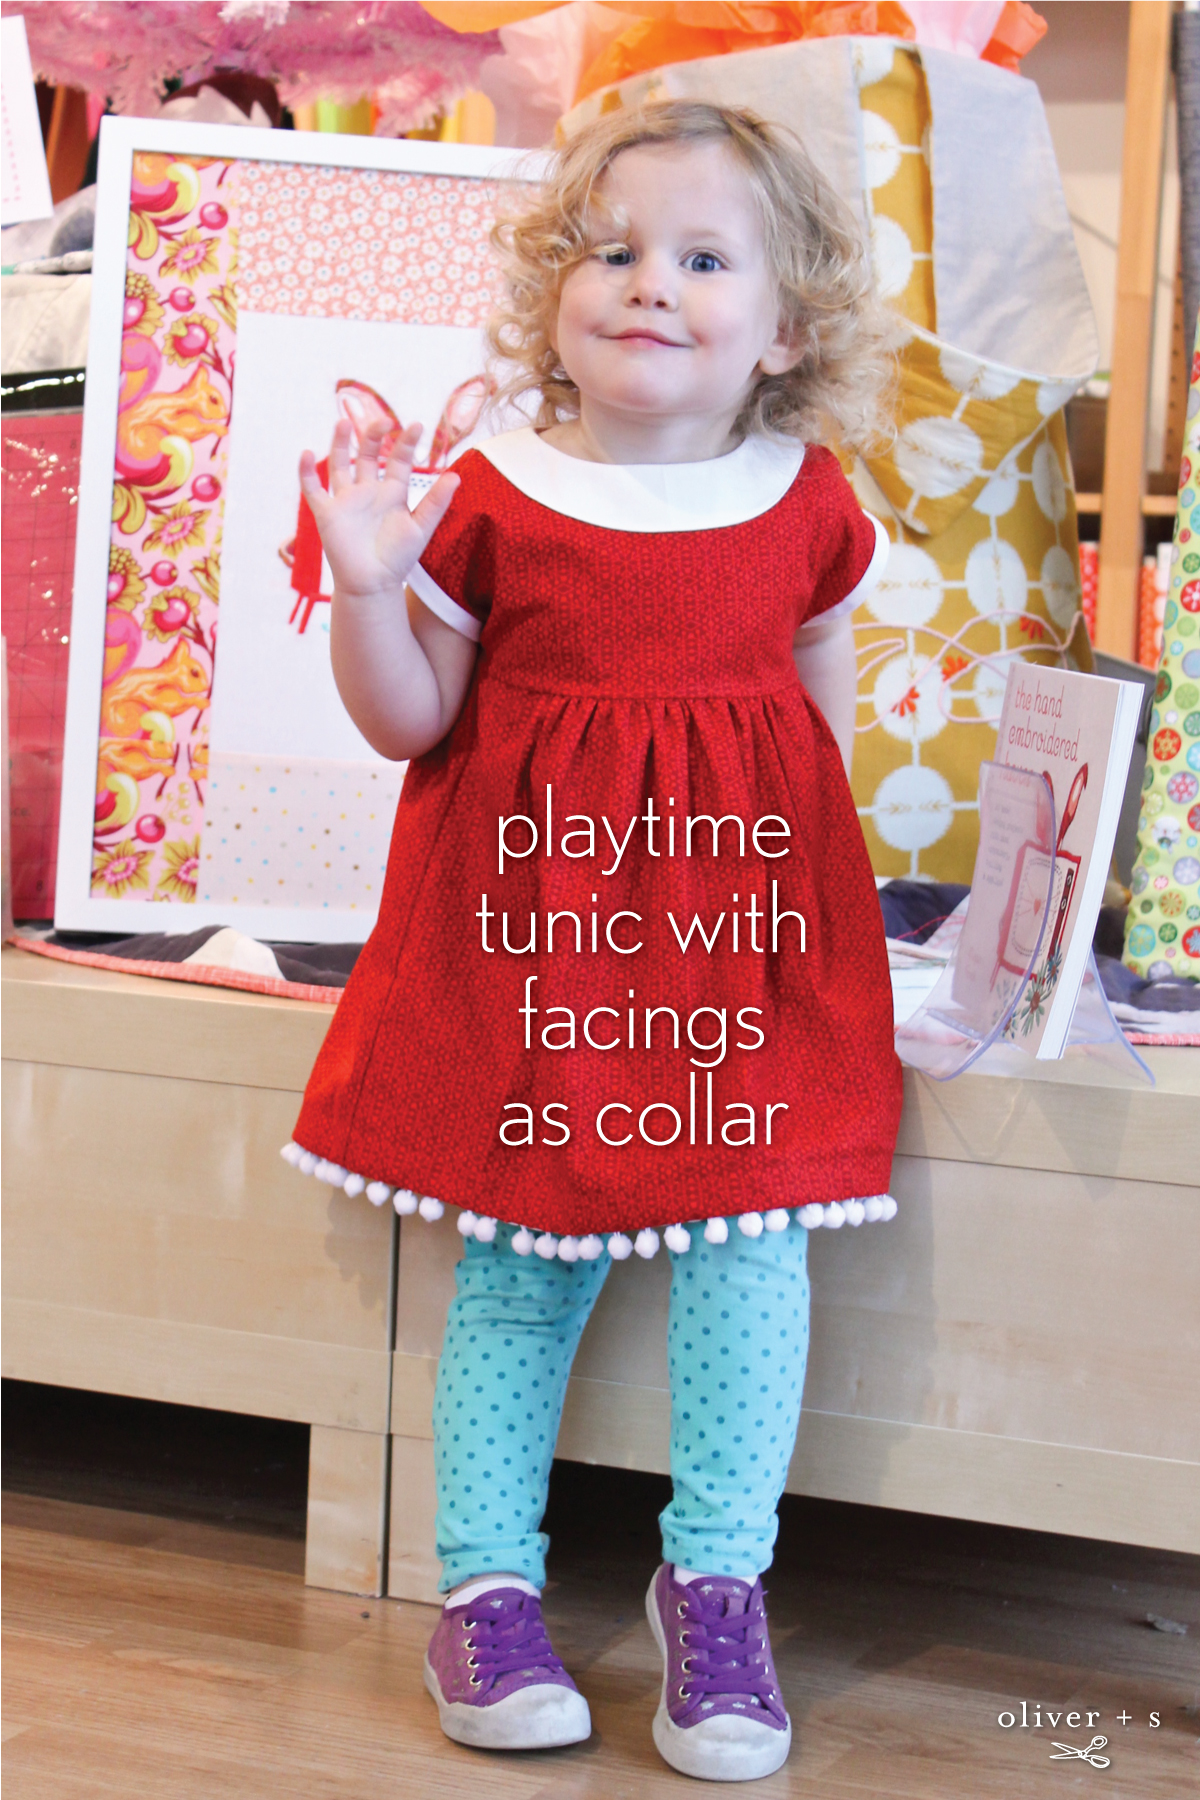
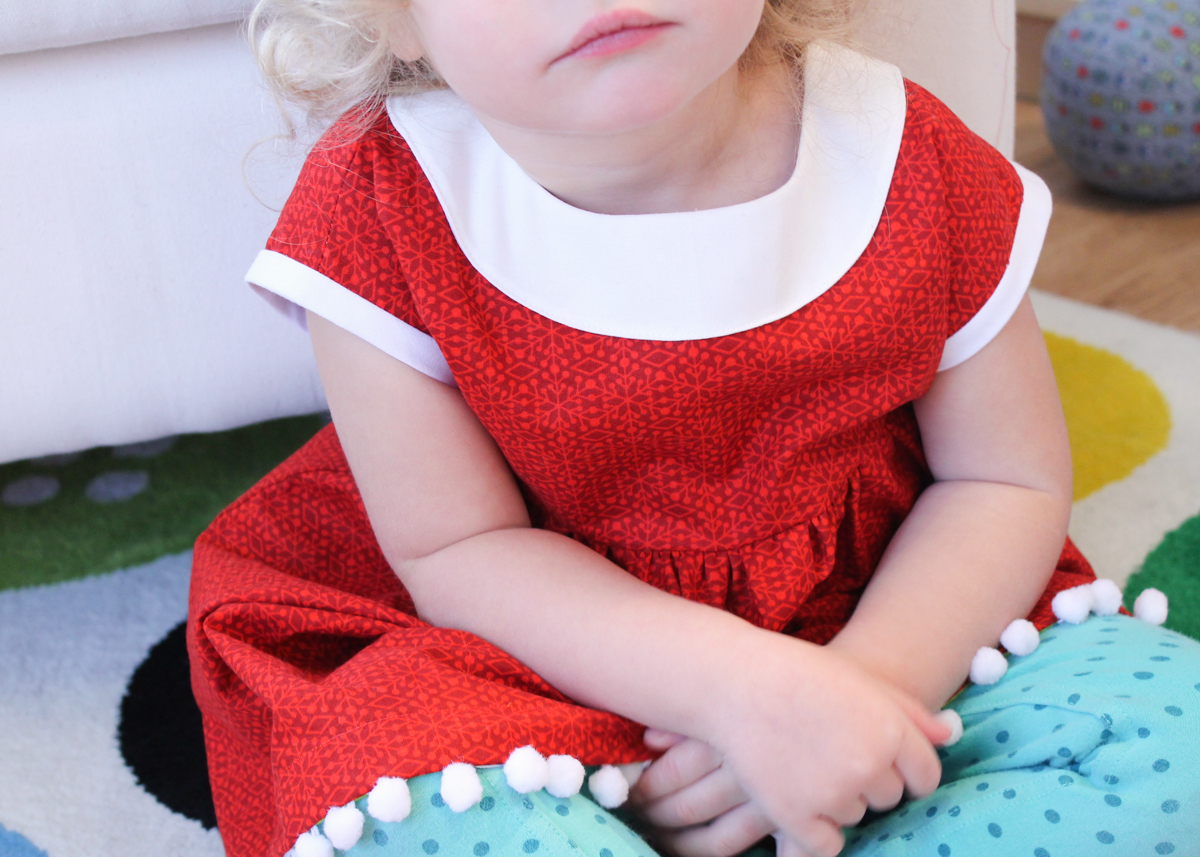
On this Christmas version, I also left the sleeves off and instead bound the openings in bias tape. I love the way the bodice without sleeves makes a really cute cap sleeve shape. Finally, I cut the hem to tunic length and added pom-pom trim.
Today, I’m going to focus on the facing modification and show you how it’s done!
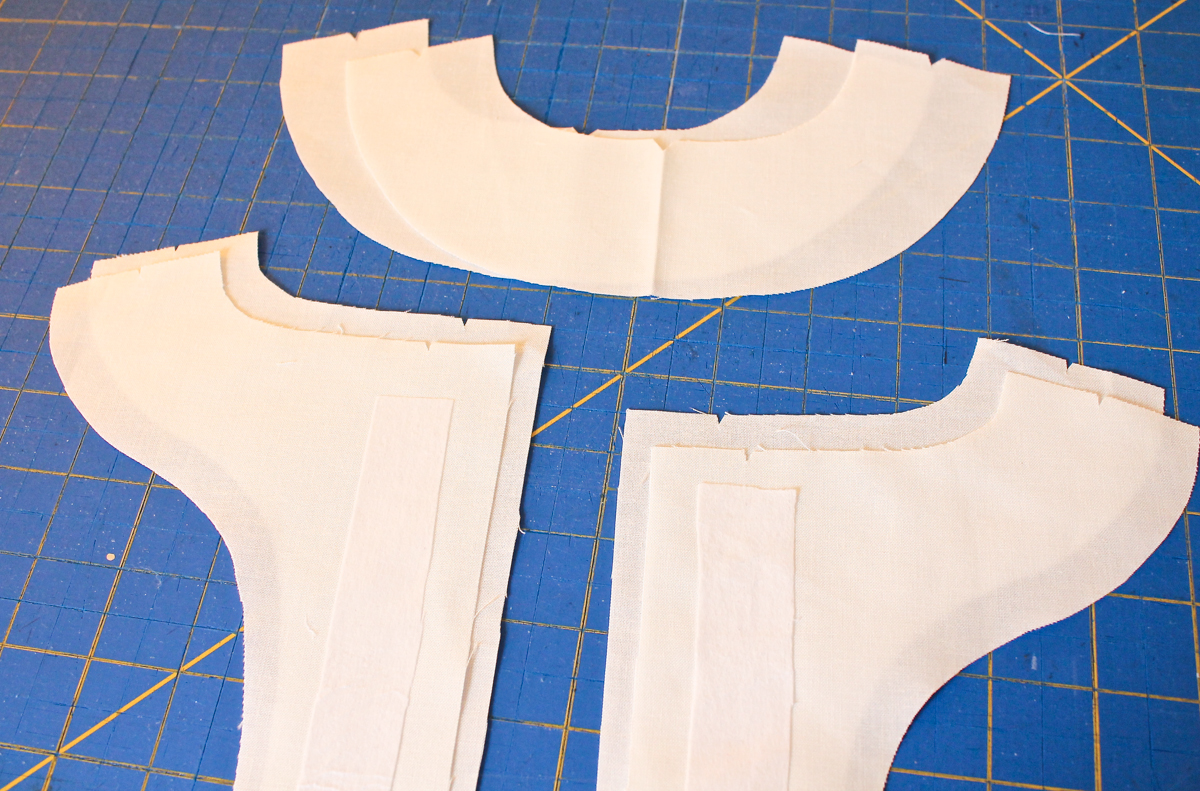
Cut out 2 of the front facings and 4 of the back facings. I skipped the interfacing since we are adding another layer of fabric, but I did fuse a thin strip on just two of the back pieces where buttons and holes go.
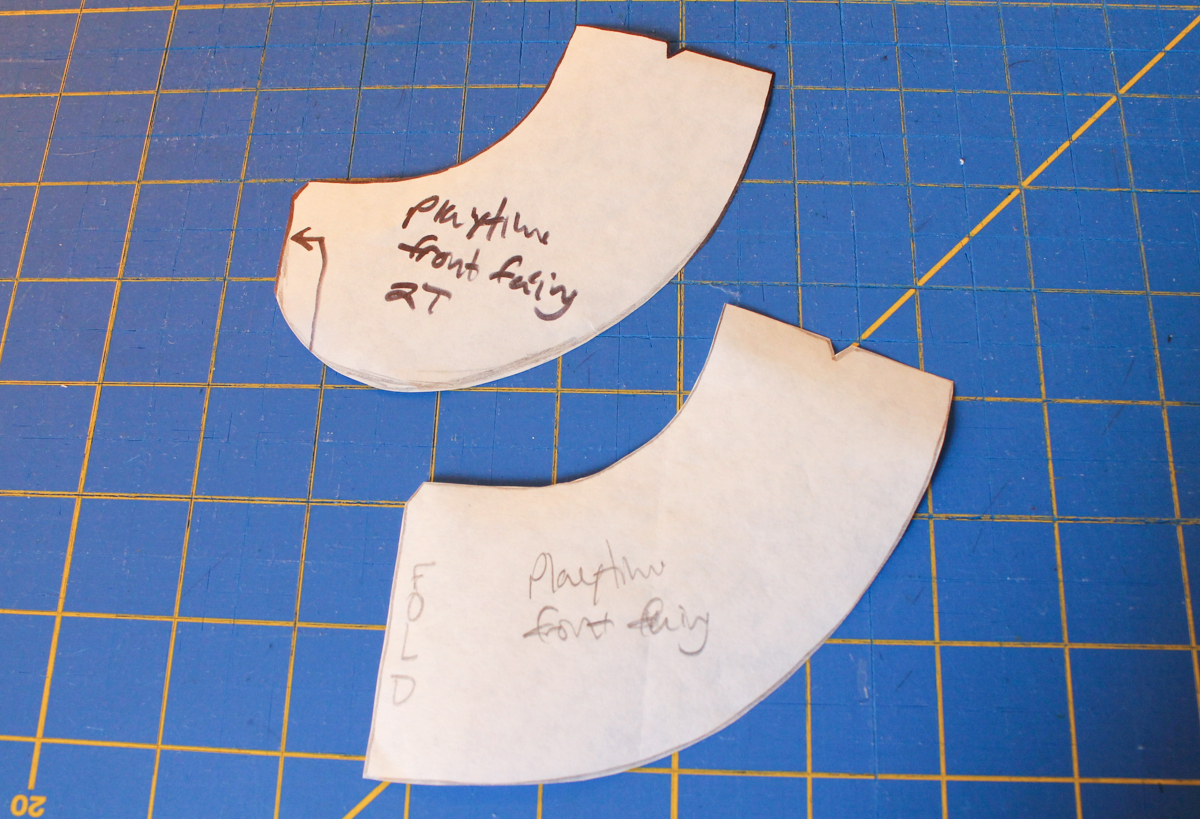
The pattern piece on top shows how I cut it to make the Peter Pan look. If you do that, just curve at the bottom, but keep a straight edge to cut on the fold, about 1.5.”
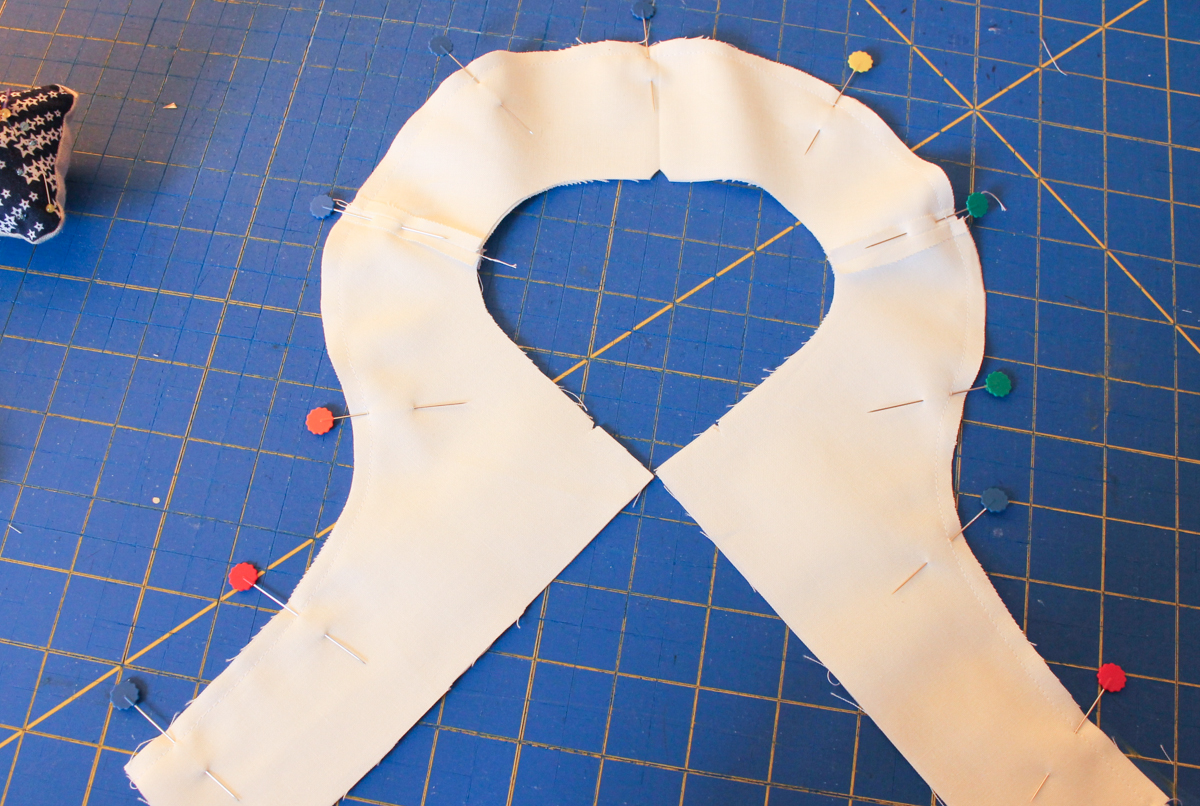
Sew the front pieces to the back pieces at the shoulders as instructed. Then open them and lay them on top of each other right sides together. Pin and sew around the outside curve with a .25″ seam allowance. Then clip around the curve, turn right side out and press well. Roll the seam slightly to one side as you press. Take your time making the front nice and even since it will show on the dress. Set aside.
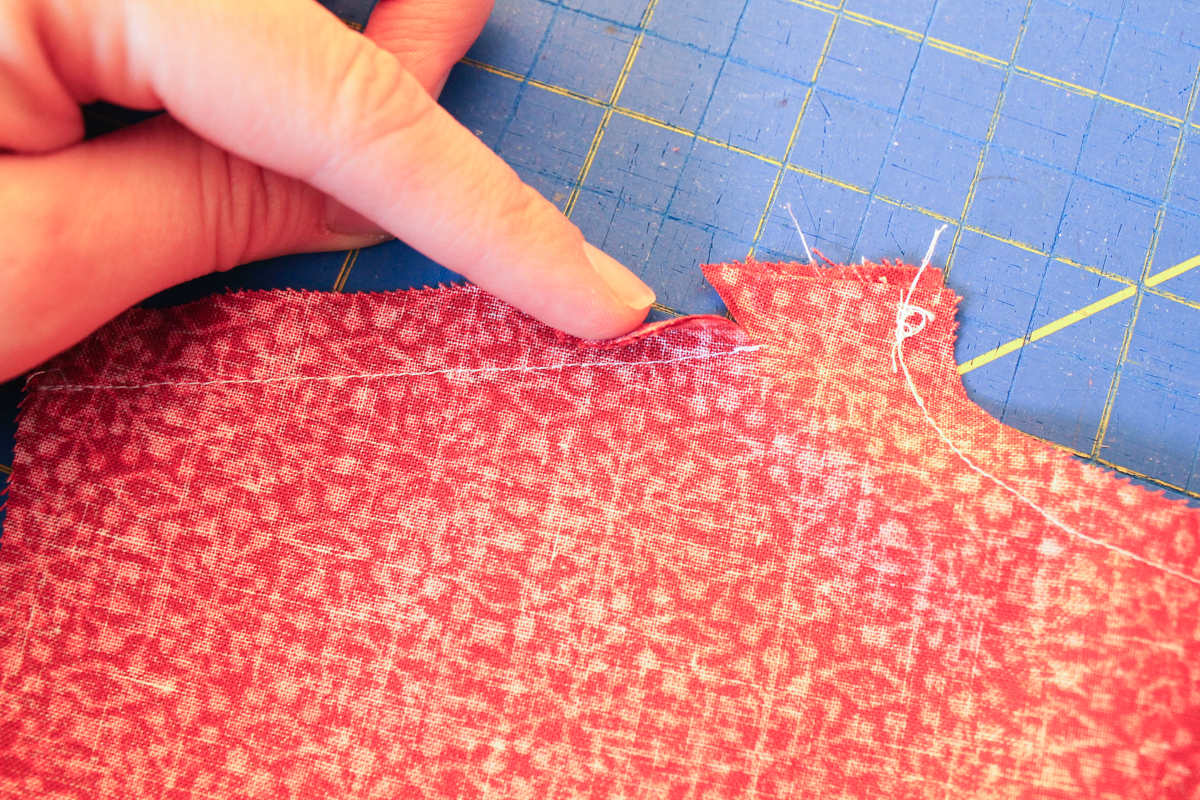
Now sew the bodice pieces right sides together at the shoulders. But leave 1″ un-stitched on either side of the neck opening. (This is so that these seam allowances won’t be seen peeking out under the facing “collar.” You may recognize this trick if you’ve made the Class Picnic Shorts!)
After you press open and finish the portion of the seam allowances sewn in the previous step, turn it right side out and sew those 1″ portions with the wrong sides together. This part will later be completely hidden under the facings on the outside, no need to finish them.
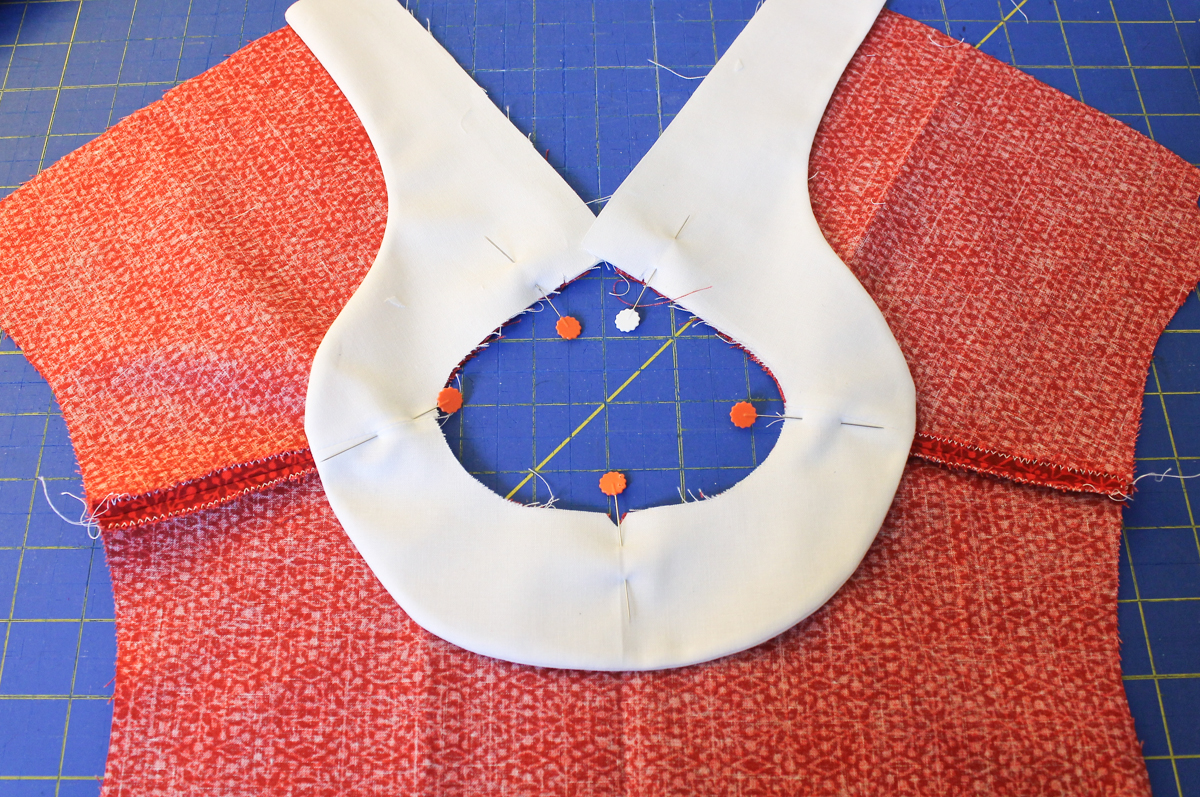
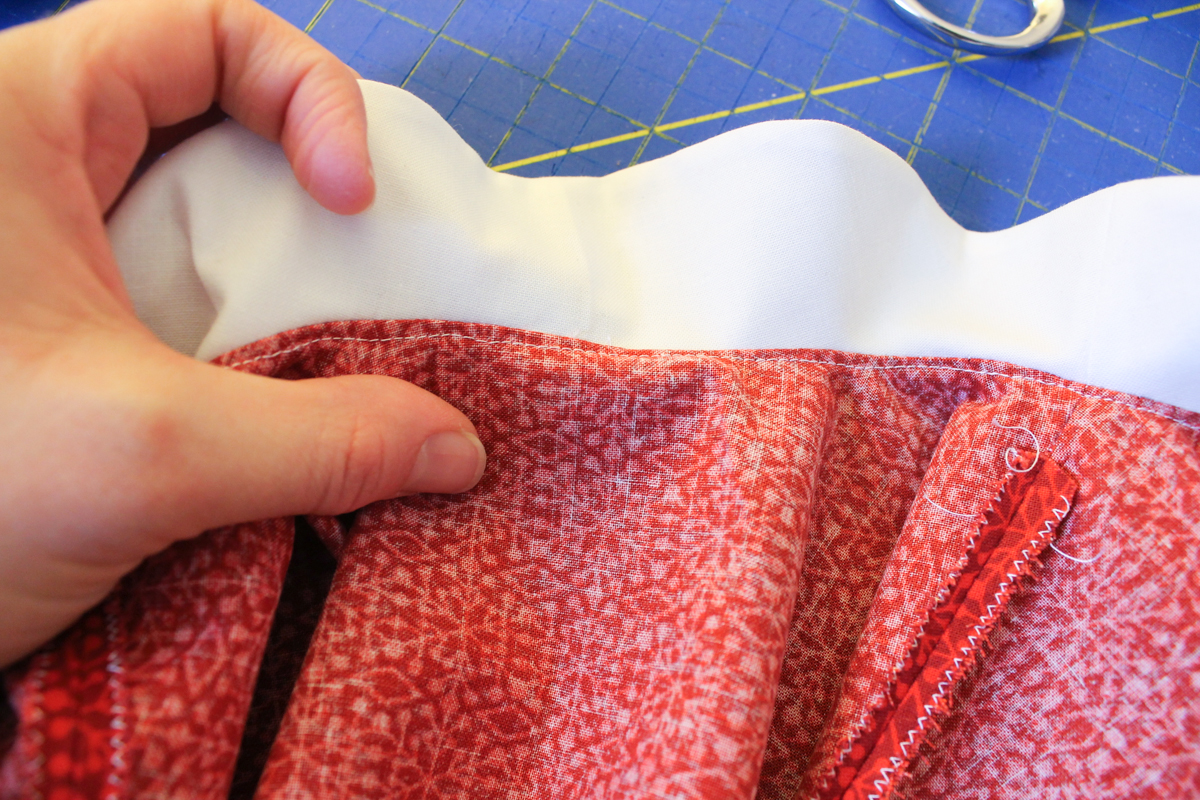
Open the bodice and place wrong side up. Pin the right side of your facing piece (the side that you want to show) to the wrong side of the bodice, lining up all three raw edges and pinning around the neck.
(I did have a little bit of extra white hanging over the inside edges on the back, but I just trimmed them to match the bodice. I’m not sure if this would be different if I had used a .5″ seam allowance to sew the 2 facing layers together, but trimming the extra off at this step worked fine for me!)
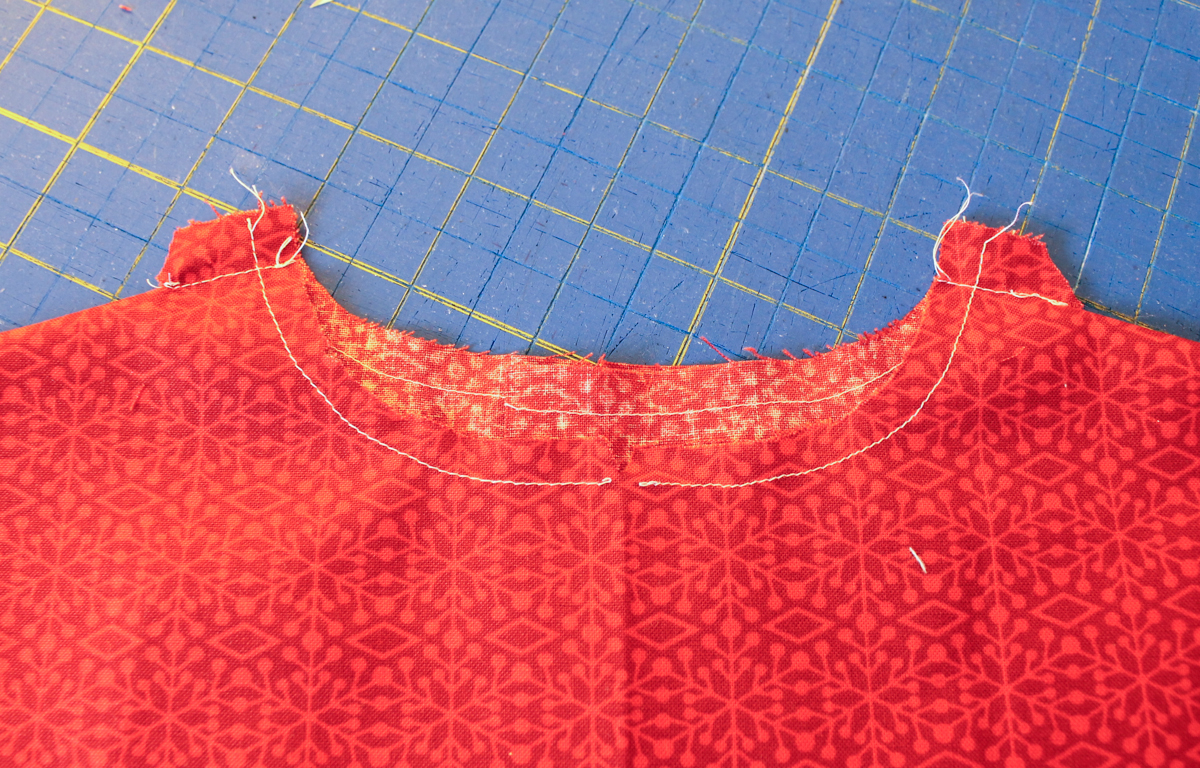
Sew all the way around the inside with a .5″ seam allowance.
Understitch the seam allowance to the main bodice, going as far around the curve as you can. This will help the seam roll to the wrong side so it can’t be seen around the collar.

Now topstitch the facings down all the way around the outer edge.
Your bodice with exposed facings is done!
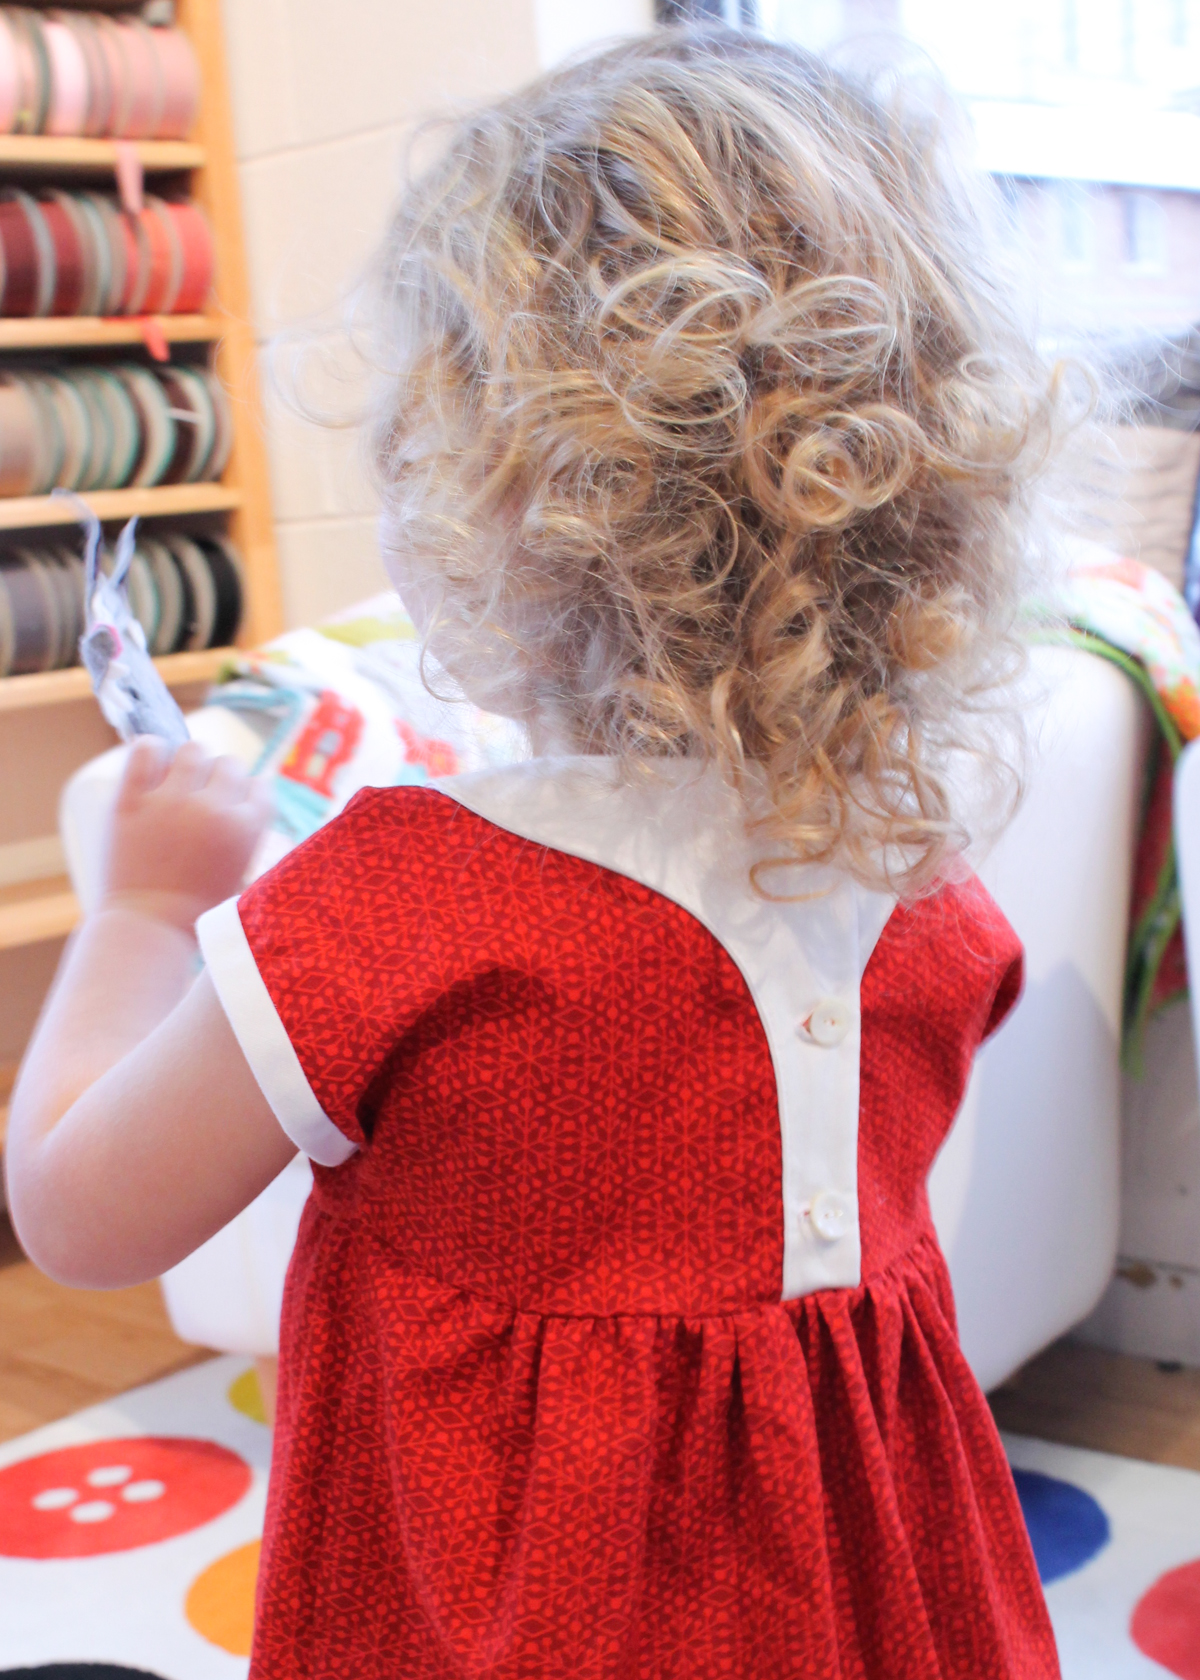
Here is a view of the back on the finished dress. The contrast added there is just as great as the front, and it’s the perfect way to highlight a fun button choice.
There is still time to whip up a sweet holiday dress for all the coming festivities, and you definitely won’t regret the last minute sewing.
Thanks for having me on the Oliver + S blog today! — Jessica