
I recently wrote a detailed guest post for the nice folks at Janome about using a serger to make a lettuce hem on knits. I used this technique and a Janome 1100D serger (which they’ve generously lent to the Oliver + S studio) to make the pair of pajamas I blogged about earlier this month. If you’re interested in how to make a lettuce hem using a serger, go here for instructions.
You don’t need a serger to make a lettuce hem, however. Here are some easy instructions for making a hem using an ordinary sewing machine. A machine-stitched lettuce hem requires one additional step that isn’t necessary with a serged hem, but the result is very similar.

First, mark the desired length of your hem and trim the fabric to be approximately 1″ longer than the finished length. Fold the excess fabric to the wrong side, press the fold, and pin the fabric in a few places to hold it temporarily.
Set your sewing machine to a short zigzag stitch. If you have a satin stitch setting, this works great. Otherwise, just set your zigzag stitch so the stitches will be very close together and create a smooth stitch. The stitches also should be at least 1/8″ wide so you have enough room to stitch over the folded edge of the fabric.
Once you’ve got everything set up, test a few knit scraps to check the settings and get comfortable with this stitch. You’ll need to stretch the hem as you stitch. The more you stretch, the wavier the edge. Keep the fabric stretched as evenly as possible while you work. It’s easiest to do this with a tube shape rather than a straight piece of fabric, since a tube gives you something to hold in front and behind the needle as you’re working. (Sleeves and pant legs work perfectly.)
As you stretch the fabric, stitch over the folded edge of the hem so the needle falls off the fabric on the right side of the stitch and stitches the fabric on the left side. Here is the stitched hem from the wrong side of the fabric.

Once you’ve finished stitching, turn to the wrong side of the hem, and trim the excess fabric. I’ve found that the easiest way to trim is to stretch the hem until it is straight, and trim as closely as you can to the stitches while holding the stretched fabric. (This is the step that isn’t required if you use a serger, since the serger trims the excess fabric as it folds and stitches the hem.)

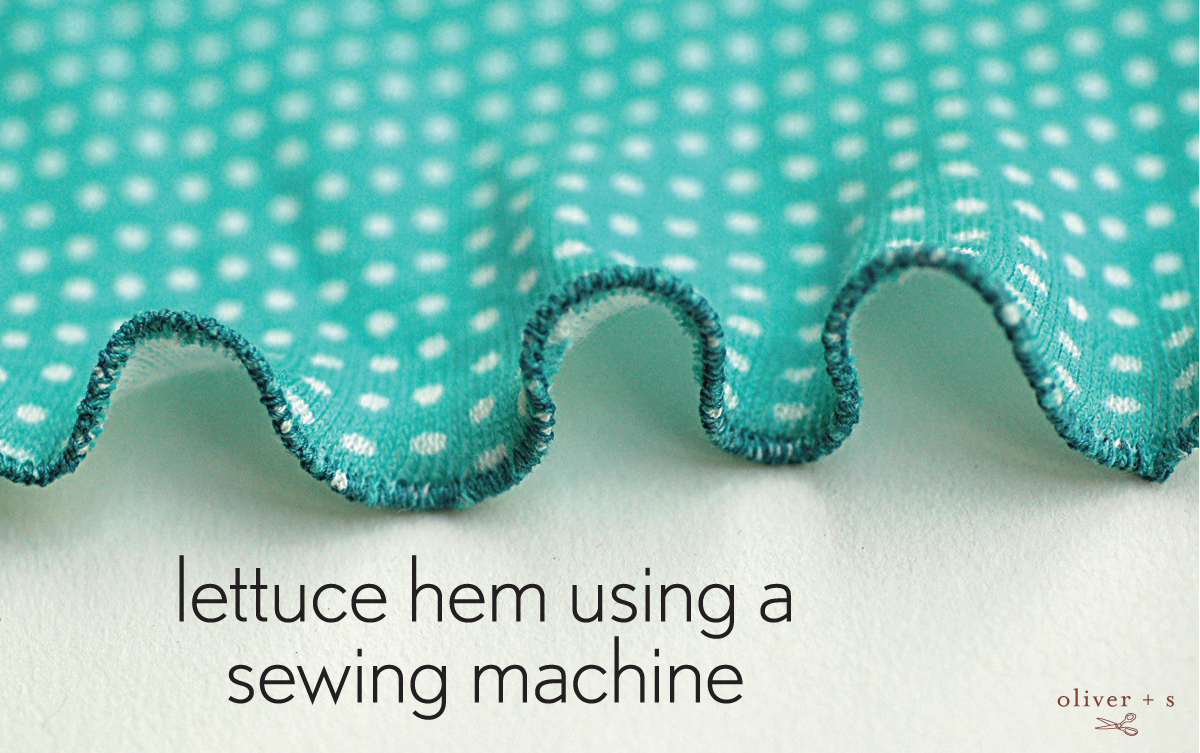
You’ll notice, initially, that the hem is stretched and distorted. It won’t look very lettuce-y at first, but if you give it a few minutes to recover, you’ll see that, as the knit returns to its original shape, the hem will curl up to reveal a sweet little lettuce-y edge.

Easy, yes? We used the lettuce hem on the Hopscotch Dress and Nature Walk Pants pajama combination for S. How will you use it?
If you enjoyed this blog post, why not sign up for our newsletter? It’s free, and you can opt to have new blog posts sent to you by email too!