The hem facing has become a sort of signature feature of many Oliver + S patterns.
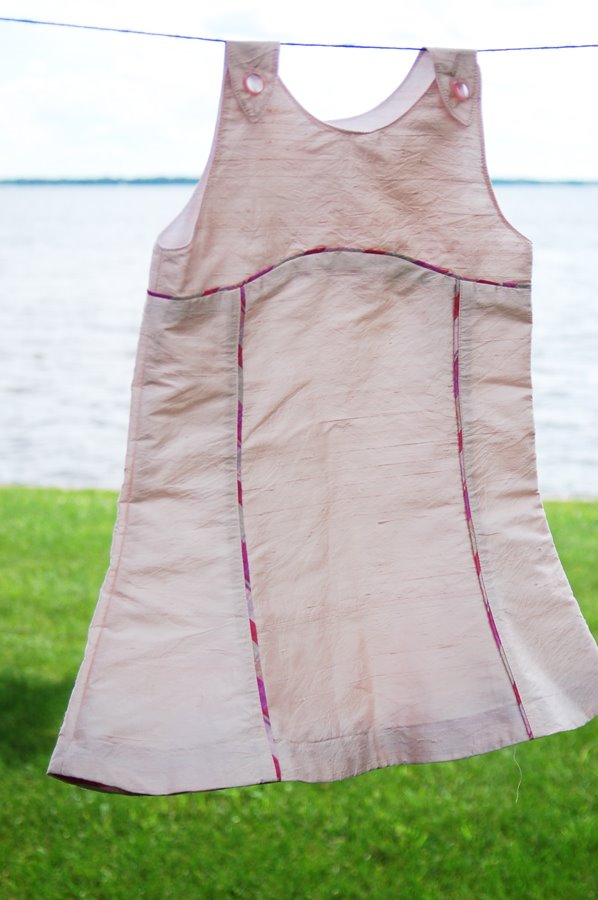
It all started with our very first pattern, the Tea Party sundress. I strongly prefer neat, simple solutions to design problems and was dreading the hem on the flared skirt of the sundress; in order to finish it using conventional sewing methods, the excess fabric from the flared skirt would need to be eased into the narrower part of the skirt when the hem was folded up to finish it. Generally, this results (for me, anyway) in much gritting of teeth and, very commonly, a crummy-looking hem, both on the outside and inside of the garment. It seemed much simpler and cleaner to create a separate pattern piece for the hem.
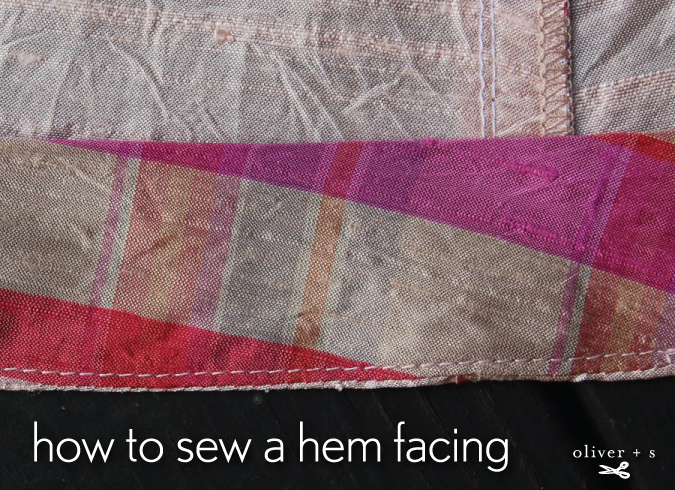
And it worked so well, now we use it on many of our other patterns, too! Here is a little demonstration of the hem to show you how it is sewn:
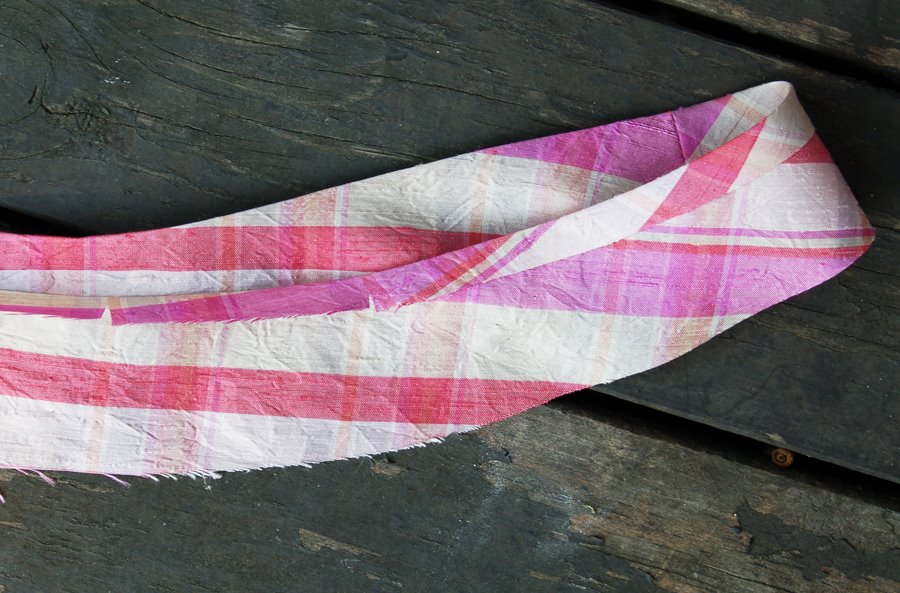
1. First, the facing pieces are sewn together at the side seams, right sides together, to create a loop that matches the contour of the skirt hem itself. Press the seam allowances open. Then fold and press the top 1/2″ edge of the joined hem facing to the wrong side so the upper edge of the facing will have a clean finish.
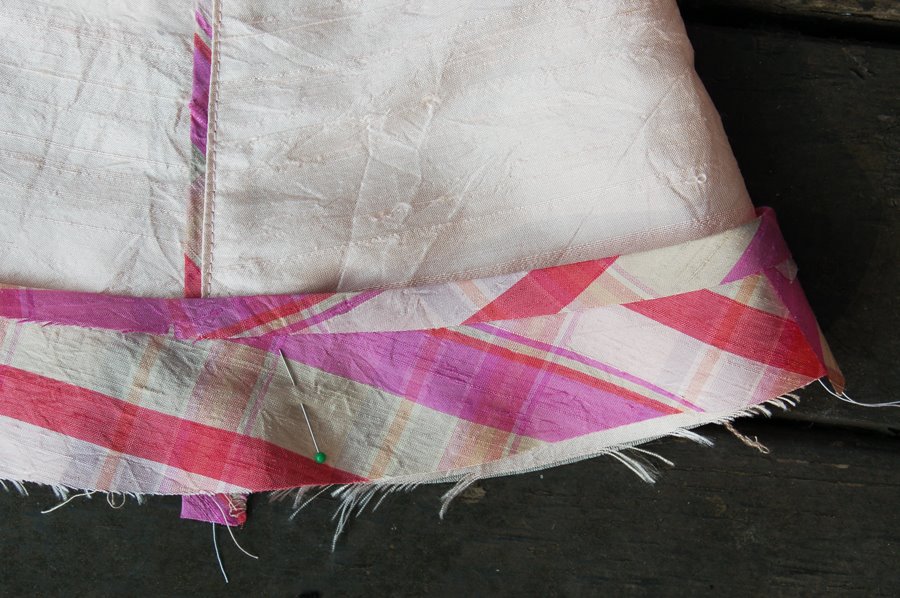
2. With right sides together and the hem facing’s folded edge positioned at the top, pin the hem facing to the bottom edge of the dress, matching the hem facing’s seams with the dress’s seams. Sew the facing to the dress with a 1/2″ seam.

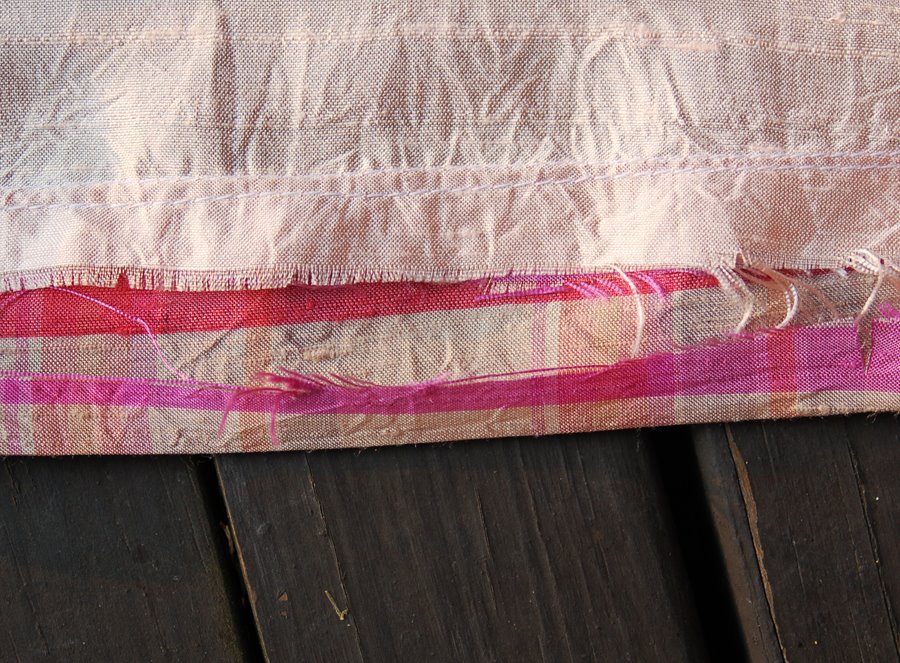
3. Press the hem facing away from the skirt, toward the seam allowances. Then understitch the seam allowances on the hem facing and dress, stitching them to the facing 1/8″ from the hem seam. To understitch, you’ll edgestitch on the hem facing close to the seam, sewing through the facing and the seam allowances. Understitching helps to keep the seam and the facing inside the garment, and prevents them from showing when the garment is worn.
 understitching from the outside of the dress
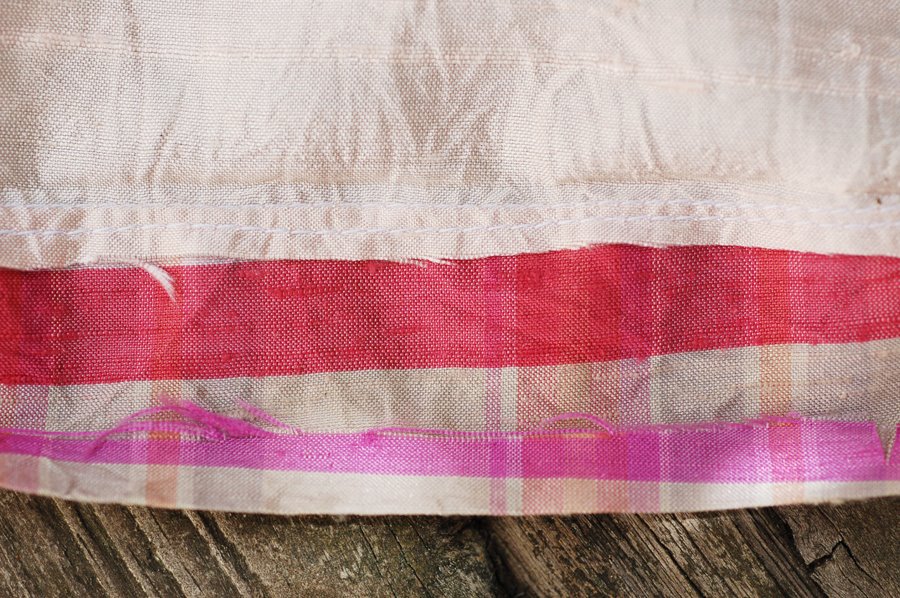
 understitching from the inside of the dress
4. Trim the seam allowances at the hem about 1/8″ from the understitching. Turn and press the hem facing to the inside of the dress, pressing the seam slightly to the inside so it doesn’t show on the finished dress. The entire facing is now inside the dress, with none of it showing from the outside.
seam allowances trimmed
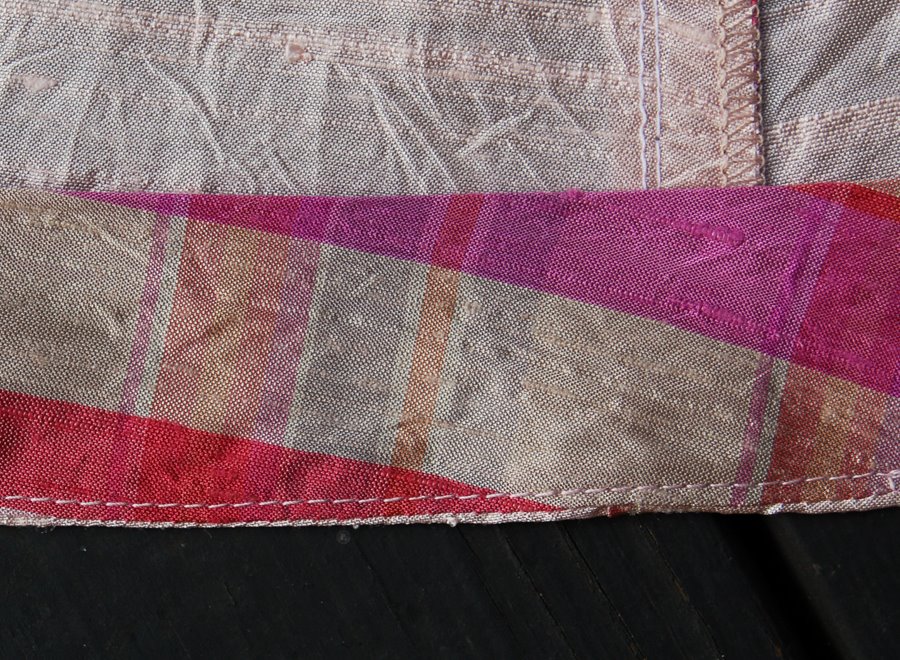
hem facing from the inside of the dress
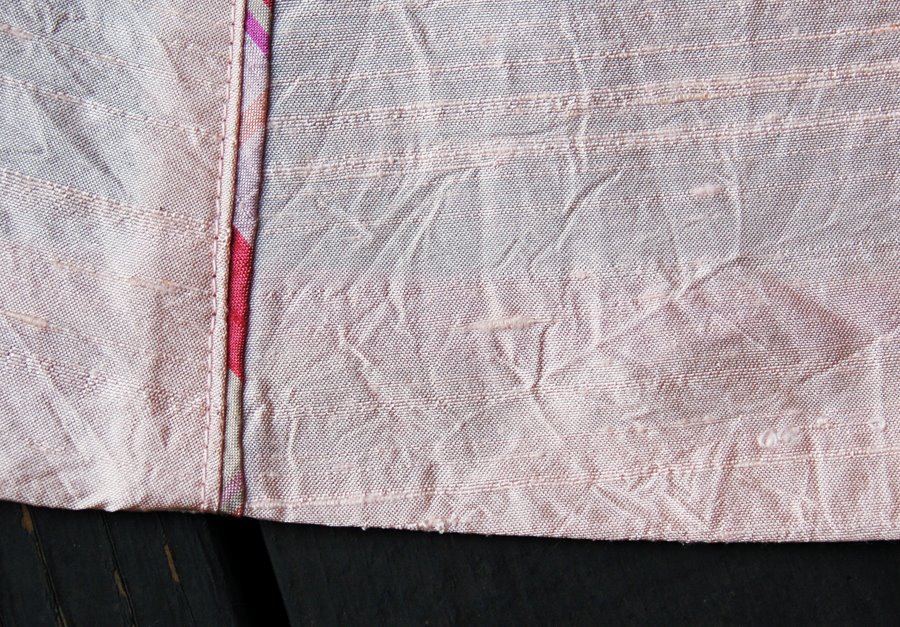 hem facing from the outside of the dress (doesn’t show!)
5. Use a blindstitch to hand-sew the folded top edge of the hem facing to the wrong side of the skirt to finish the hem.
The hem facing works especially well on flared hems, but it could be used on streight hems also. If your garment is made from a heavy fabric, you might want to consider using a lighter-weight fabric for the facings so that you don’t add a lot of bulk to the bottom seam. I like to use a fabric that contrasts or compliments the rest of the garment like the plaid facing shown in the photos. The hem facing can be a little surprise when it peeks out, and you could do all sorts of interesting things with it, including embroidering it or using other embellishments to give it extra interest. Have fun with it!
If you enjoyed this blog post, why not sign up for our newsletter? It’s free, and you can opt to have new blog posts sent to you by email too!
This is such an elegant solution to so many problems. I don’t mind easing hems, my issue was the problem of 4-fabric intersections clumps at the hem.
Do you use a ribbon or a piece of fabric (cut on size)?
Our hem facings are pattern pieces provided in the pattern envelope, and they’re cut from fabric. A ribbon would not have the same contour shape as the hem or the hem facing, so it would not give the same result as you see in this example.
I am making your Birthday Party dress and cannot get the hem facing to fit the bottom of dress. SEW frustrating!!!! The side seams will not meet as the pattern shows. What am I doing wrong??? Help please. Many Thanks
Mary Anne, you might get a better response if you post this question to the discussion forums section of the website.
I love this technique, because it is so difficult to get an eased hem to lay totally flat without any puckering. Just wanted to mention that I made a dress a couple of years ago where the hem facing was sewn to the OUTSIDE of the dress, making it a contrasting band around the bottom of the dress. http://www.aureliamarie.com/2009/04/easter-sunday.html
The technique is just the same, only flipped to the outside rather than inside. Such great attention to detail in your patterns!
Sarah, you can use the outside facing technique to finish the Lazy Days skirt, too. It adds great contrast, doesn’t it? Thanks for commenting, and your little Easter dress is darling.
these ideas are great
I just found your tutorial, but the pictures are no longer linked.
how is the vertical seam constructed in that last photo??
I’m making a pattern with a hem facing (not an Oliver + S one but I promise I have lots of those in stash) and the instructions say to interface it. I’m using a mid-weight cotton shirting, so I was thinking that’s not necessary. Anyone have any thoughts?
Terrifically explained both verbally and visually.
Thank you for a very clear tutorial. I was wondering about something. You’re supposed to hang a skirt before hemming and then level it. Should this be done with the facing piece as well?