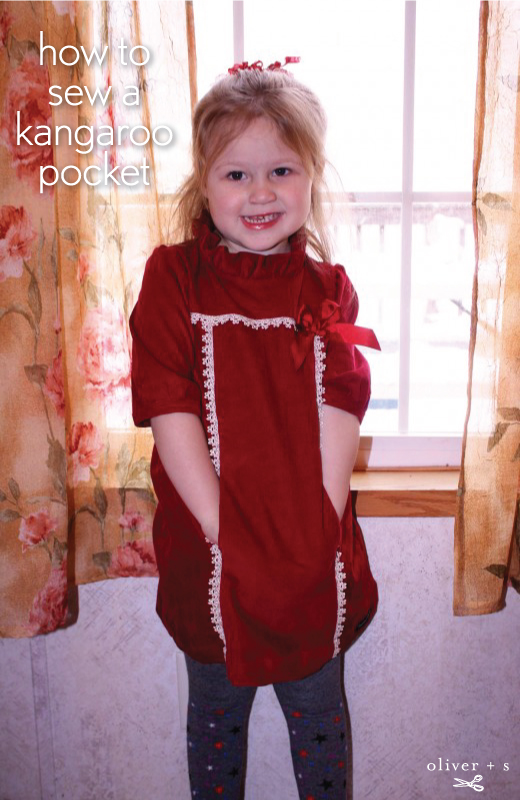
A little while ago we had a request for a photo tutorial on the School Photo Dress, particularly the kangaroo pocket. I asked on the discussion forums if anyone was interested in contributing a post, and the lovely Sharon offered to help out. So I’ll turn over the blog to Sharon and let her demonstrate the steps for this fun little dress. I hope you’ll show us your fabulous kangaroo pockets in the Flickr group when you’re finished!
Hello! I am Sharon, otherwise known as mama_knowles on the Flicker group and forums here at Oliver + S. I have been sewing with these wonderful patterns now for a few years for my five children. It was love at the first pattern! You can check out all sewing over at my blog, sweetpeaandpumkins.
Today we are going to start a two-day sew-along for the School Photo Dress. If you have not made this dress yet it is a great time to pull that pattern out! I am going to show you step by step on how to sew the whole dress, including those fabulous kangaroo pockets.
To get started, first we are going to transfer all those markings from the pattern onto the wrong side of the pattern pieces. After this we need to tidy up the raw edges on the center front panel, the insides of the side front panels and the entire way around both kangaroo pocket pieces. This will make the finished dress look very lovely on the inside too. While serging (or zigzag stitching) the raw edges be sure not to trim away the raw edges of all pieces. Leave the seam allowances all intact.
Then cut eight pieces of 1”x1” interfacing and fuse them onto both the side and center-front panels to cover the dots.


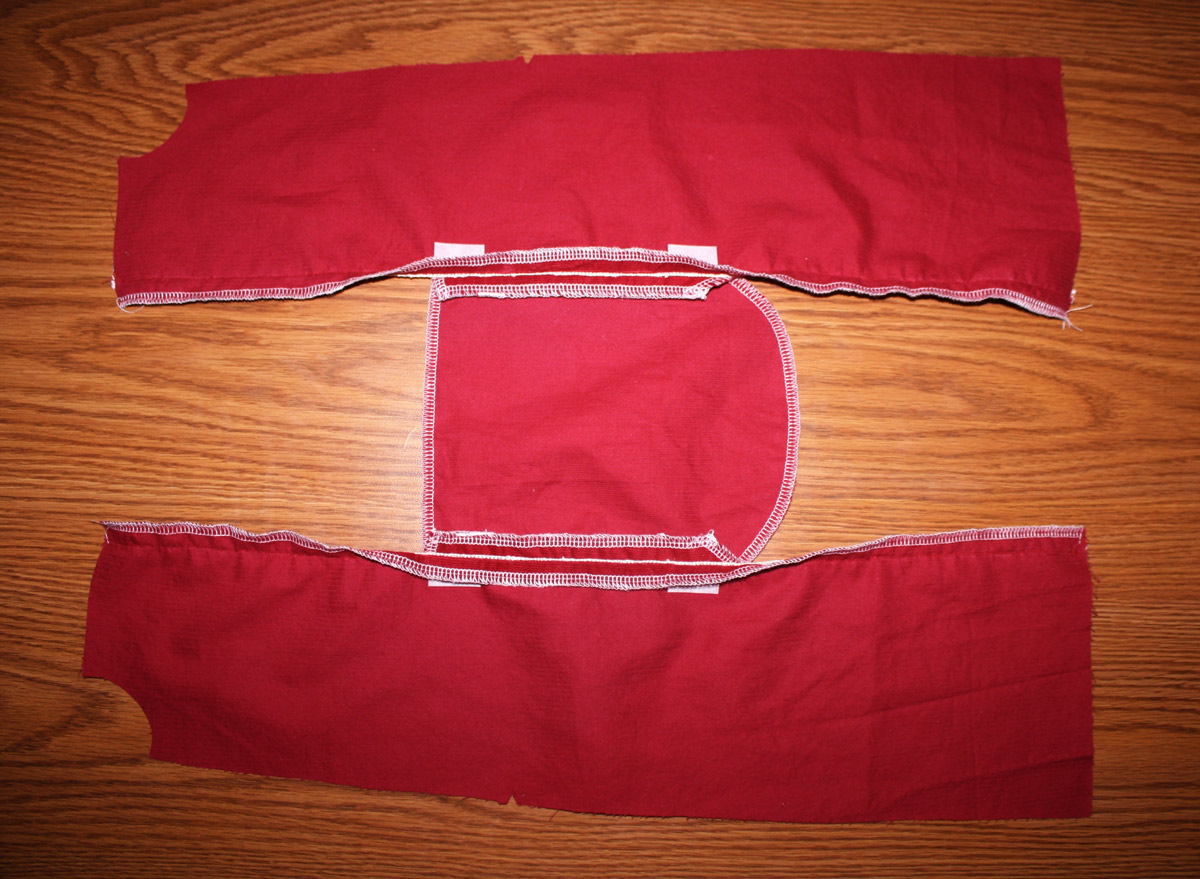
Now we are ready to start sewing! Take the center front panel piece and one of the kangaroo pocket pieces and pin them with right sides together, matching the dots from both pieces. Stitch from one dot to the other, be careful to start and stop at the dots. (Don’t forget to lock your stitches as well)

Clip at an angle into the seam allowance of the center front panel only. This will help later so much! Press the clipped portion open (as shown in the bottom of the picture).
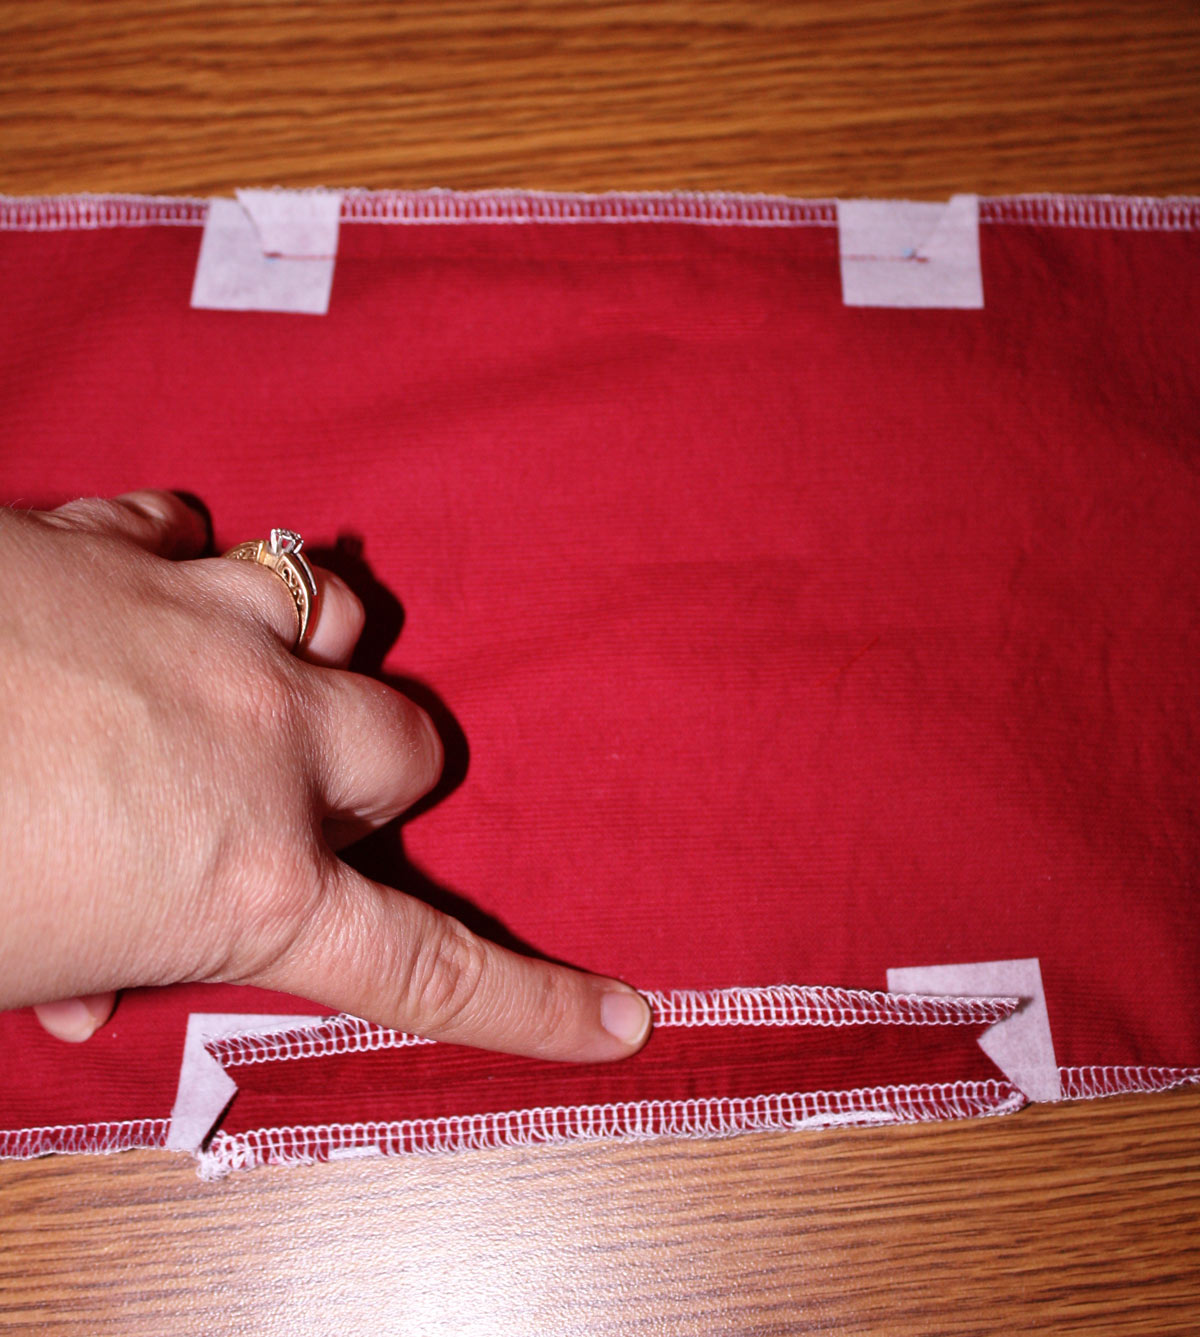
Turn to right sides out and press the seam allowance, rolling the seam toward the back. (Or toward the kangaroo pocket)
Then pin the top of the pocket and the bottom of pocket up so it is out of the way for the rest of the assembly of the front of the dress.

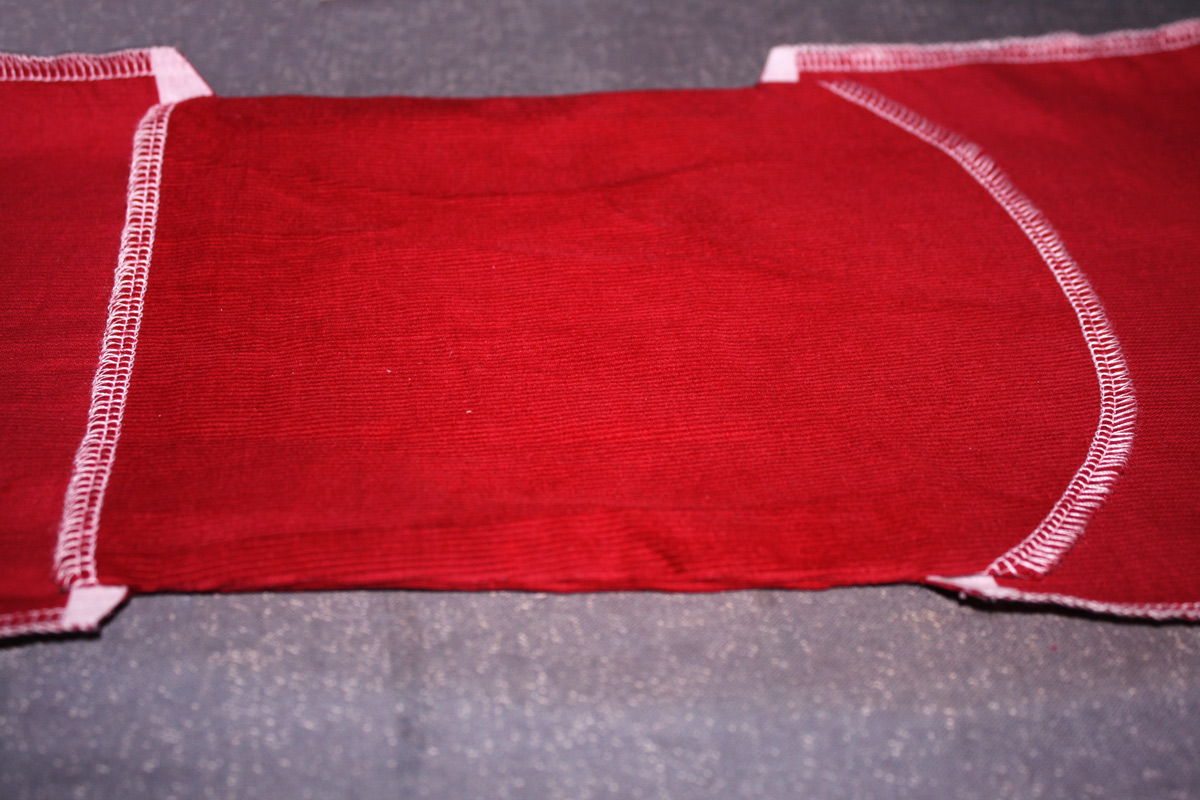
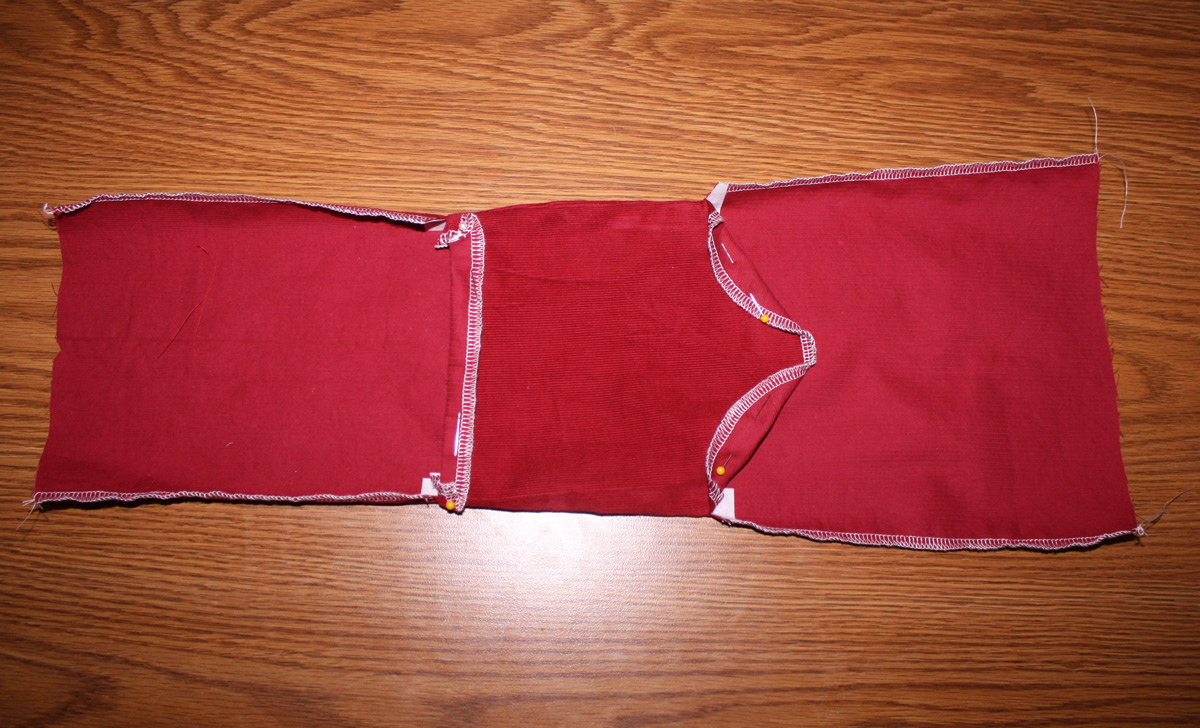
Now take the two side front panels and lay them right sides up, overlapping each other, with the serged edge facing the outside. Take the second pocket piece, matching dots, place it right side down on the side front panels and pin in place. Stitch between the dots on both sides, starting and stopping at each dot.
Press the sewn seam open on both sides–only the sewn part between the dots. This piece now looks like the letter “H”. Pin the top and bottom of the pocket out of the way just as with the first pocket.
We are going to now finish the front and make those fab pockets!
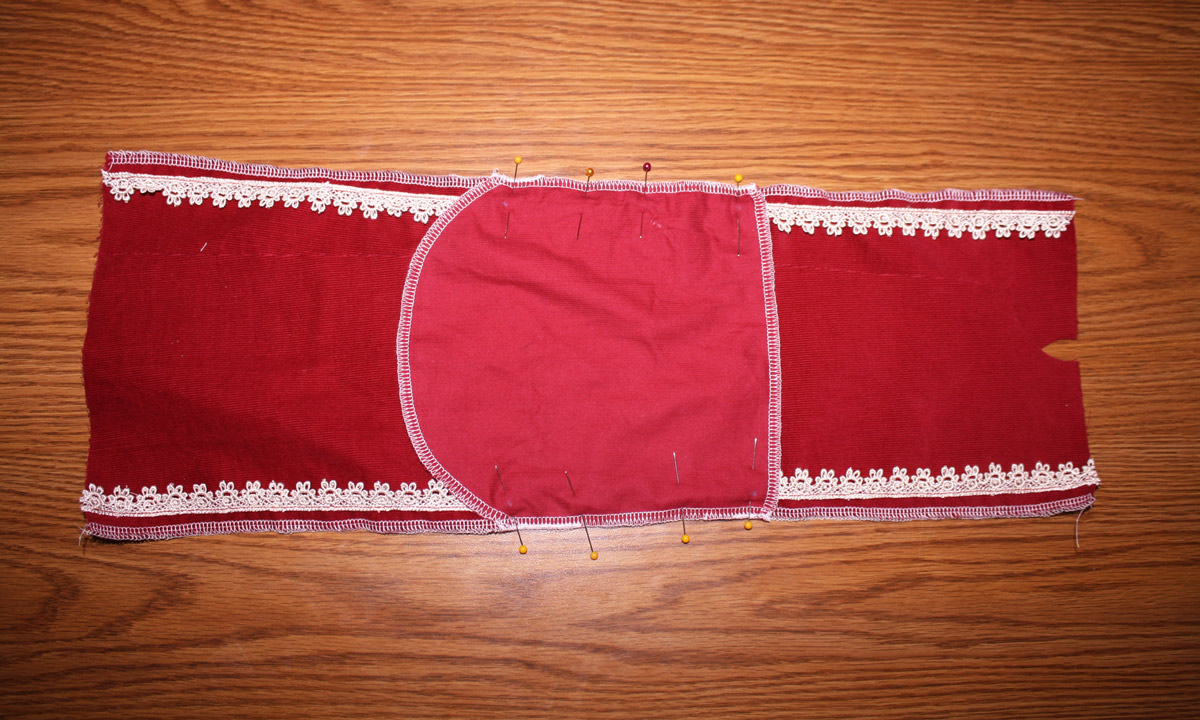
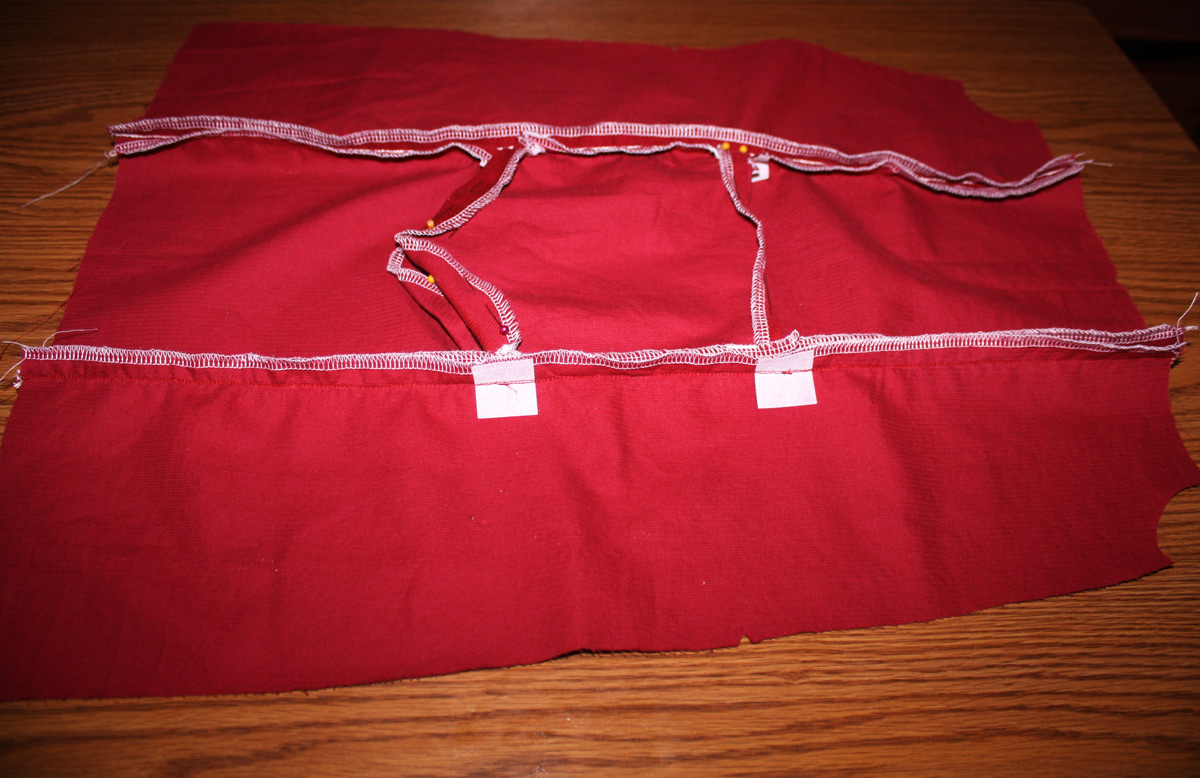
First lay down the center front panel with the right side down.
Now take the side front panel (The “H” piece) and lay it right side down over the center panel piece. Match the dots from both the center piece and side piece and pin together.

Pin together the unsewn side seams, using the angle cut from the center seam to help “lock” the pocket pieces together so they don’t shift during sewing.

Stitch the side seams. Press the seams open.
To finish up the pocket, unpin the top and bottom of each pocket (which had been pinned to keep them out of the way). Now pin the top and bottom of the two pocket pieces together with right sides facing. Stitch as close to the dots as you can.
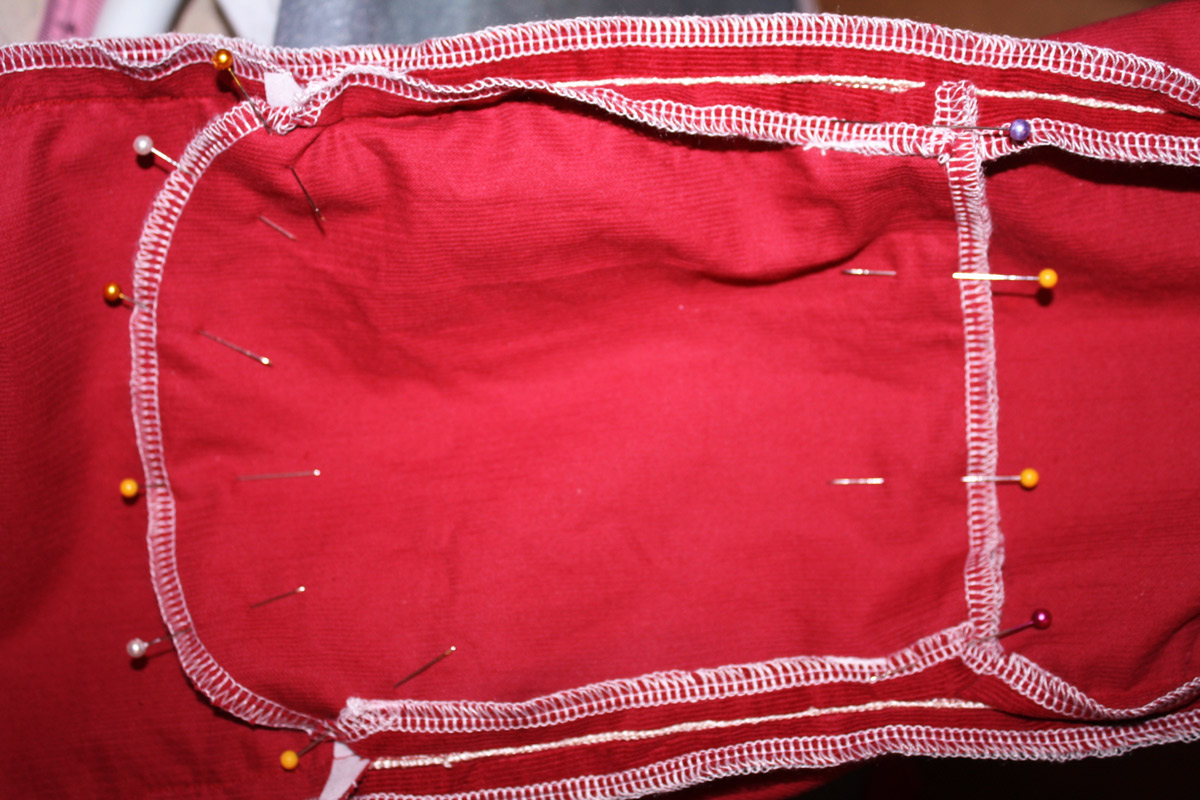
I find it very helpful to sew from the back side instead of the front; it is easier to sew closer to the dots.

Now check out your awesome kangaroo pocket!! Not bad, huh?
To finish up the front panel, pin the bodice to the front panel, right sides together and stitch in place. I tidy this seam up with my serger, then press the seam towards the bodice.

We are done with day one! Tomorrow we’ll finish up; so stay tuned!
Update: you can find part 2 of this tutorial here.
Love it!
Such a fabulous tutorial – This pattern is so cute, but I agree that the kangaroo pockets can be tricky on a first try 🙂
Sharon, congrats on a adorable school Photo dress (I’ll definitely be copying this version for my girl – I promise I’ll use a different shade …)!!
Thanks Sharon, I’m going to be starting these steps very soon.
Didn’t Sharon do a great job? Thanks so much for all the hard work!
Thanks Sharon!
I had better get my pattern traced off and cut! 🙂
Awesome tute Sharon, thanks so much!
Thanks, Sharon. I’m afraid I can’t start on mine until Sunday. Looking forward to it, though!
Thank you so much ladies! I juts love how this dress comes together and Sarah just adores the kangaroo pocket, a pleasure to sew.
I am going to have to try this pattern. Love that pocket- plus it’d be un-Australian to not be able to sew a kangaroo pocket right?
Very good point, Ock Du Spock!