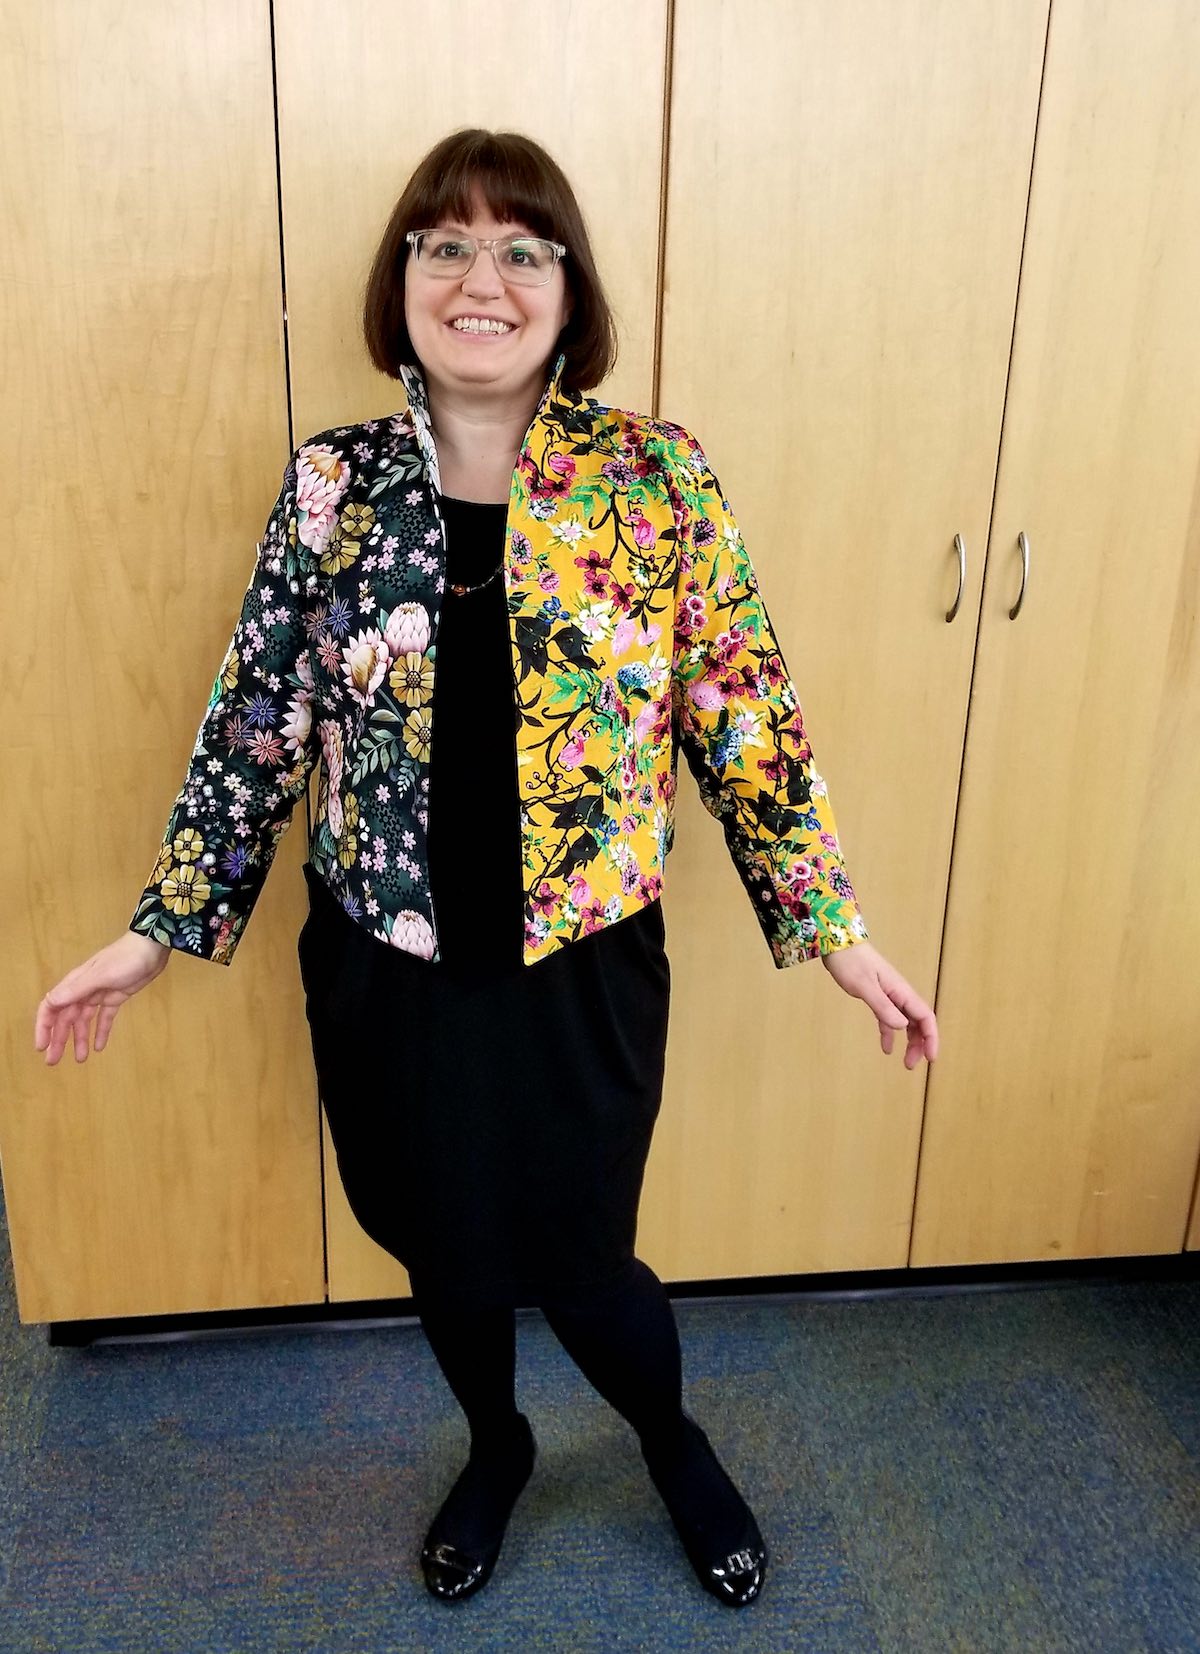
Fabric choice has such an impact on the outcome of a pattern. Whether you are a solids or a prints fan, you will admire the pattern mixing in this piece. Melanie, a member of the Advisor’s Circle, is sharing her fabulous and scrappy Yananka jacket.

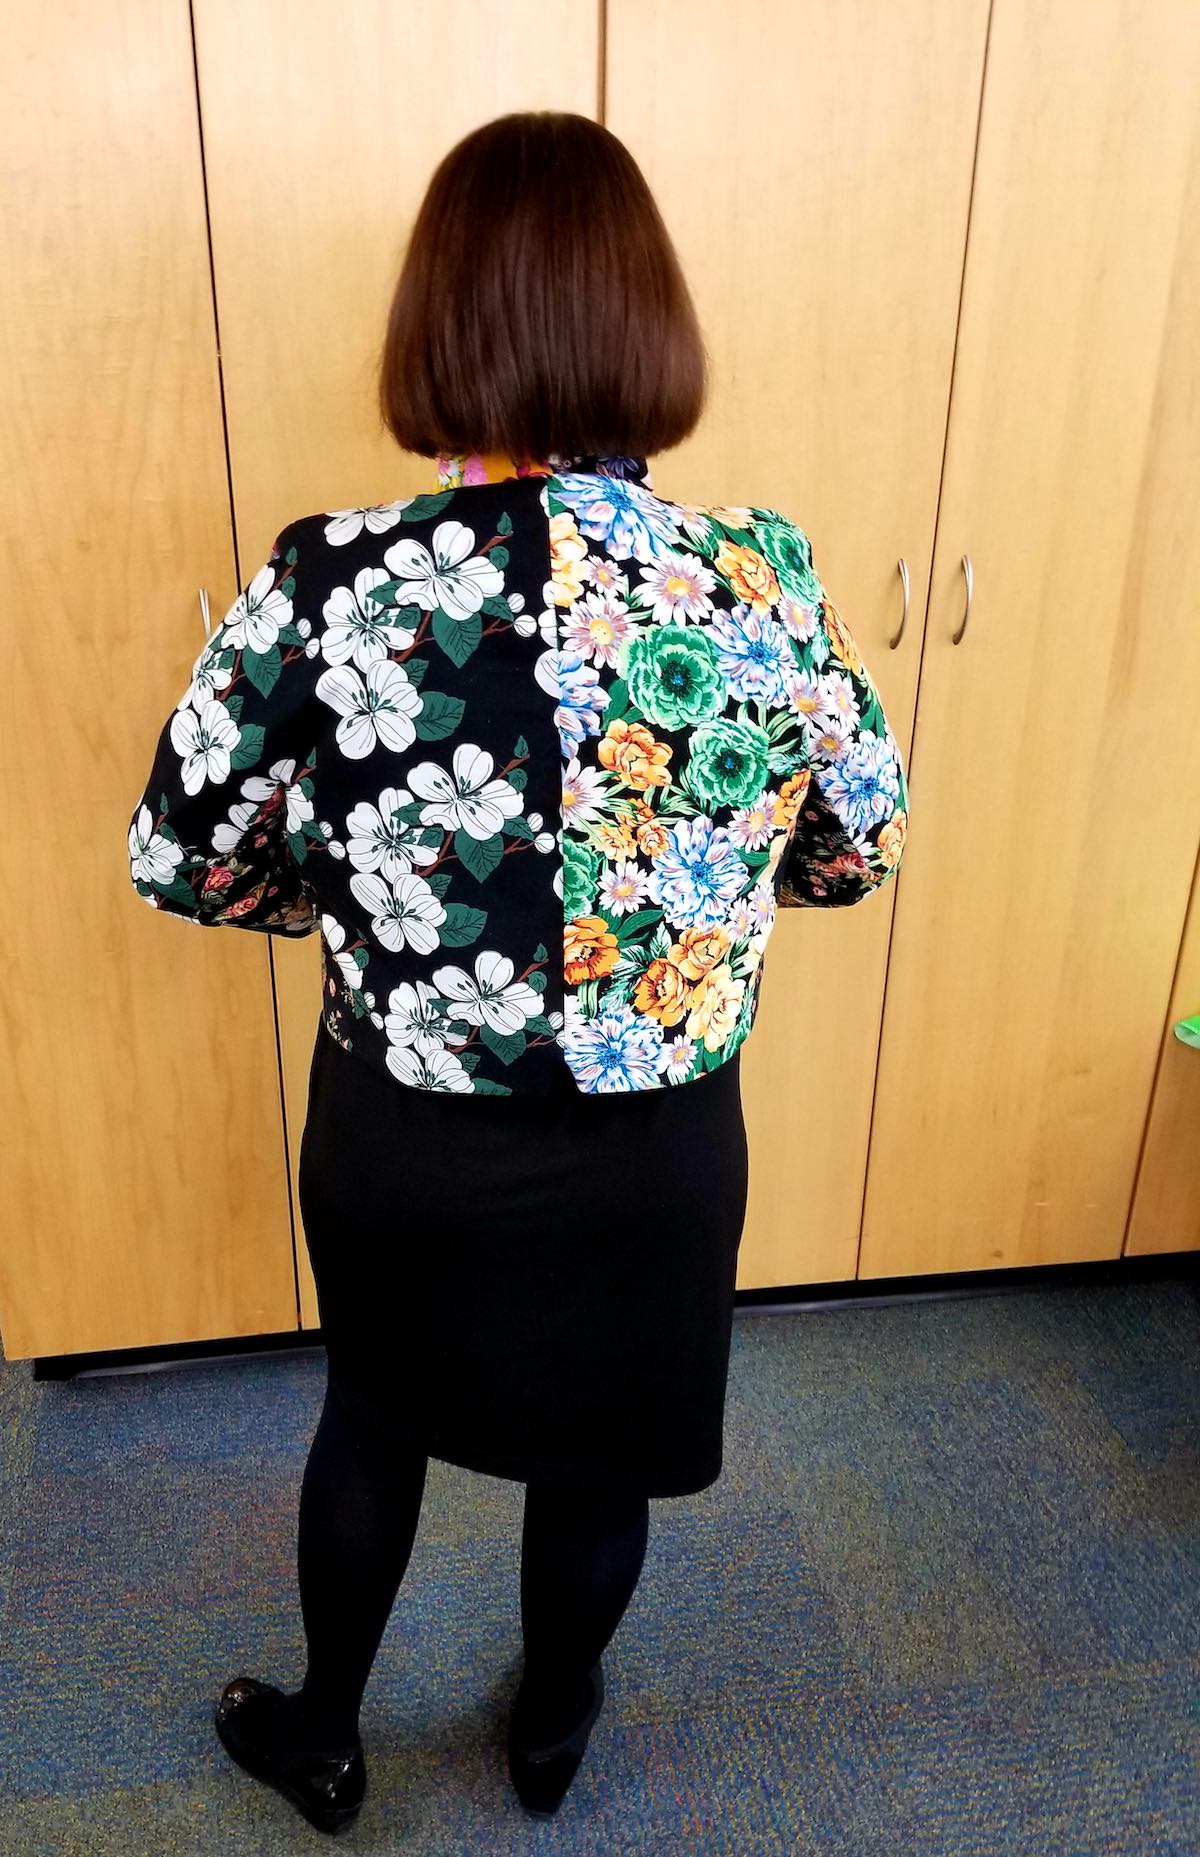
I’ve wanted to make a Yanaka jacket for a while! I love the silhouette and the relaxed design; cropped or shorter jackets usually look best on me, so I knew I’d have to make this one. Quilted jackets are all the rage, so I was planning to try one; however, I concluded that a simple scrappy jacket without quilting would suit me best.
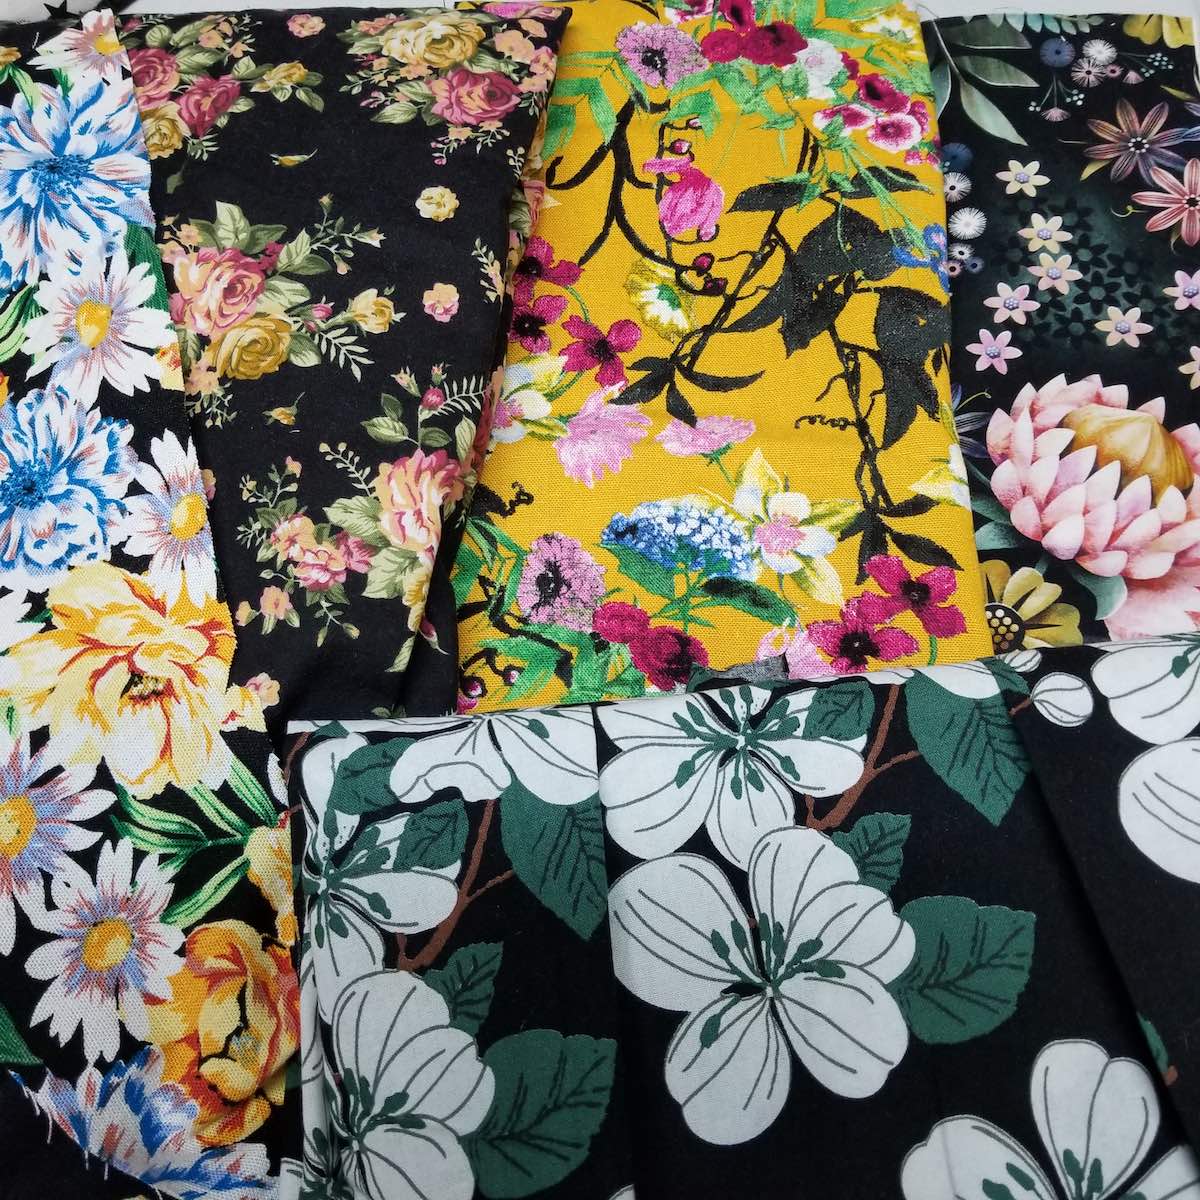
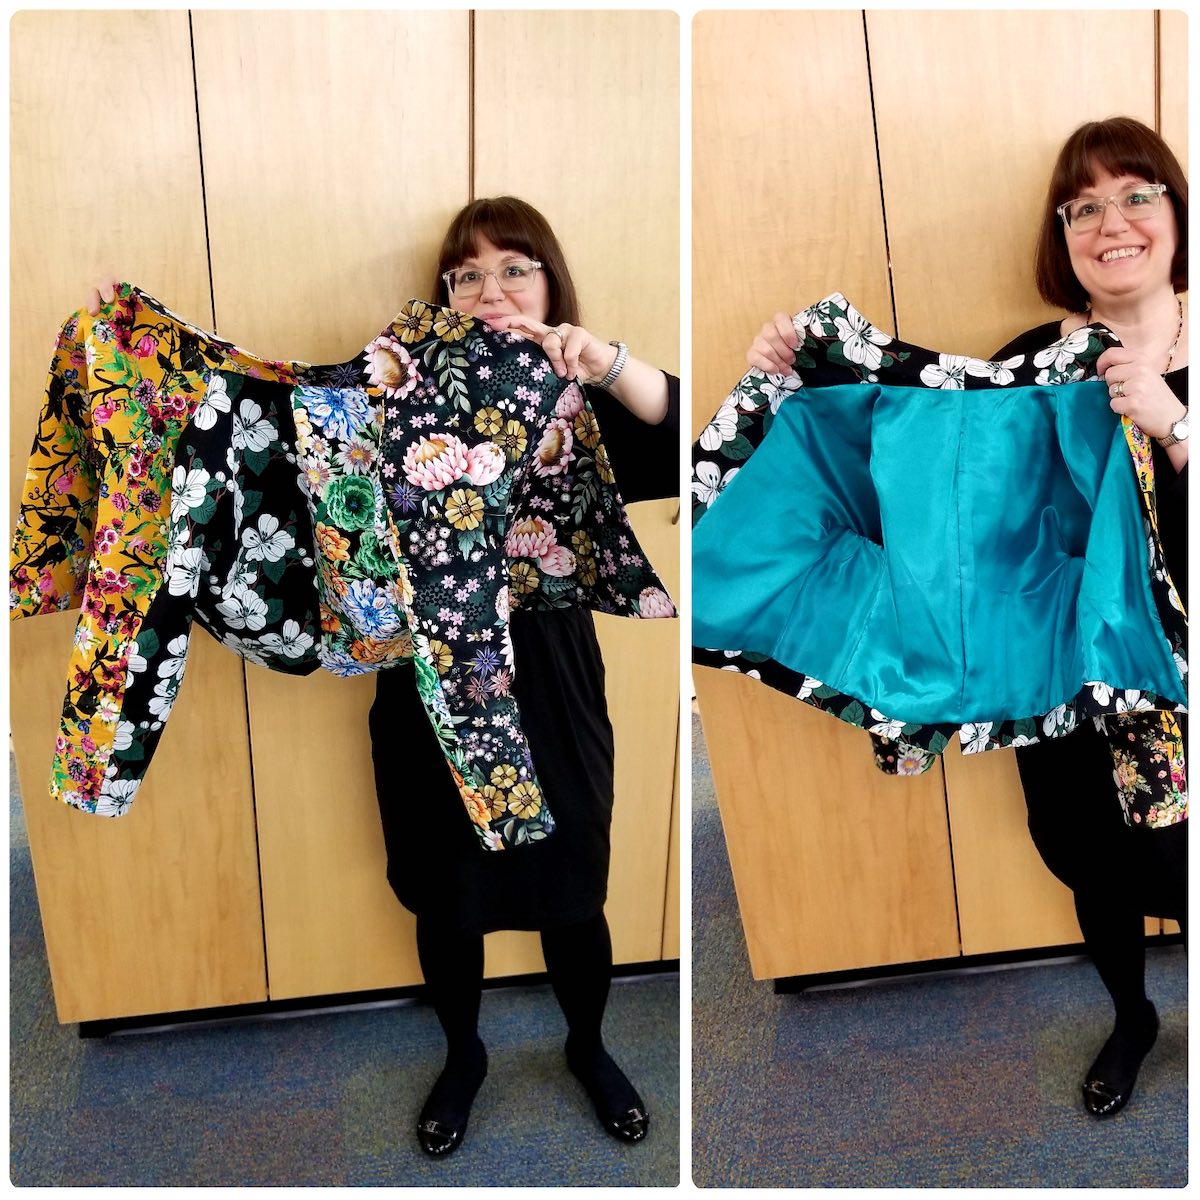
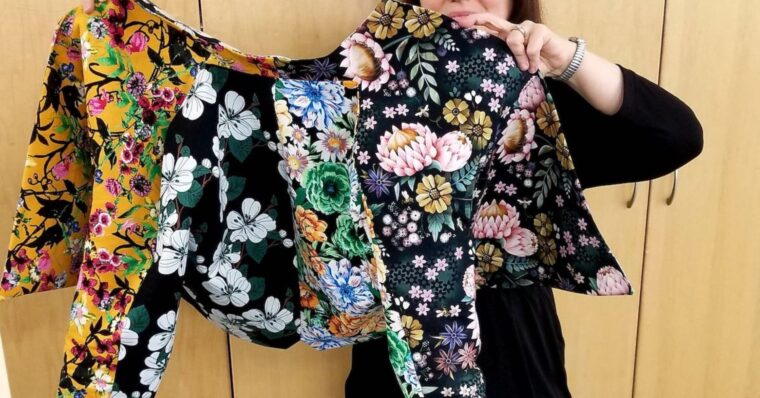
I think this is an ideal pattern for print mixing, as there is a center back seam, sleeve gussets, and facings that can show if you fold the collar down—lots of opportunities to use smaller pieces and show off those pretty leftover bits. And I have lots of pretty leftover bits! I use a lot of cottons and linens in my sewing, so I got out my scrap bins and pulled out some of the larger remnants. I trialed many different combinations but finally decided on five floral prints that all fall within the same color tones and scale. Then I had to decide how to place them!
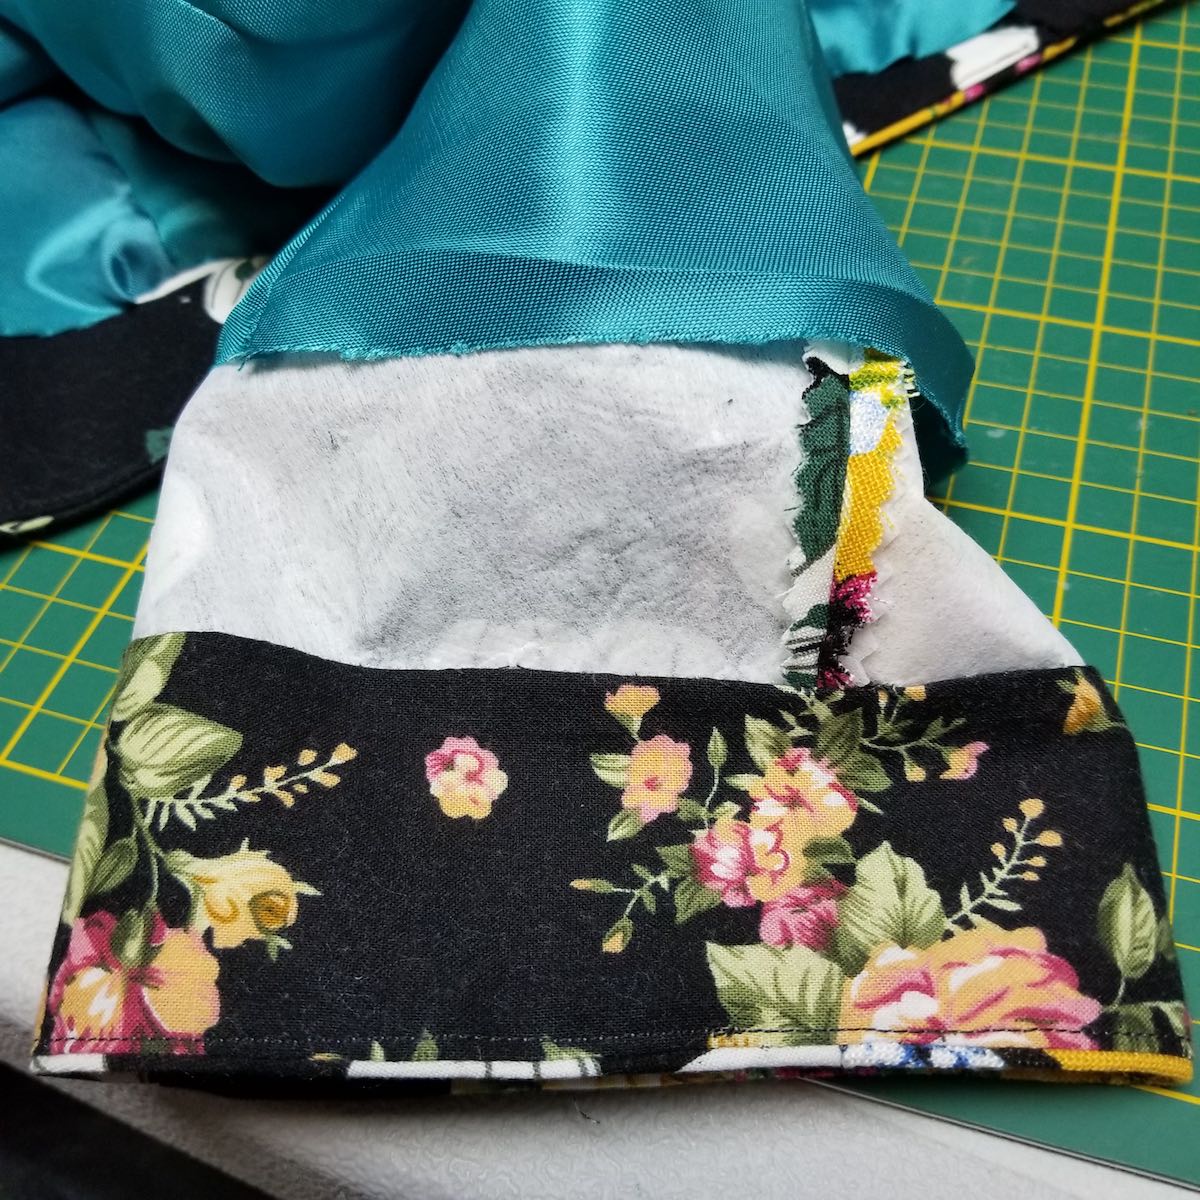
I devised a placement plan, but these fabrics were all fairly light/fluid. The Yanaka pattern recommends a medium to heavier weight fabric to support its shape, so I interfaced all the pieces with a medium-weight fusible interfacing before starting construction. I knew that the standing collar, the front points, and that wee back notch needed to be sharp, not floppy. Interfacing them before construction allowed me to use these particular scraps.
I didn’t make many changes to the actual pattern. But there were a couple. I shortened the sleeves, actually, by a little too much. Ultimately, I didn’t want to take any length out with a wide hem, so I made a 2″ wide sleeve facing out of the cotton I used for the sleeve gussets (these were non-interfaced) and hemmed the sleeves that way. This also gave me a clear surface to stitch the lining on. I’ve added back some of the lengths to the sleeve pattern so I don’t make this mistake again.

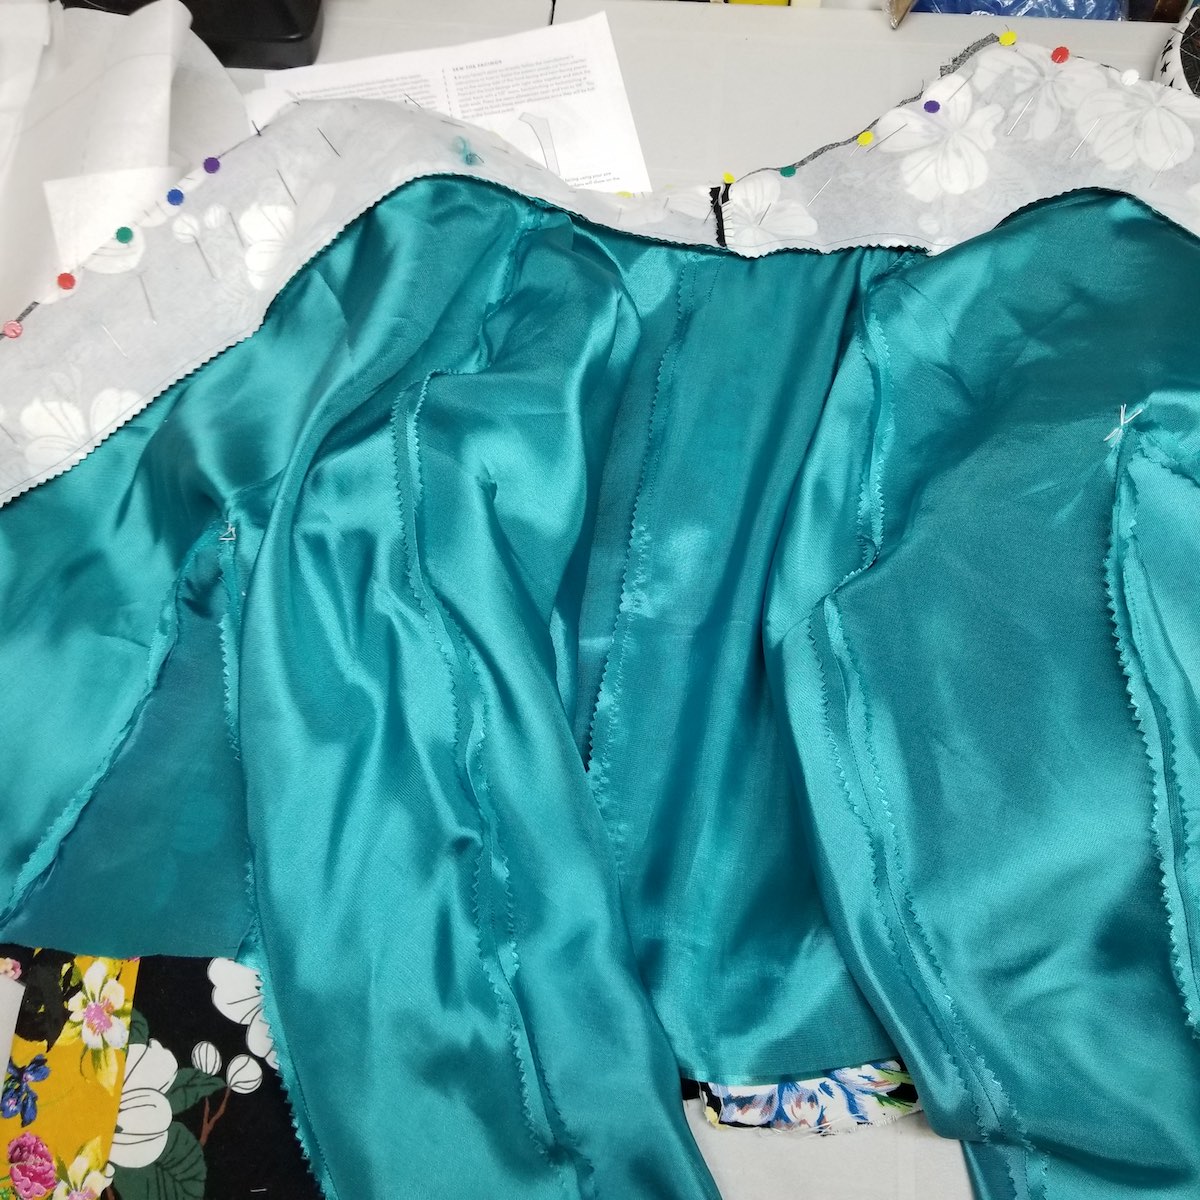
And I also made a lining for this — the jacket pattern is unlined, but with all my interfaced innards, I wanted it all covered up nicely. Because of this, I finished all my seams with a quick pass of the pinking shears since they’d end up invisible anyway. I added in a 1/2″ center back pleat to give more movement room, and the lining was also a scrap!
The most notable change I DIDN’T make was that I did not shorten the body of the jacket at all. I almost always shorten above the waist, but this time I liked the finished length and didn’t want this to be too cropped, so left it as drafted. I really like how it turned out! It’s really comfortable, and the fit is great. I love the chance this pattern offered to use some of my beautiful print scraps to make a one-of-a-kind jacket. The lines of the design are just made for it!