

Melanie from the Advisors’ Circle is sharing a beautiful Garibaldi Skirt showcasing an amazing vintage print. She made some quick adjustments that really elevated the skirt. Take it away, Melanie!

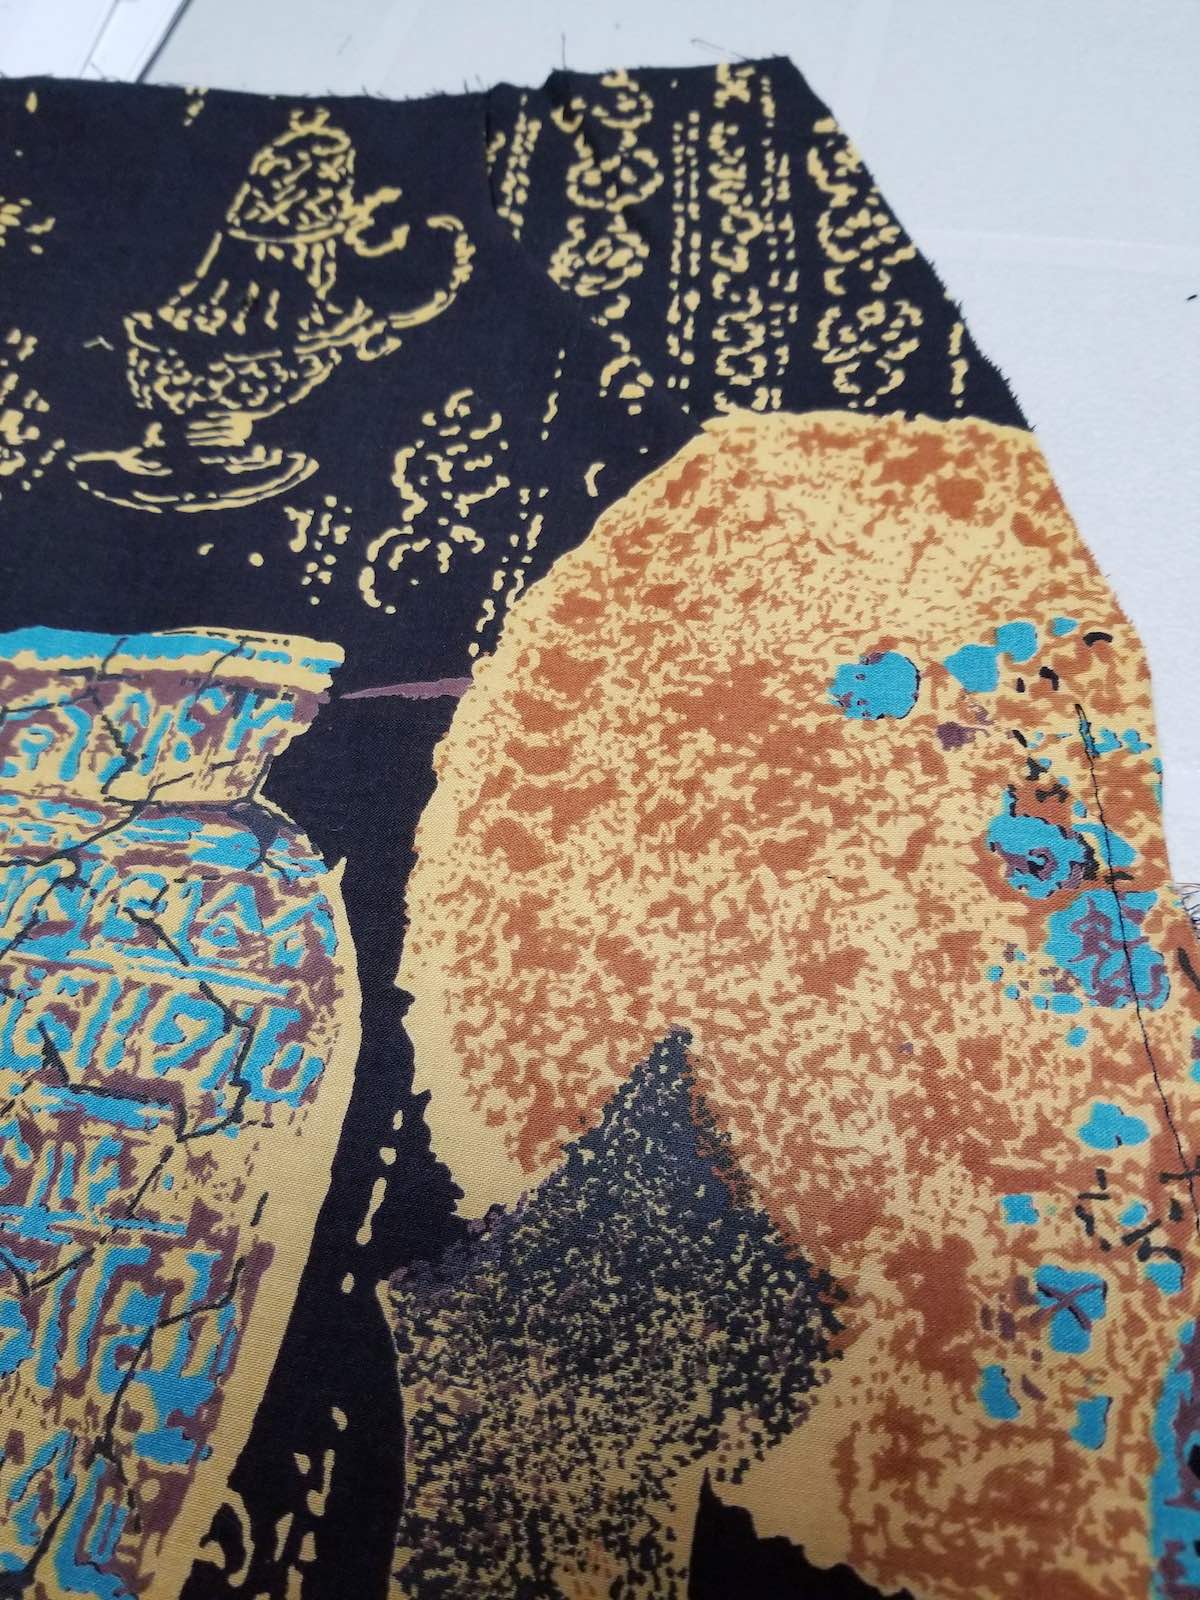
I have had a piece of vintage cotton border print for ages. I never knew what to do with it – it’s long and narrow, with this rather large print on half the fabric. It was obvious that I’d have to use it on the cross-grain because of the print, but I was never sure quite what to do.
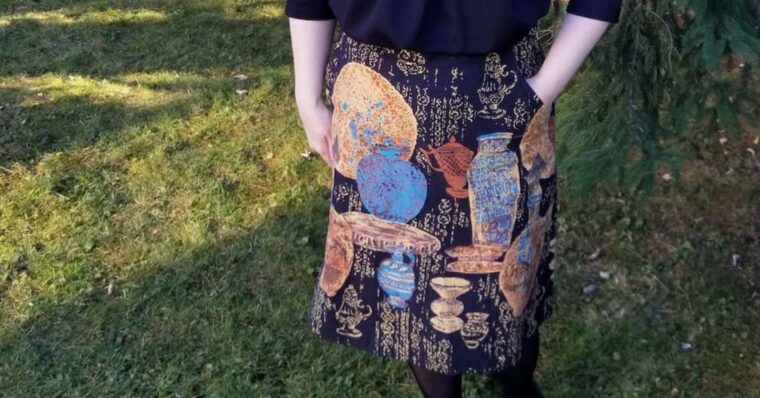
Then along came the Garibaldi! When I saw this pattern, I knew it would be a great choice for a print like this. The Garibaldi has no front or back seam to break up a print – the zipper is in the side seam. But unlike many skirts with a side zip, this one also has pockets, a must-have for me! I laid out the pattern, and it fit the fabric perfectly. But because I am so short, I didn’t get much of the solid black at the top of the fabric! This meant that the knee-length version was just right for this fabric.
I cut it carefully, not wanting to have any unfortunate print placement. It was easy to match up the pocket bags as well, so they didn’t jar the eye. I made only a few small changes.
First, I was using a vintage invisible zip from my stash (the first one I’ve ever seen that had metal teeth!). This zip was only 9″ long, while the pattern calls for a 12-14″ one. To give myself more room, I installed the zip only on the skirt portion, not into the waistband as the pattern directs. I then stitched a large hook and eye onto the waistband portion.


The other change I made was to add a lining. This fabric is a fairly lightweight cotton, and it sticks to itself very easily. I thought a lining would solve any issues with bunching as you walk and also add some body to the fabric. I used some basic black lining and just cut the front and back pieces of the skirt from the pattern. I sewed this on in my favorite way to line a skirt – I stitched the lining to the zipper opening, then flipped it inside and basted around the waistband. I then sewed the waistband on and hand-stitched down the inside of the waistband. It might take a little longer, but I really like the control I have when I do it this way, and the finish is very clean and neat.

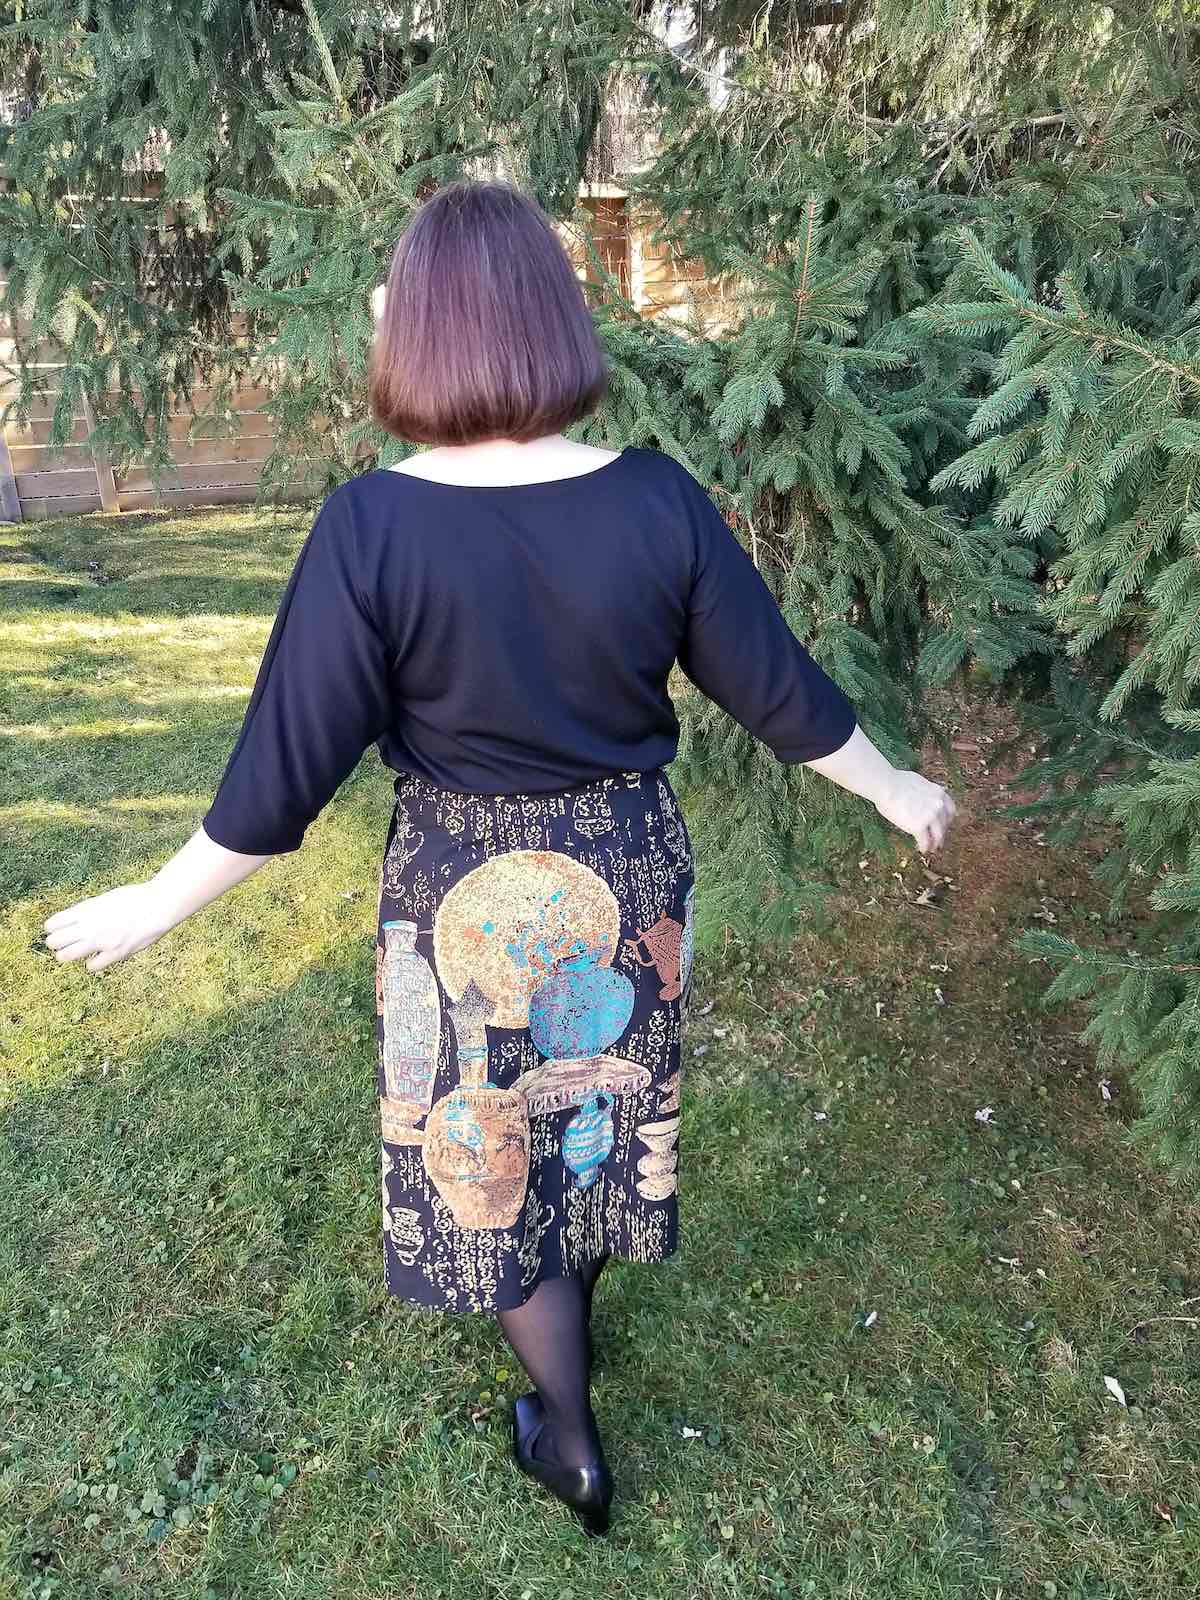
I love the fit of the skirt. I didn’t have to adjust much once I’d chosen my size according to the pattern; sometimes, I find skirts hard to fit with my hip/waist ratio, but this was perfect. I love the waistband version (there is also a waist-facing option), and the pockets are just right, nice, and deep. I’m so pleased to have found the perfect pattern for this admittedly unusual fabric.