

Fitting. Does that word inspire fear? Irritation? Excitement? When you’re just starting out sewing for yourself, especially if you have a larger bust than most pattern companies draft for, fitting can seem really daunting.
For me, as for most of us, it’s not as simple as cutting a pattern as-is and starting to sew. There are a number of adjustments I need to make to fit a pattern to my body. While I can sometimes sew a skirt as drafted, that is almost never true of top and dress patterns. Read on to learn how I customize a garment to my shape by making pattern adjustments.

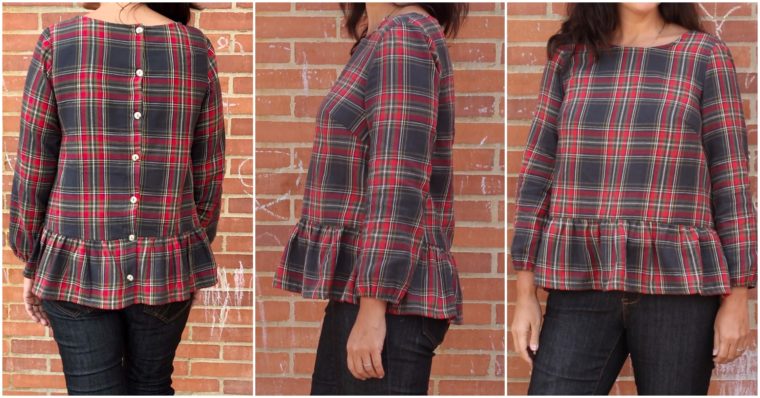
Today I’m going to talk about my experience fitting a blouse I made recently using the Gelato Blouse + Dress pattern.
Five years of sewing clothes for myself has taught me that, if I do not adjust a top or dress pattern before sewing, I will run into at least one of these problems:
- The shoulders will be too wide and the neckline will slip from side to side.
- The top will be too tight across the bust.
- The sleeves will be too tight.
- The neckline will slip backwards, choking me in the front and gaping in the back.
While you can certainly make a muslin to determine what changes you need to make, I usually skip this step for a relatively easy-fitting garment like the Gelato. Past failures (and successes) have taught me where I need to adjust without muslining.
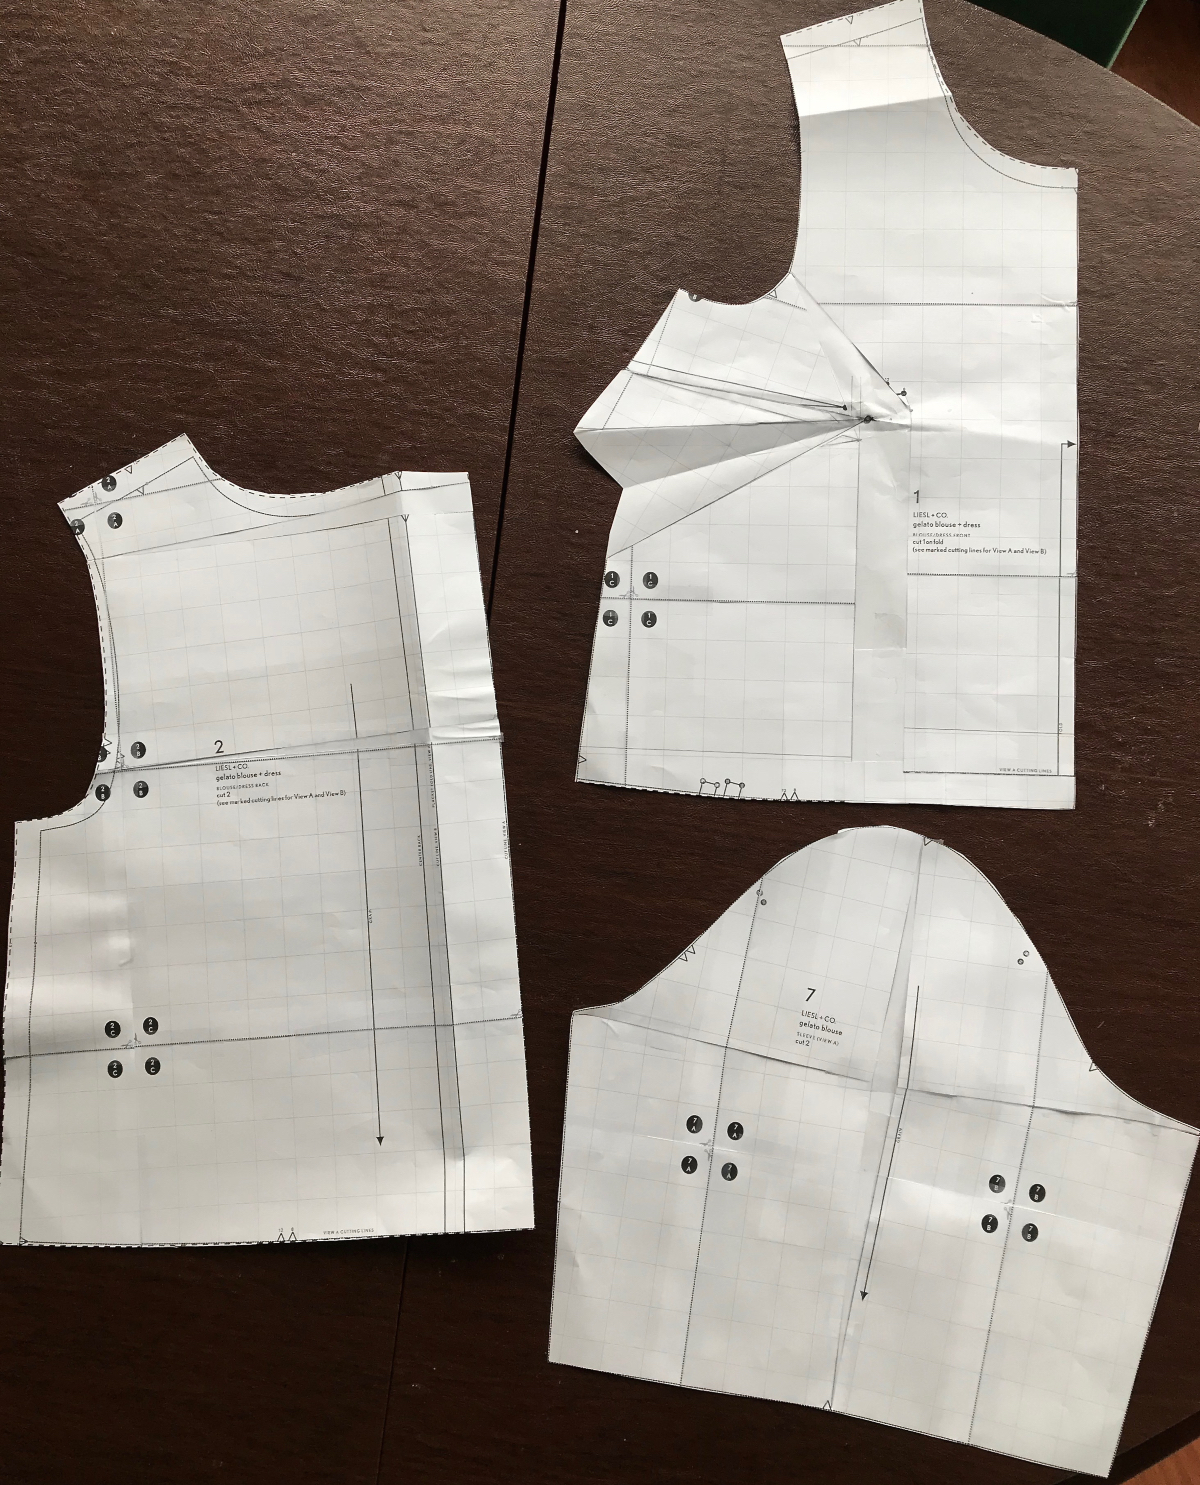
For this blouse, I did three pattern adjustments: high round back, full bust, and full bicep. Does that sound like a daunting list? How long do you think it took to perform all three of these adjustments to my pattern? Keep that number in mind and read on. I’ll tell you at the end.
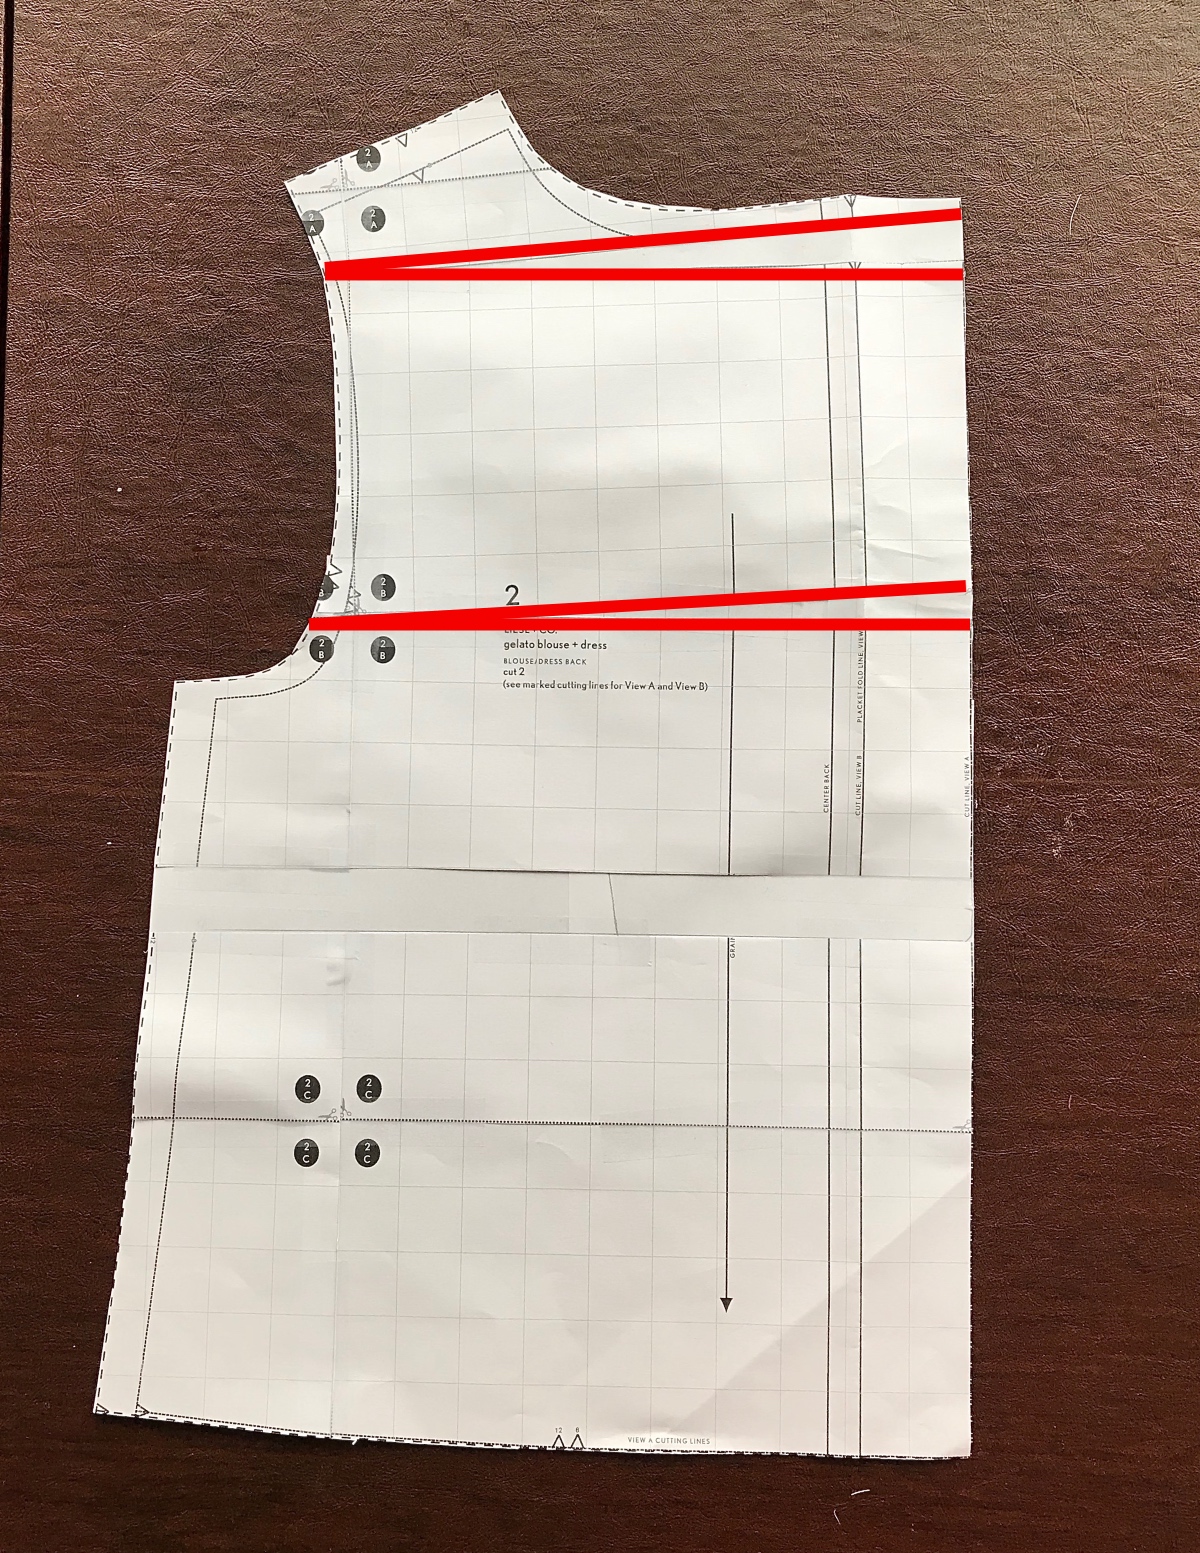
Basic fitting guidance calls for adjusting the back of a pattern before adjusting the front. For this reason, I did the high round back adjustment first. (If you need help with this one, check out our tutorial here.) I adjusted the back by 1” in two places: 5/8” at the high back and 3/8” at the lower back.
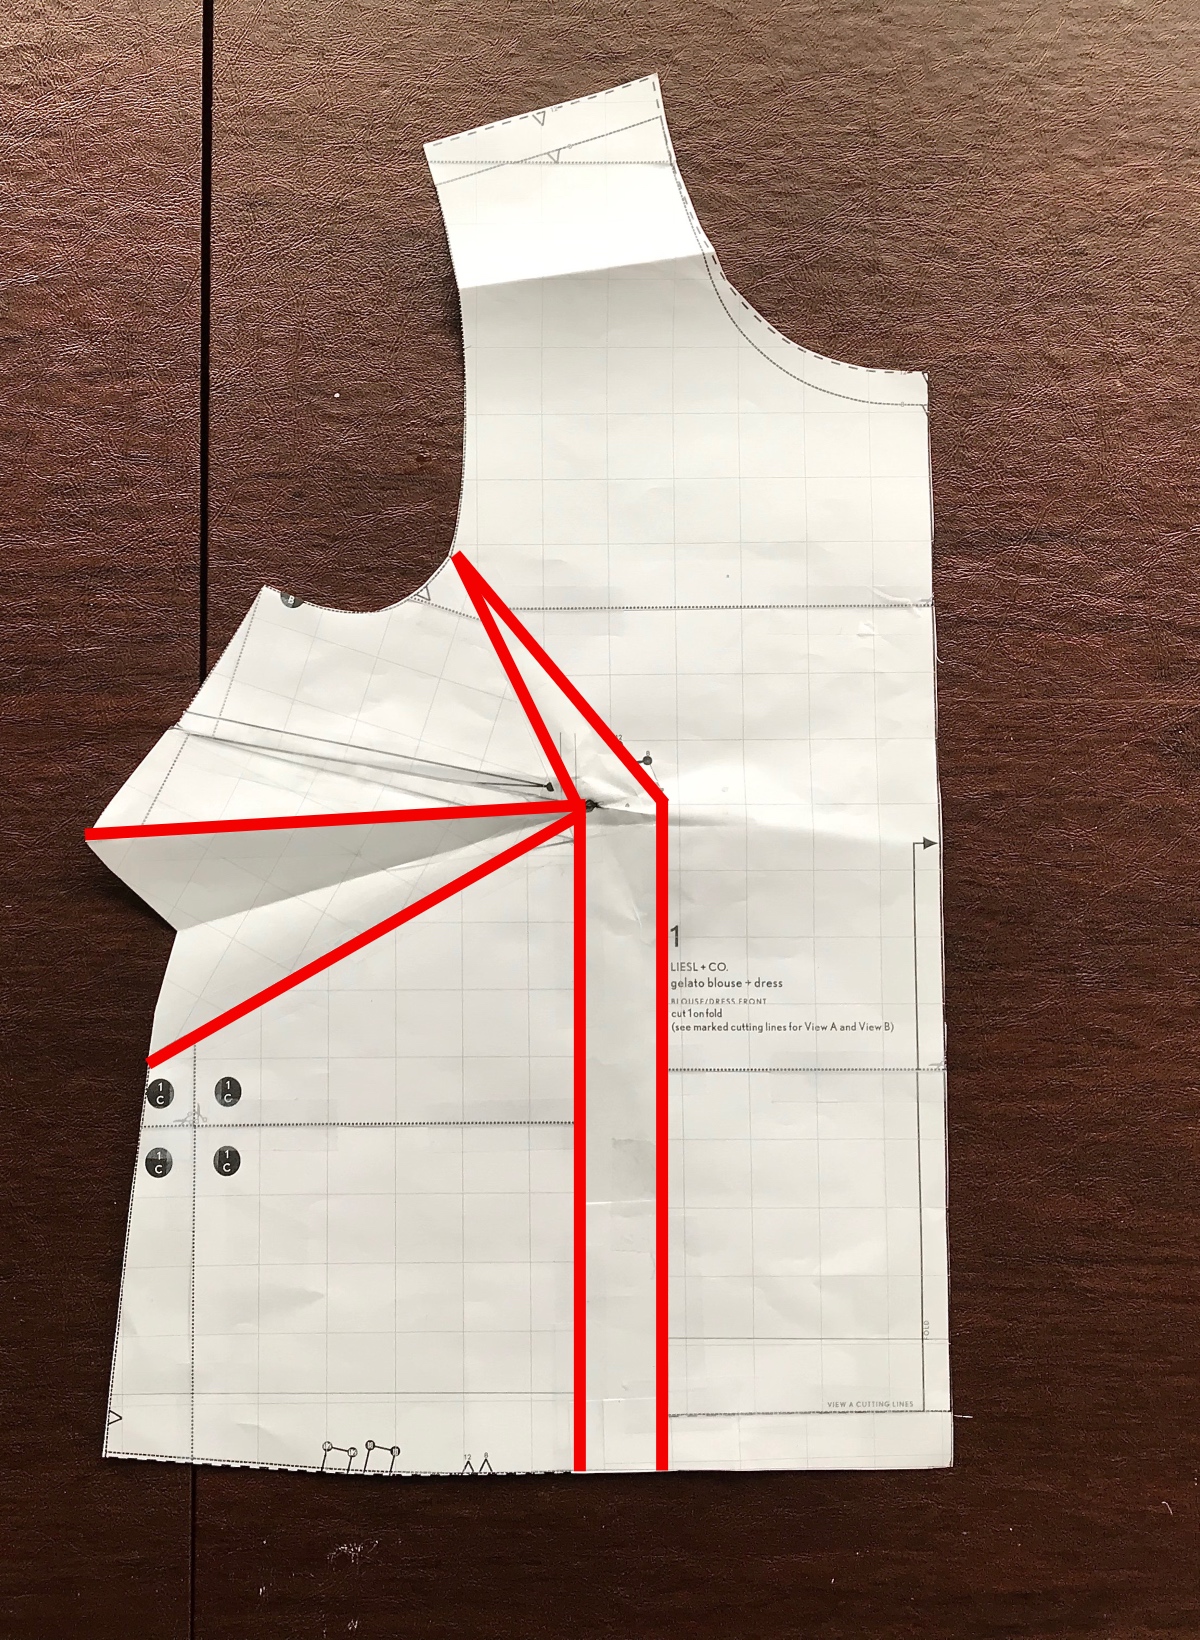
Next, I did a full bust adjustment. Luckily, Liesl includes instructions for this adjustment in many of her patterns, including the Gelato. My high bust is 36” and my full bust is about 40.5”. I wanted 1″ of bust ease in my finished garment. Based on my high bust measurement, I cut the size 8 bodice which finishes at 39” in the bust. To get the room I needed, I did a 2 1/2” FBA (1 1/4” on each side). I also rotated the dart down about 2” so that it would point upwards, which is my preference for bust darts. Below is a photo of my front pattern piece post-FBA.
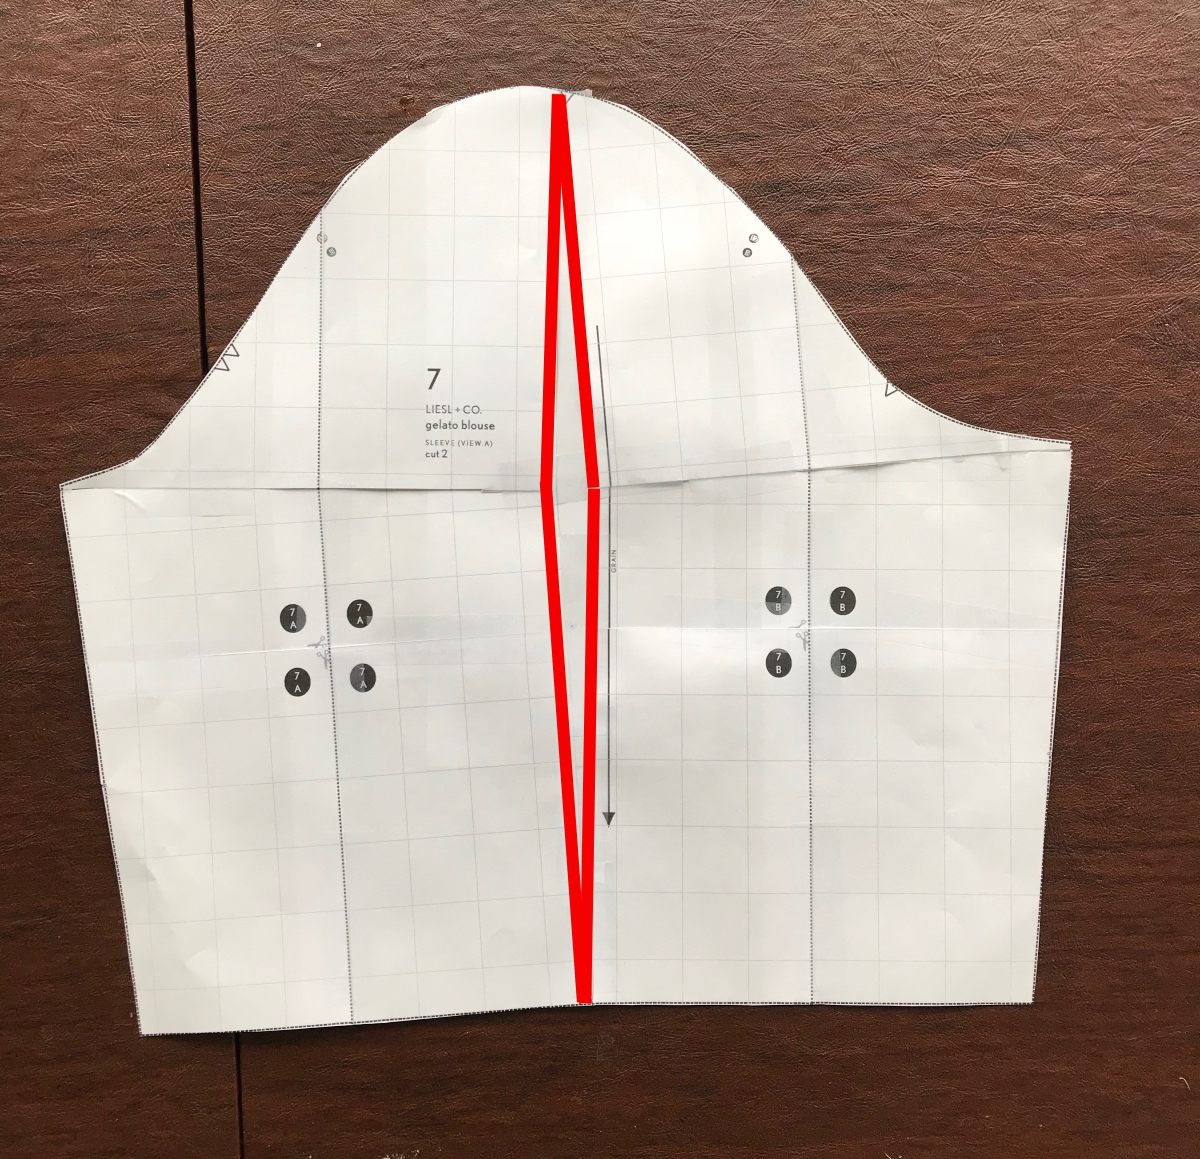
That complete, I needed to do a full bicep adjustment for my 13 1/2” upper arm. (We have a tutorial for that, too. You can find it here.) I measured the pattern piece for the size 8 sleeve, and it is about 14 3/4” wide including seam allowances. Here’s where I made a mistake. You need to subtract the seam allowances when thinking about ease, and I forgot to do that. The finished bicep measurement on the size 8 was 13 3/4″. I wanted the finished sleeve to be 15 1/2”, necessitating a full bicep adjustment of 1 3/4”. But I had in my head that 14 3/4″ was the finished bicep measurement of the sleeve, so I actually only adjusted my sleeve 3/4″. The finished bicep measurement on my garment was thus only 14 1/4″, which was only 3/4″ of ease, and not nearly enough room for me. I’ve found that I’m most comfortable with 1 1/2″-2″ of ease in a woven sleeve. The pattern piece I’m showing in the next photo is my incorrectly adjusted one; the adjustment is the same, but I needed to make it larger.
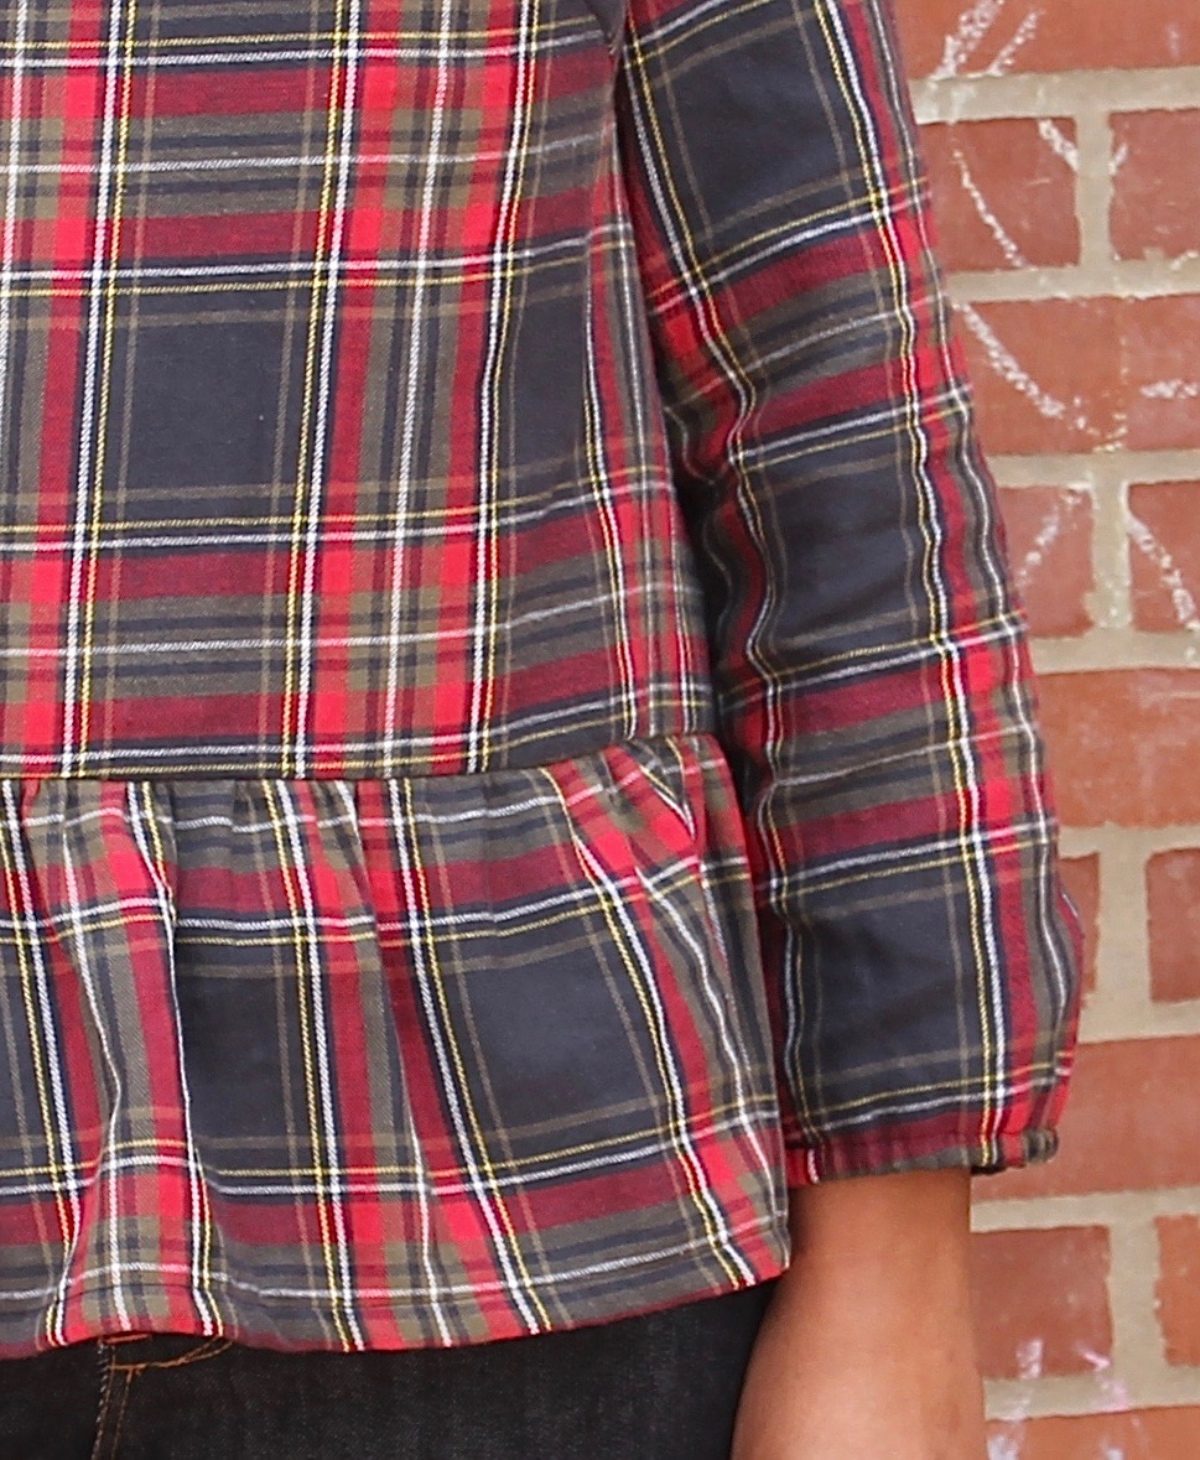
This mistake felt a bit like a disaster. I had trimmed the excess seam allowance so I couldn’t let the sleeve out. And I didn’t have enough fabric to cut new sleeves. I didn’t want to trash the shirt, so I decided to try to salvage the sleeves with a strip of fabric. I wanted to add 1 1/8” of ease for a total of 1 7/8” of ease. So I cut two strips 1 5/8” inches wide and inserted them into the sleeve seam with 1/4″ seams. This gave me a total of 1 7/8″ of ease, which was much better. I cut the strips on the bias to avoid having to match the plaid, and as it turns out, no one can see the fabric strip under the arm. I contorted myself in various ways to take a photo but none of them actually showed the strip of fabric.
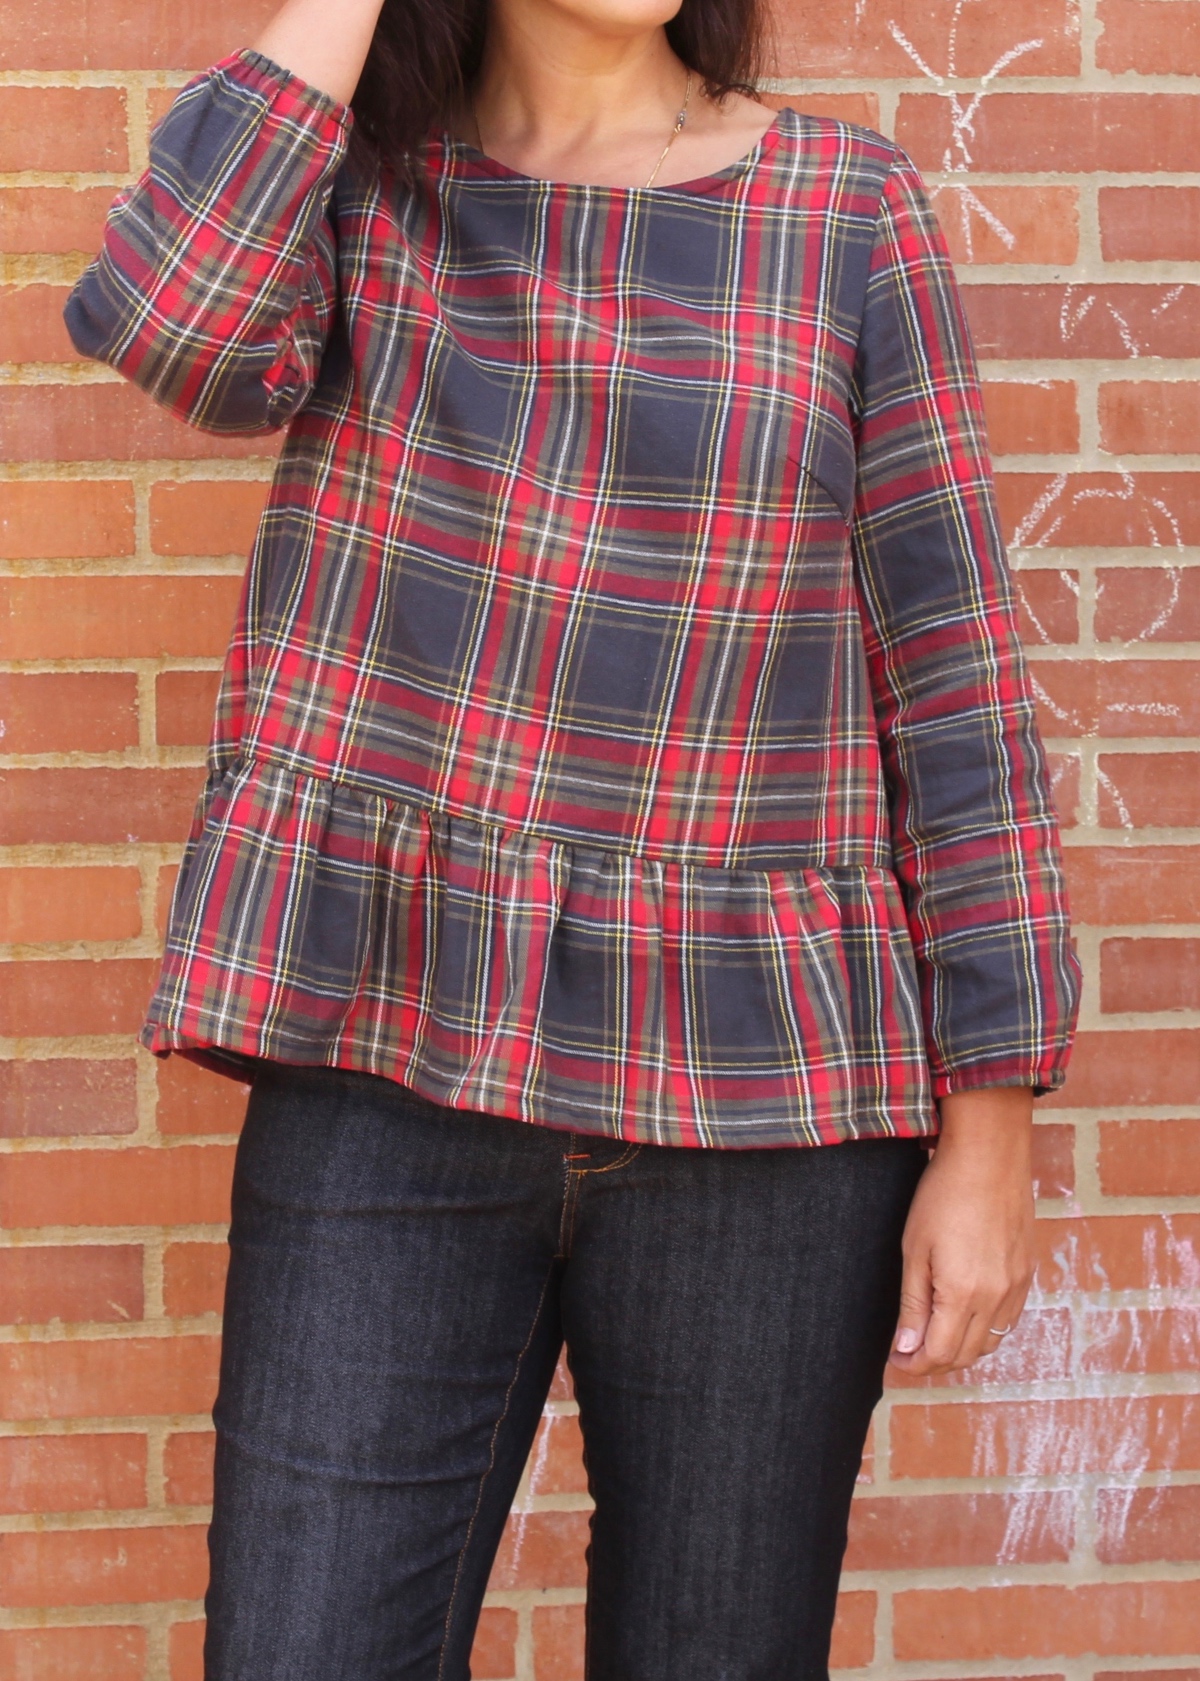
I also lengthened the sleeve. I like the sleeve ruffle on the original pattern, but this being a flannel shirt, I wanted it to keep me warm and be easy to wear under a cardigan. I lengthened the sleeve to my wrist and turned the hem for a casing into which I inserted 1/4” elastic.
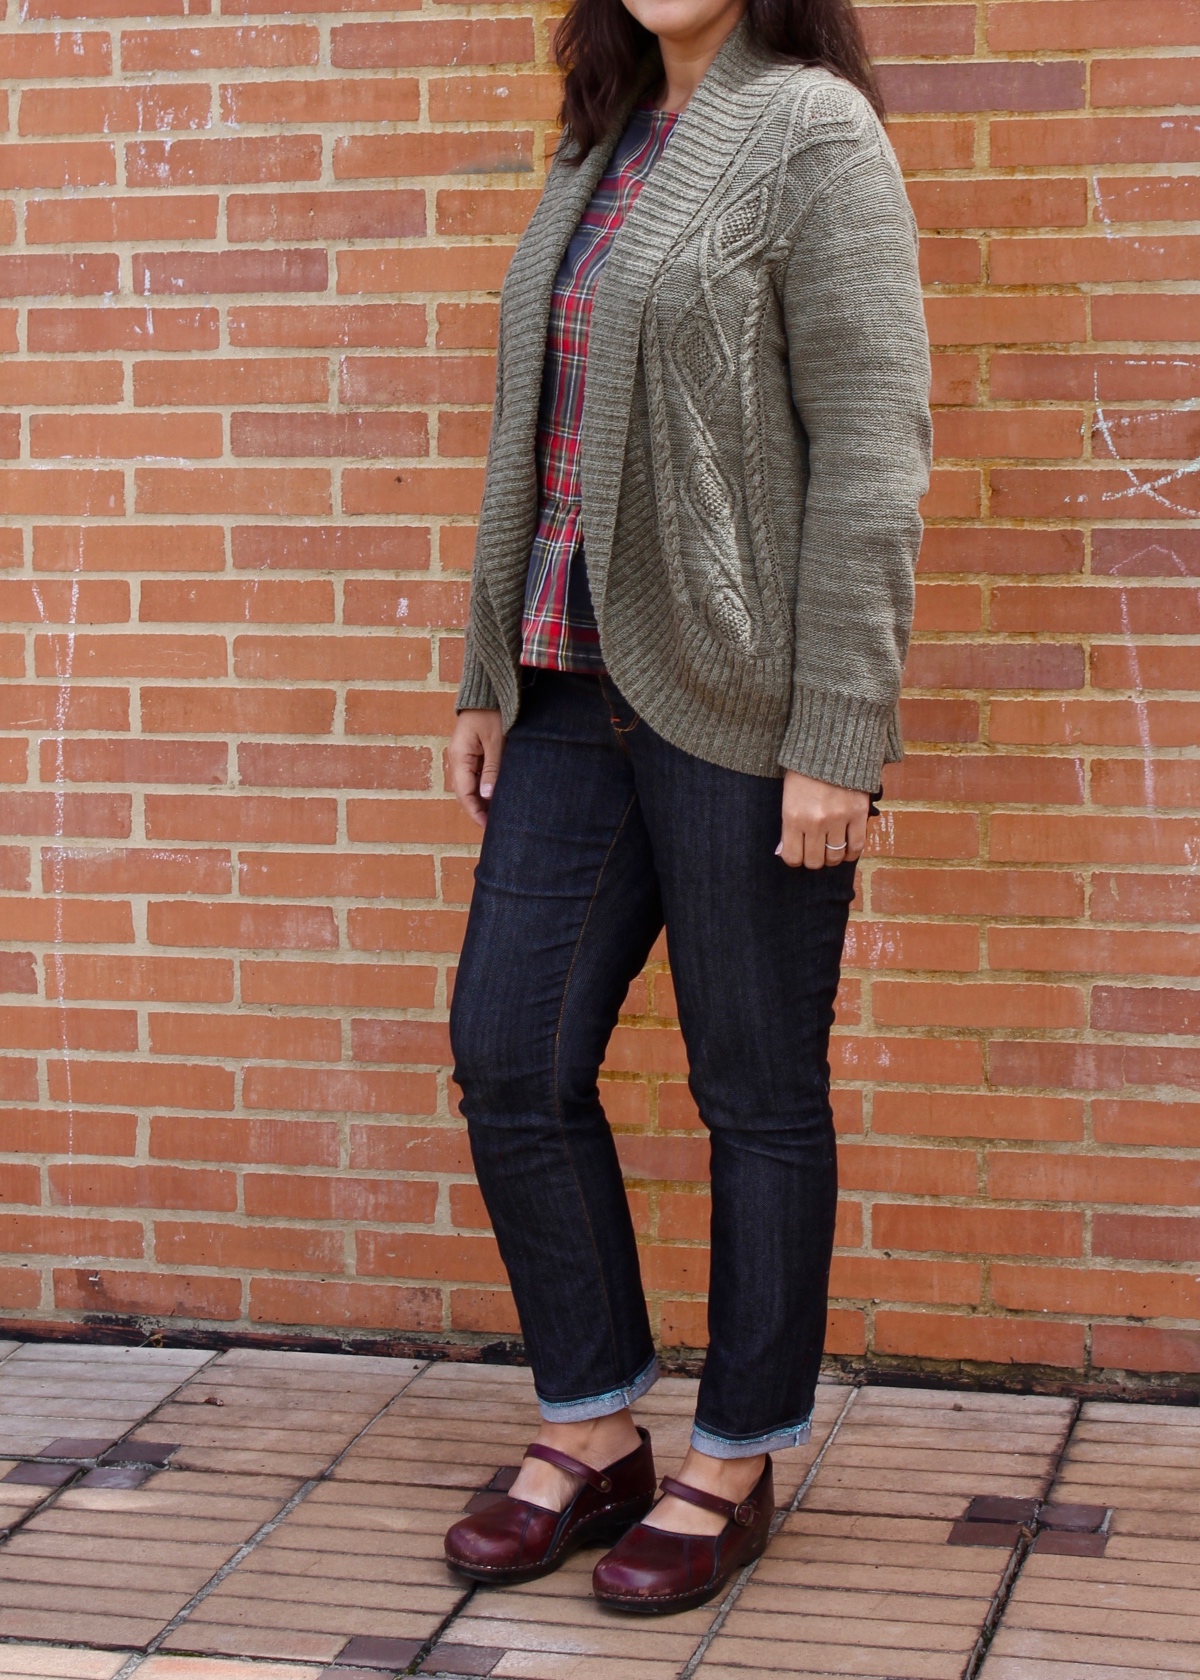
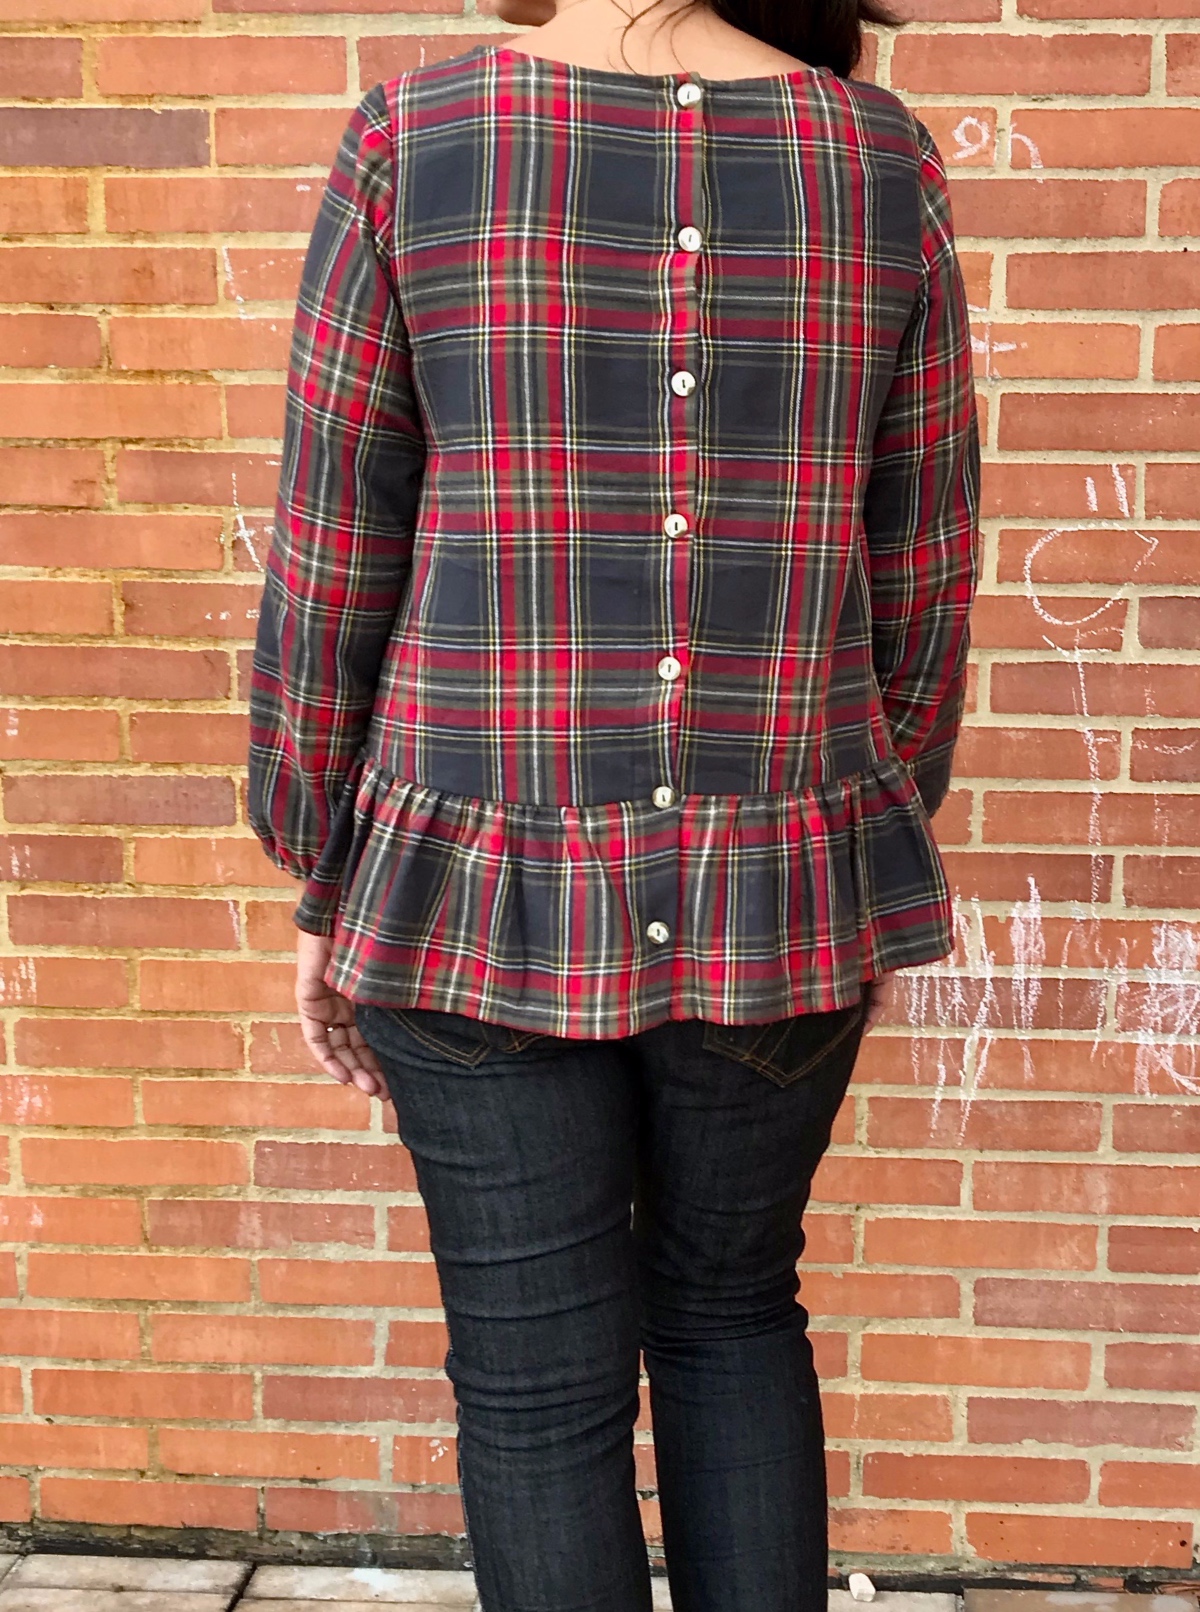
I ended up with a warm but festive top that I like to wear with jeans and booties. I also really like the way it looks with my favorite slouchy ready-to-wear cardigan.
Does this sound like it took forever? It really didn’t. I only spent about an hour total on all those flat pattern adjustments, which is considerably less time than I had anticipated. How long did you think it would take?
Pattern adjustments can feel daunting, but the more you do them, the easier it gets. One extra hour of work isn’t really that big a deal if you end up with a garment that fits the way you would like it in the end. And isn’t that why we sew for ourselves in the first place?
What pattern adjustments do you routinely make? Would you be interested in sharing them with our readers? We’re looking for blog posts on fitting Liesl + Co. patterns. If you’d like to write one, drop me a line at contributors@oliverands.com.