

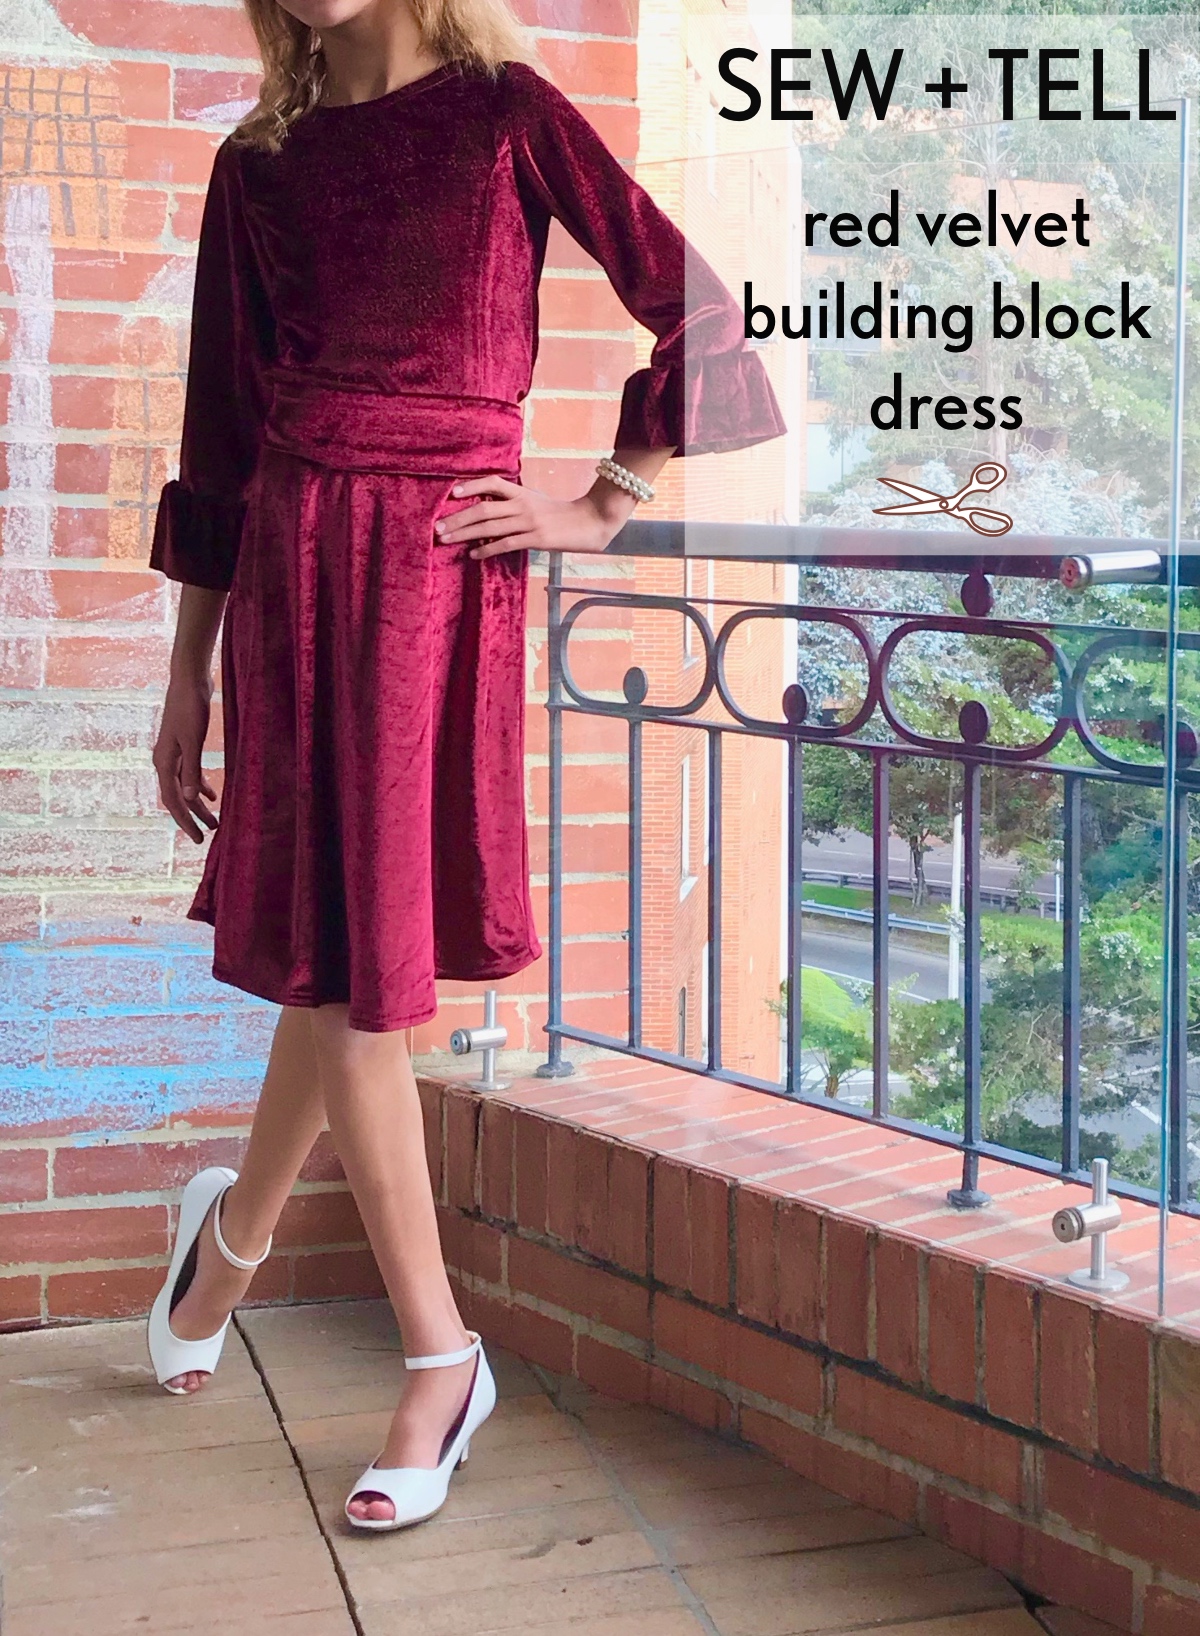
One of my sewing goals for 2019 was to sew more thoughtful, detailed clothing for my children. Like many of women who now sew for themselves, I started by sewing for my kids. As I’ve mentioned many times on my personal blog, Oliver + S patterns were my sewing school, and my gateway to sewing for myself.
My Liesl + Co. Late Lunch Tunic was my first really successful me-made woven garment, and six years later, I find myself sewing mostly for myself. When I do sew for my children, I tend to make fast knit garments like leggings and t-shirts. I miss spending the time to create a bespoke dress for my girls, so when I happened upon some red velvet remnants at a local fabric shop, their purpose felt pre-determined.
My 10-year-old knew what she wanted – a relatively fitted bodice attached to a twirly skirt. I did not have a pattern like this in her size. I really dislike pattern hacking. I find it stressful rather than freeing and I am rarely happy with my finished result. I need more hand-holding than that when it comes to sewing.
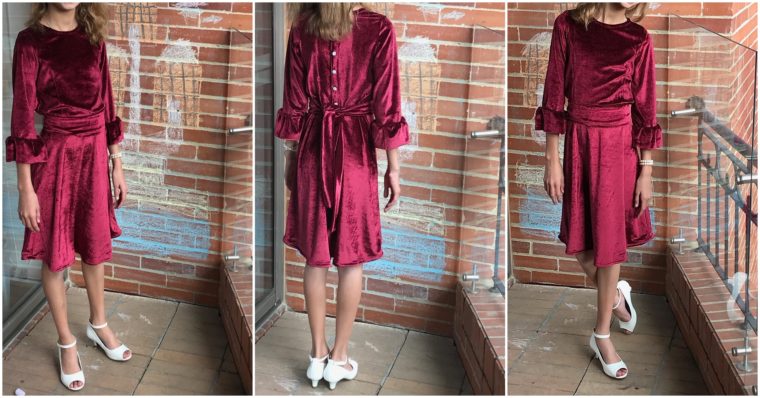
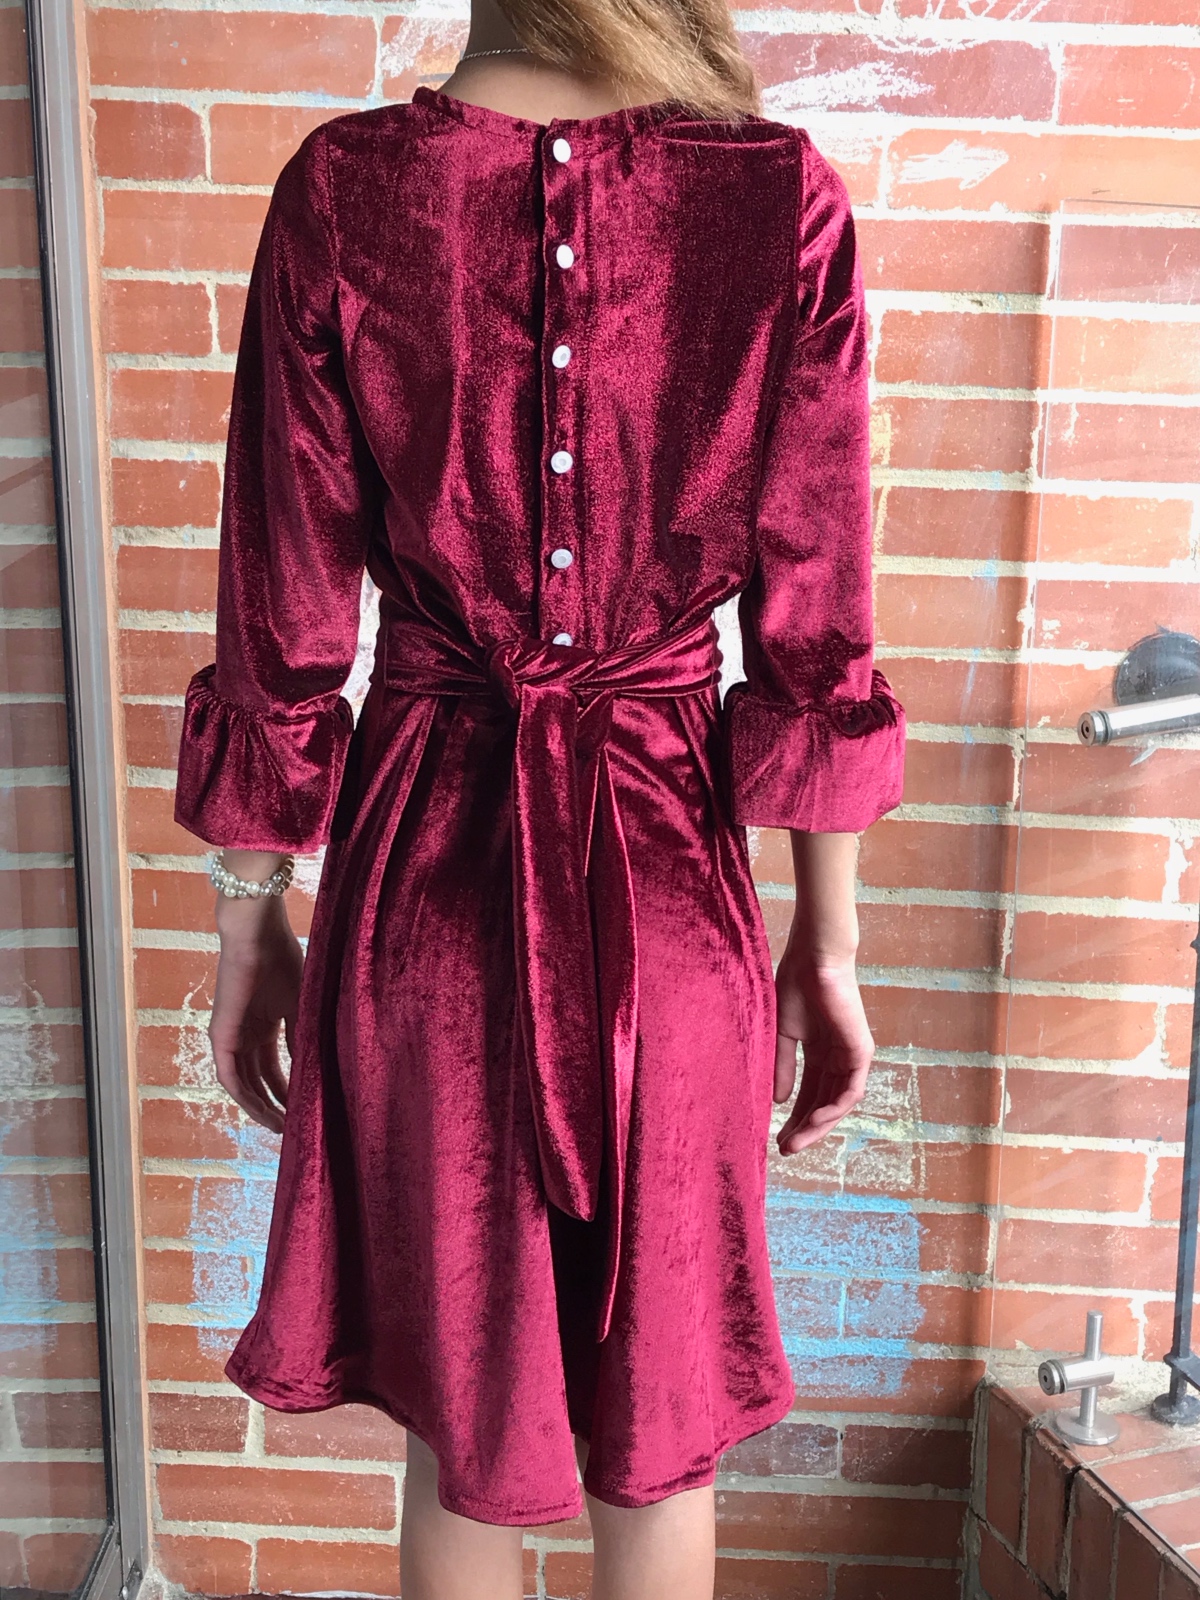
Enter the Oliver + S Building Block Dress book. We flipped through it together, and stopped at the navy blue dropped-waist princess-seamed dress. My daughter decided to go with this option as a base. We would modify it by raising the waist, adding ruffle sleeves and a sash.
I used the book’s instructions to create a princess-seamed bodice. I also used the book’s skirt pattern, but I had to narrow it significantly at the hem to fit the amount of fabric I had (less than two yards in two cuts). Luckily, this was an odd velvet that seemed to look the same if rotated 90 degrees, so I was able to squeeze the sleeves out that way.
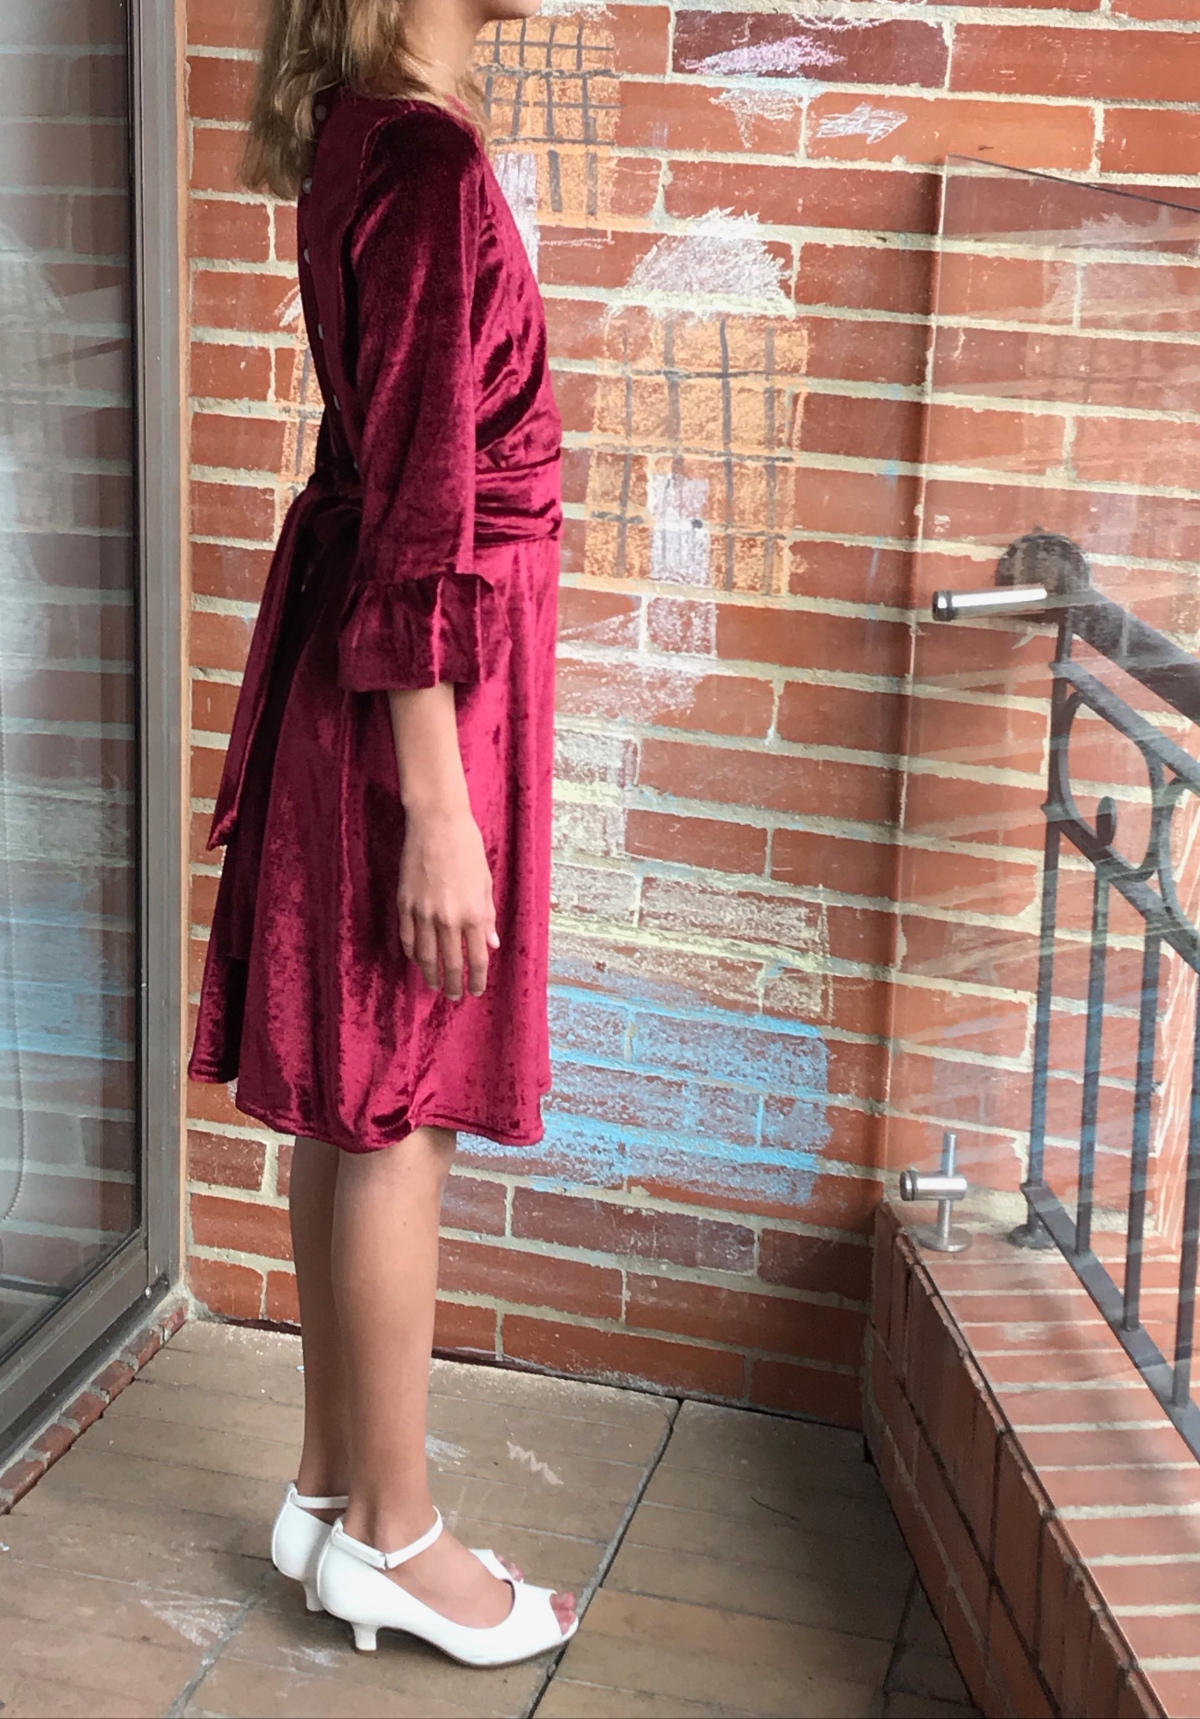
My daughter is tall and skinny with long legs. We went with the width of a size 6, lengthening the bodice to an 8 and the skirt to a 12. I basted the pieces of the bodice together and had her try it on to determine how fitted to go. She ended up not wanting it as fitted as she initially thought, and as a result there’s a slight blouson effect at the waist, which I really like.
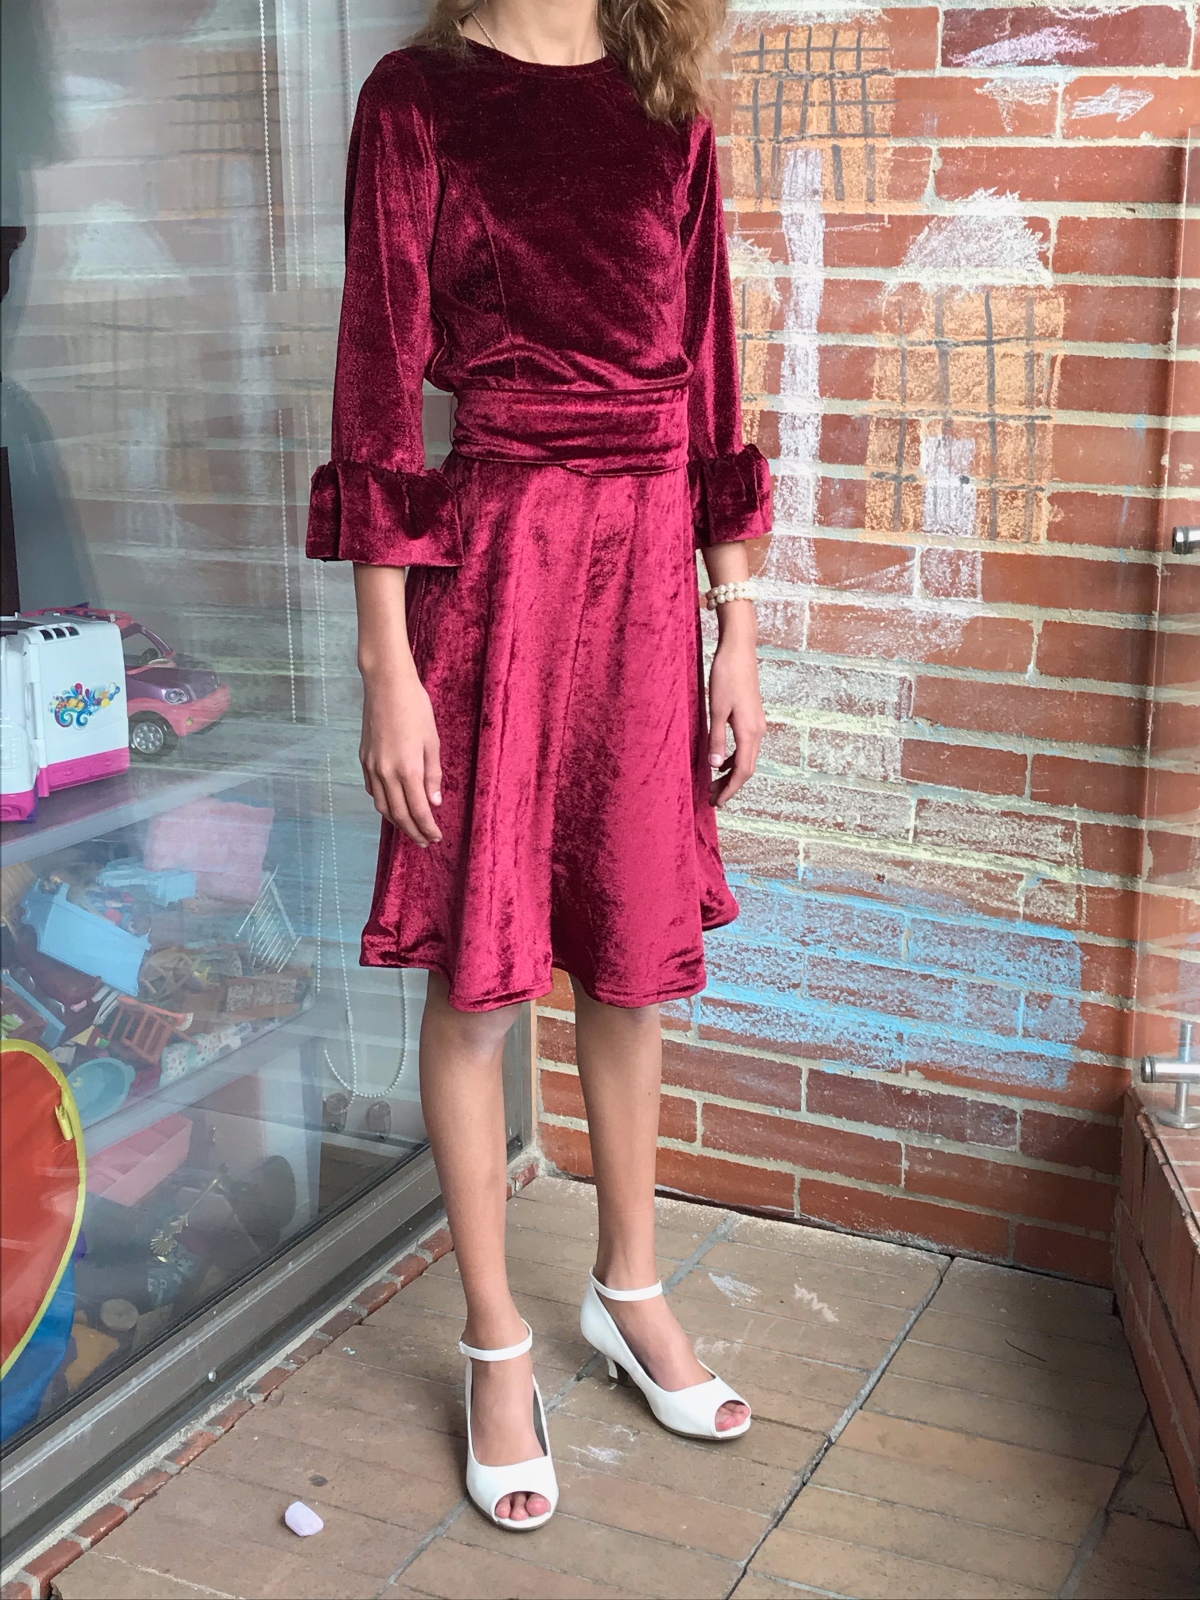
She would have preferred a longer skirt, but I couldn’t get any more length out of my fabric. I bias bound the hem to preserve as much length as I could. I used store-bought binding, which is a bit stiffer than self-made binding would have been, but this turns out to have the pleasing affect of defining the undulations of the hem.
I also bias-bound the neckline, which gave me fits, as it always does. After clipping every 1/16″ (or so it seemed), steaming the heck out of the neckline and resewing it a couple times, I finally got it to sit properly. Next time I think I’ll just do a facing, as I feel like bias bound necklines always seem to take me much longer to get right.
This was my first time using the Building Block book, and I found the experience much less stressful than trying to hack a basic pattern to work. Princess seaming a bodice, in particular, would have seemed very overwhelming to me without a guide. With the book’s instructions, though, it didn’t take long and was quite simple. If you haven’t checked the Building Block Dress Book out yet, and you have mini “clients” who enjoy designing their own dresses, I highly encourage you to give it a look.