

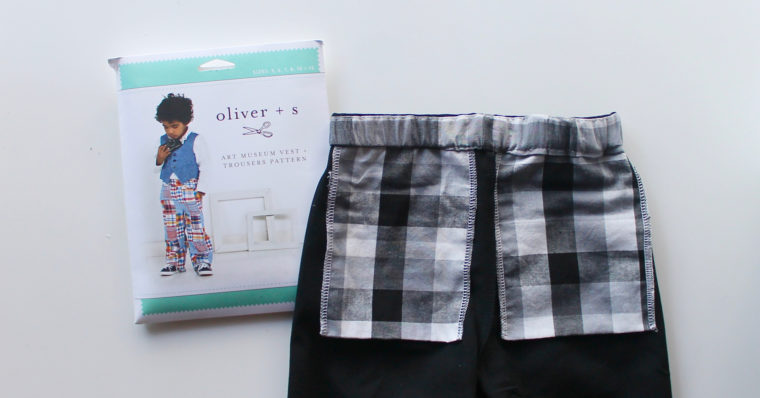
Love the welt pockets on our Art Museum Trousers? Want to learn how to fully enclose the inside for a super clean finish, which also lets more of your pocket fabric show? Learn how with this photo tutorial!
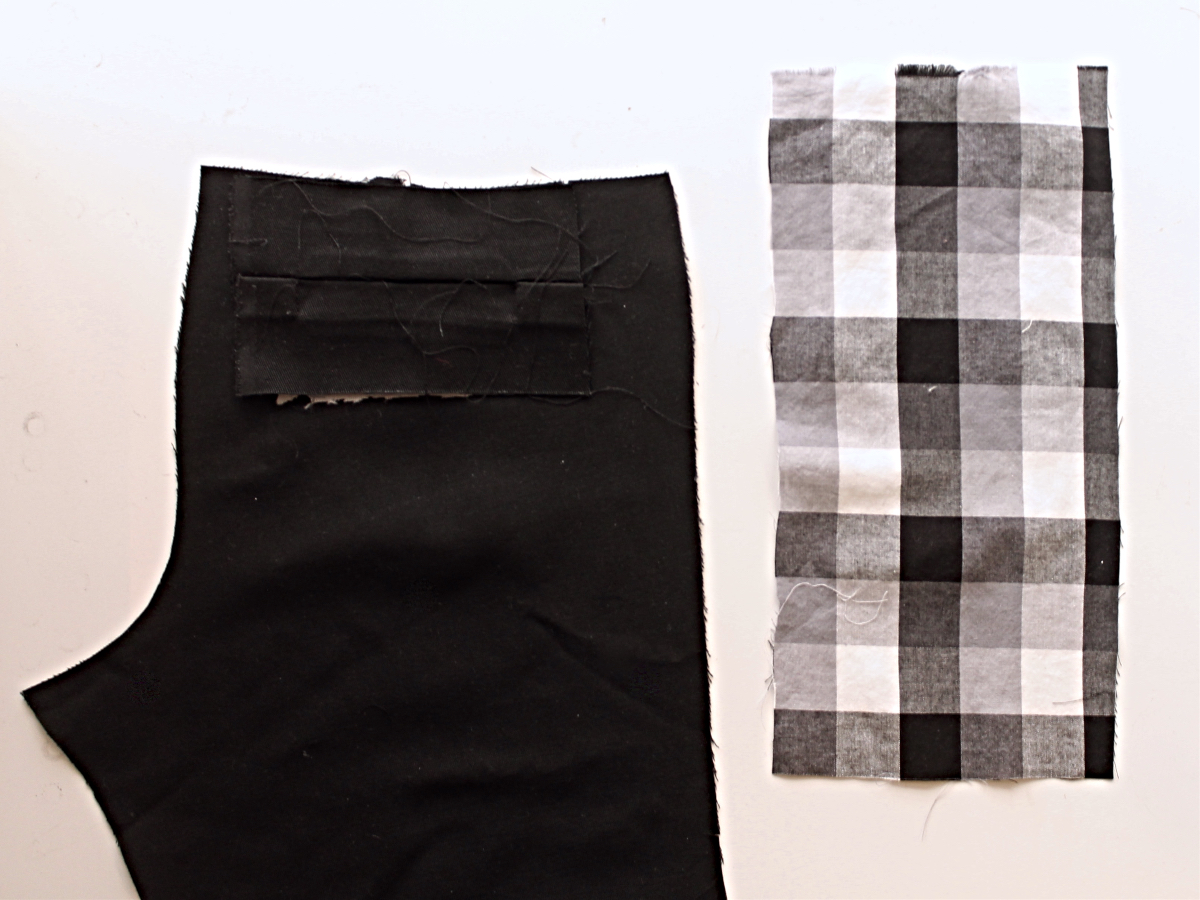
The only cutting modification you will need to make before you sew fully enclosed welt pockets on this pattern, is in pattern piece 8, the trouser welt pocket bag. We’re going to lengthen the pattern piece. I usually cut mine between 10 1/4″ and 11″ long for sizes 3-6. If you’re sewing a larger size, you might want to add an inch, If you’re sewing a smaller size, subtract a little.

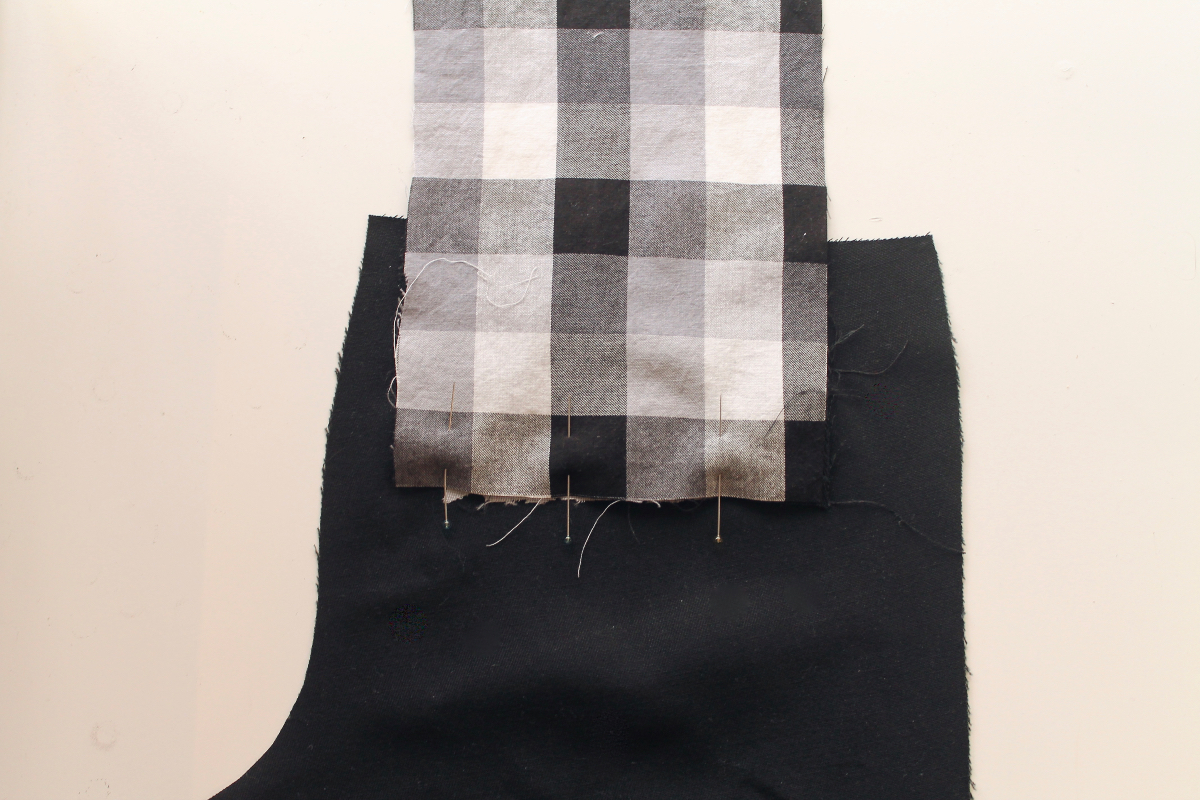
Sew the welt up through step 9 in the instructions. Then pin the bottom of your pocket bag to the bottom edge of the welt fabric and sew. You can sew the fabric with right sides together, but if you are using a print that you want to show on the inside of the pants (as opposed to on the inside of the pocket), you will want to sew the wrong side of the pocket bag fabric to the right side of the welt. My fabric is the same on both sides, so it doesn’t matter. If you are using a directional fabric, you will want to be sure that you sew the pocket bag on so that it will be facing the right way when you fold the pocket up.
Press your seam allowance towards the pocket bag.

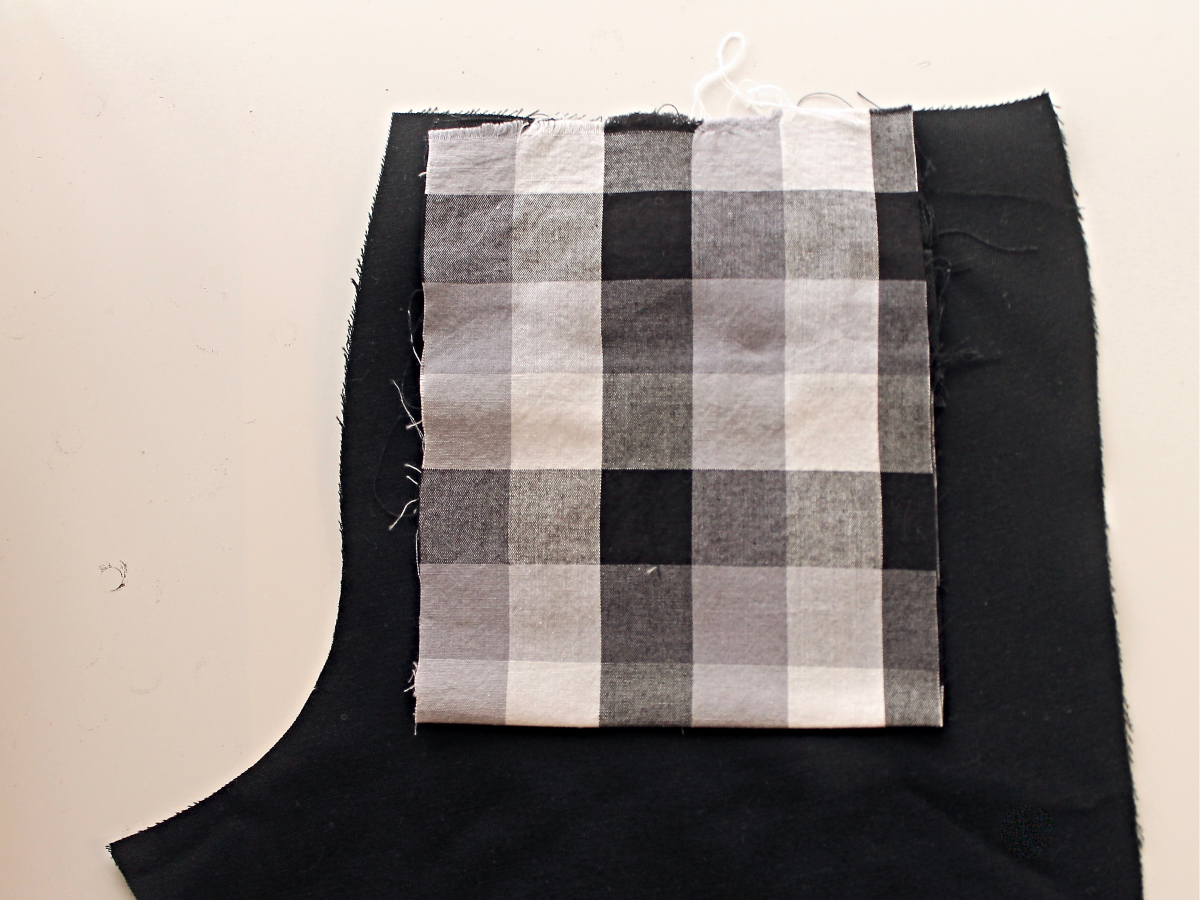
Next, fold your pocket so that the remaining short edge is aligned with the top of the pants, and the long edges align with each other once folded. Press.
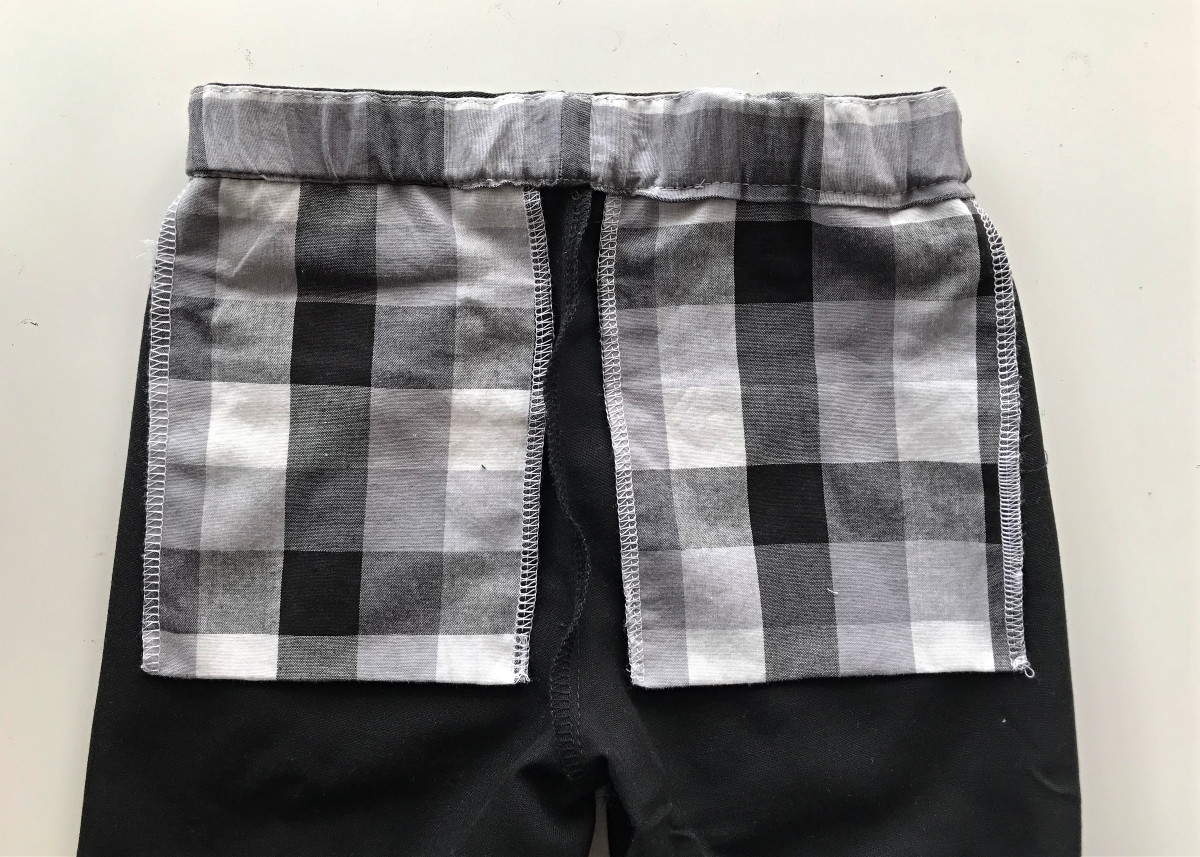
Sew up the side seams and finish the edges with your desired method. (Alternatively, you can just overlock the edges as I did here.)

Now baste the top of the pocket bag to the top of the pants and continue sewing the pattern as directed. Ta da! You’ve just sewn fully enclosed welt pockets.
Now you can play around with fun hidden prints on the inside of these pants as I did when I sewed them for a wedding a few years ago. The train pockets were helpful in convincing my son and nephew to wear non-sweatpants for a few hours.

I hope this tutorial has been useful! If you use it, please snap a pic and share it with us!