We are delighted to welcome Lori back to the blog today. In the past you’ve seen her around here as a panelist for our Gallery Tunic + Dress sew-along. She’s going to be sharing a lovely Weekend Getaway Blouse that she made for herself.
We recently brought out the popular Liesl + Co. Weekend Getaway Blouse + Dress pattern in paper format for those of you who prefer paper. You can view all of our Weekend Getaway Blouse posts here.
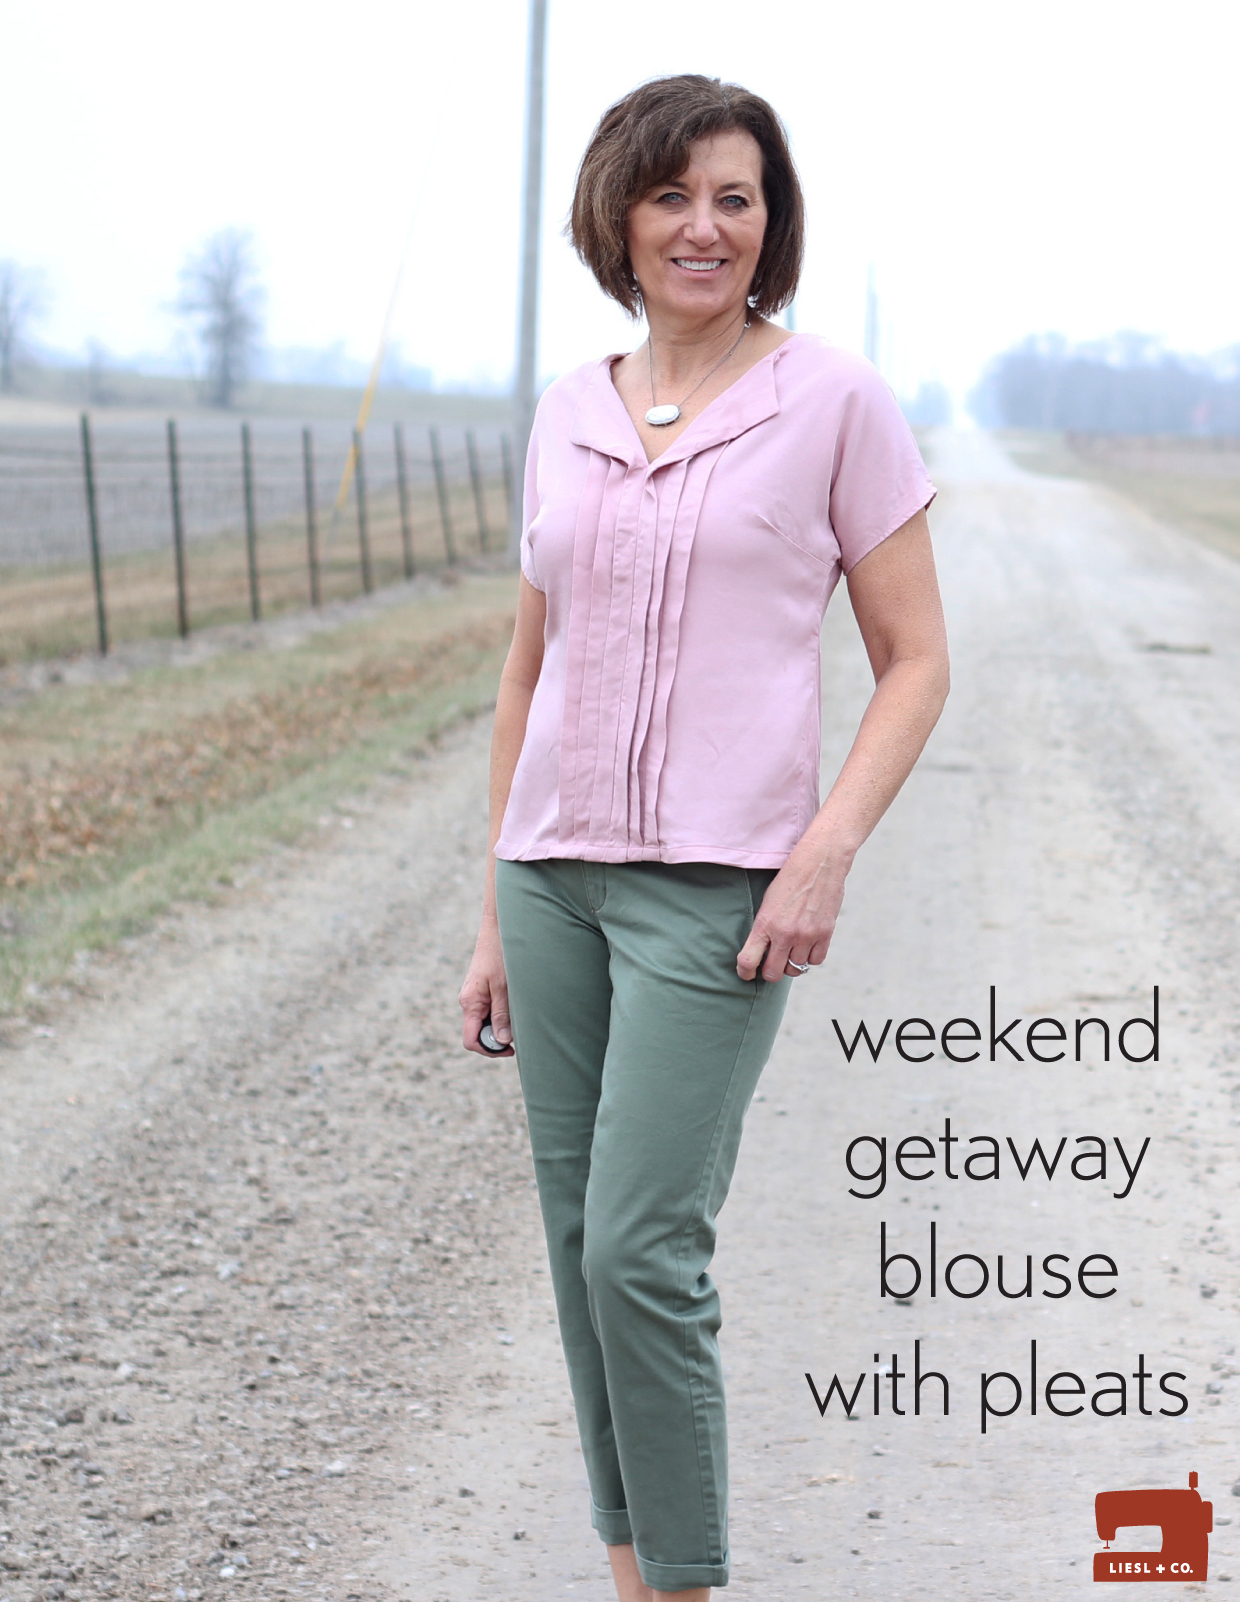
Want a quick blouse to make that is super-stylish, chic and easy to change? Well, the Liesl + Co. Weekend Getaway Blouse is just what you need. Here is the description and a dress option is included, too. This pull-on blouse or dress is perfect to wear any day and anywhere. With a relaxed fit and a flattering V-neck, the pattern features kimono sleeves (meaning no sleeves to set-in) and no closures, making it very easy to sew. The blouse is designed with short sleeves. The dress includes cuffed, 3/4-length sleeves and tabbed pockets. The front facing provides an opportunity to use a fun contrasting or complimentary fabric.
I have made this once before, using a contrast for the front and love wearing this fun blouse.
As part of the Liesl+ Co. Advisors Circle, Liesl has given us some great ideas to adapt her patterns and one was adding pleats to front of this blouse. So I found the perfect fabric, Mood Fabrics’ Tencel Twill which is actually more like a rayon with the weave of a twill. This was a nice drape for the top.
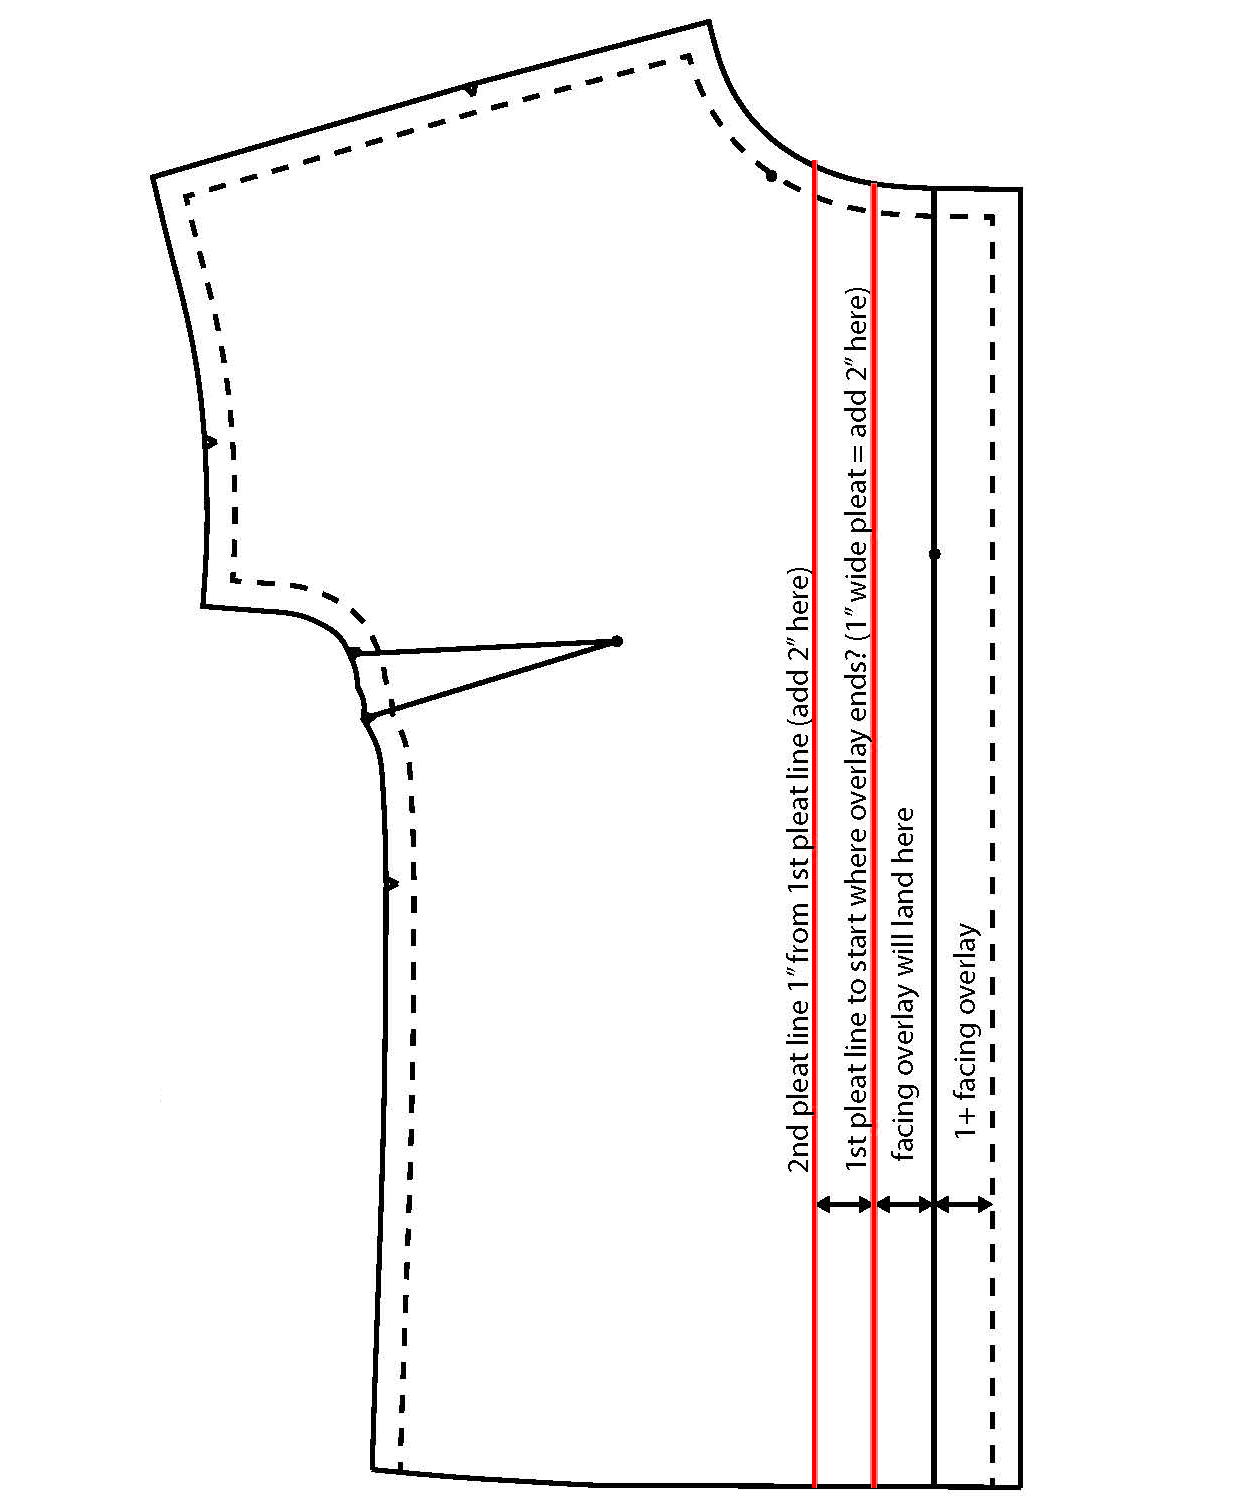
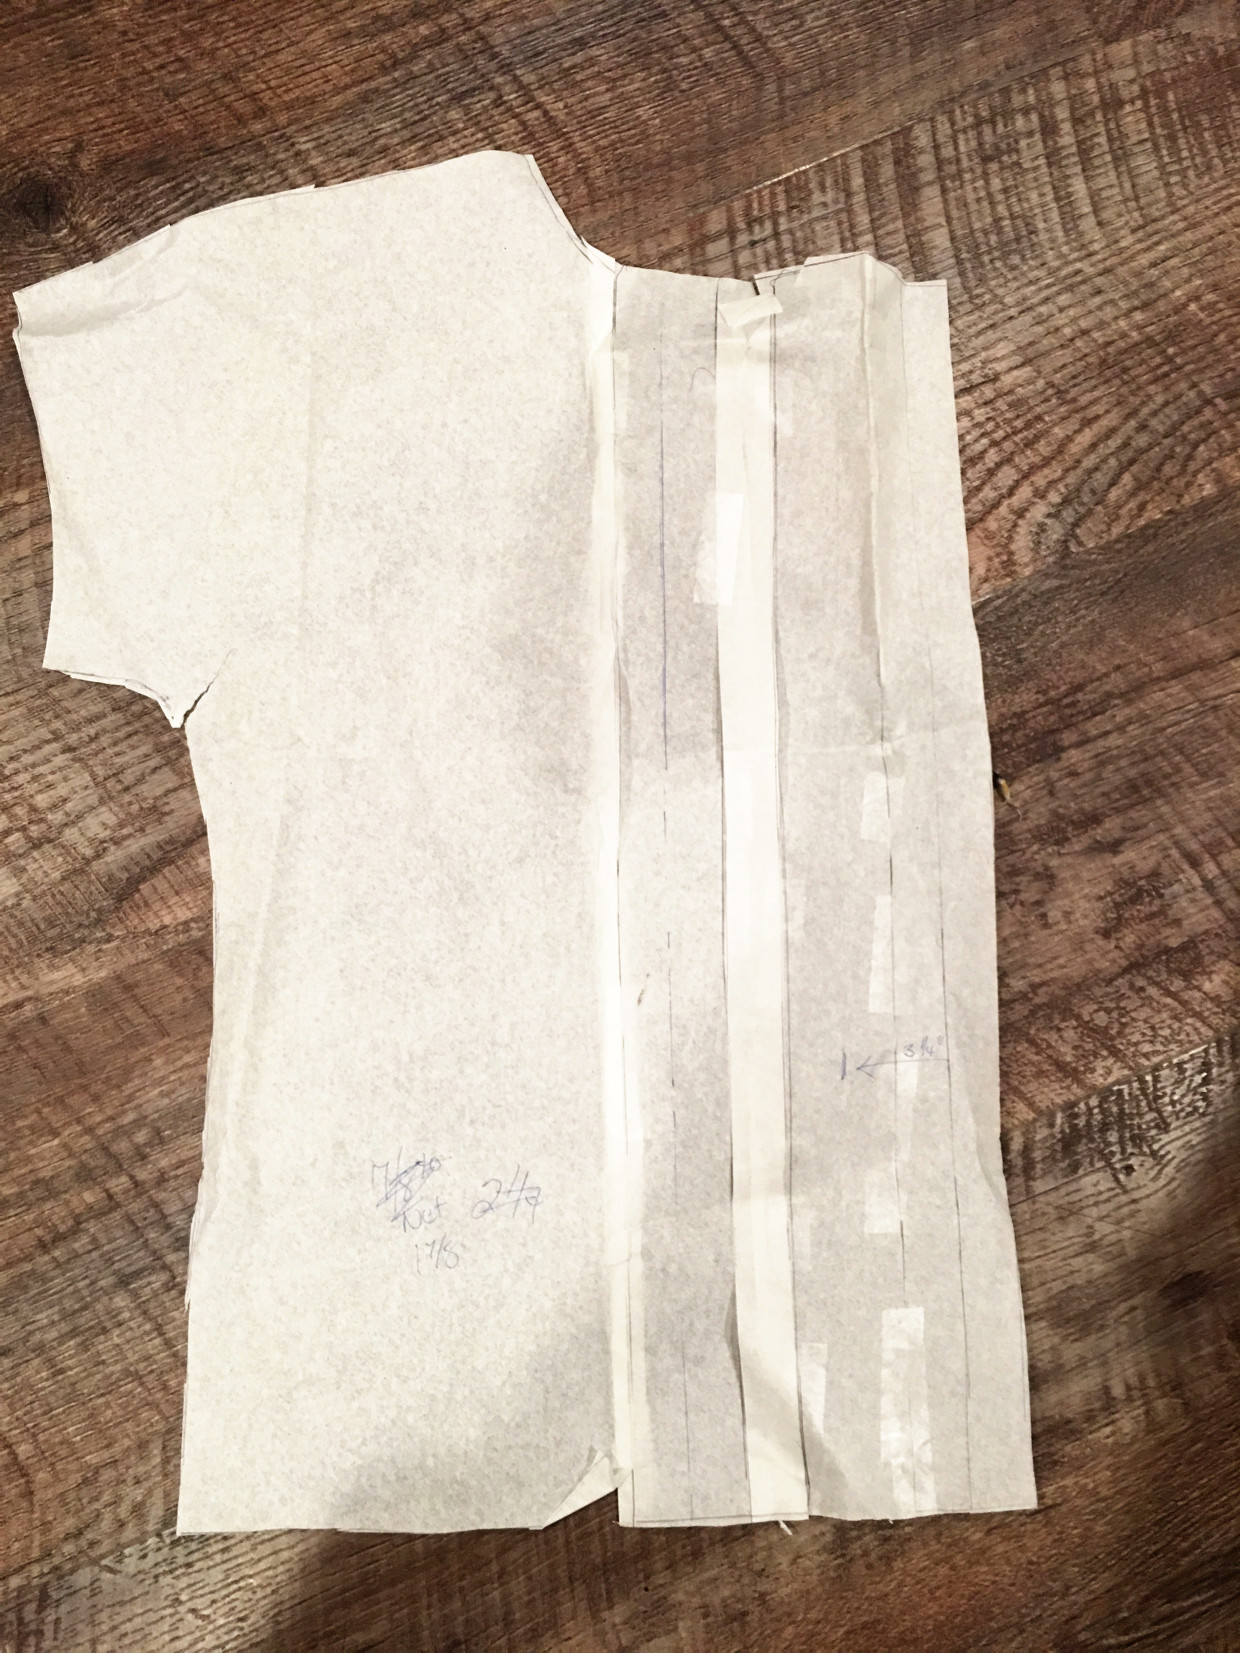
My first step was drafting a new pattern piece and carefully measuring the pleats. I did write notes on the pattern piece so I could keep straight the fold of the pleats.
After subtracting the 1/2” seam allowance at center-front, the center-front facing “overlap” is 1” wide, so measure 1” from the center-front seam to indicate where the overlap will lay when it’s folded back. We thought two 1” pleats would look nice, so two lines are drawn, each 1” from the center-front seam (the dot on the pattern piece). Cut along each line, spread the pieces to be 2” apart, and tape paper to fill in the gaps. Once you’ve got the paper filling in the gaps, fold the pleats the way they’ll be folded after they’re sewn and trim the neckline to be even (while the pleats are folded). This will give you a crazy zig-zag neck edge when you open up the pattern, but it will finish neatly one the please are sewn and pressed.
I love this stylish look of this top and see myself making more for summer. From start of the drafting to the cutting and the sewing, I worked on the top for two nights.
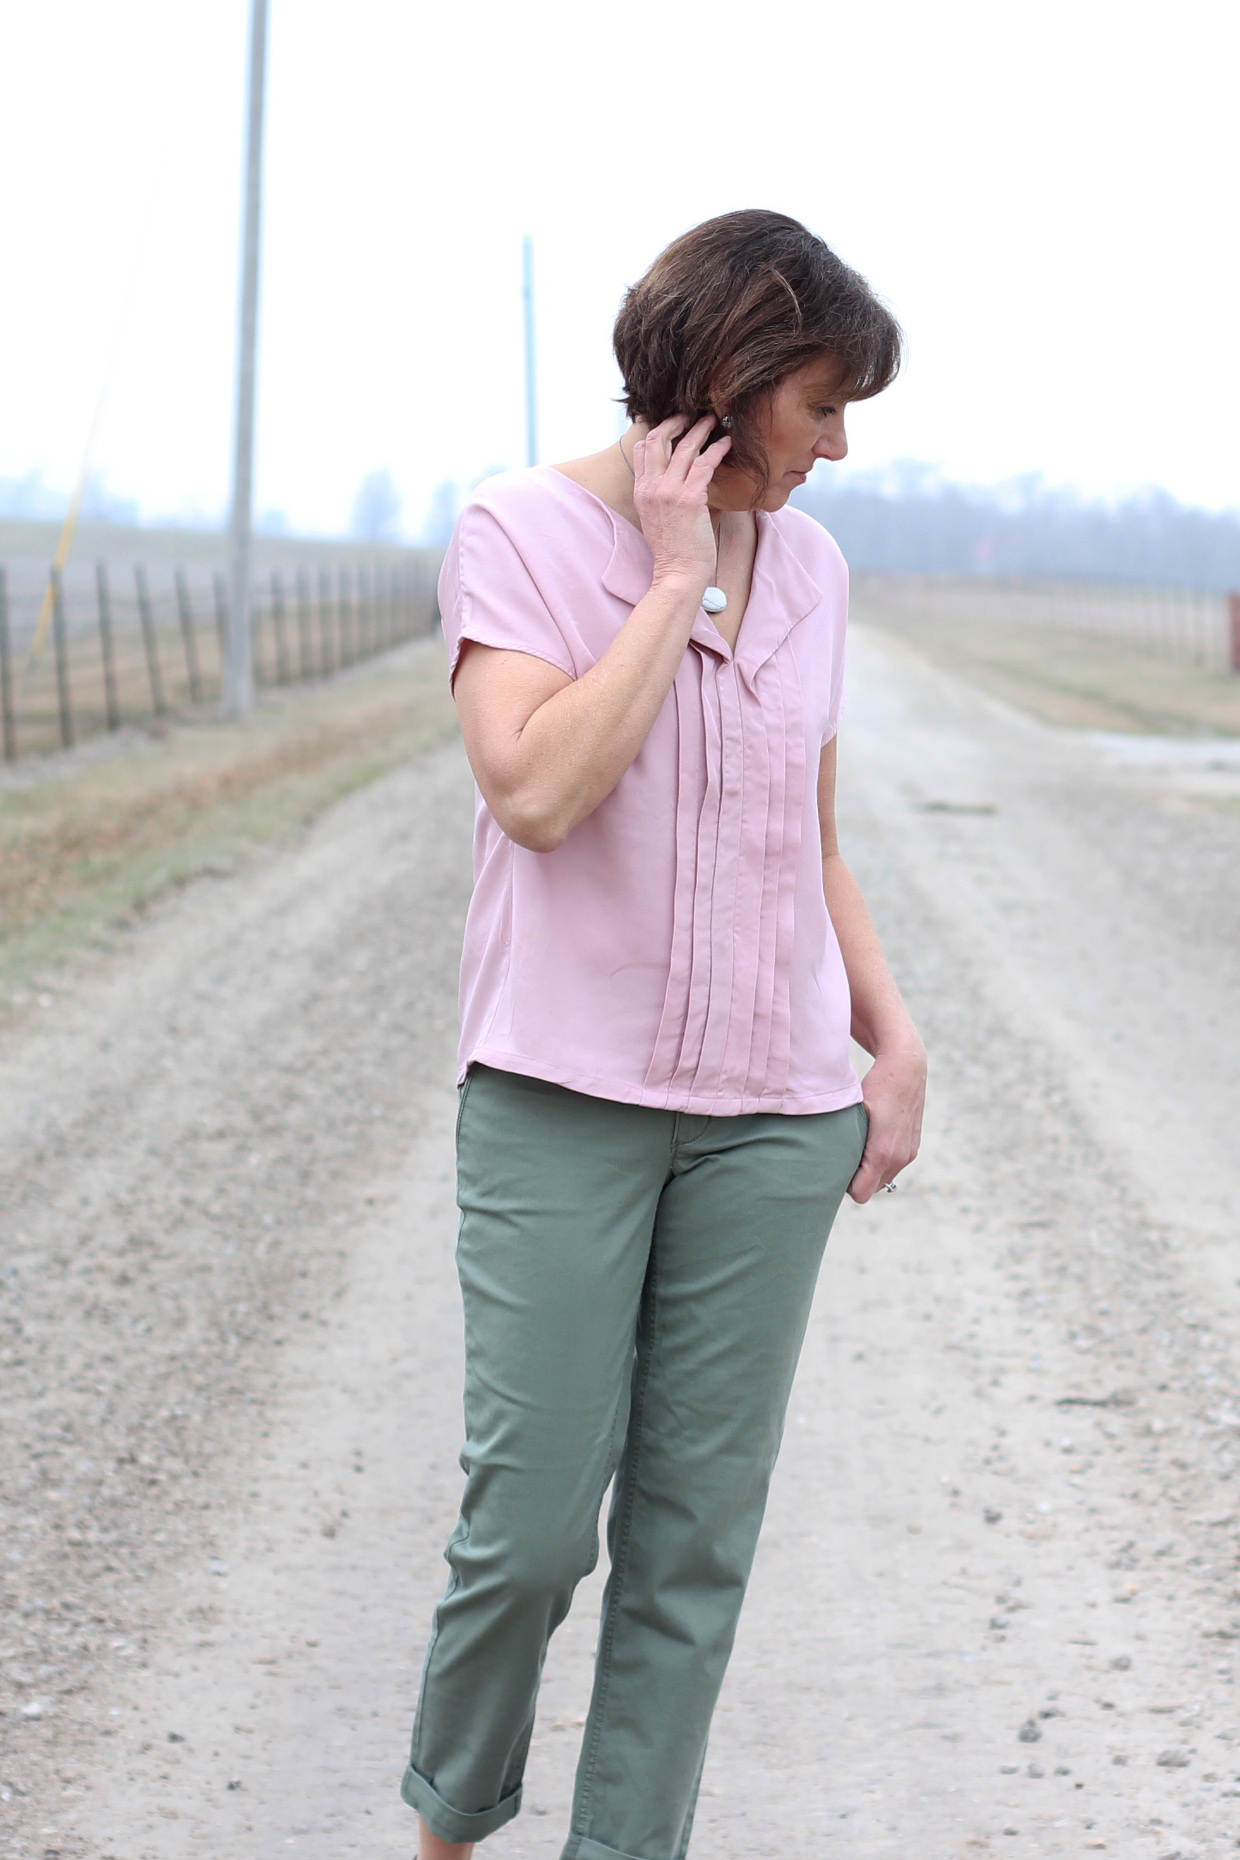
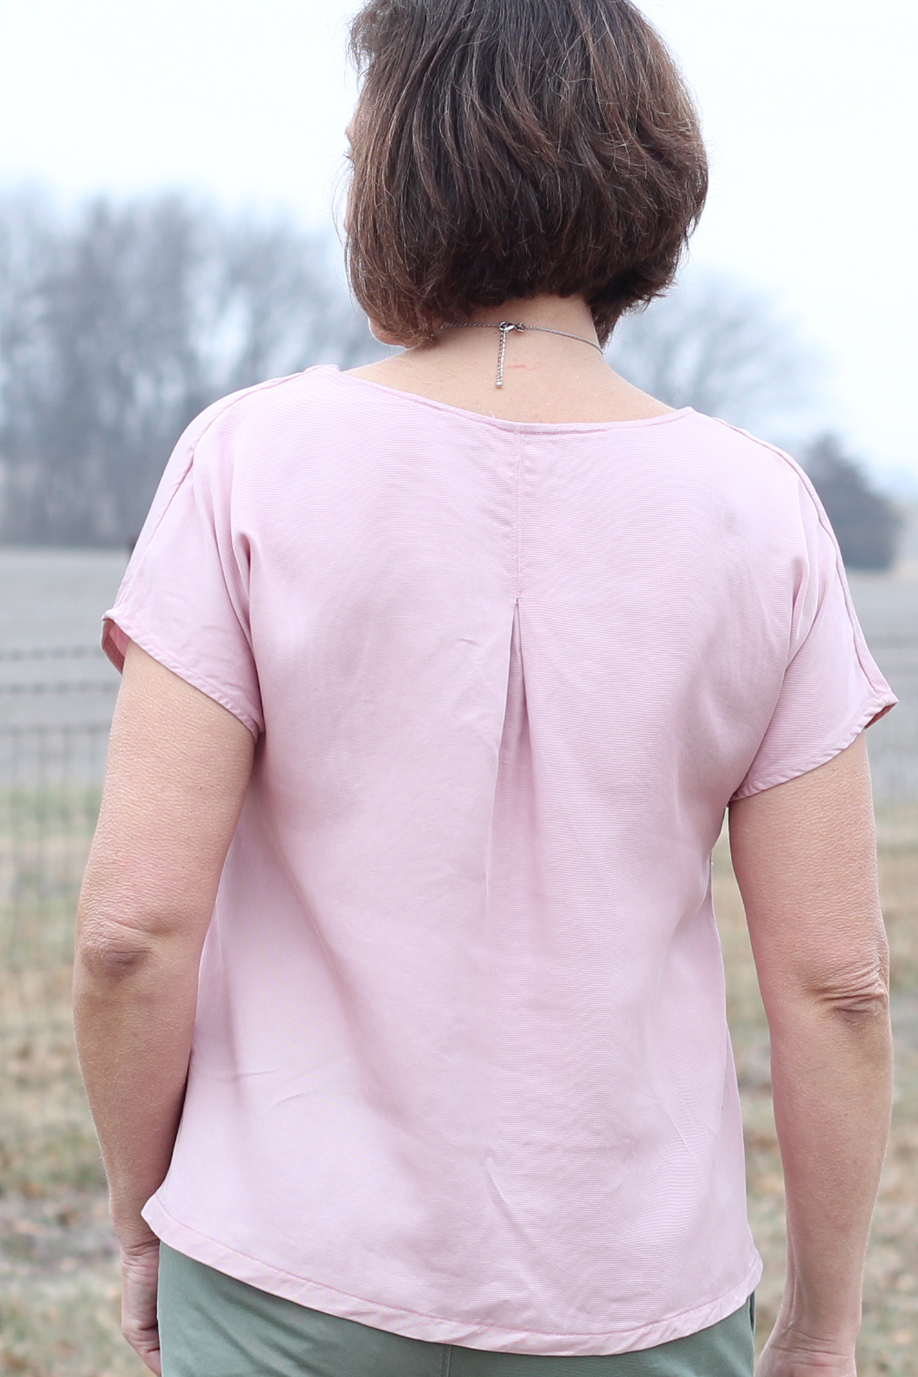
The dart on this top helps to give a more fitted look and I love that feature. With the pleats and front band, I don’t want it to be too full and square shaped. I do think I will move my dart down about 1/2” and it will be just right.
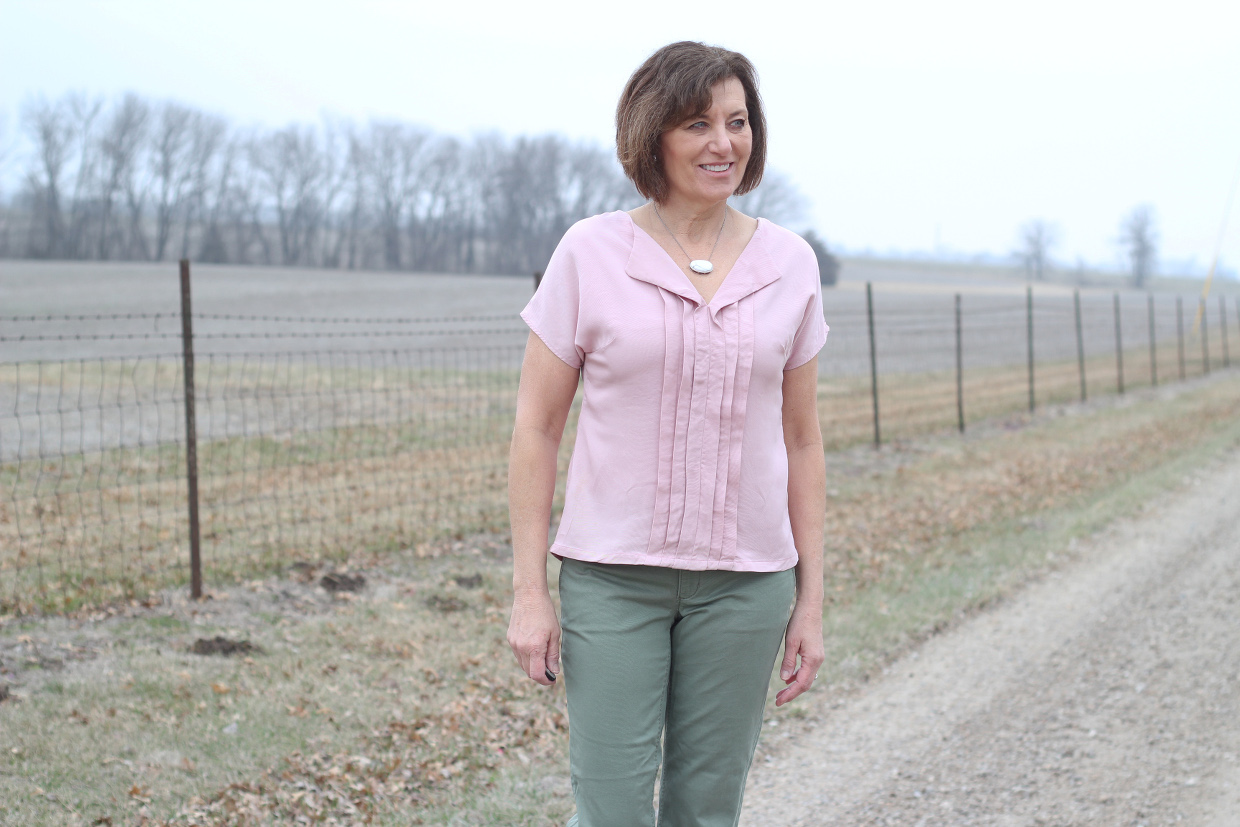
So give this cute little top a try and add the pleats if you want a fun design feature.