
A few months ago I read a fascinating book called The Little Spark – 30 Ways to Ignite Your Creativity by Carrie Bloomston. The author just happens to be a fabric designer, too, by the way. Anyway, it’s a great interactive workbook for igniting creativity that includes inspiring exercises and images to get you out of any creative funk. If you haven’t read it yet, you should! One idea she mentions in the book is to take classes, she suggests to look online for craft or community education classes. That piece of advice motivated me to sign up for something that I’d never tried before. I took a flower pounding class and loved it! I can’t wait to share the results of my flower pounded fabric with you and how I created it.
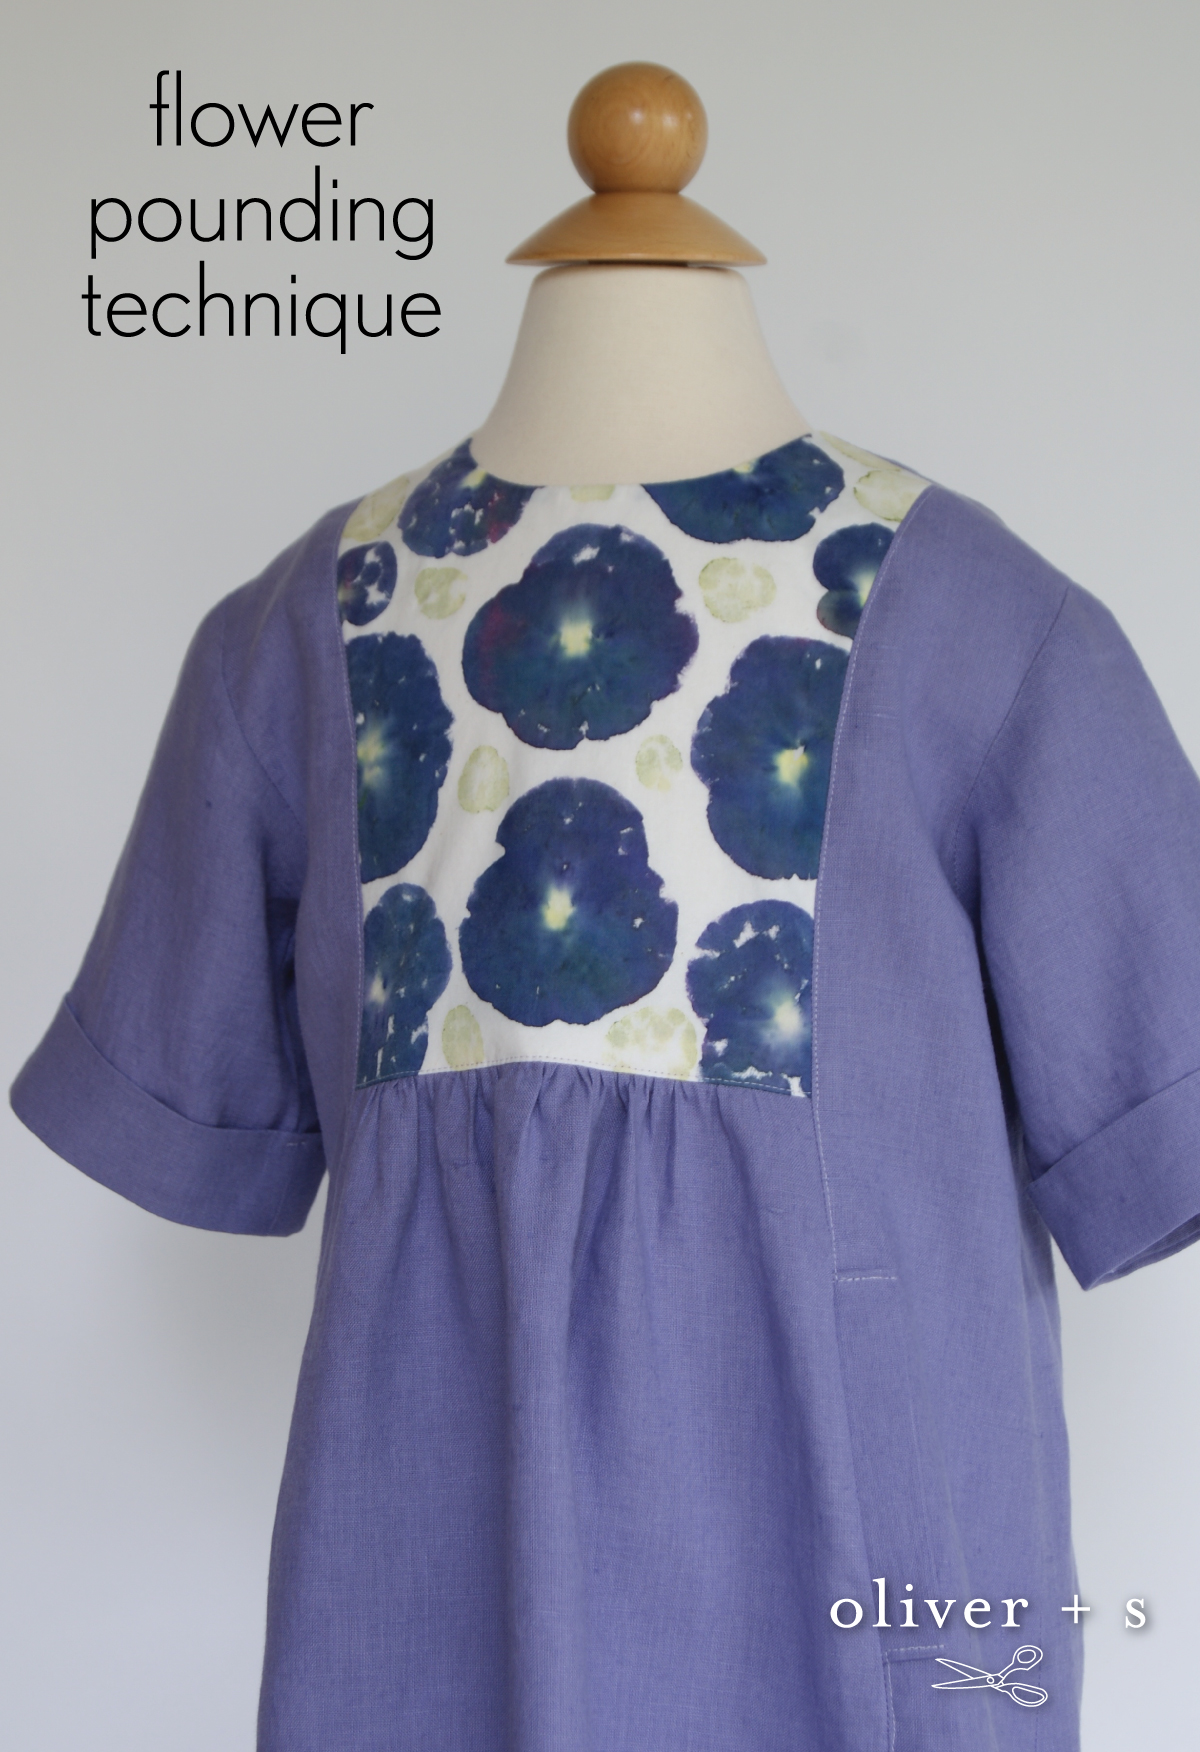
Flower pounding technique
Pounding is just one way to extract beautiful colors from plants. You can use the colors found in flowers, as dyes to create stunning and unique printed fabric. You simply use a hammer to release the flower pigments into the fabric. This is really quite an uncomplicated technique, if you can hammer a nail, you can do this.
Supplies and tools
Very few tools and supplies are needed. Here’s what you need:
- flowers
- hammer with a flat metal head
- cotton fabric
- cutting board
- paper towel or Japanese sketch paper
- towel (optional)
- ear plugs (optional)
Steps
The ideal fabric to use for this project would be natural fibers as they absorb better. I would suggest cotton. The cotton should be pretreated with a substance called a mordant because it’ll be easier for the fabric to absorb pigments from the dye.
Run the fabric through the washer and dryer. Then place it in a mordant, an alum bath which consists of 1 cup alum and 4 tablespoons cream of tartar in a huge pot of hot water for 15-30 minutes. Dry and iron your fabric piece, then it’s ready.
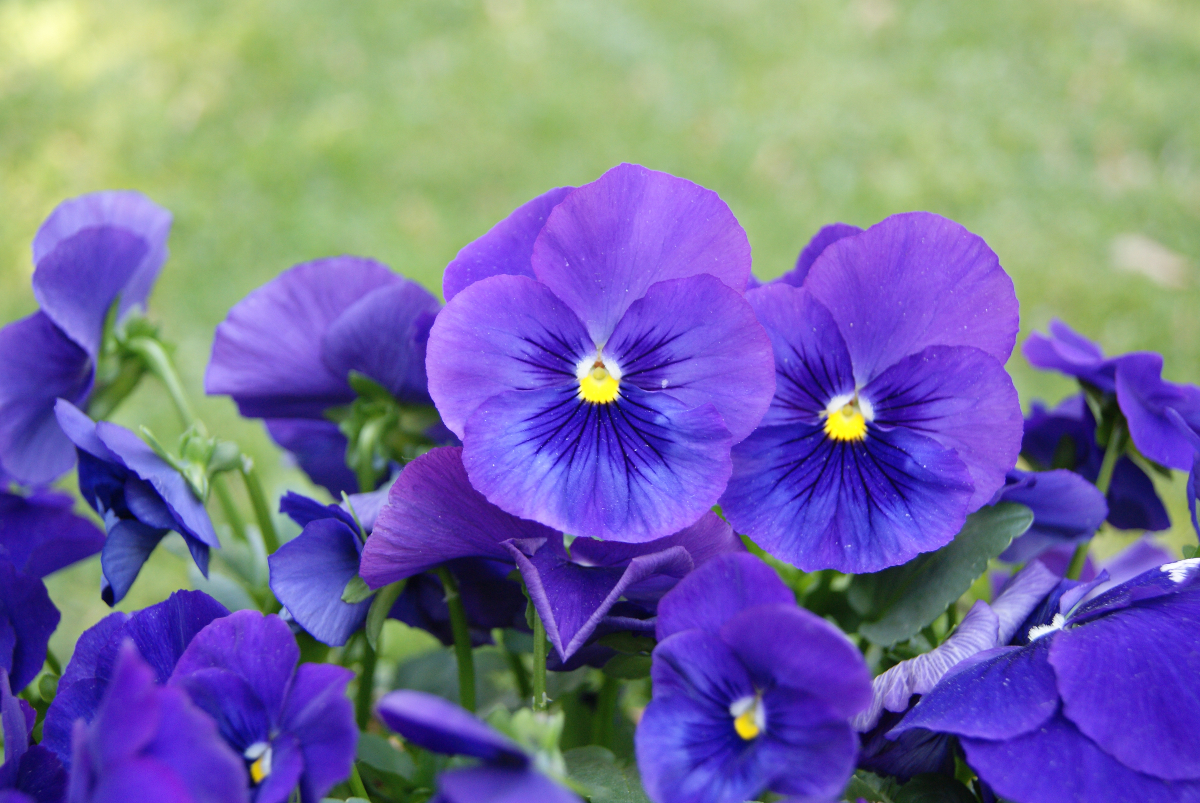
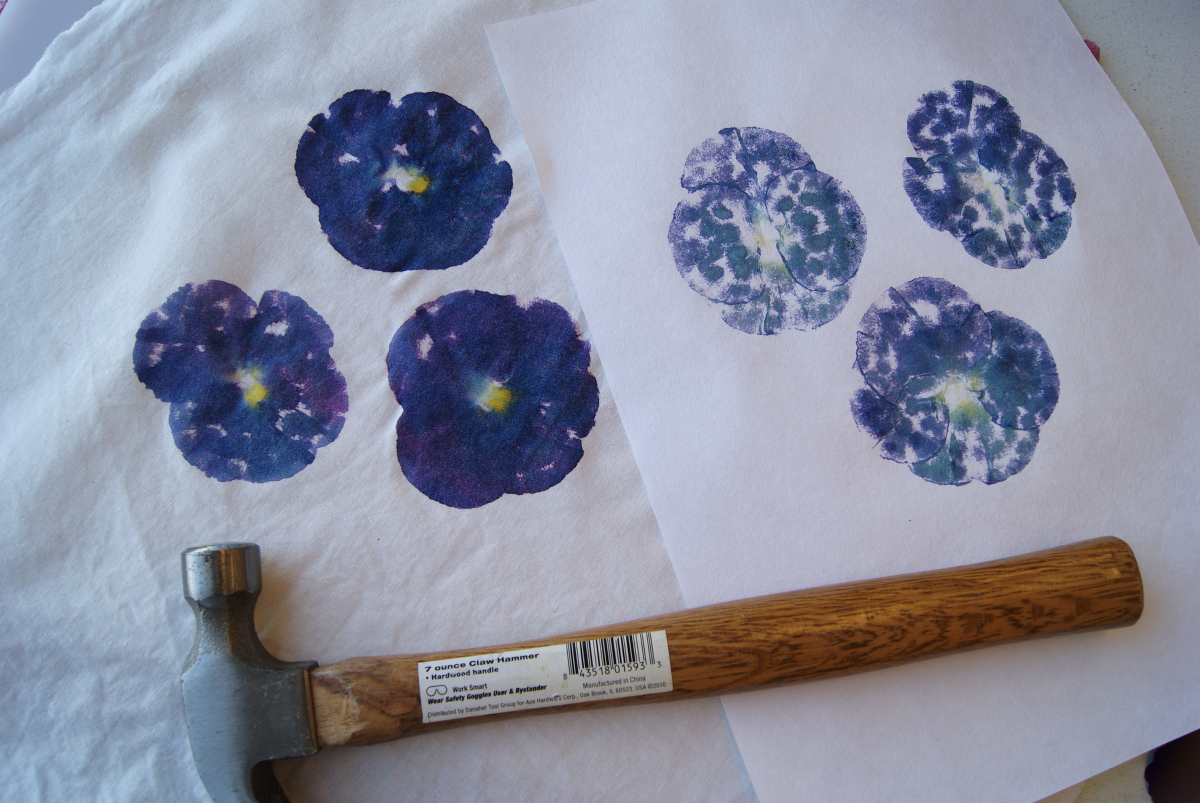
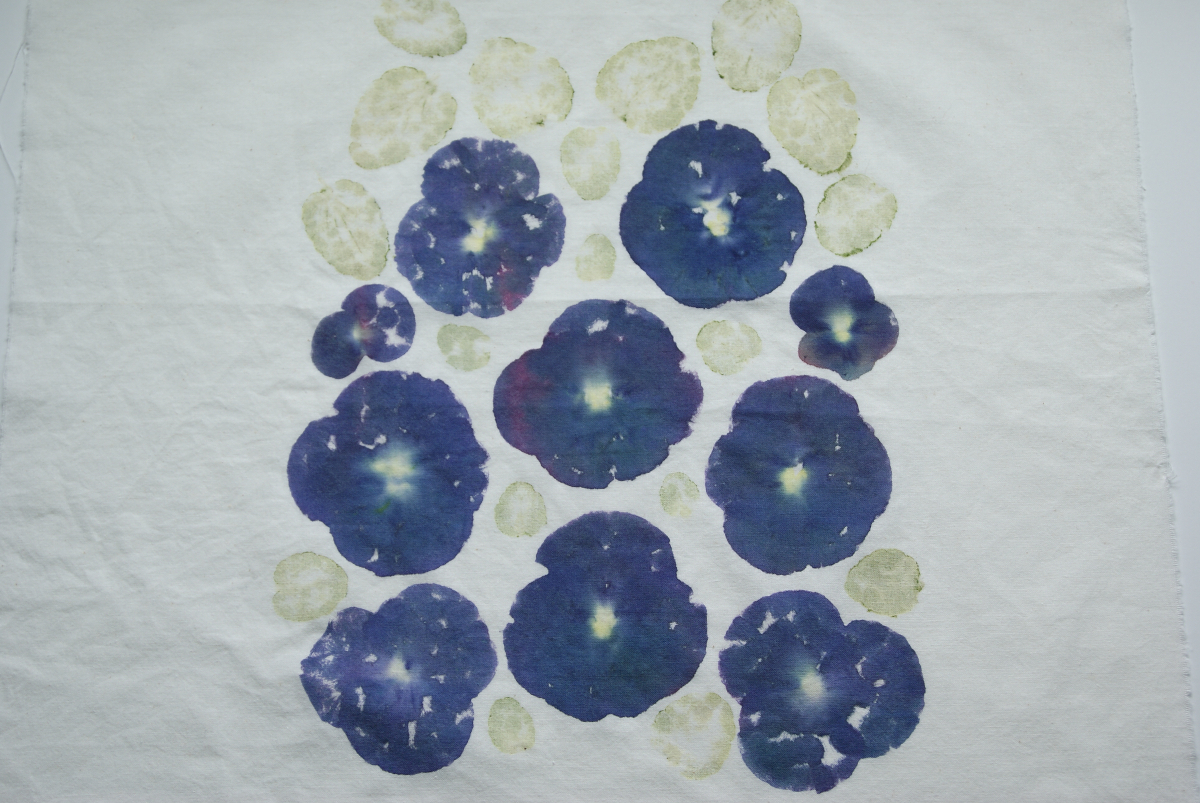
The process is relatively straightforward: take a flower, place it on fabric, cover it with a paper towel, and hammer away. First gather some poundable flowers, I used deep blue pansies.
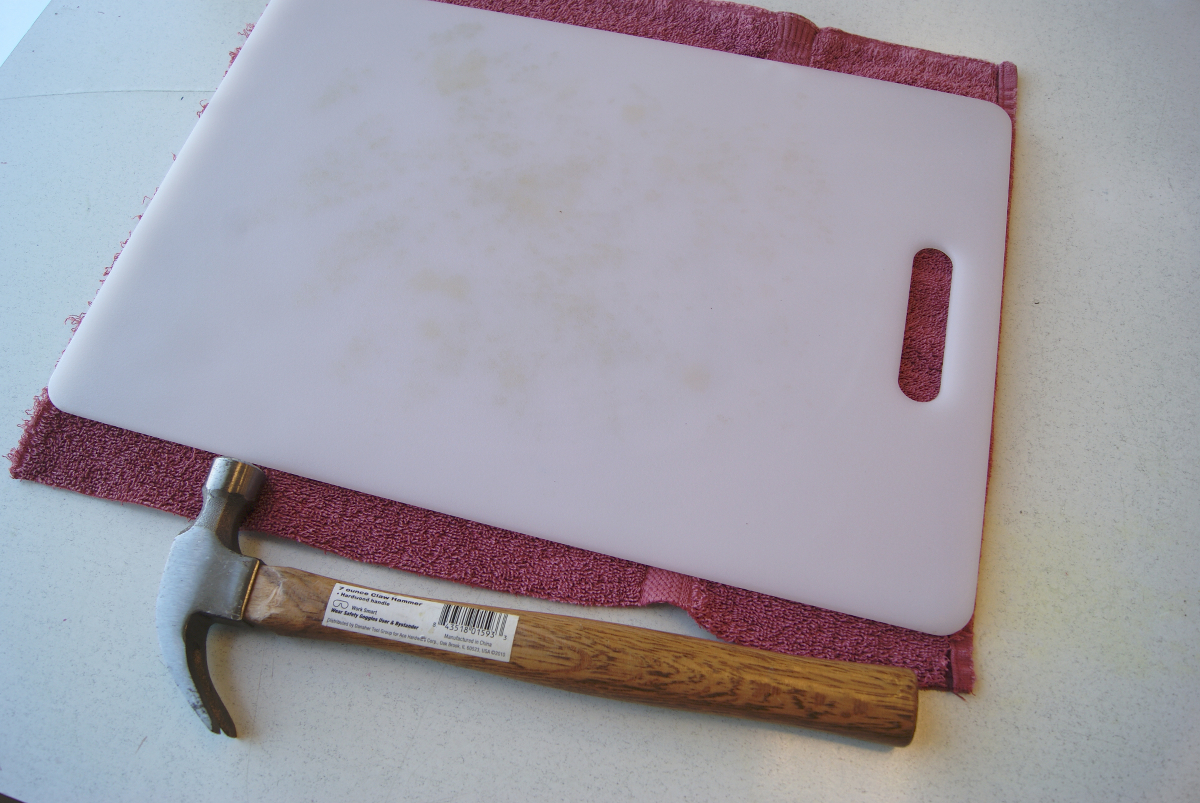
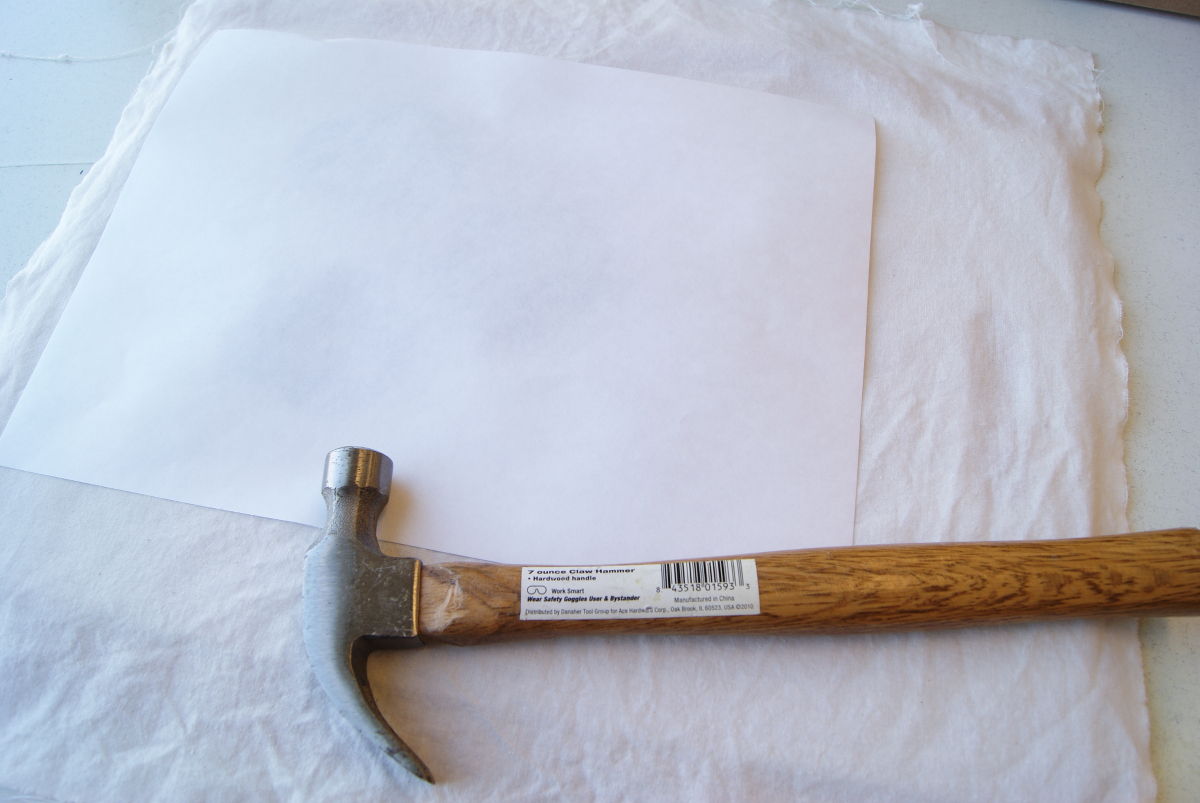
Next up, prepare a hammering surface with a cutting board on top of towel.
The towel serves as a noise reducer and helps prevent the cutting board from sliding around.
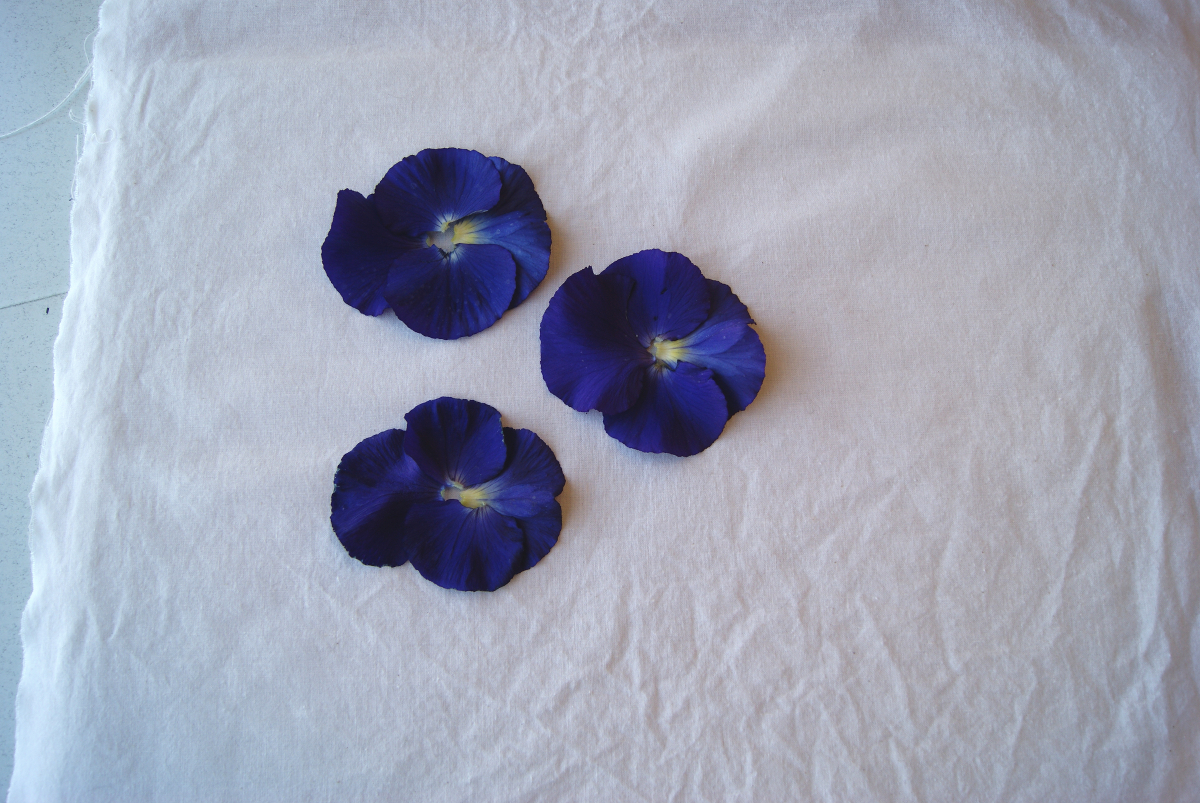
On top of the cutting board place the piece of fabric, for my project I used muslin. Remove the petals from the flowers and place them face down on top of the fabric.
Now onto the covering materials. You can use a paper towel or try some Japanese sketch paper like I did.

Place the Japanese sketch paper bumpy side down on top of the flower petals.
Hammer away! You might want to wear ear plugs at this point because the hammering can get really loud.
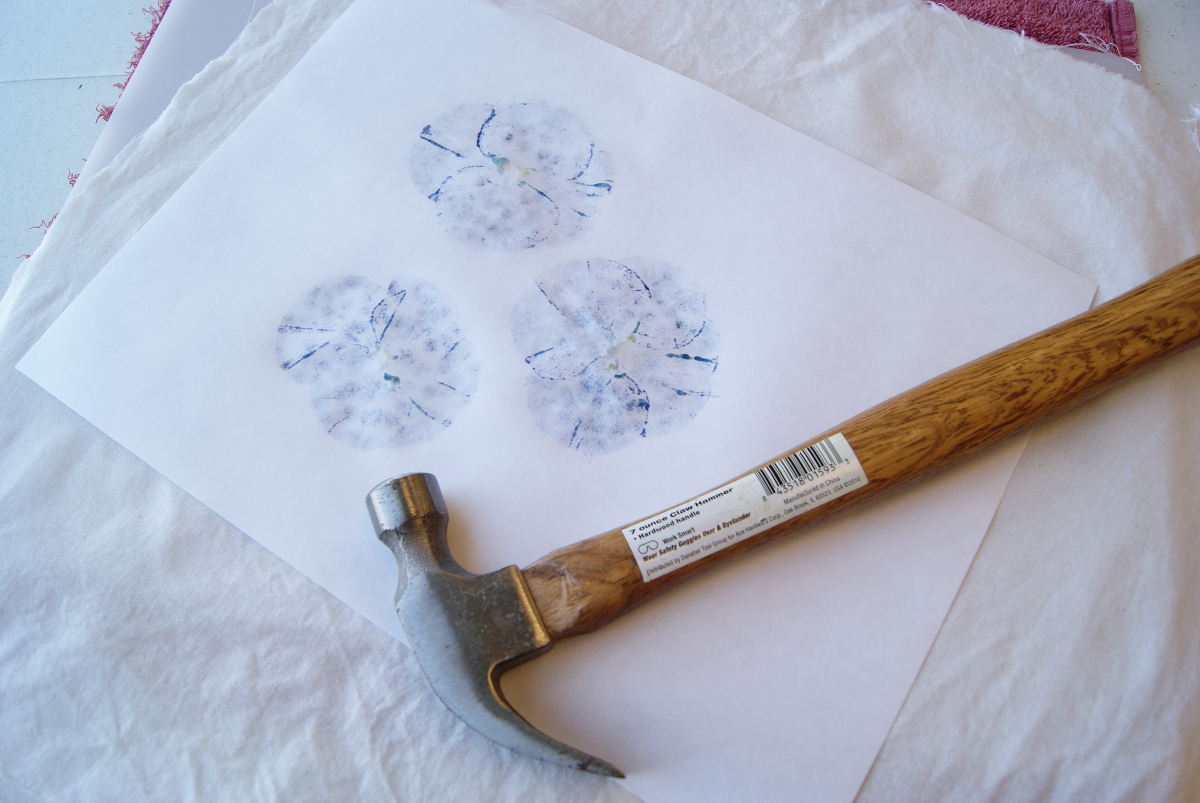
The results are instant. The hammered images will appear on both the fabric and the Japanese sketch paper. What a bonus to get two crafts in one! Now I have lovely blossoms on paper for paper crafting.
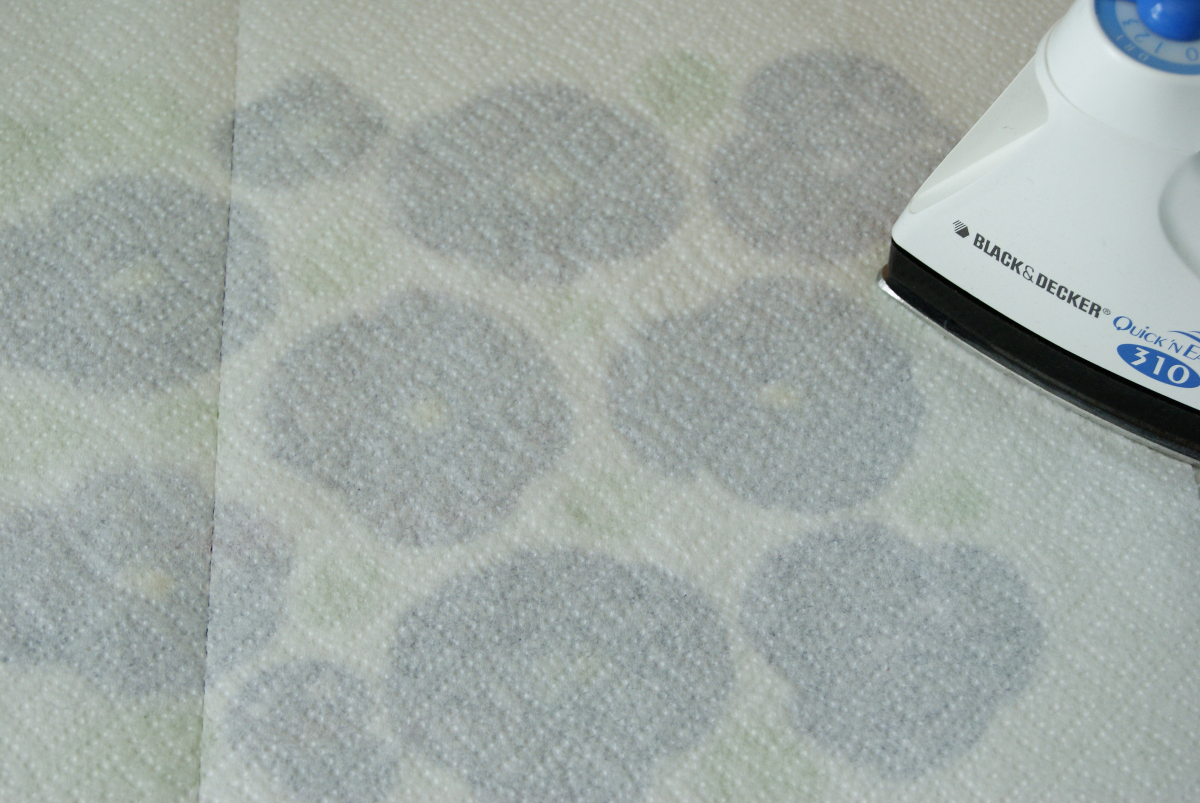
Lastly to set the design, I ironed my piece with a warm iron, but with a paper towel over it.
Don’t worry too much about all of this, the hammered images don’t have to be perfect by any means. Mine aren’t.
I paired my botanical impressions with some lavender linen and sewed up a Hide-and-Seek Dress. The floral images are showcased nicely on the front yoke.
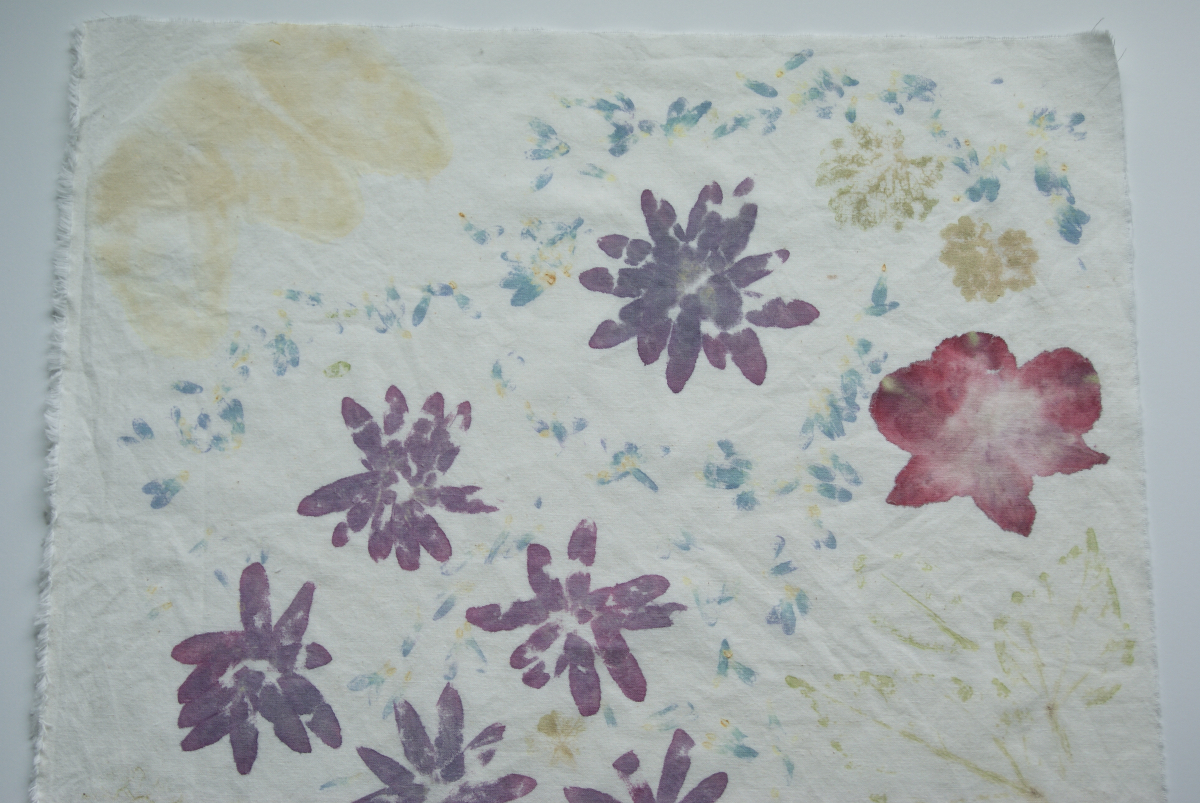
If you’re looking for a good resource, I suggest this book: The Art and Craft of Pounding Flowers by Laura Martin. It’s a treasure trove of information on the art of hammering flowers. You’ll learn what plants work best, what fabrics work best, and much more. For example, plants with darker pigments usually yield better impressions. For my second flower pounding project you’ll notice that the yellow flower petals that I pounded into the upper left-hand corner barely appear.
So there you have it. Maybe this might inspire you to try flower pounding and design and create your own floral print fabric to make wearable art.