
Yesterday was day one of the Tea Party Dress sew-along. Today is the second and final day where Sarvi will be showing us how to finish up the dress. Thanks so much for being here, Sarvi!
When we left off, we had an outer dress and inner dress, ready to be assembled together. To do this, we’ll put the dresses right sides together, one tucked inside the other, and match up and pin the straps. We’ll stitch all the way around top in one big circuit, going very slowly around the curves. I like to go one stitch at a time and stop with the needle down, lifting the presser foot, and adjusting the fabric around the tightest parts of the curves. When you’re done, trim the seam allowances closely to get a smooth edge.
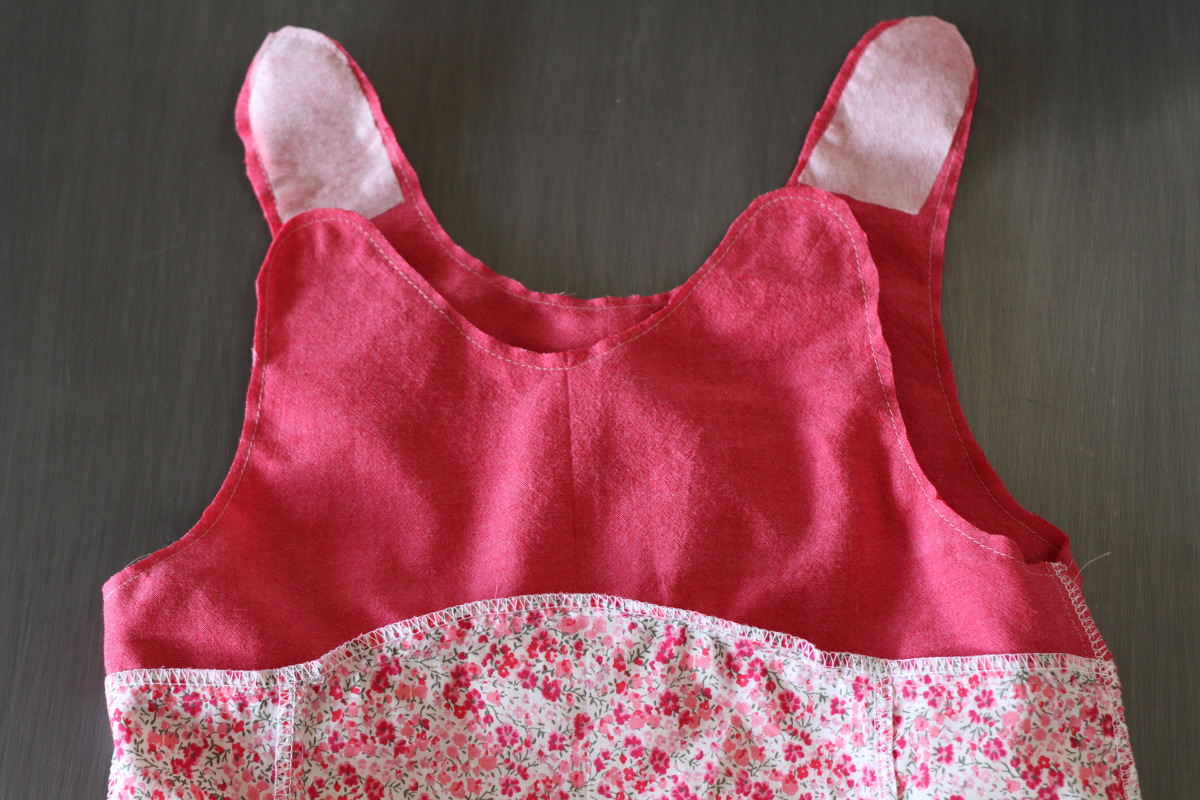
Then, turn the dress inside out and push out the corners gently. Give it a good press and topstitch if you like. I chose not to topstitch mine.

You can hem the dress and lining separately, using the hem facing as instructed. Another option would be to cut the lining slightly shorter, and tuck it inside the hem facing for the outer dress before hand stitching or topstitching it down. I did something a little different. I decided to pin the skirt to the lining, right sides together, and stitch most of the way around, leaving a small opening to turn the dress right side out again.
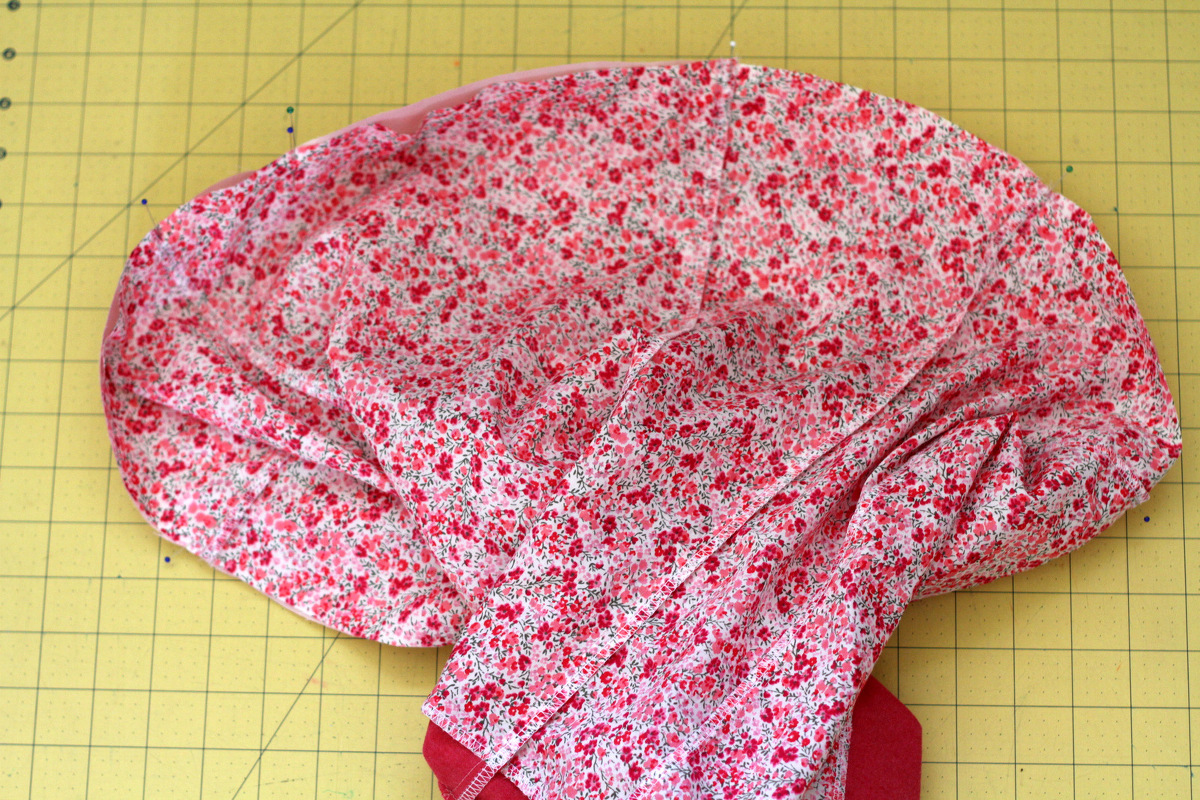
It’ll look a little funny at this stage but have faith and carry on. I used two pins together to remind myself where to stop. I chose to leave an opening at the center back of the dress, where the curve of the hem is mildest, to make this bit easier to turn under and press in the next step.
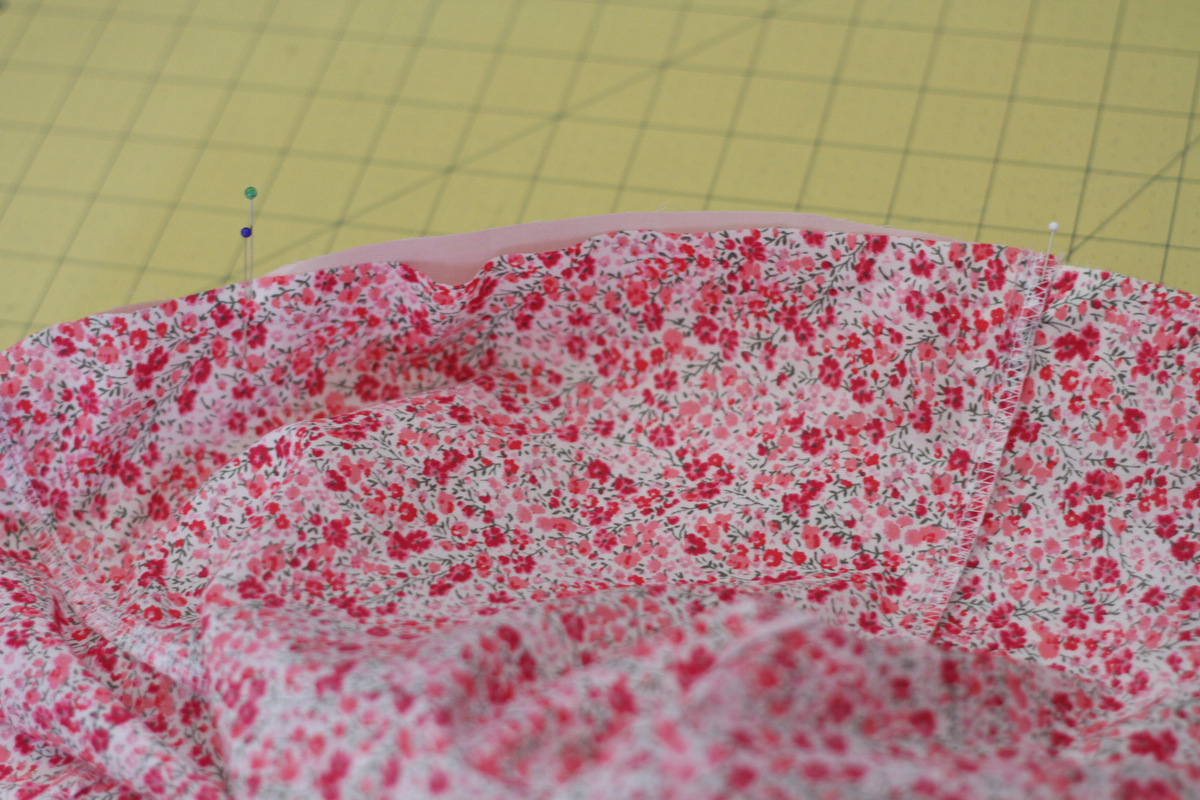
Next we’ll stitch around the hem, going slowly around the gentle curve of the hem and moving the fabric into place. When we’re done, we’ll turn the dress right side out through the opening. You can trim the seam allowance if you like, but don’t trim it at the unsewn part, to make it easier to fold under and press. I rolled the seam a little toward the inside of the dress to make sure the lining didn’t show when worn. Once it’s pressed, pin in place to hold it closed.

Again, you can hand stitch or topstitch it closed. I wanted to add one last level of pink to this dress, so I added a bit of silk grosgrain ribbon, topstitched on. This also closed the opening at the hem edge.
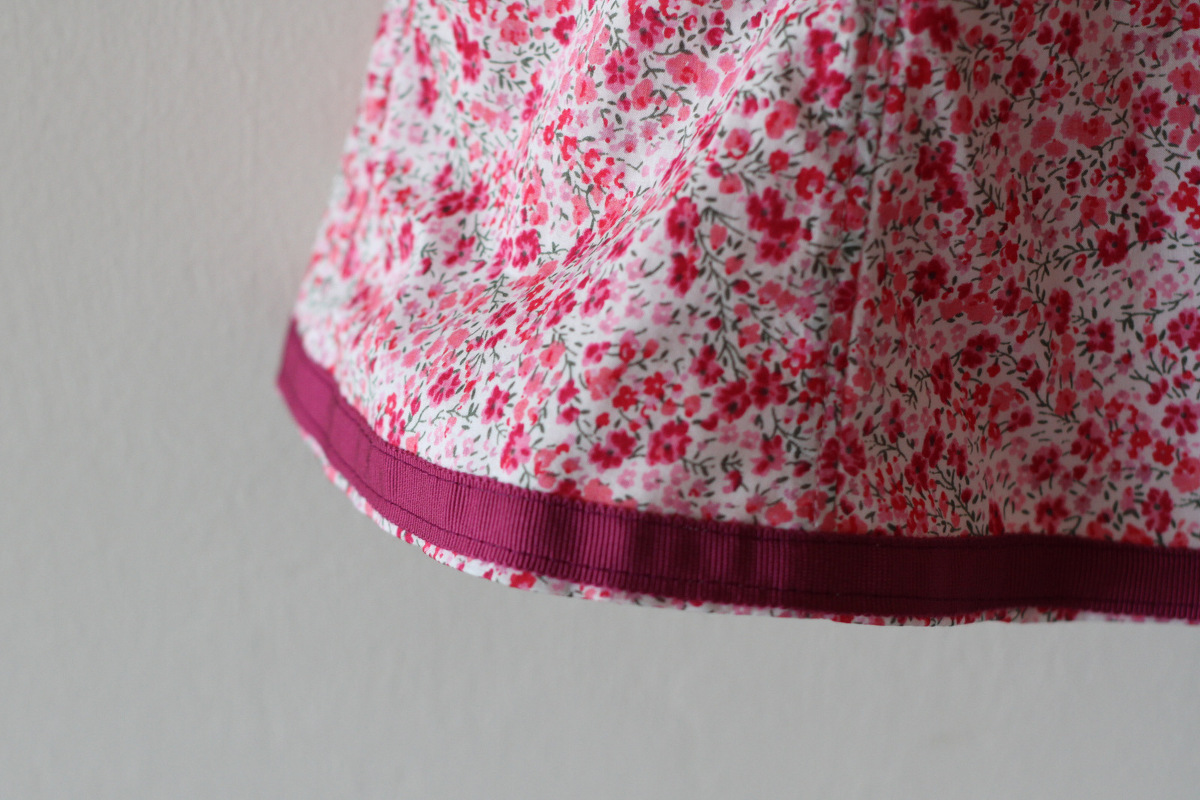
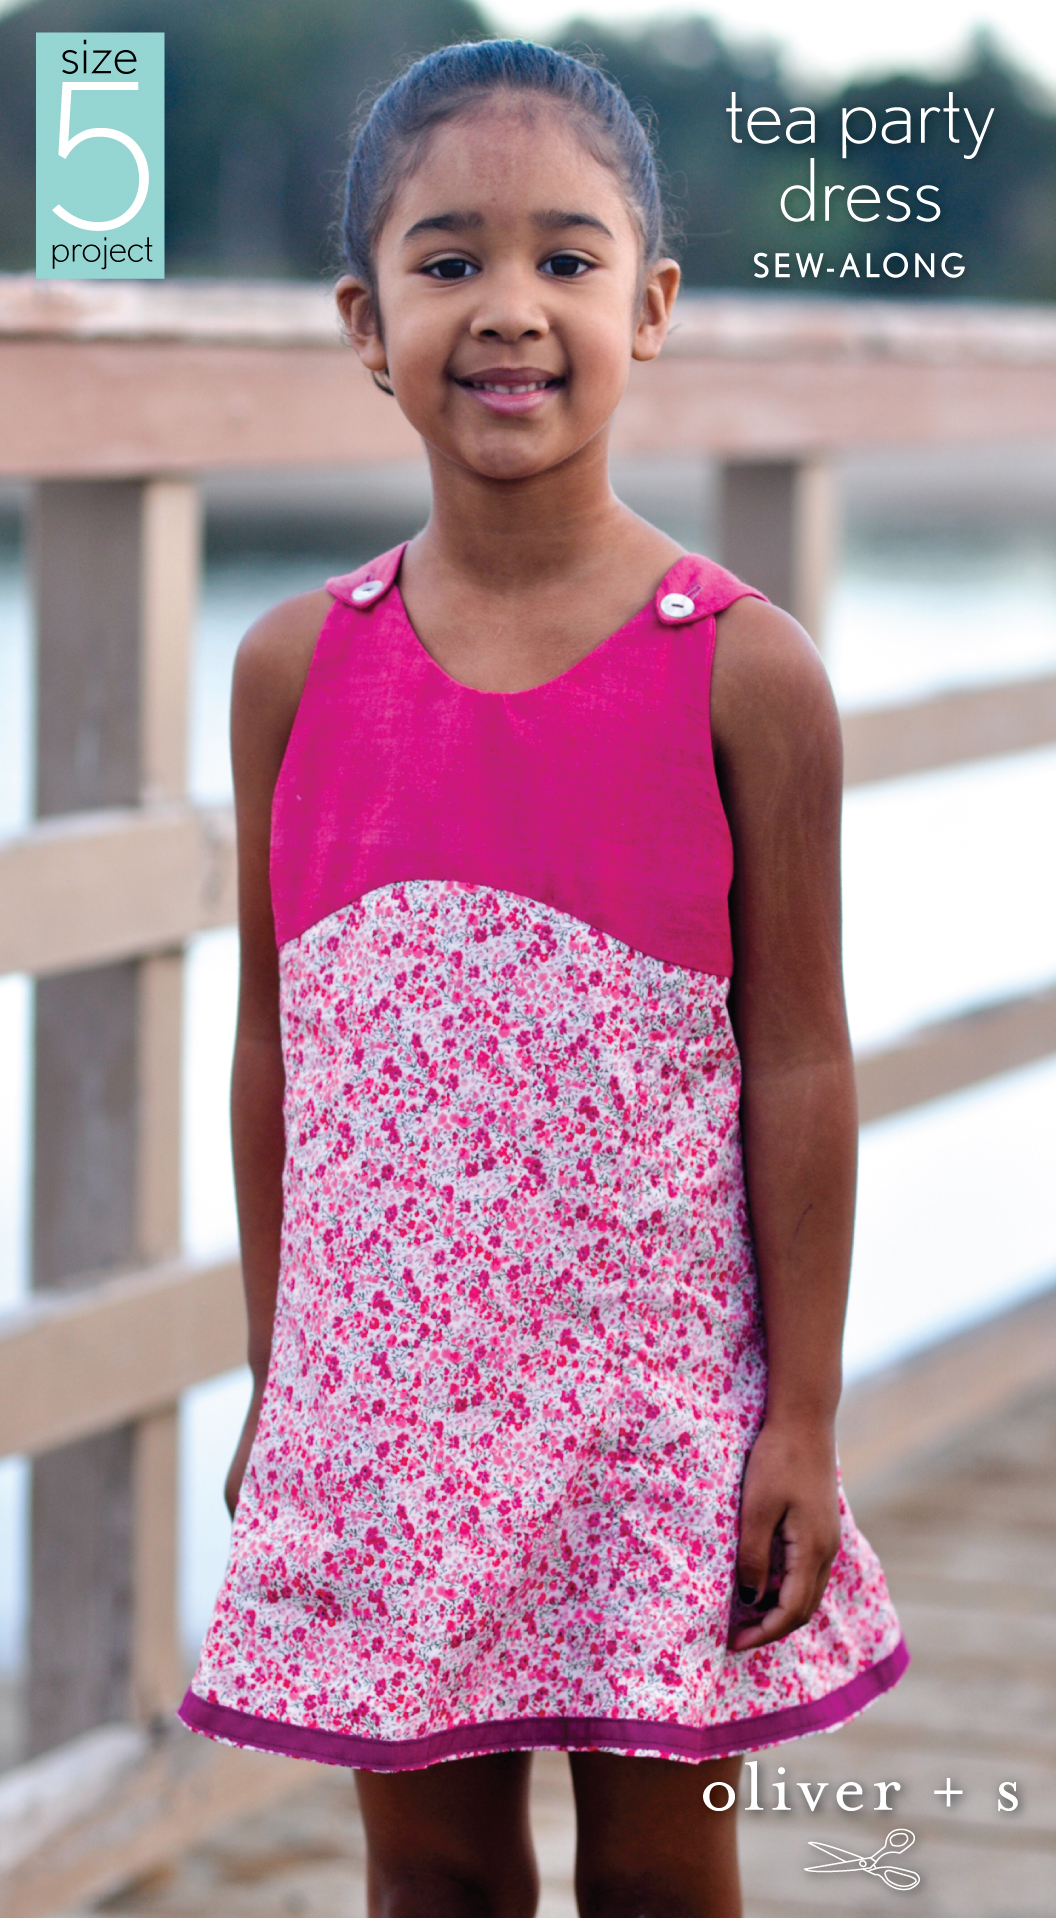
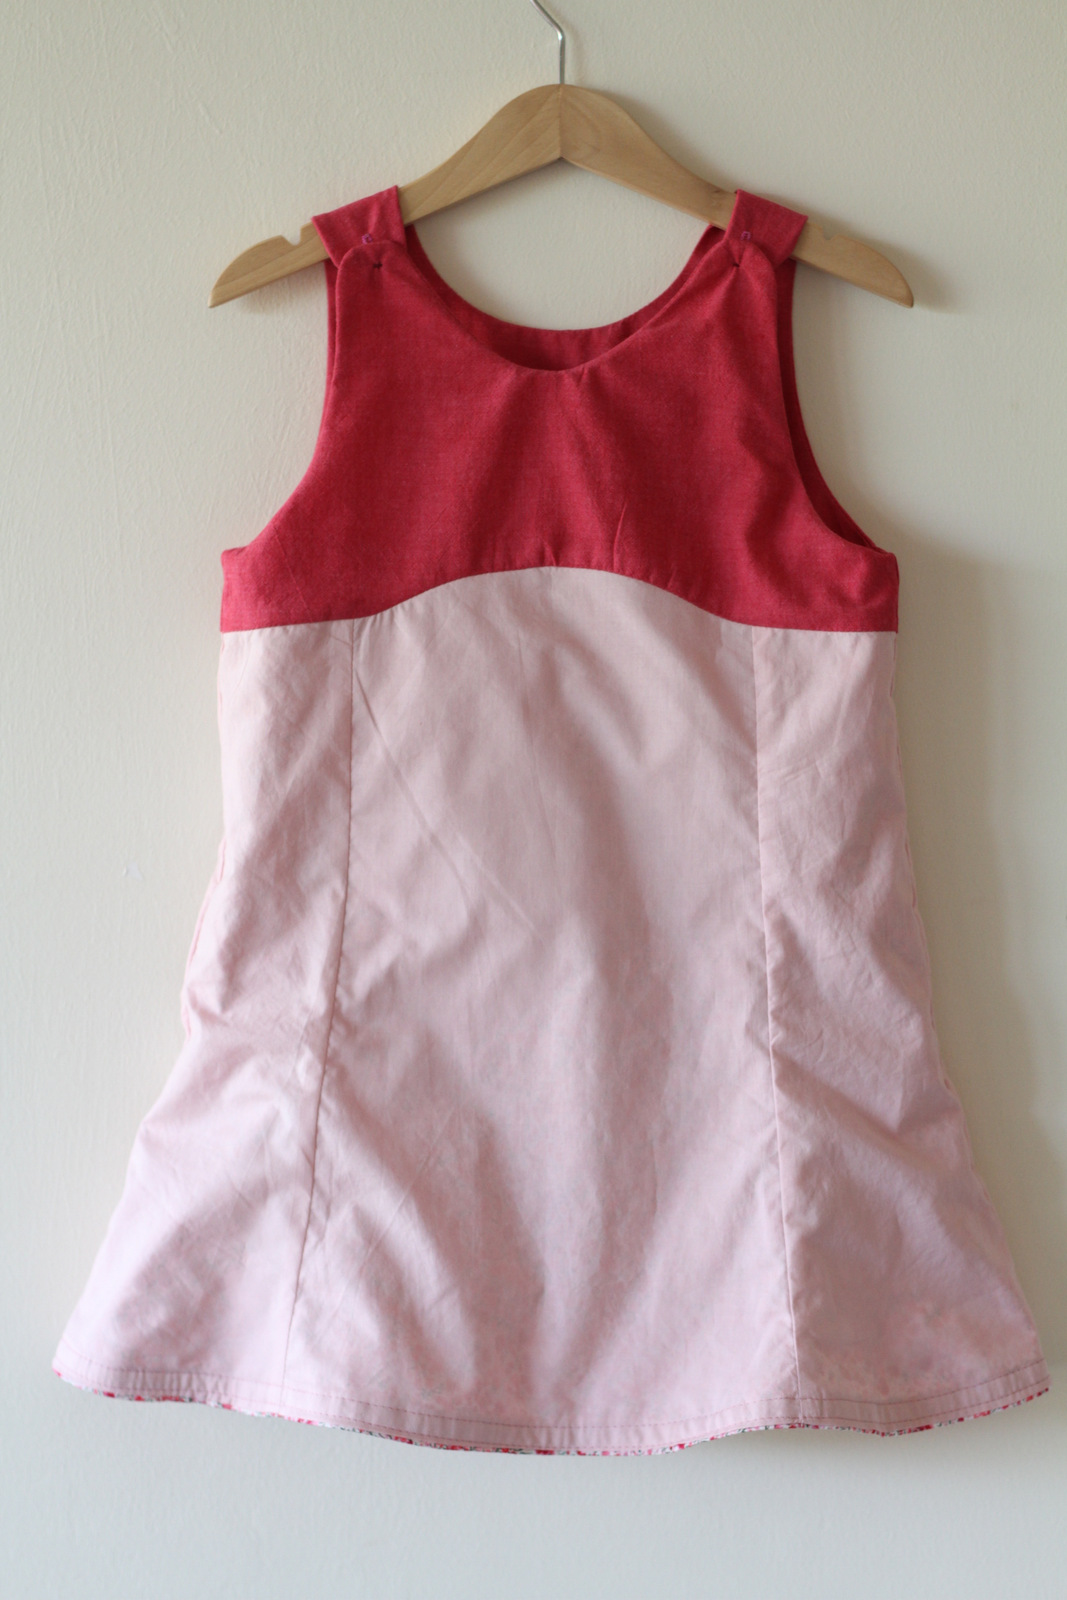
Add a few shell buttons and there you have it! One very pink dress, tidily finished inside…
…and out!
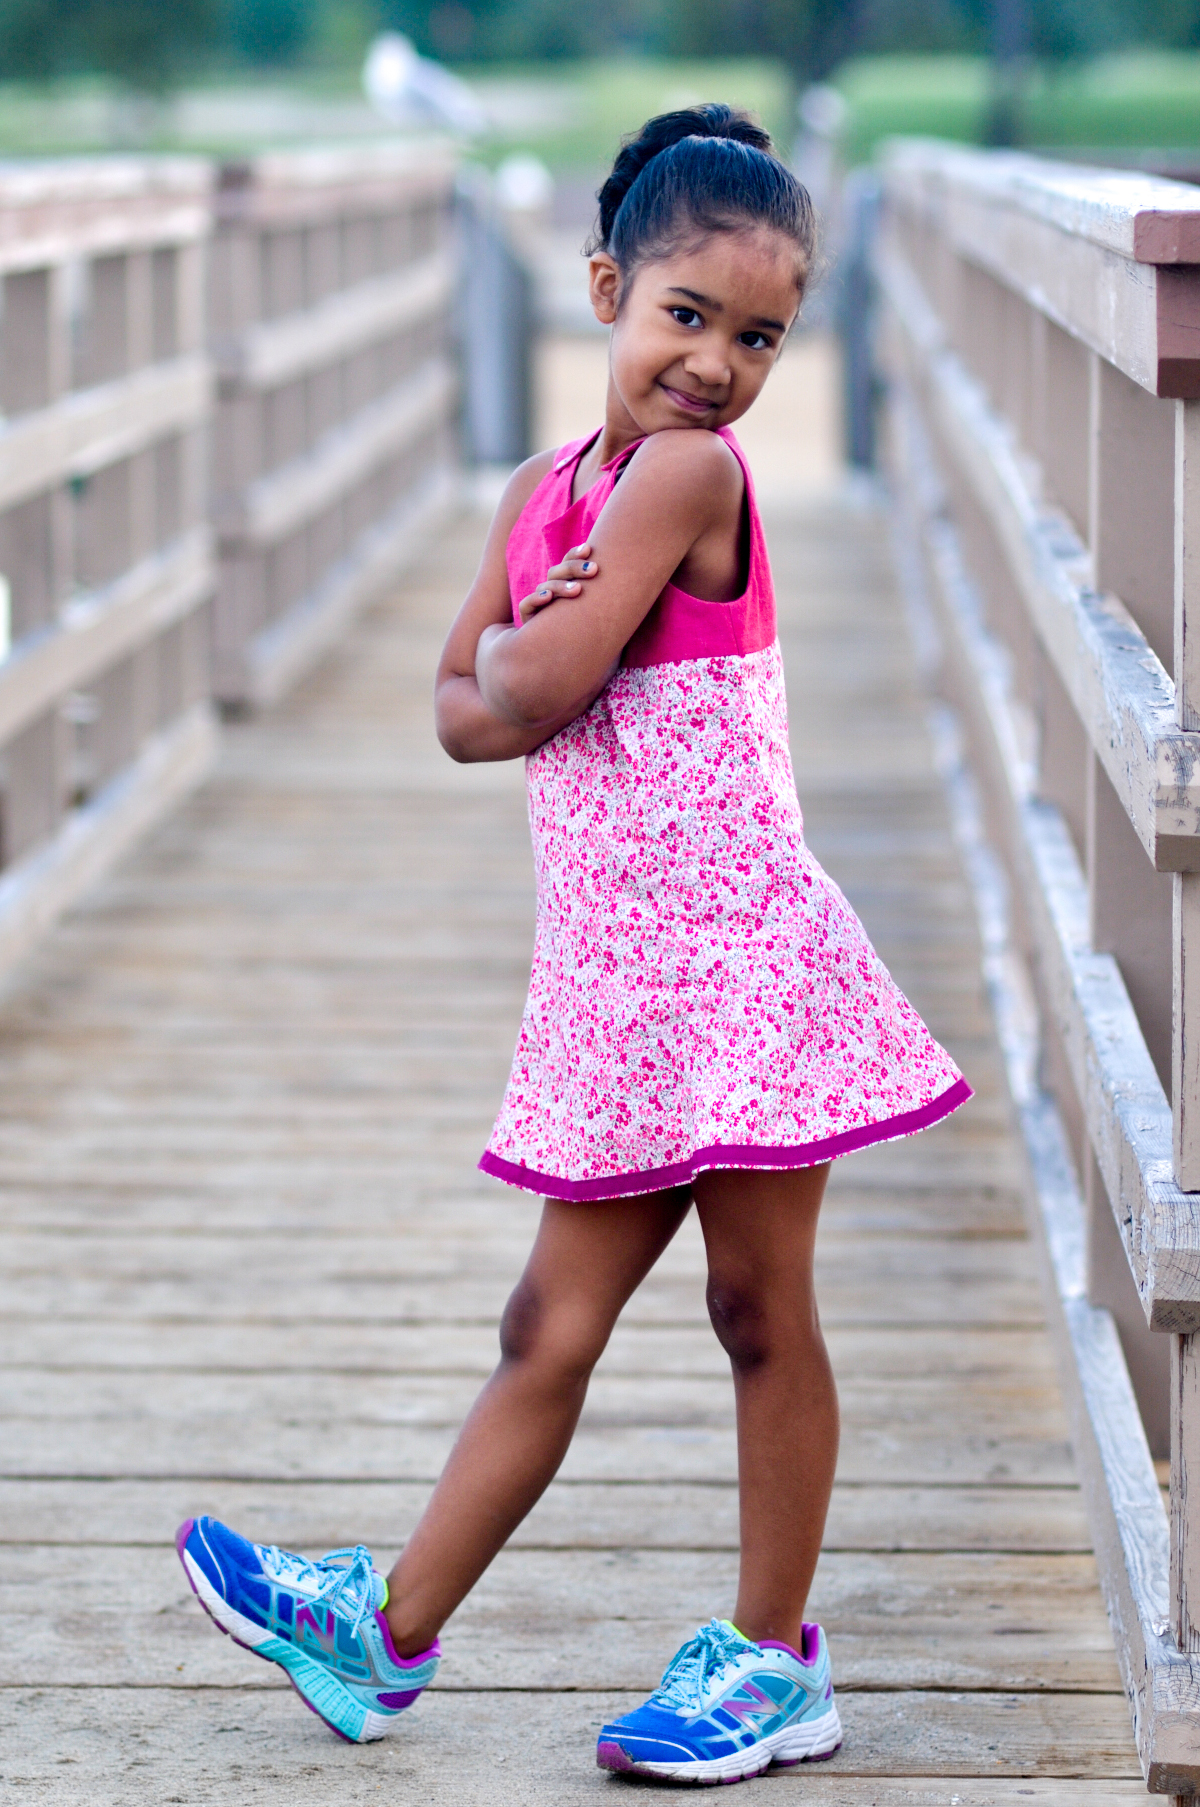
We always love to see what you create. Please do add photos of your completed Tea Party dresses to the Oliver + S Flickr group.