
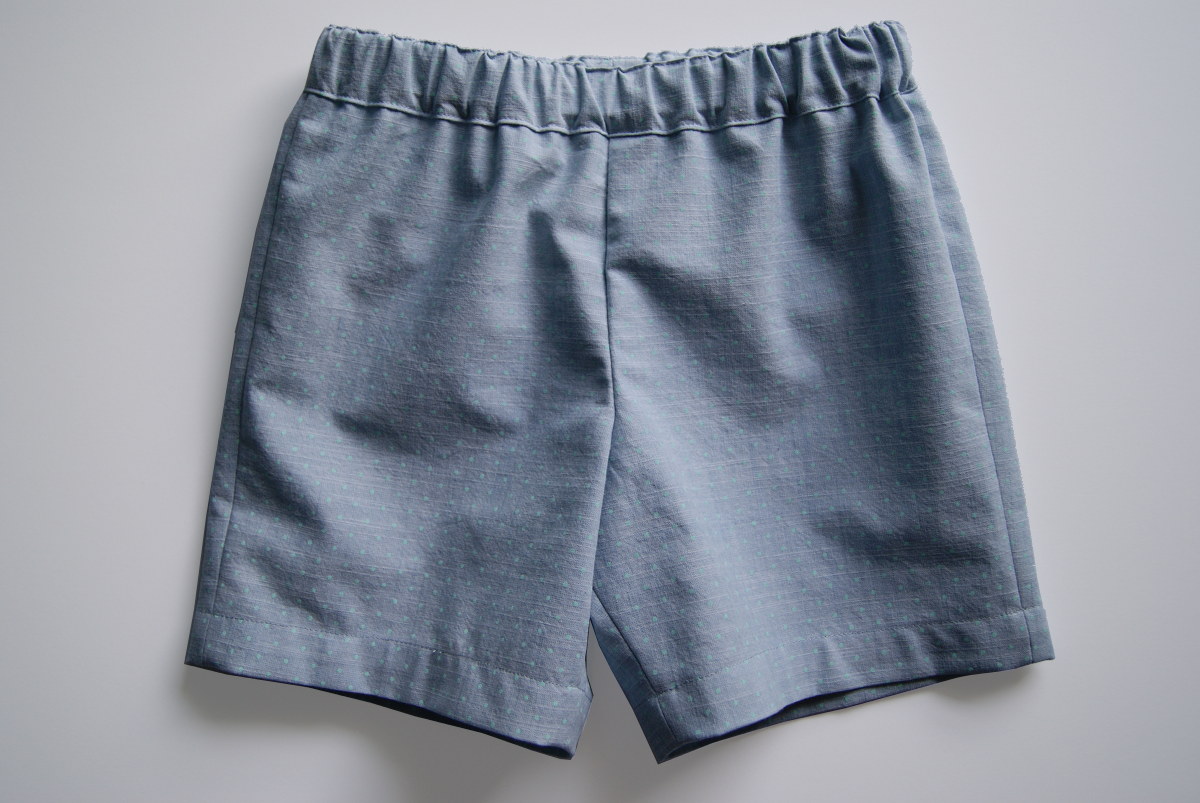
Here we go with day two of the Sunny Day Shorts Tutorial. Yesterday we did the preparation and started the sewing with preparing the front and back. Today we will finish the shorts.
Attach the Waistband
1. Fold the waistband in half lengthwise, with wrong sides together, and press a crease into the center. Unfold the waistband, and sew a line of basting stitches 3/8″ from one long edge. Fold and press the fabric to the wrong side along the basting line.
2. Unfold the pressed waistband edge; then fold and pin the short ends of the waistband together, with right sides facing and the raw edges aligned. Stitch the short edges with a 1/2″ seam, backstitching or lockstitching on both ends. Press the seam allowances open. Re-fold the previously pressed long edge.

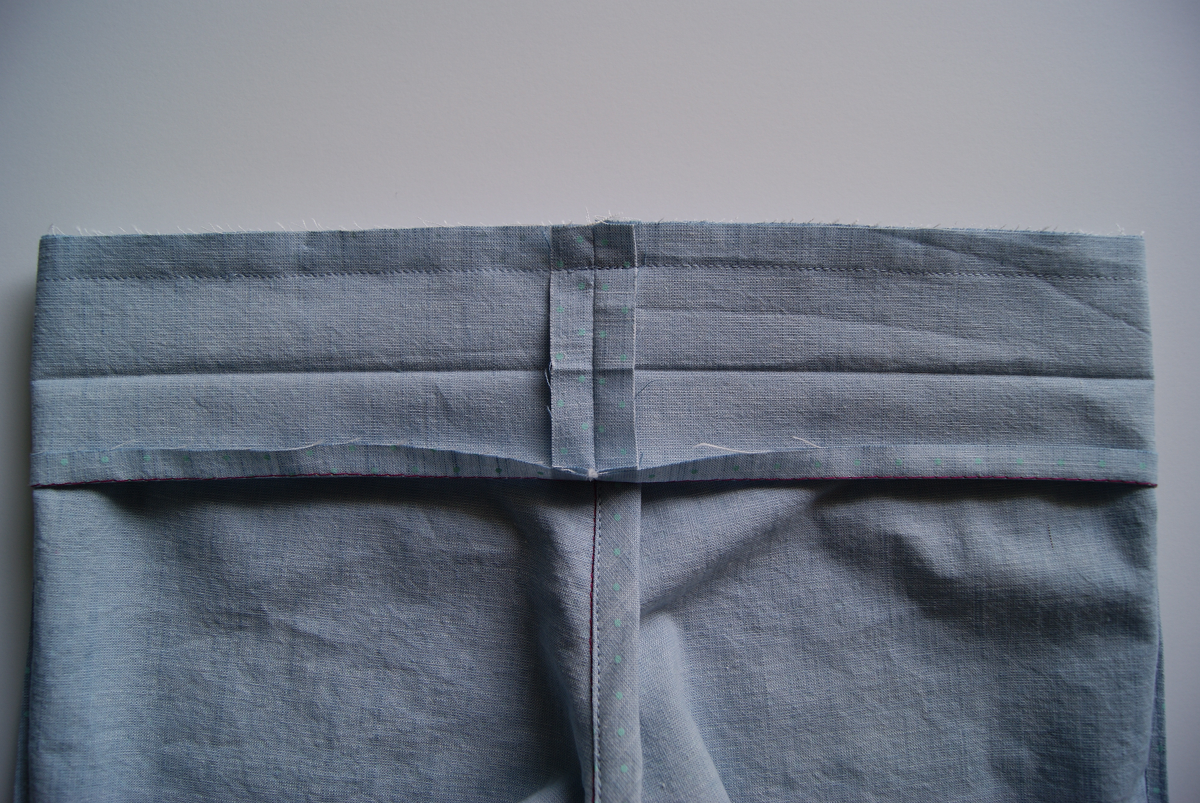
3. Align and pin the waistband’s unfolded edge to the top edge of the shorts, with the right side of the waistband facing the wrong side of the shorts. Match the waistband’s seam with the center-back seam of the shorts, and align the waistband’s notches with the side seams of the shorts. Stitch the waistband to the shorts with a 1/2″ seam.
4. Turn the shorts right side out, and press the waistband and seam allowances up, away from the shorts. Trim the seam allowances to 1/4″ to reduce bulk in the finished waistband.
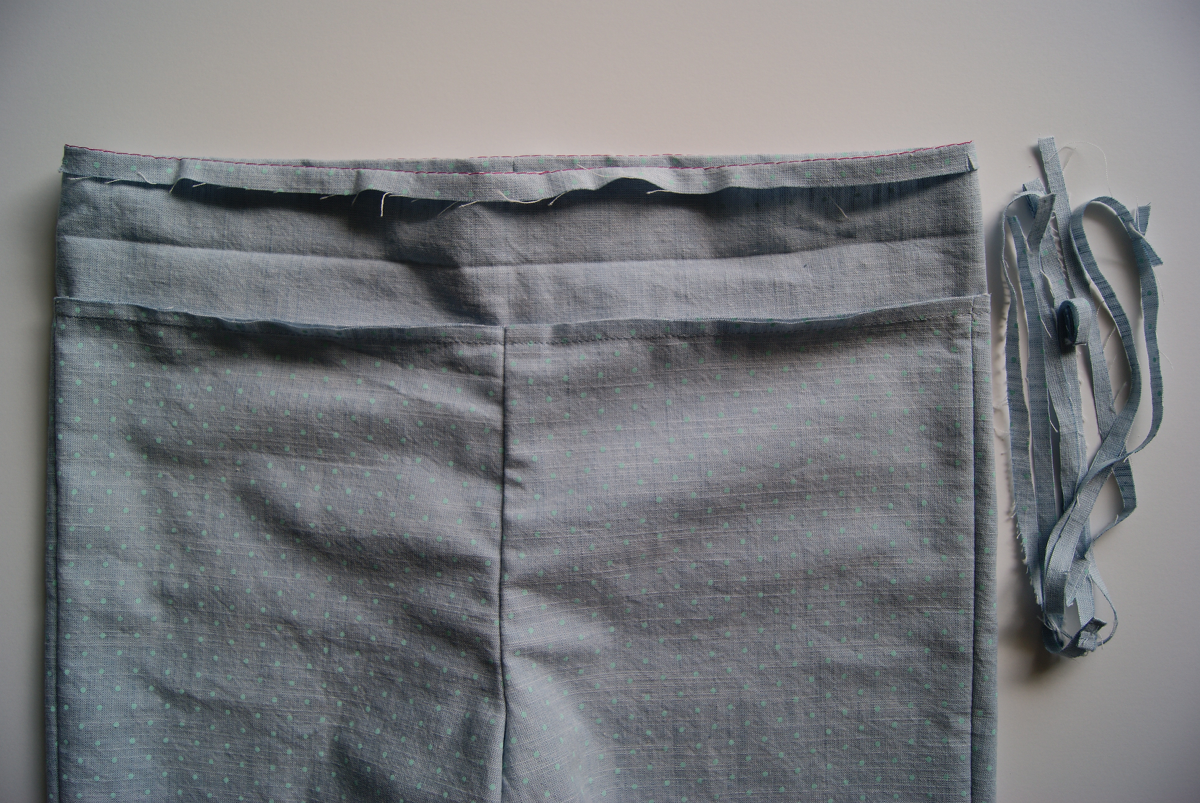
Note: If you haven’t does so already, remove the basting stitches from step 1.
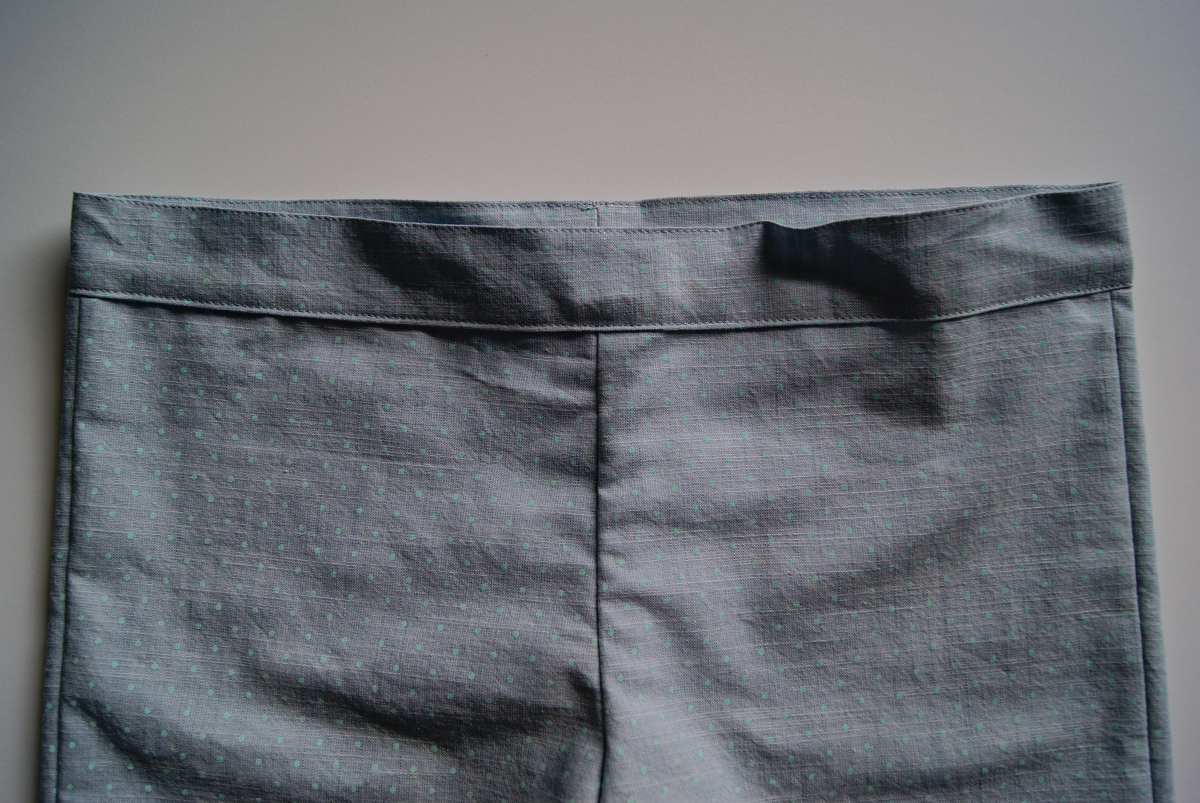
5. Fold the waistband over the seam allowances to the right side of the shorts along the original center crease, and pin the waistband’s folded edge, so it covers the stitching. Working on the right side (the outside) of the shirts, edgestitch the waistband’s innermost folded edge to finish it, leaving about 2-3″ unsewn at the center back to make an opening through which to feed the waistband elastic.
6. Edgestitch the top folded edge (make this a narrow edgestitch if you can – 1/16″ would be ideal) to help prevent the elastic from twisting in the waistband and to give the waistband a clean, finished appearance.
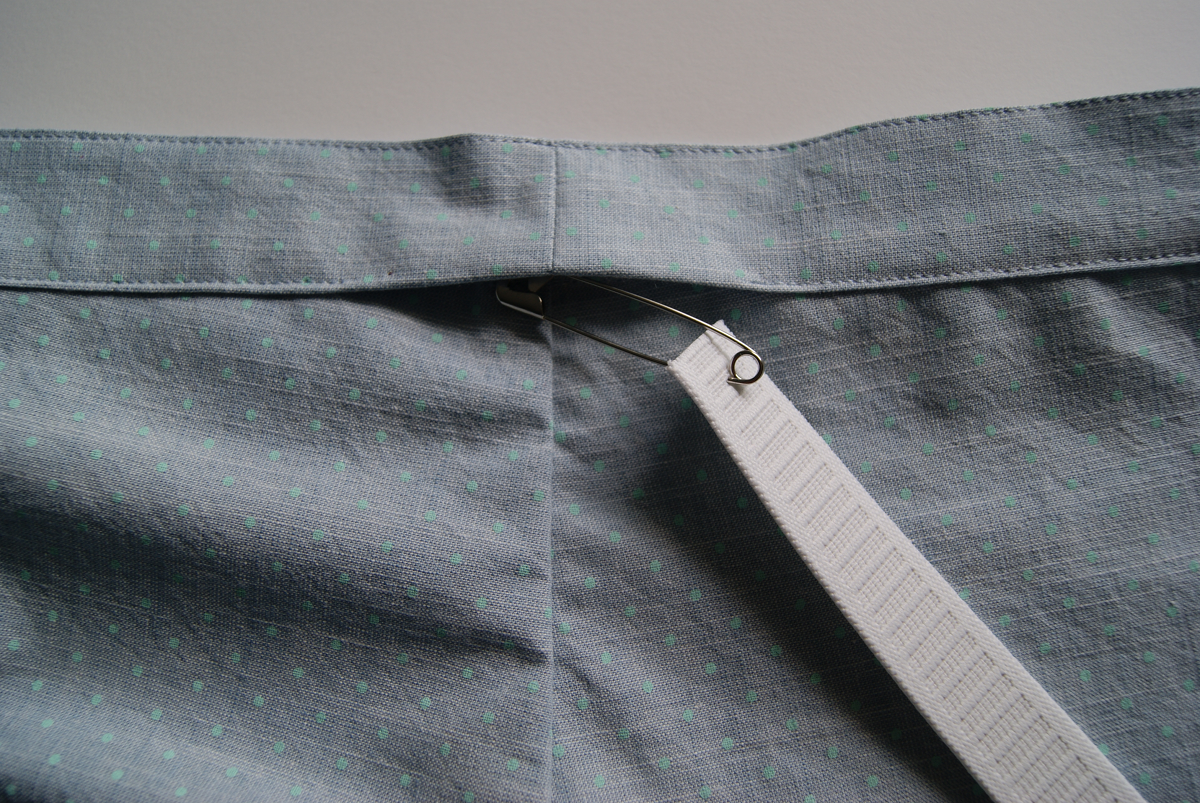
7. Attach a safety pin or bodkin to one end of the elastic, and feed the elastic through the waistband casing.
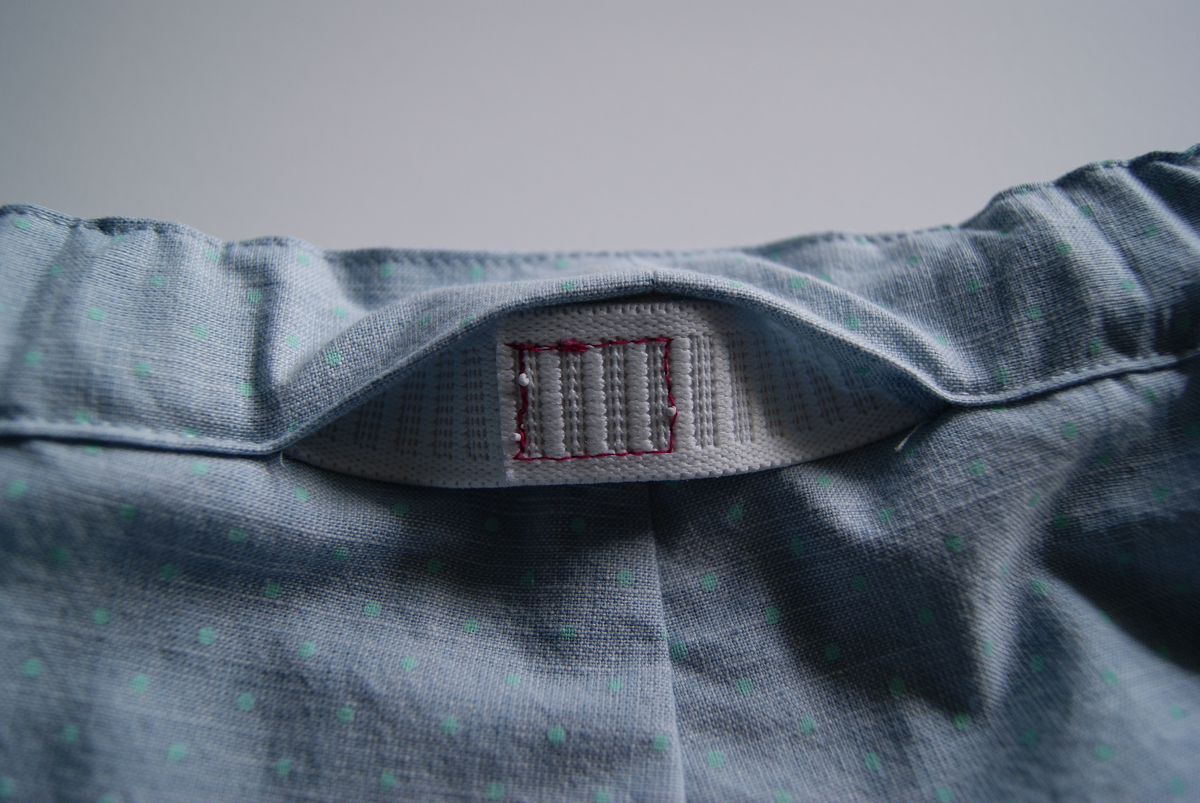
Adjust the length of the elastic to fit the wearer’s waist, and trim the elastic to the desired length. Next overlap the two ends of the elastic by about 3/4″, and pin together. Then sew the pinned edges, removing the pin as you sew and lockstitching at the beginning and end of the rectangle.
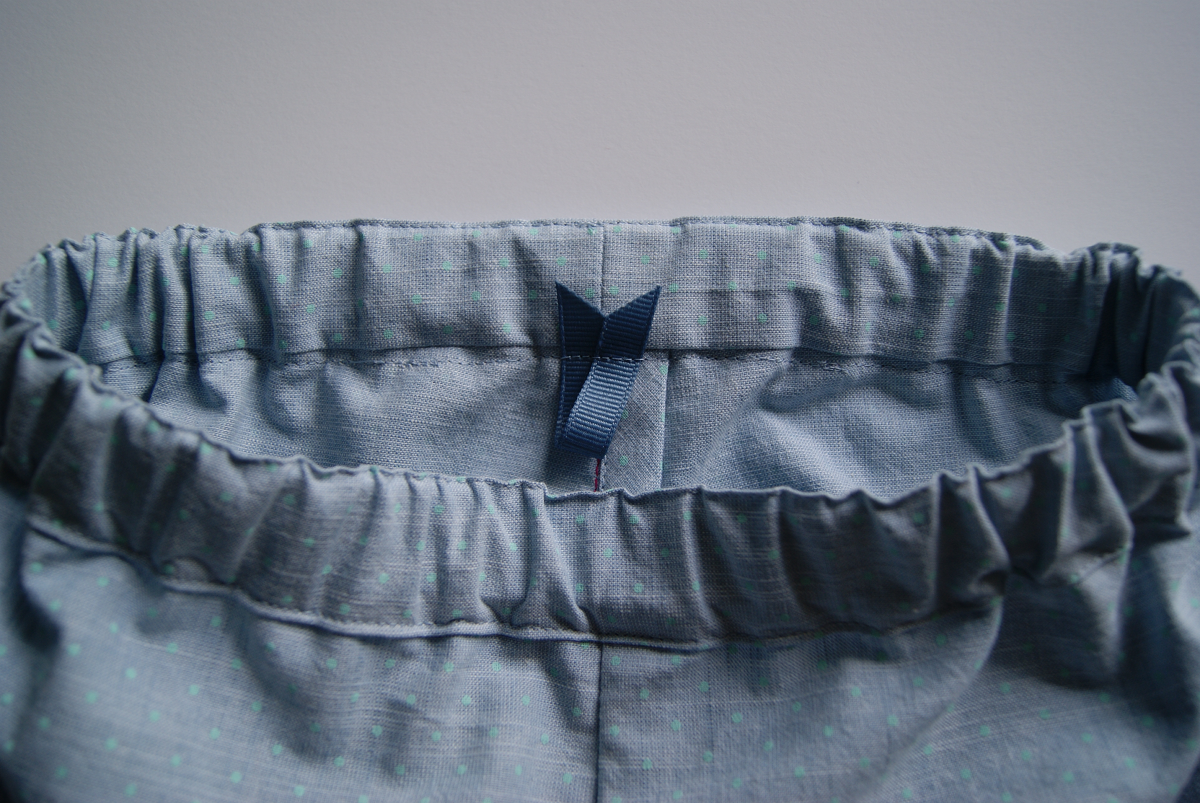
8. Finish edgestitching the waistband’s opening to close it, backstitching or lockstitching at both ends of your stitching.
Hint: When you stitch this opening closed, stitch a little piece of folded ribbon into the waistband seam at the inside center back to help identify the back of the finished shorts.
Finish the Shorts
1. To hem the shorts, fold and press the bottom edges toward the wrong side, first by 1/2″ and then by 1″. Edgestitch the innermost folded edge to finish the hem, and then press the hem one final time.
I hope you’ll share your fabulous Sunny Day Shorts in the Flickr group when you’re finished.