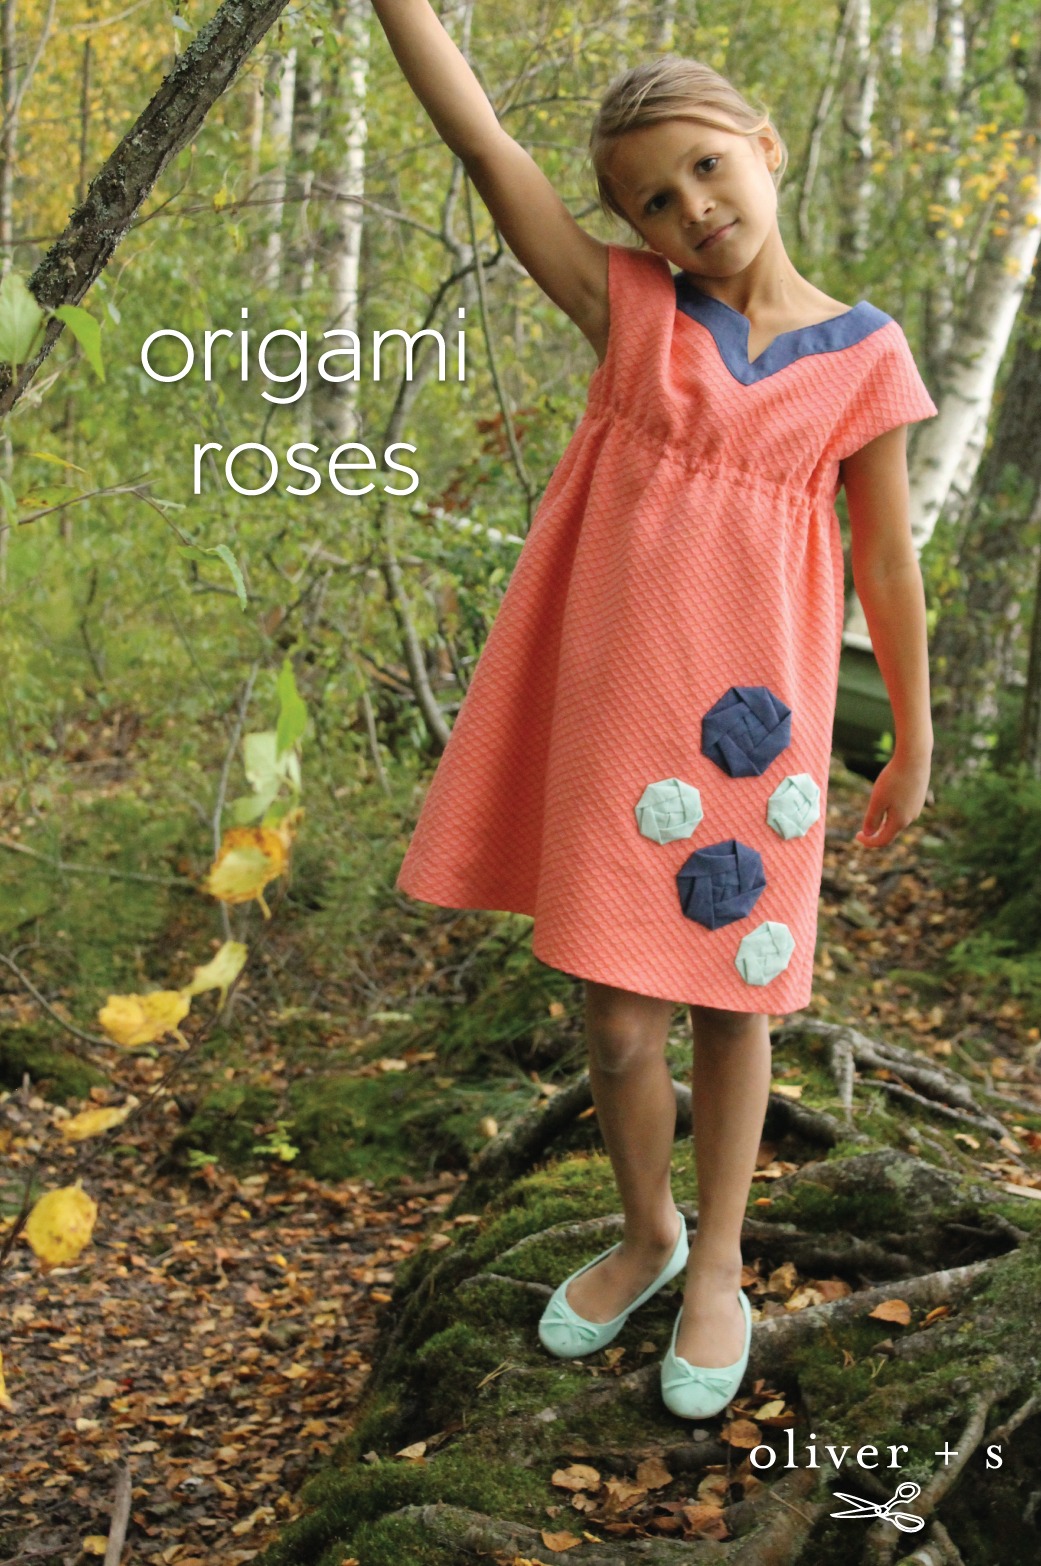
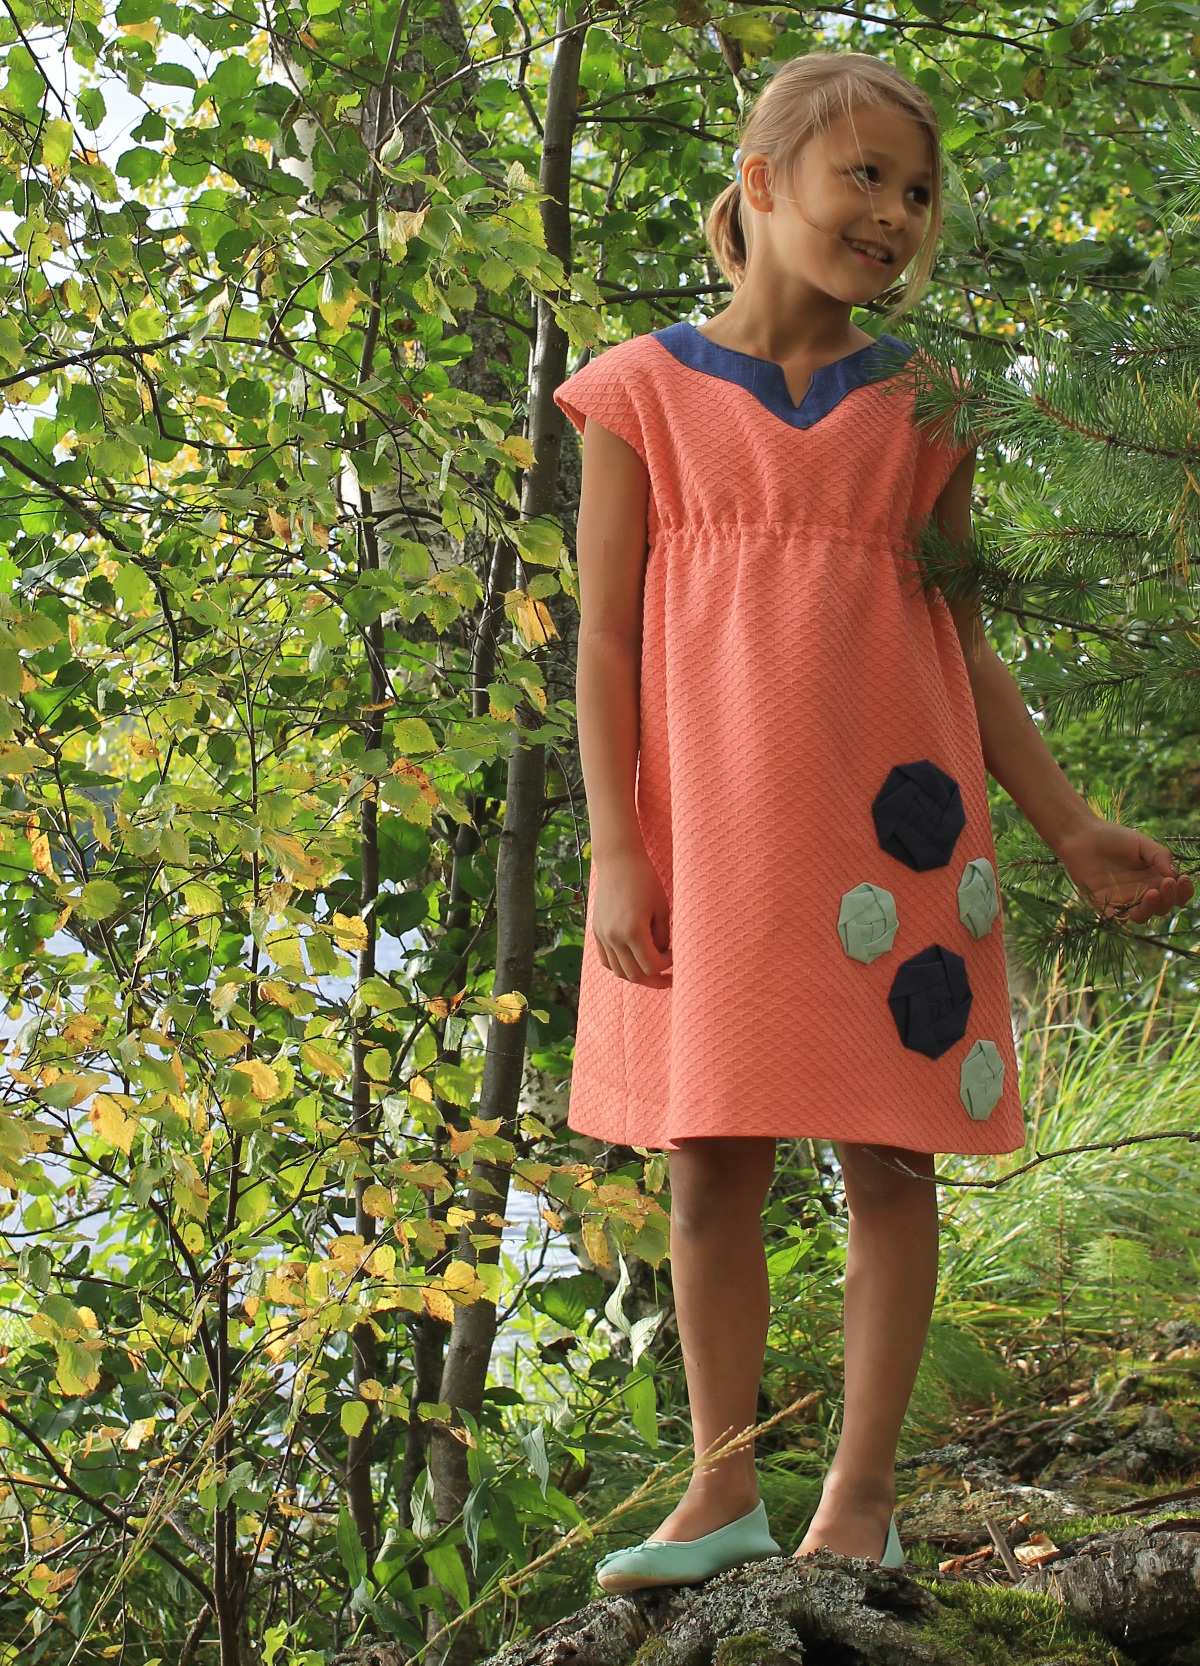
Let me introduce you to Krista who lives in Finland. She created a lovely Roller Skate Dress embellished with origami roses. She was kind enough to take the time to stop by to show some of the steps she did in order to create the flowers. She’s also going to share a great resource for folding fabric flowers. Great to have you here Krista!
Hello everyone! I’m very excited to be here today sharing my first guest post ever. I’m going to tell you a little about fabric origami, which is such an interesting technique. As you all probably know ori (folding) gami (paper) is often associated with Japanese culture and it means the art of paper folding. But you can fold fabric too, and that’s what makes this technique very interesting to all of us sewing people. Fabric origami can be used separately on all kinds of sewing projects or you can just get inspired by the the shapes of origami and try to create a surface or structure that somehow imitates them. That however would be a whole other post, so let’s just concentrate on a single origami which you can use for instance to embellish your Oliver + S patterns, like I did.
I will give you a word of warning though: once you learn the basics of the folding technique you just want to learn more. It’s truly very addictive! On the other hand I’m sure we all have lots of small fabric scraps at home, and origami is just the perfect way to get rid of them and turn them into something beautiful.
My first experience with fabric origami took place fifteen years ago when I was on holiday in Florida. The world has changed a lot over the years and at that time buying books on the net wasn’t as easy as it is today. So one of my favorite things when going on holidays especially outside Finland was to visit local book stores and buy inspiring craft books. That’s how I found Rebecca Wat’s book Fantastic Fabric Folding. I was amazed by her beautiful quilting projects with the touch of fabric folding and occasionally tried even, making some of them here at home. But the essential step forward happened just this year when I finally had enough patience, peace and quiet (I have four kids) and understood how the folded roses were meant to be made. I totally fell in love and decided to decorate my youngest daughter’s dress with them.

Today you’ll get to see how I gave a really nice twist to the beautiful and classic Oliver + S Roller Skate Dress by using that same three-dimensional Folded Roses pattern from Wat’s book. I’m also going to give you some tips if you are a beginner in fabric folding and share some in progress pictures.
The book has eighteen step-by-step photos for the rose and they are quite easy to follow. If you haven’t done origami before I would suggest to try with paper first because it’s simply easier to fold. Or at least start with cotton because it holds creases well. I started with stretch cotton and it wasn’t the easiest material. When you are more experienced, you can try different colors, sizes, textures and materials. For this Roller Skate dress, for instance, I used mixed linen fabric in two colors and sizes.
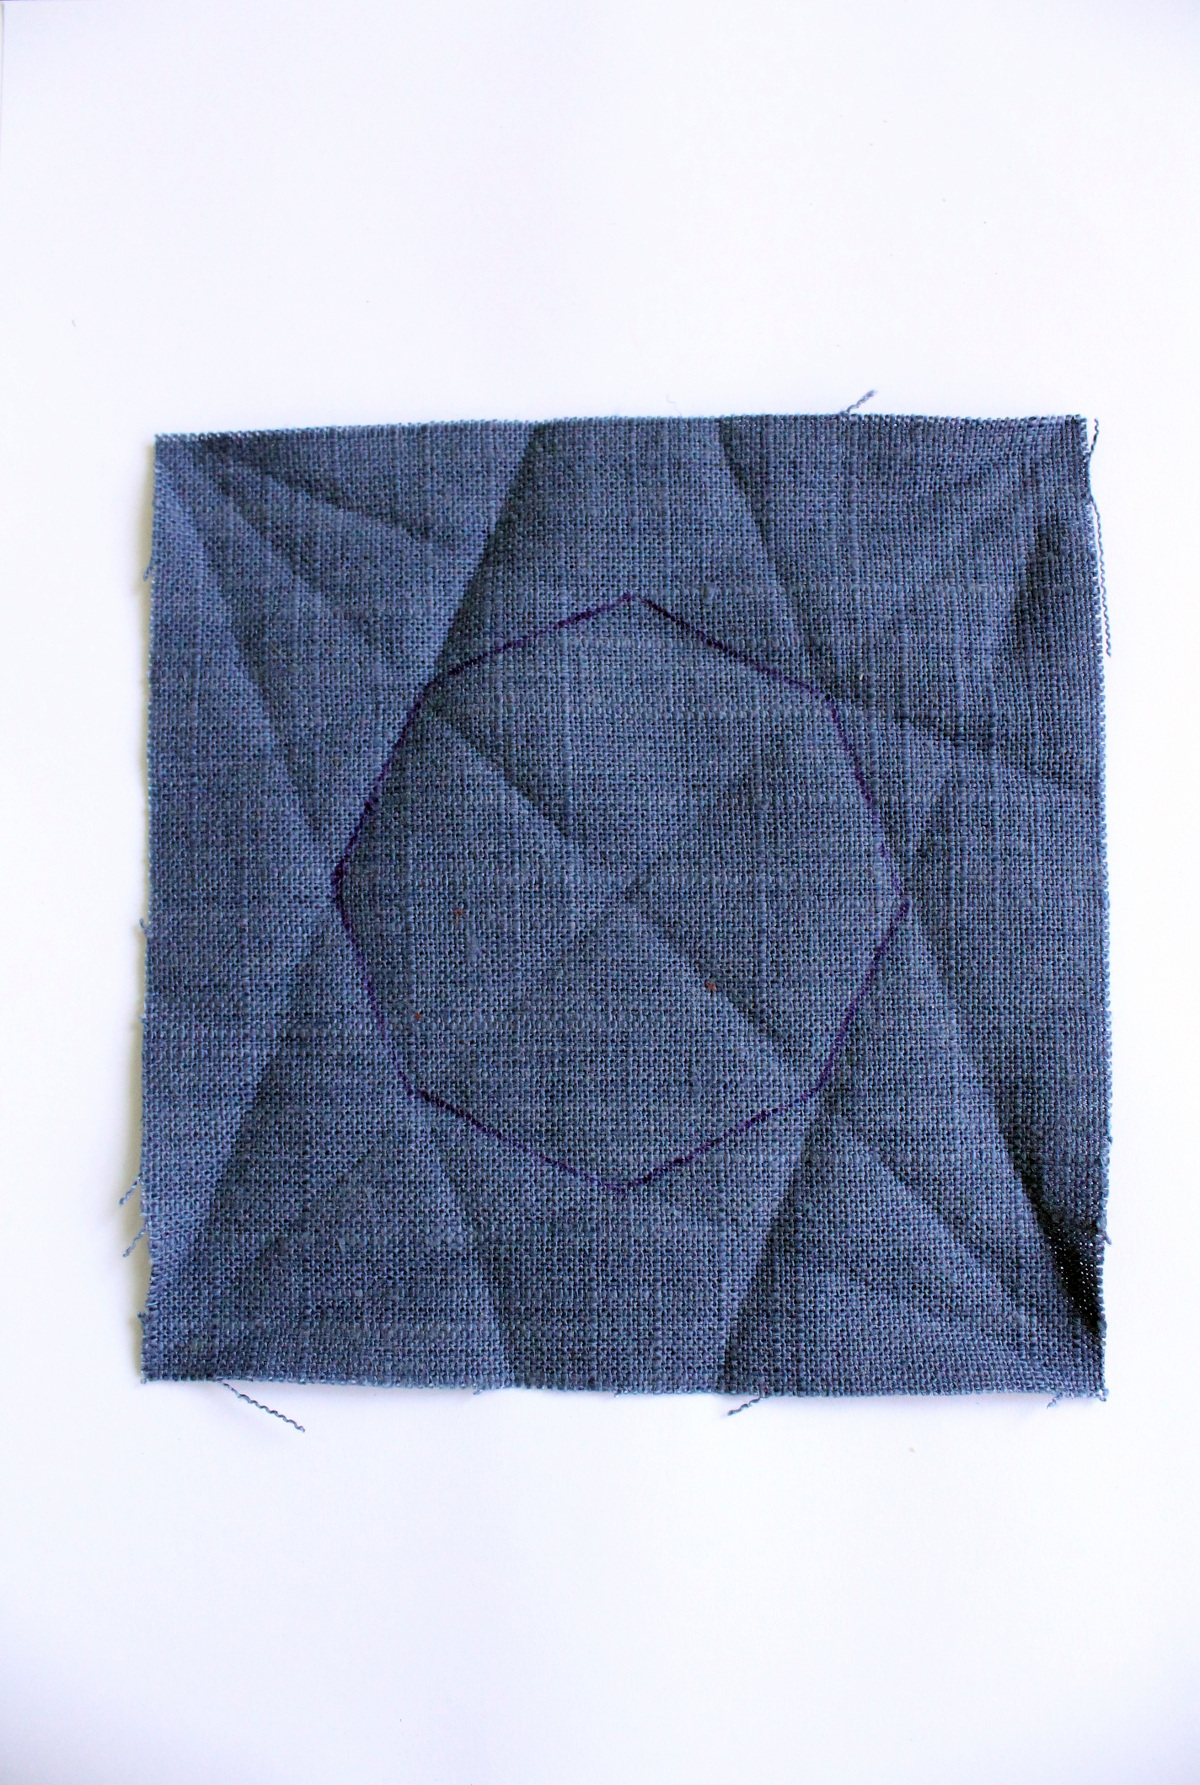
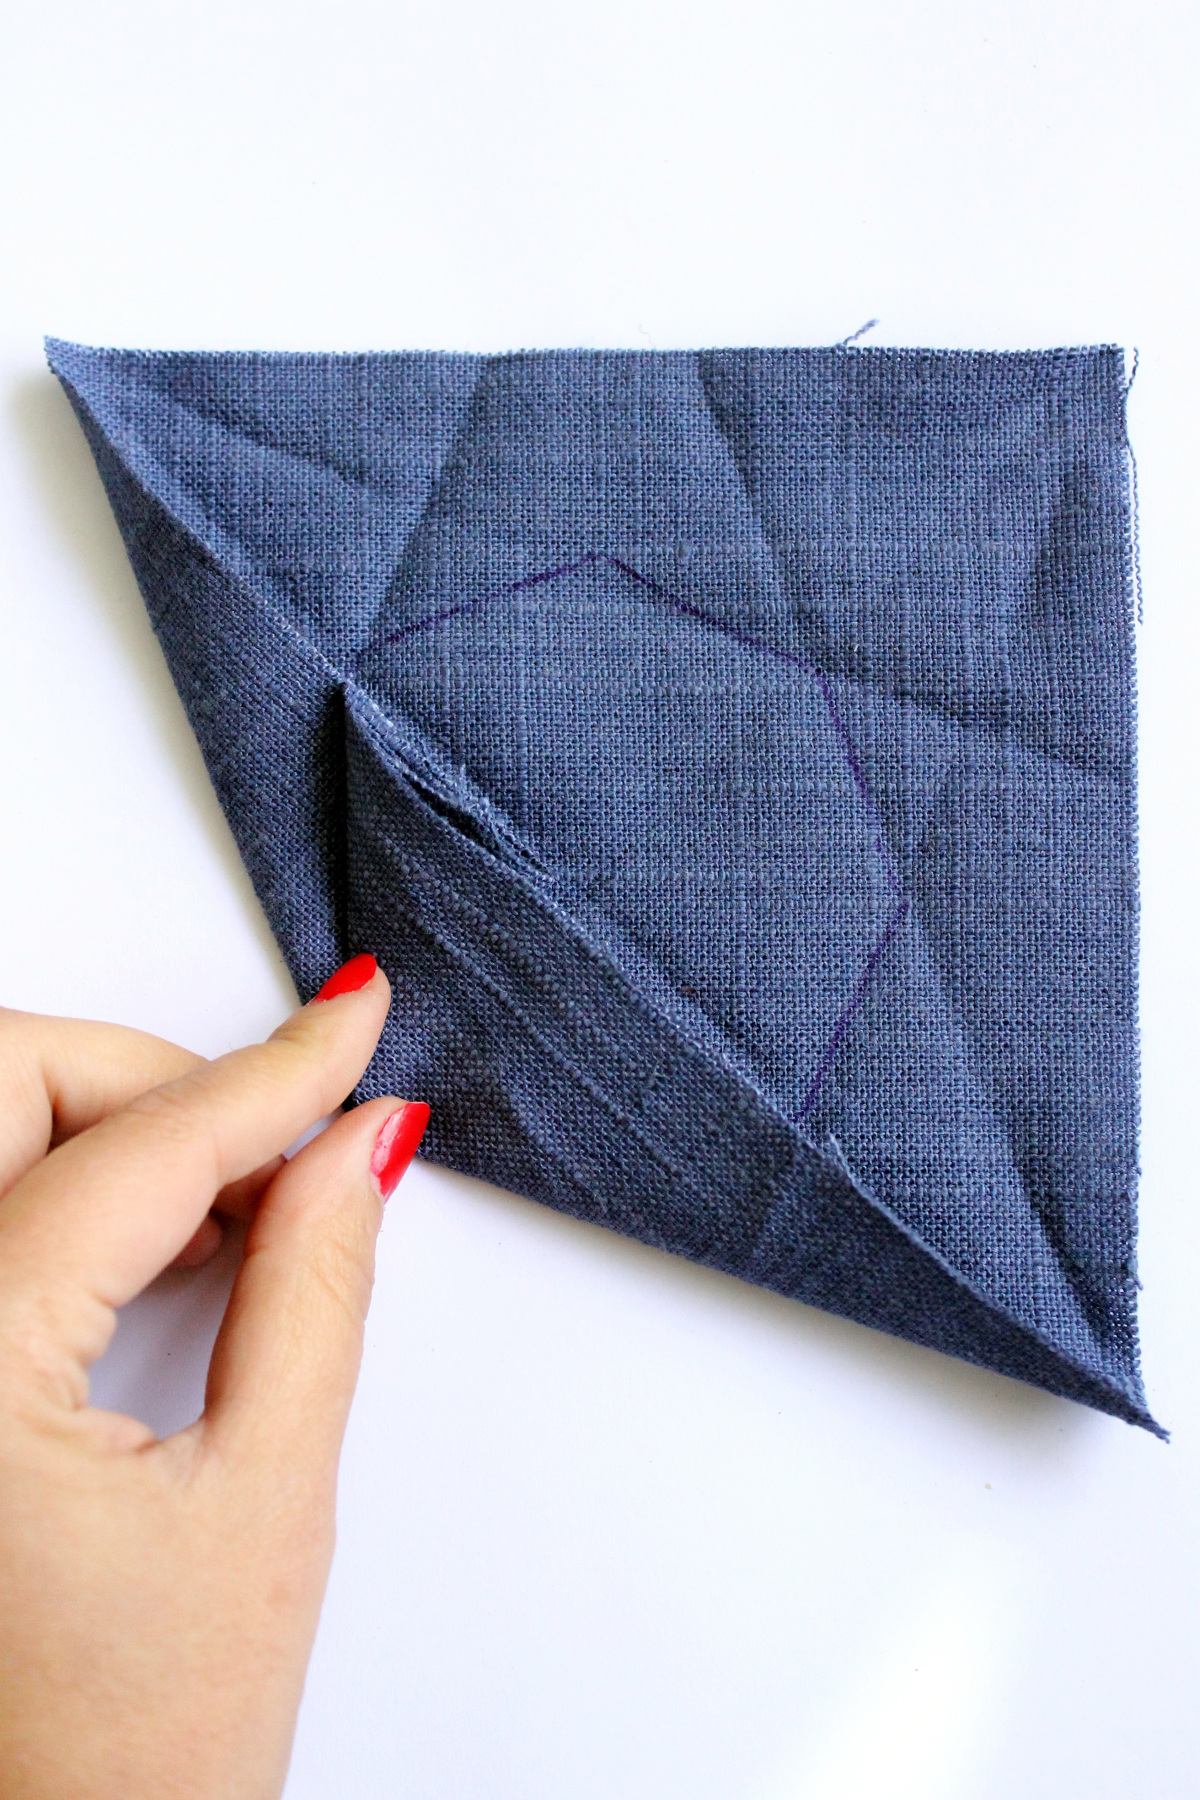
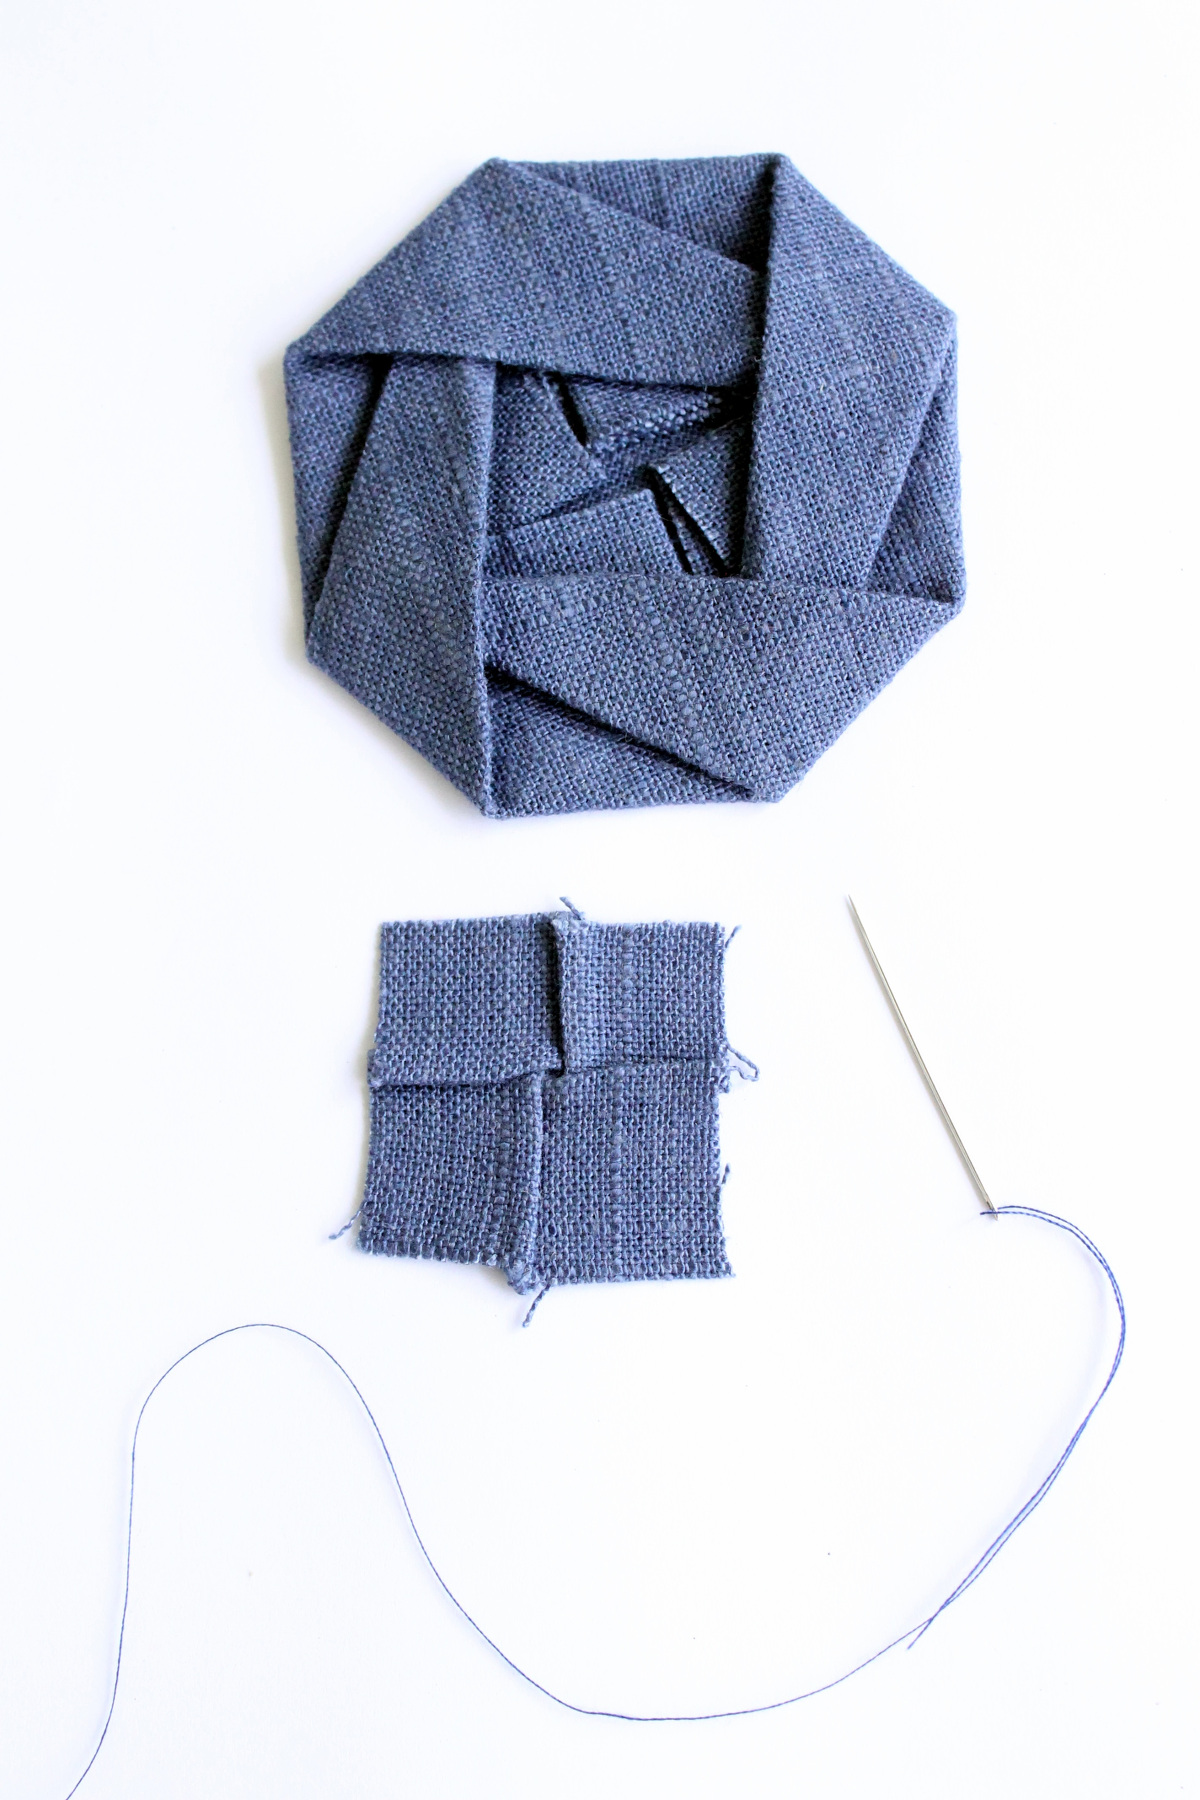
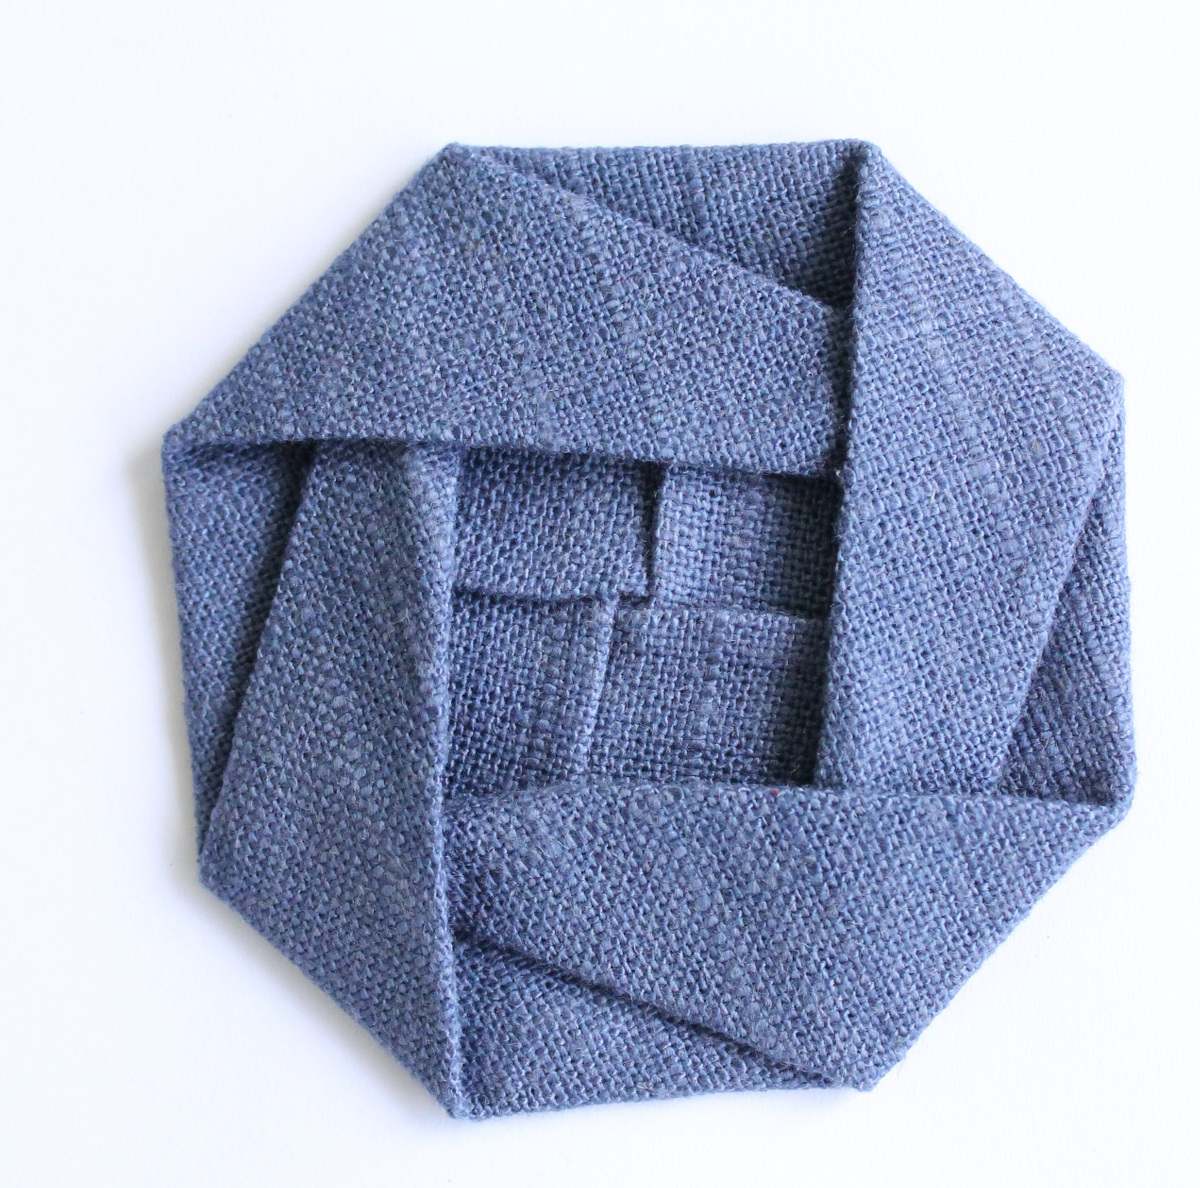
The origami rose forms from two different size squares that are folded in an innovative way. As the first steps you create an octagon base for the rose. These folds are made for the larger square and they are simple to make. It’s very important to finger press the folds firmly with your thumbnail. I also found it quite helpful when I drew the folded outlines of the octagon with a fabric marker. If the fabric doesn’t hold the creases so well the outline helps you to do them correctly.
The trickiest part of this origami is to create the actual rose and forming “ears.” That’s the part I really needed the patience and practice. But once I got it I noticed that I can make these roses very quickly.

When the tricky part is done you still need to make the center of the rose. If the material frays a lot I recommend to overlock this piece, at least if the product comes to everyday use and needs a lot of washing like my dresses.
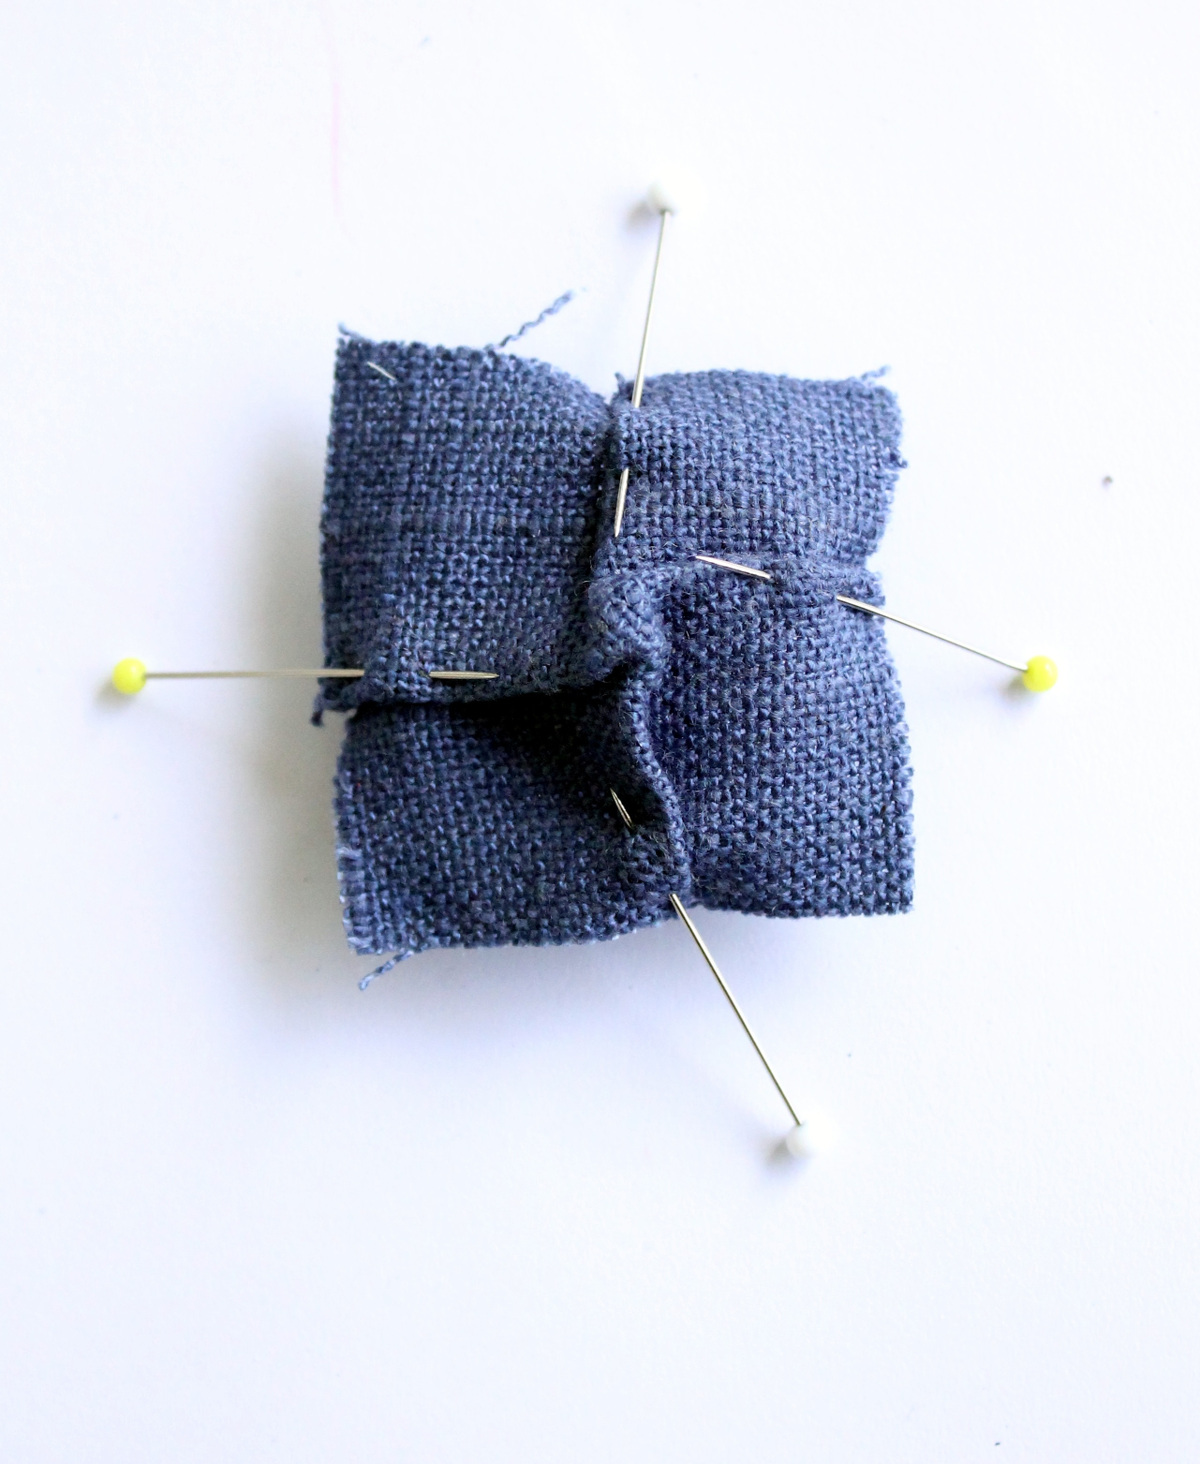
In the book the center of this rose is made by twisting the creased intersection to the right but I prefer doing it with the help of pins. When using heavier fabric like this mixed linen it was just so much easier to create the pleats and the middle “diamond shape” with pins rather than twisting.
Once both of the rose parts are ready all what is left to do is some iron-pressing, inserting the pleated (or twisted) centerpiece into the rose and finally secure stitching both the center and four corners with tiny hand stitches.
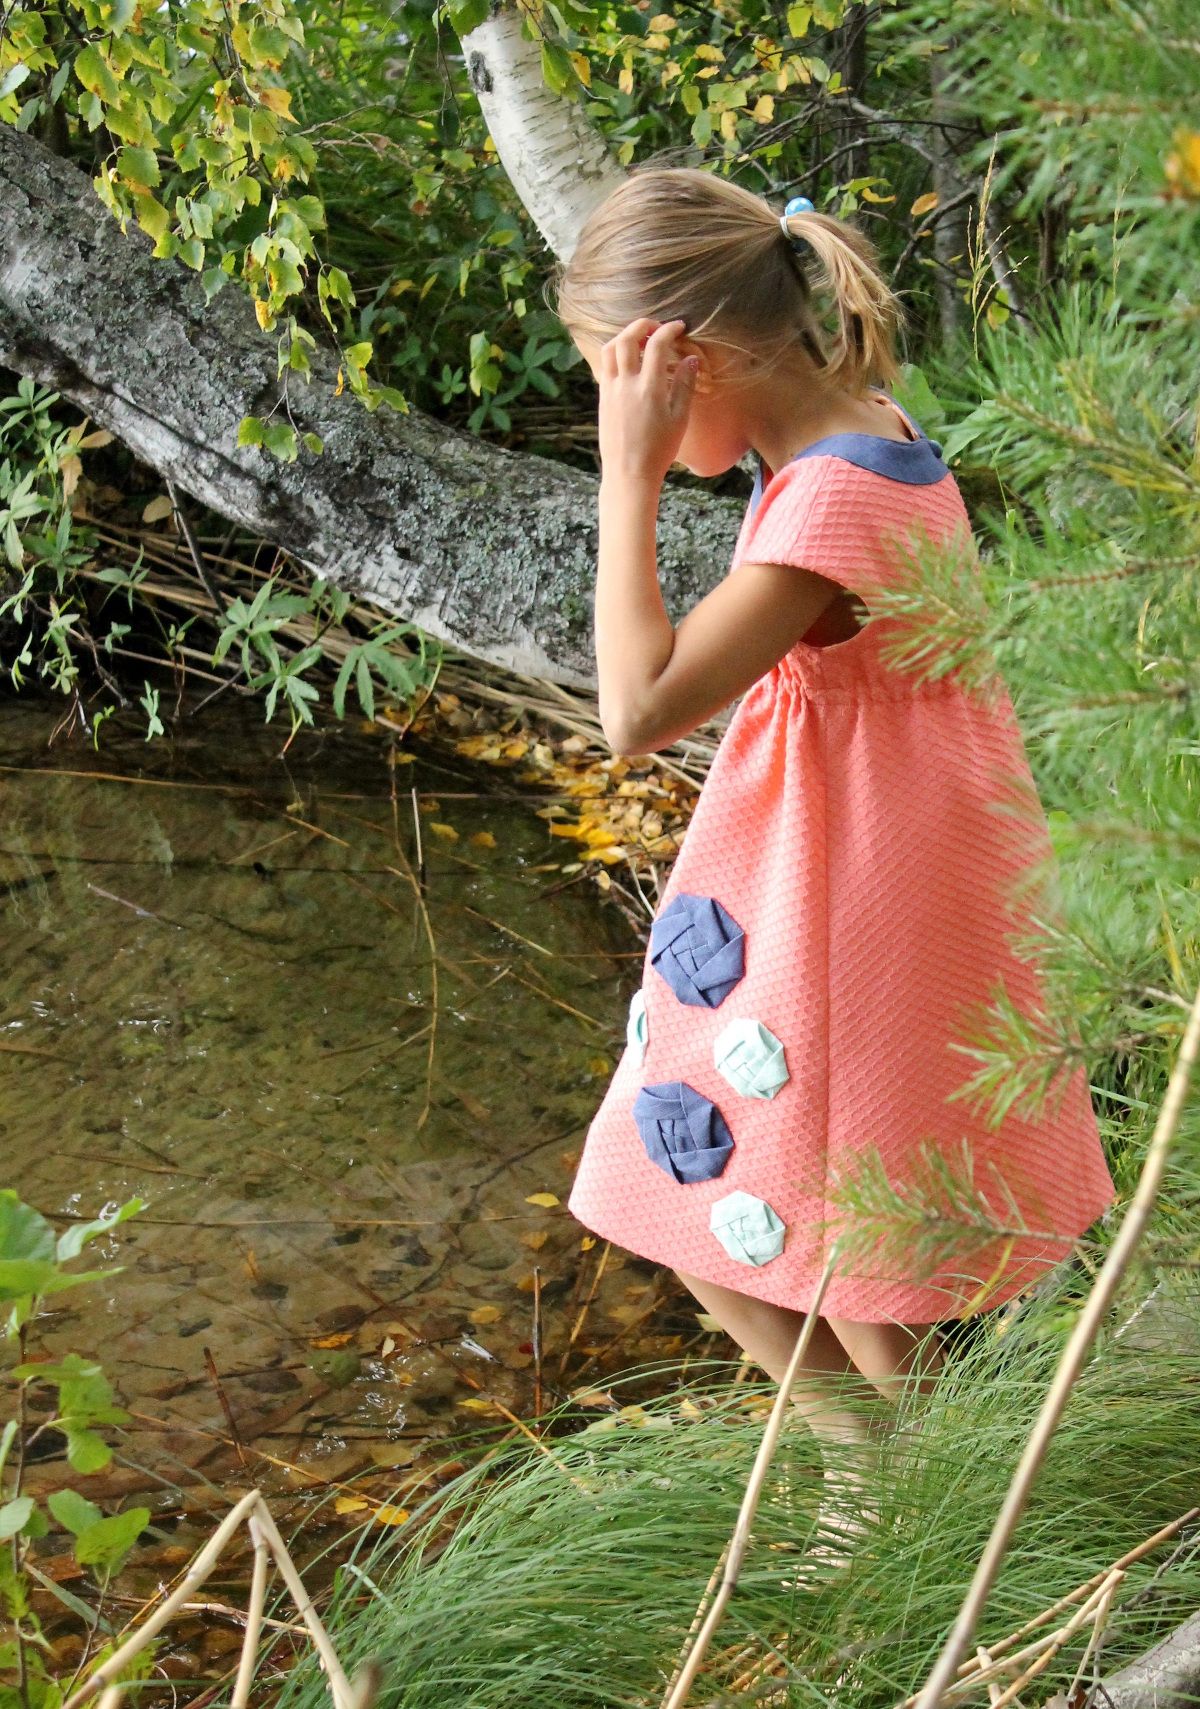
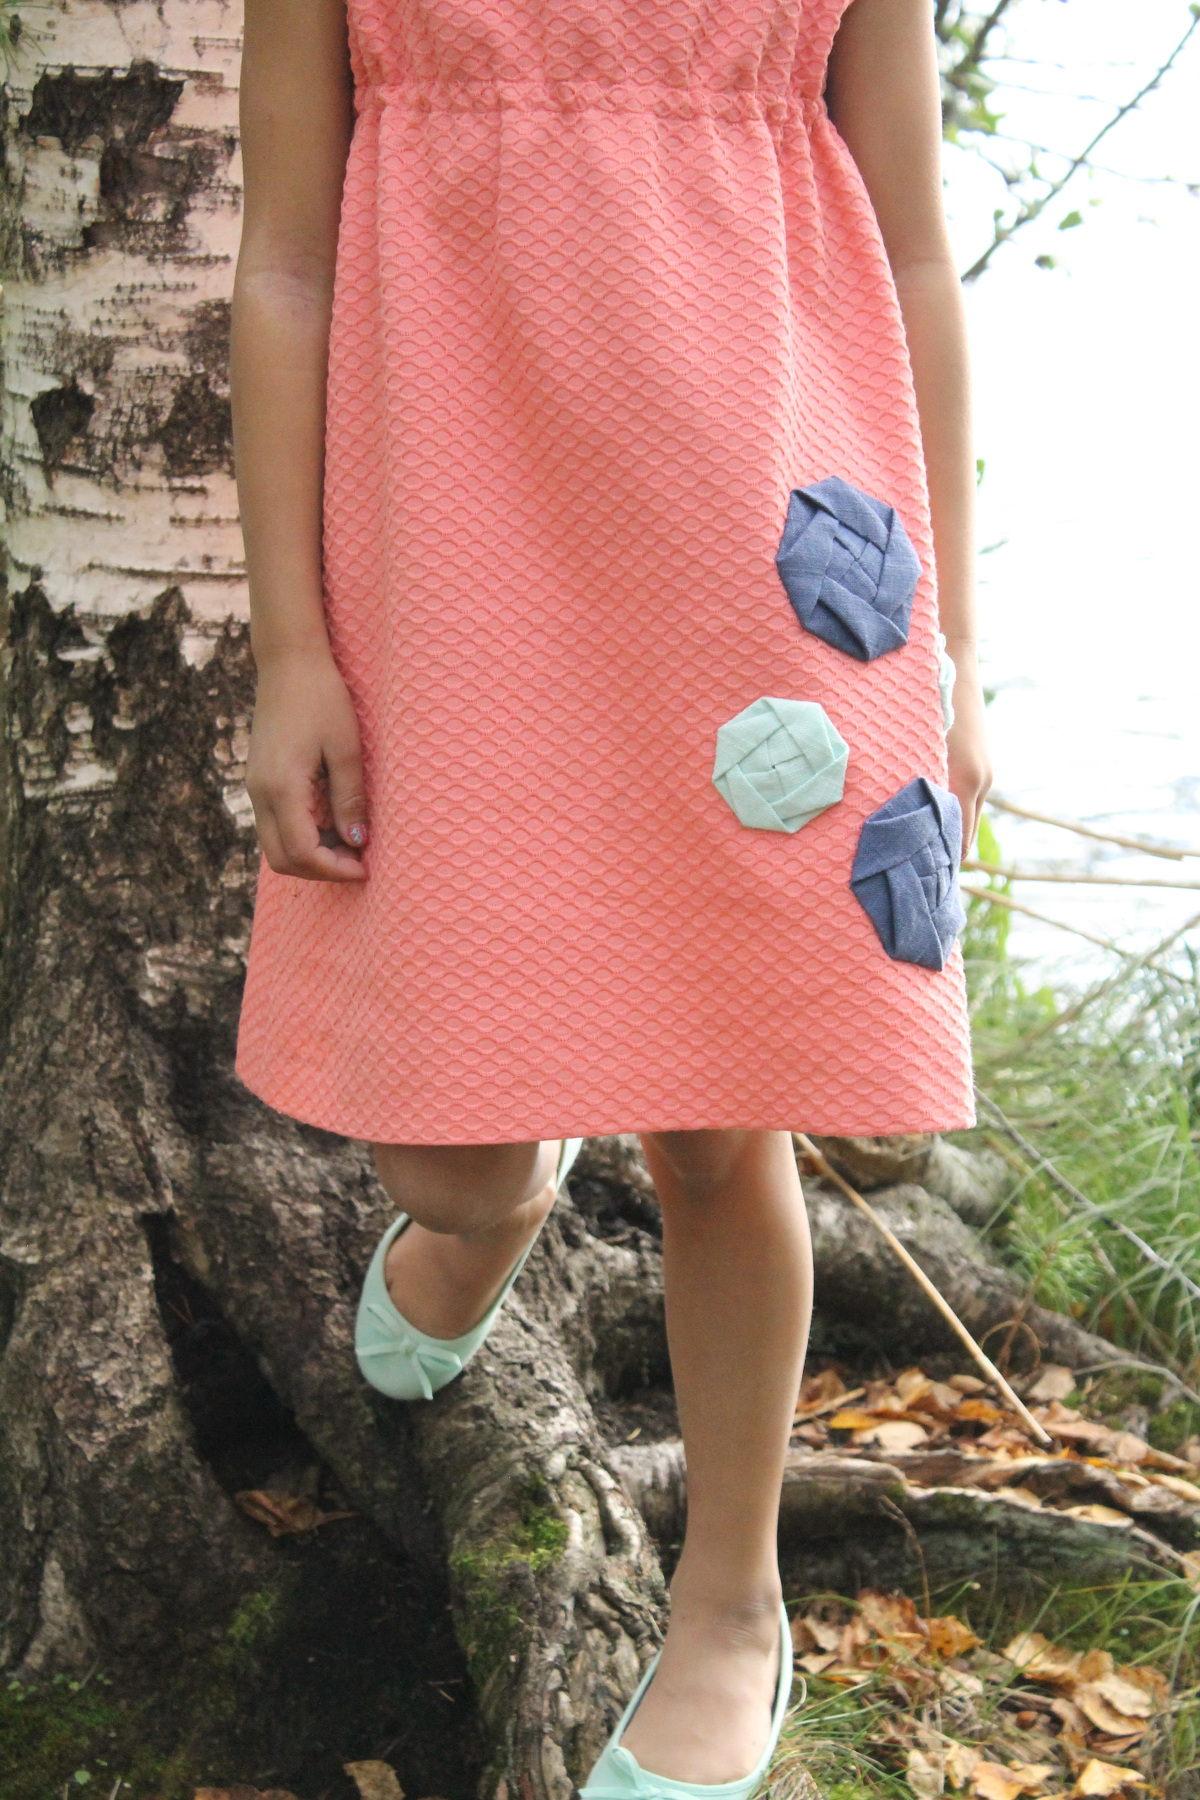
After that comes one of my favorite parts which was now placing all my roses to the hem of the Roller Skate dress and create a nice looking lay out. Then I just sewed them on by hand and got to admire my beautiful handmade, one of a kind dress.
If you are interested there are a lot of origami videos available on YouTube and I actually found one that is very similar to this pattern. It’s based on this same book but you need to become a member for the HowToGetCreativeClass in order to see the whole video. I’m sure Pinterest will also be very helpful when searching fabric origami patterns. I really hope you enjoyed reading about this technique and got some inspiration to start making your own origami creations!

If you enjoyed this post you might also like our Dior Rose Tutorial.
Beautiful dress and the origami flowers are really unique! Great photographs too!
cute!!
So pretty! This is such a fun idea to make the dress look unique and fun. Plus, I love how it ties in with the neckline color.
Beautiful!! Can’t wait to try it.
I love this idea!! So unique and creative . . . looking forward to giving it a try!