Audrey is stopping by today with a tutorial on customizing the Field Trip Raglan T-shirt. It is a fun project to do with a special child in your life. Maybe a crafty project to do this summer, perhaps. Now I’ll hand it over to Audrey.
Hello, this is Audrey from Skirt Fixation! I’m delighted to be back with a tutorial on how to make a really fun Field Trip Raglan T-shirt. Although I have a different favorite Oliver + S pattern, the Field Trip Raglan T-shirt is the Oliver + S pattern I’ve made the most often. I made a fire truck version of the Field Trip Raglan T-shirt which you can see on our blog here. Alright, without further ado, let’s gather supplies.
You will need fabric paint, a paint brush, a tray (I always save those styrofoam meat trays from the grocery store, give them a good rinse, and keep them for paint trays!) a foot, water and a towel, and of course, your Field Trip Raglan T-shirt front pattern piece.
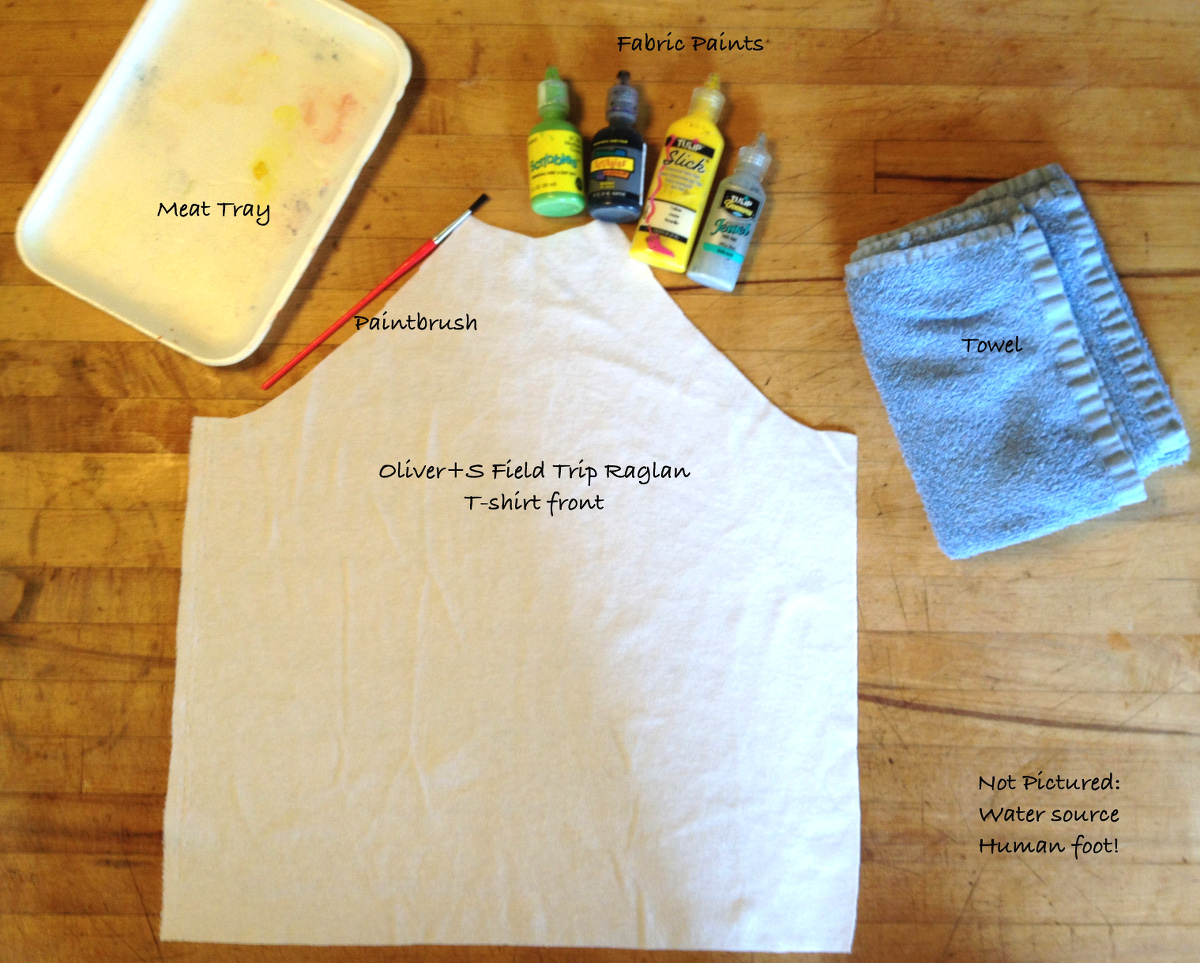
Step 1: Put a very generous amount of fabric paint on the tray.

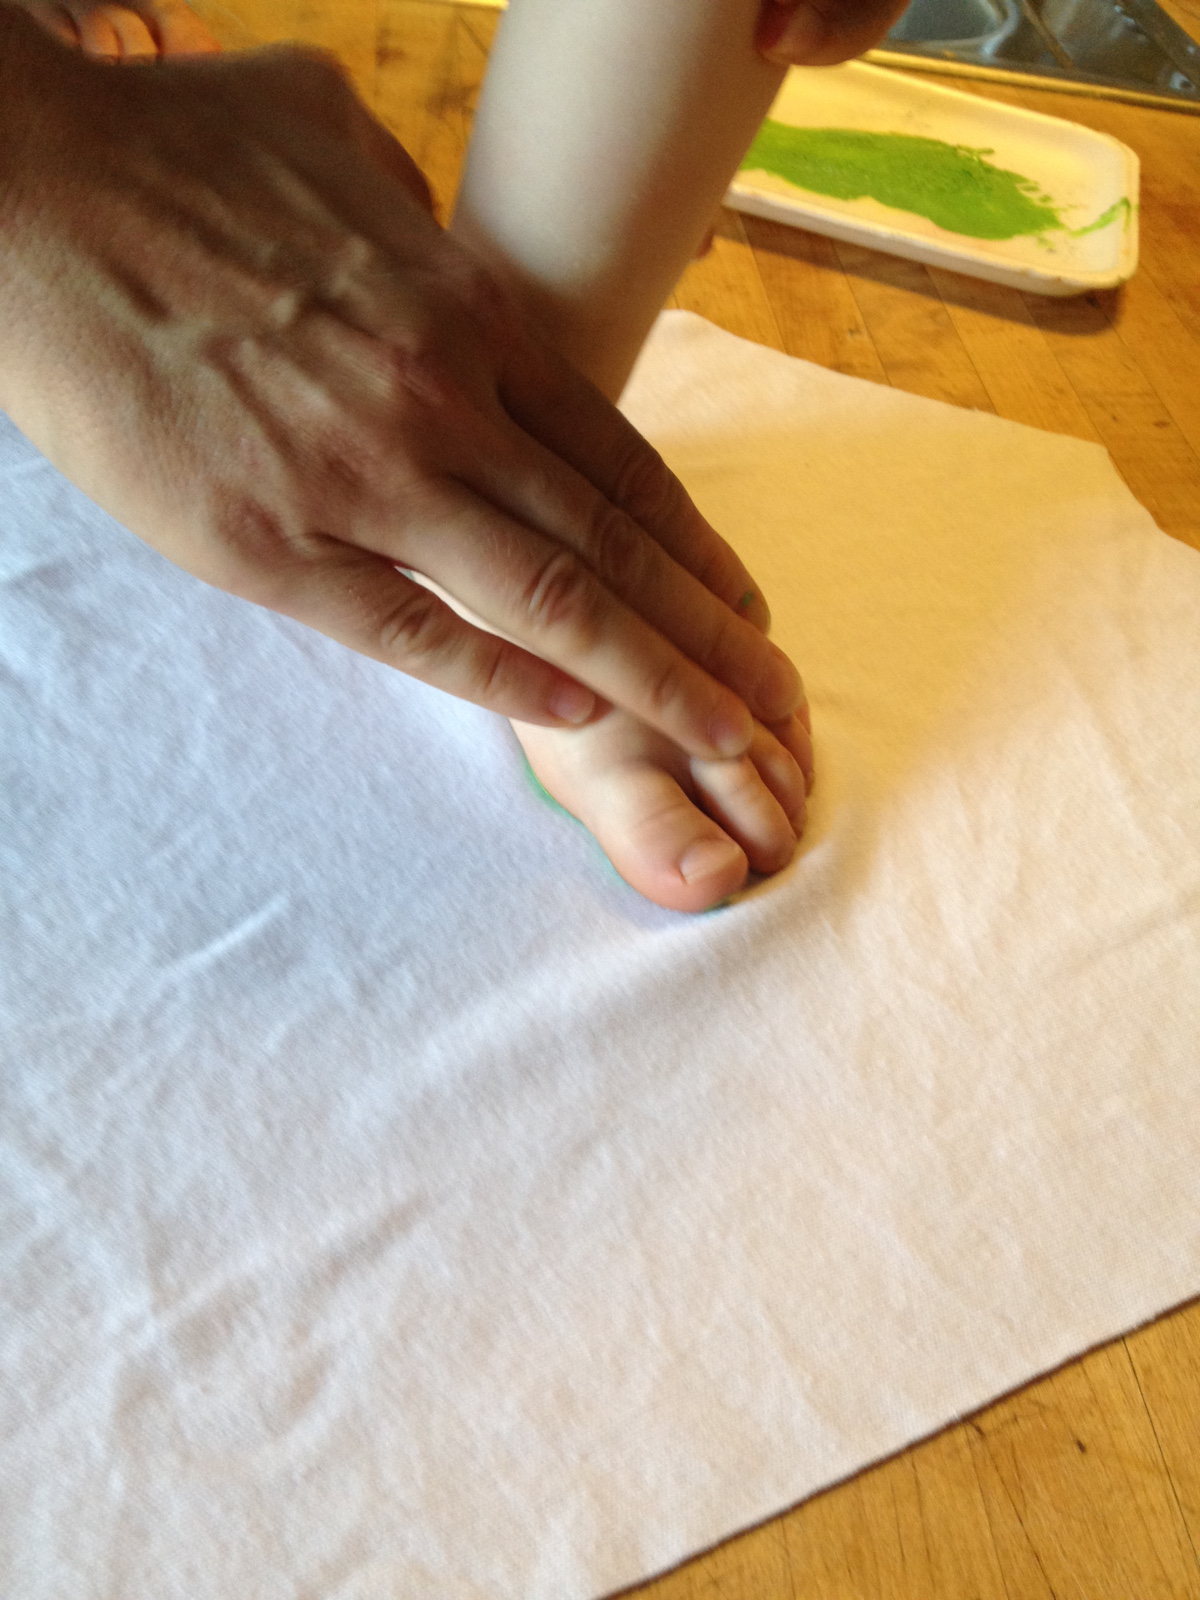
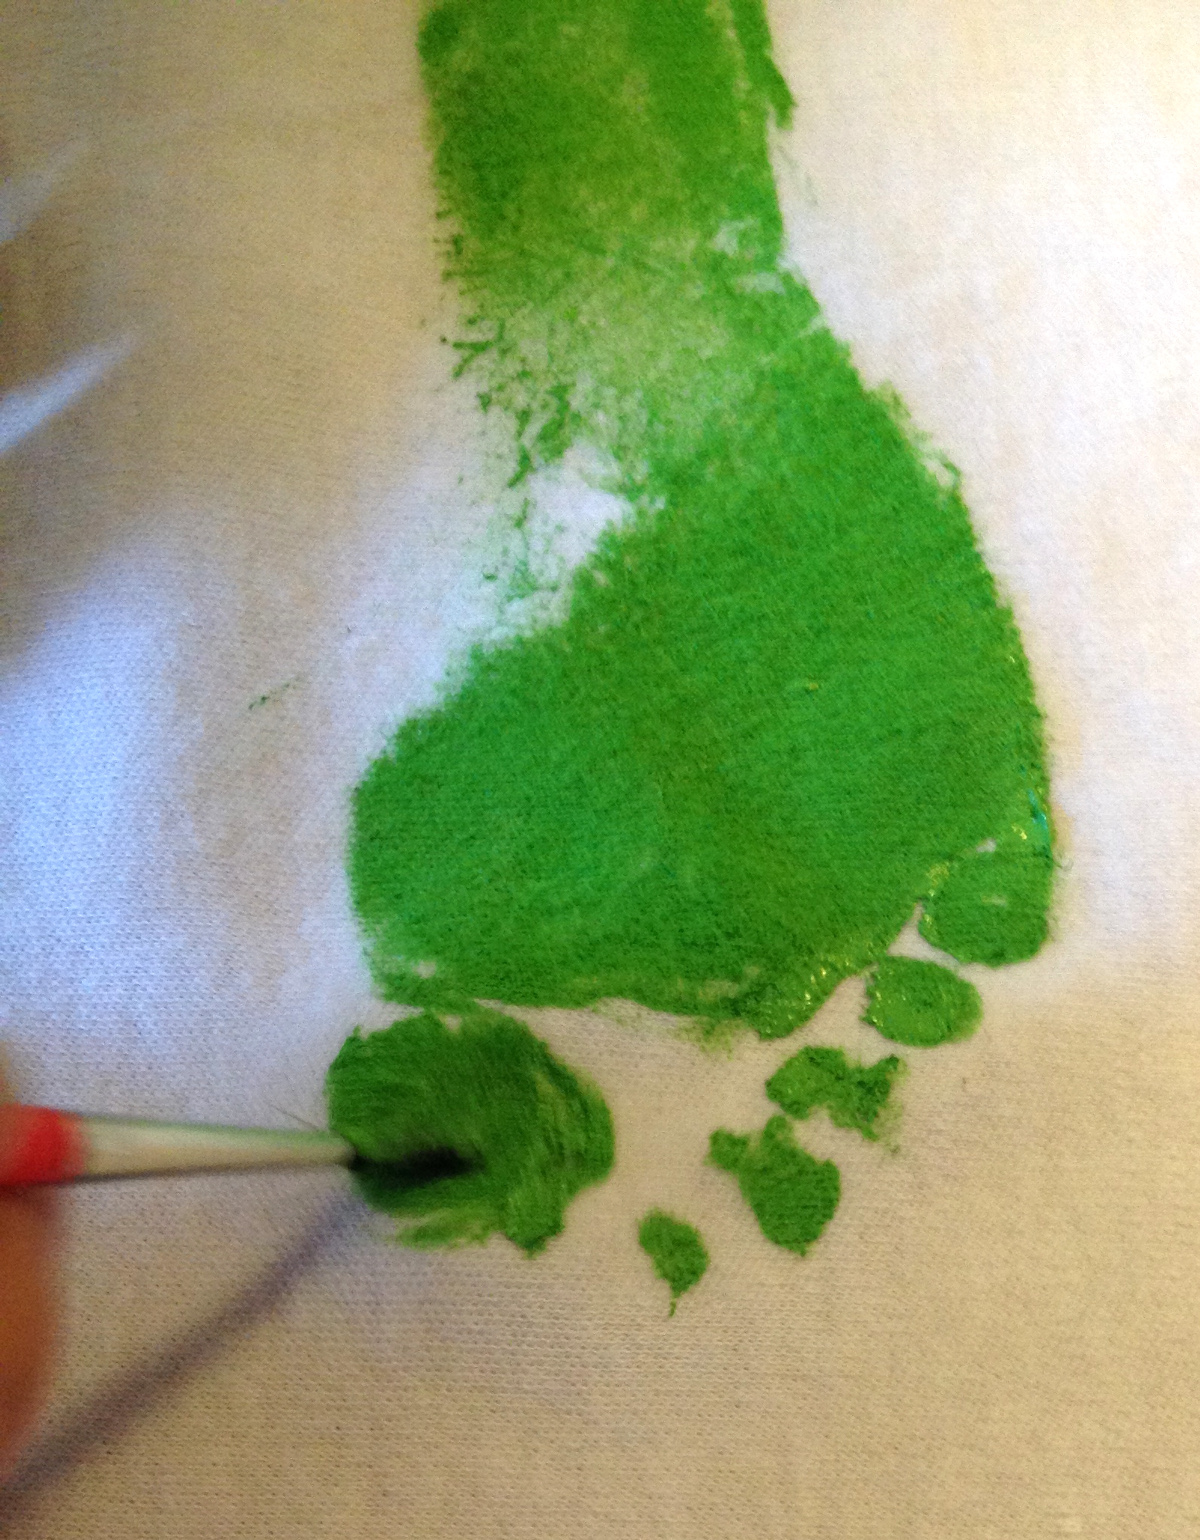
Step 2: Smear foot all around in the tray, you want good coverage as shown.

Step 3: Press foot straight down onto Field Trip Raglan T-shirt pattern piece.
You can see that we didn’t get his big toe, so we carefully placed his foot back on the shirt front, pressing down just the toe.
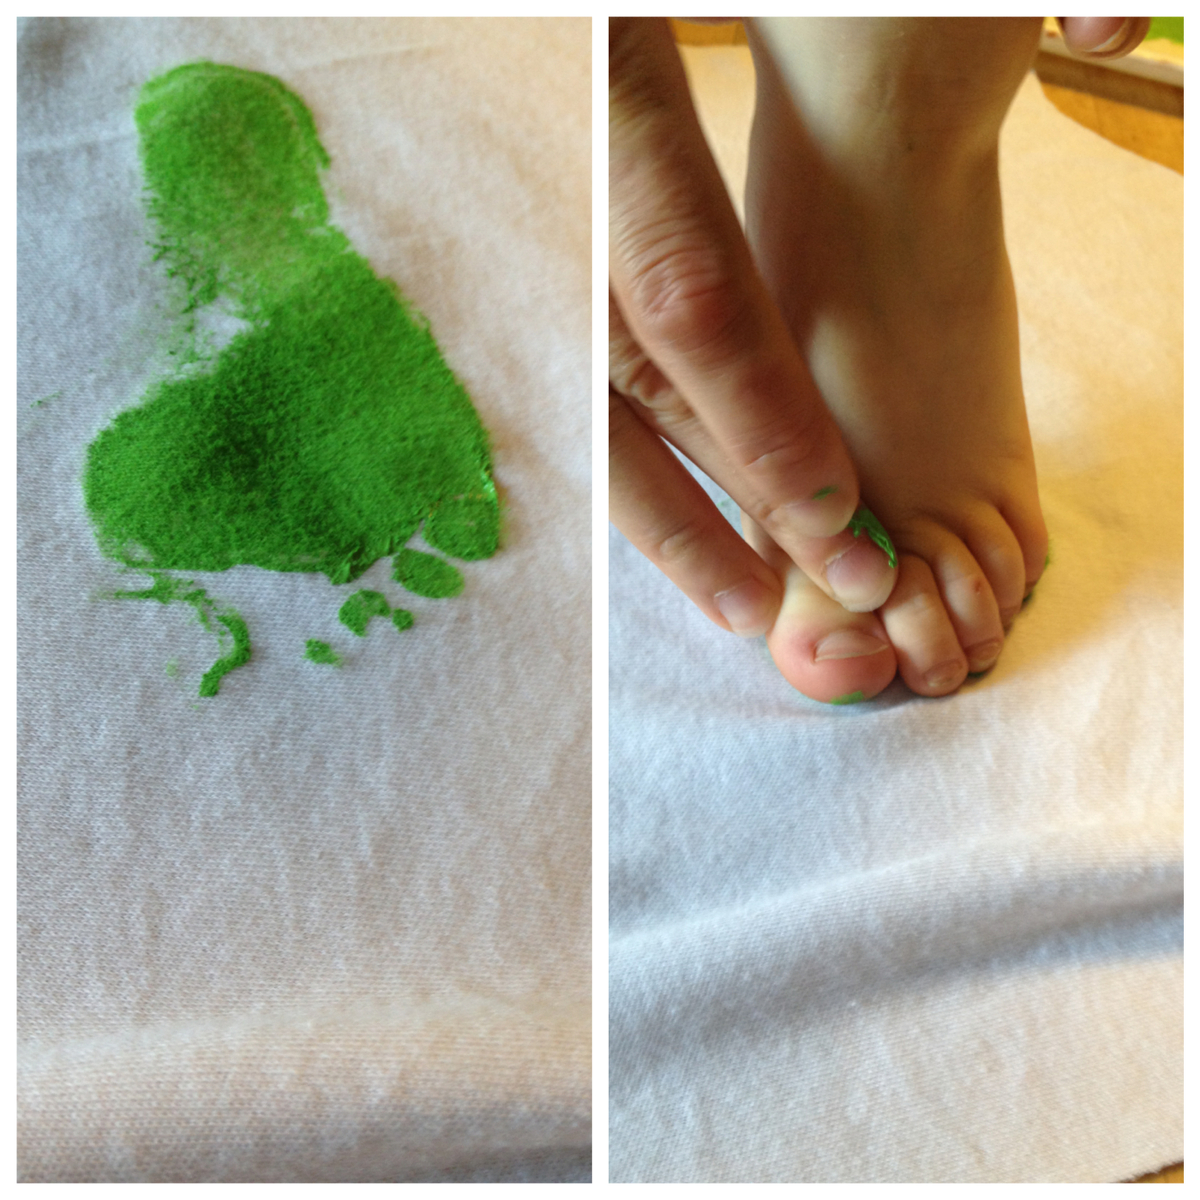
Step 4: Wash and dry the foot.

Step 5: Grab the paintbrush and fill in any spots you need to.
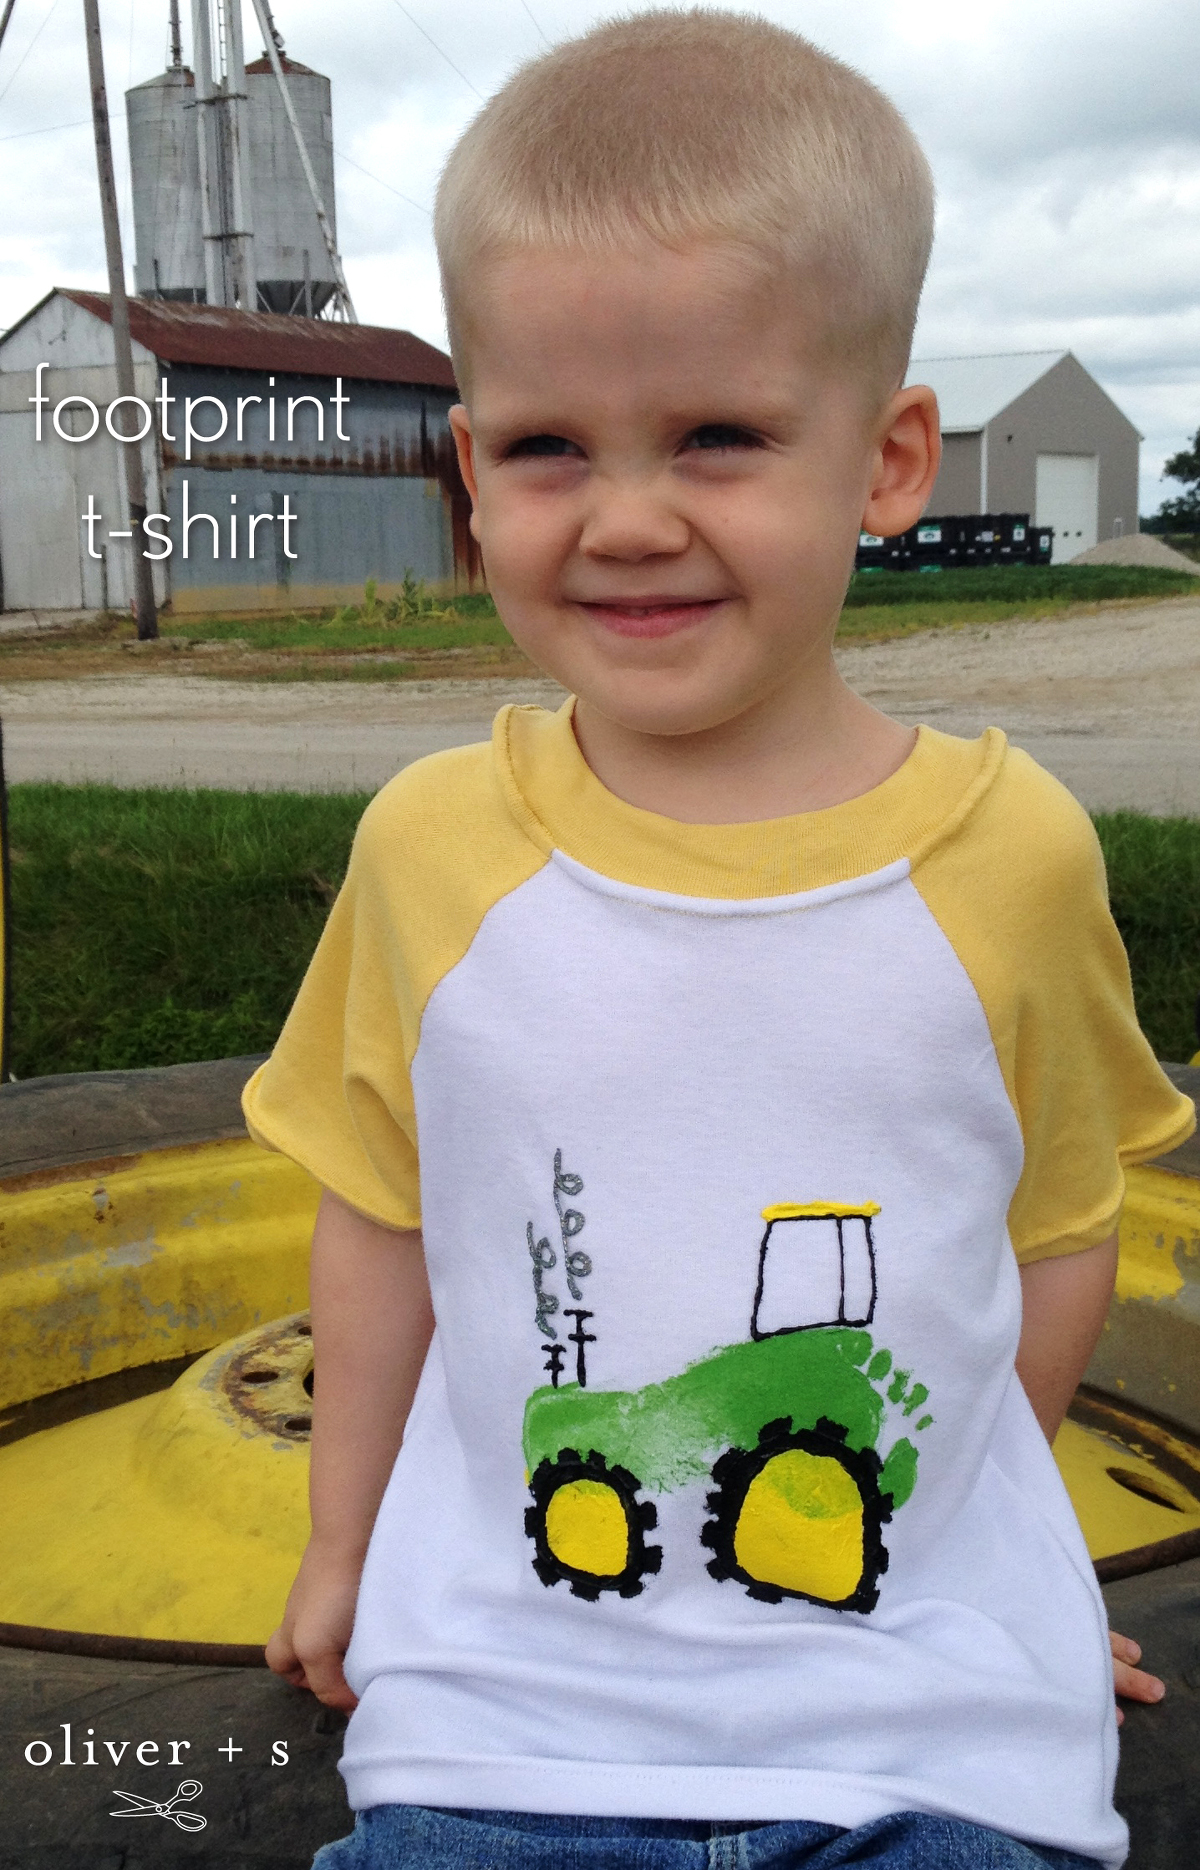
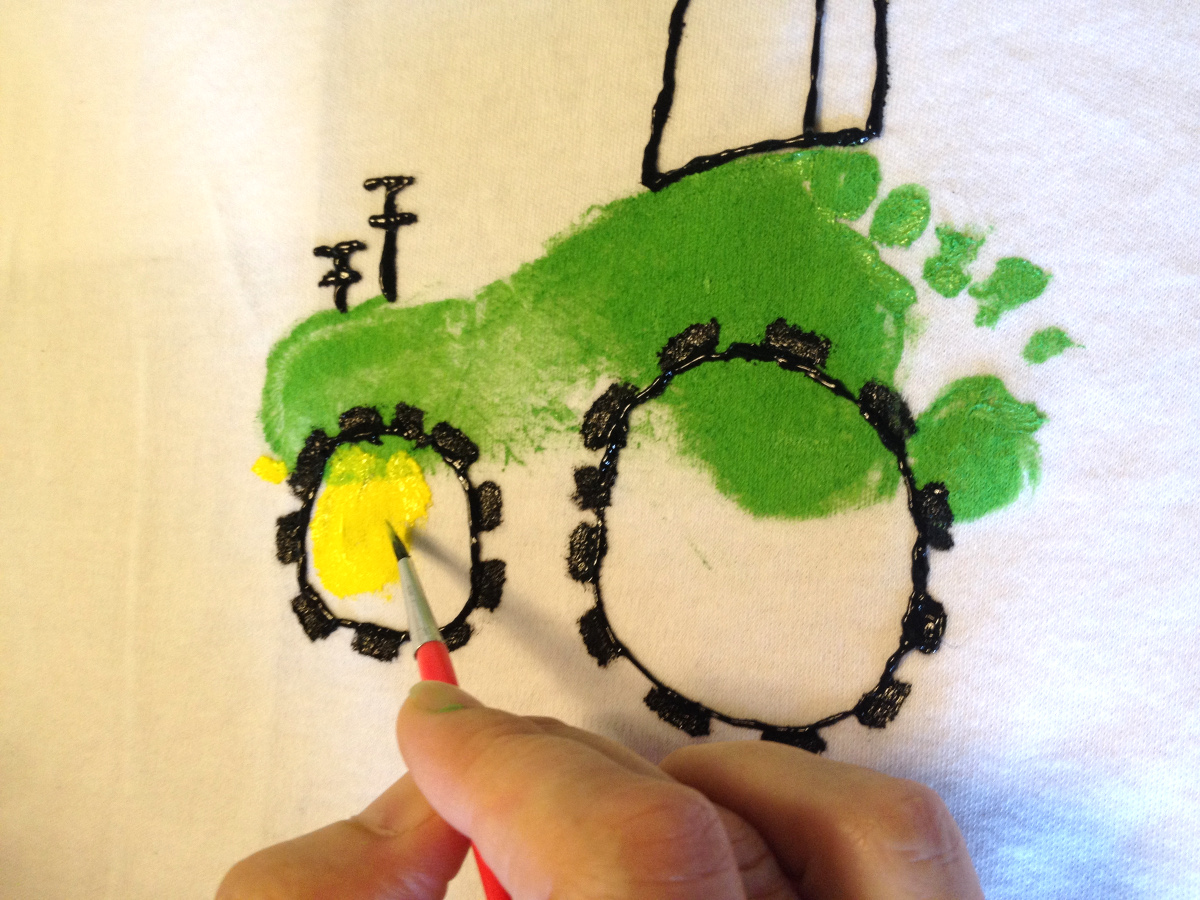
Step 6: Use other colors of fabric paint to draw the rest of the illustration. I was making a tractor, but if you search the internet for footprint craft (or hand print craft) you will find so many cute ideas you will have a hard time deciding what to put on the front of your child’s Field Trip Raglan T-shirt!
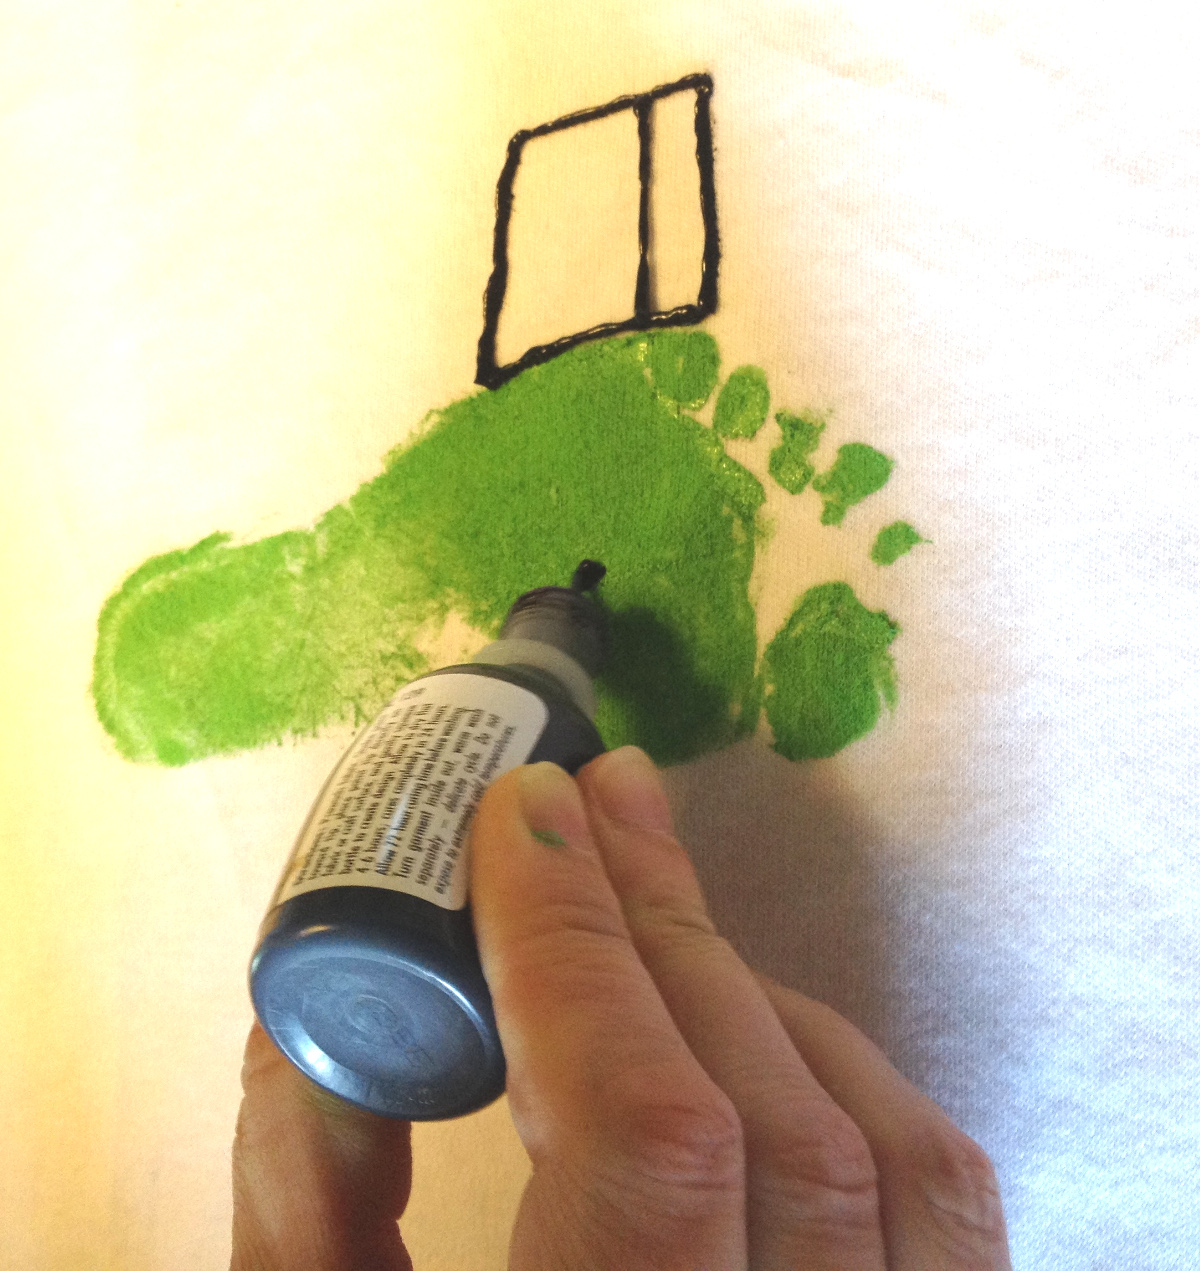
Step 7: Use the paintbrush to color in larger spaces in your drawing.
And there you have it! A finished piece of artwork! Let it dry for 24 hours (or whatever is recommended on your fabric paint) and then sew the rest of your Field Trip Raglan T-shirt together.
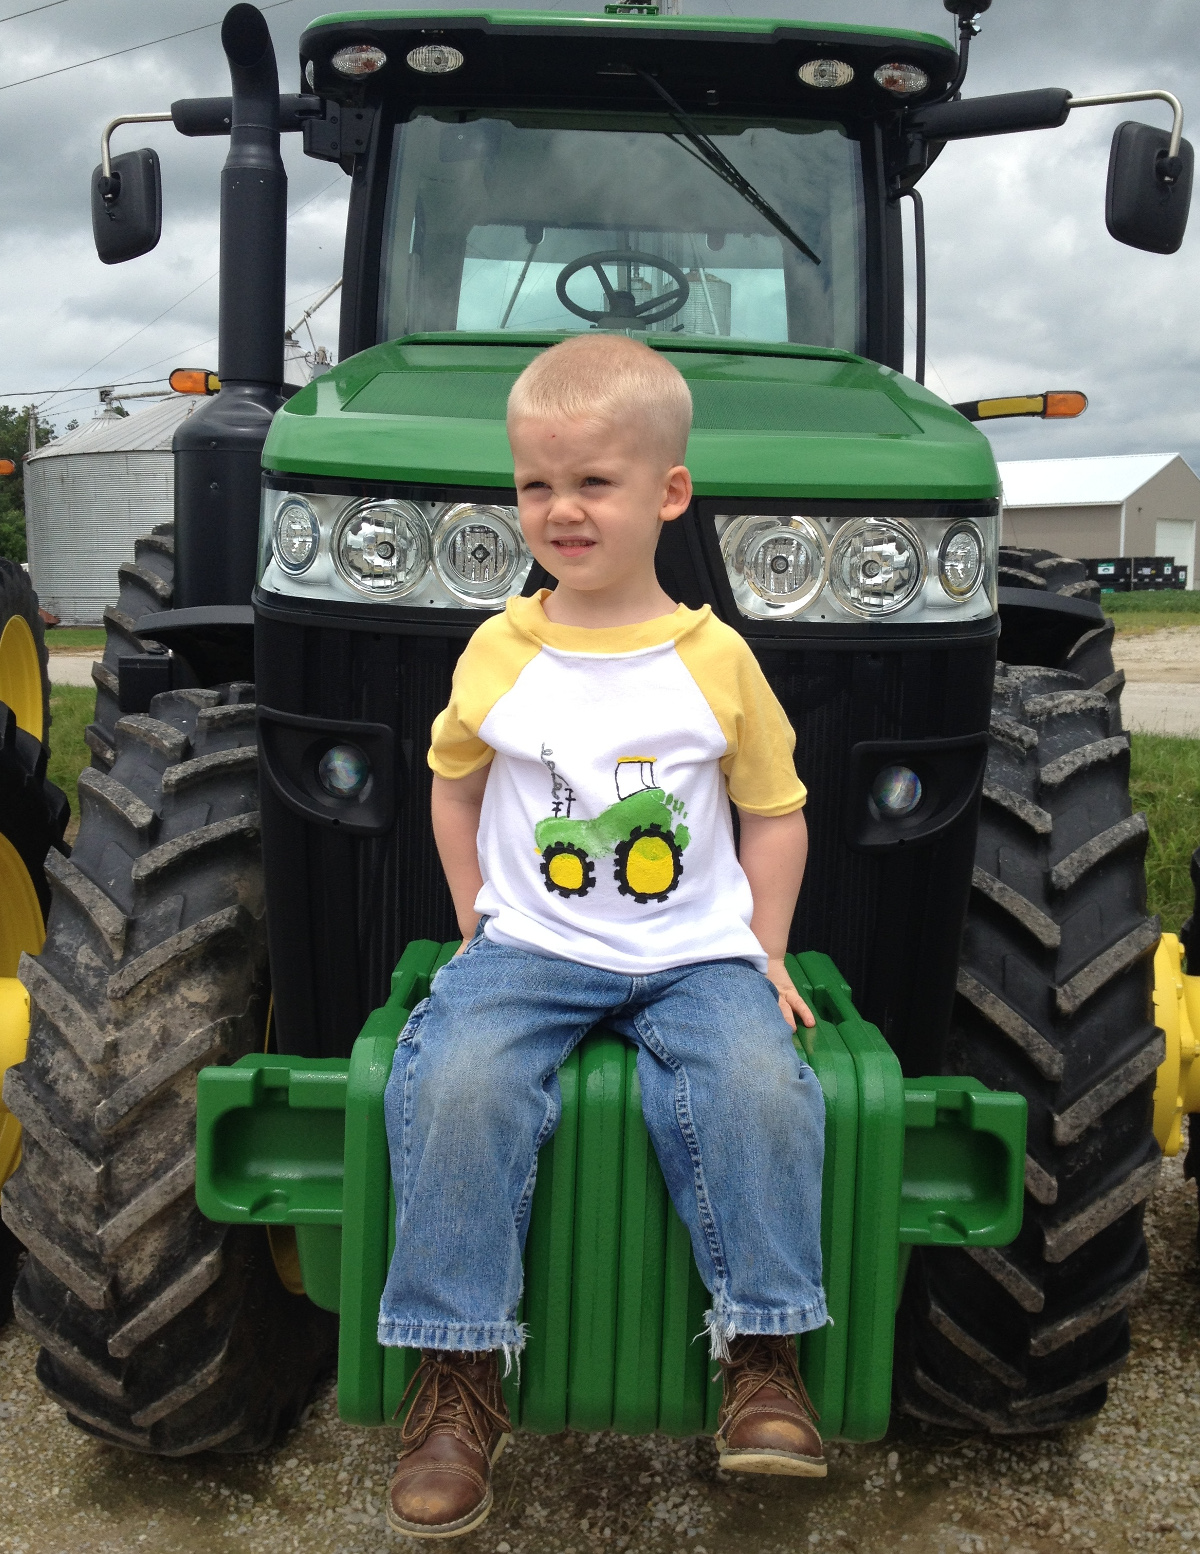
Here is a photo of the happy boy in his finished tractor shirt. The other two changes I made to the Field Trip Raglan T-shirt pattern were to make it short sleeves for summer, and widen the neckband. You will have to excuse the stretched out neckband in these photos; it was a really hot and humid day, and we ended up taking off and putting on his shirt several times before these final photos were taken. Please visit us at Skirt Fixation for lots more photos of the boy at the “trax-tor store” in his new shirt!
that is so cute!
such a cute idea!
It’s very cute Audrey. I love an art/sewing project that involves the kids but finishes up with a good dose off “now go and play while mummy gets to put the finishing touches on”.
Thanks Mama Knowles and Ginger. And Lightning McStitch you’re totally right!