

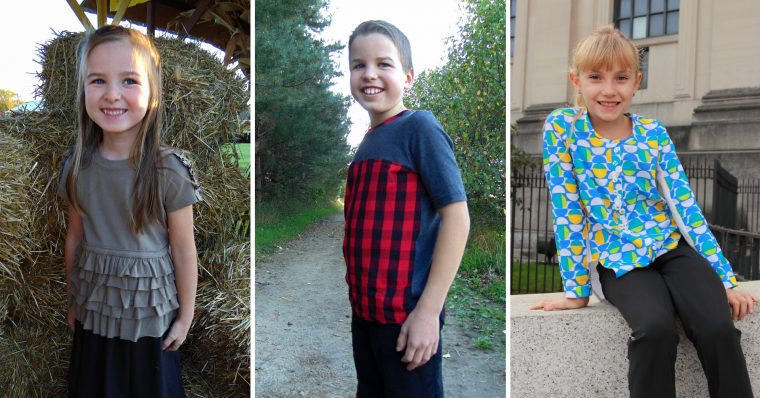
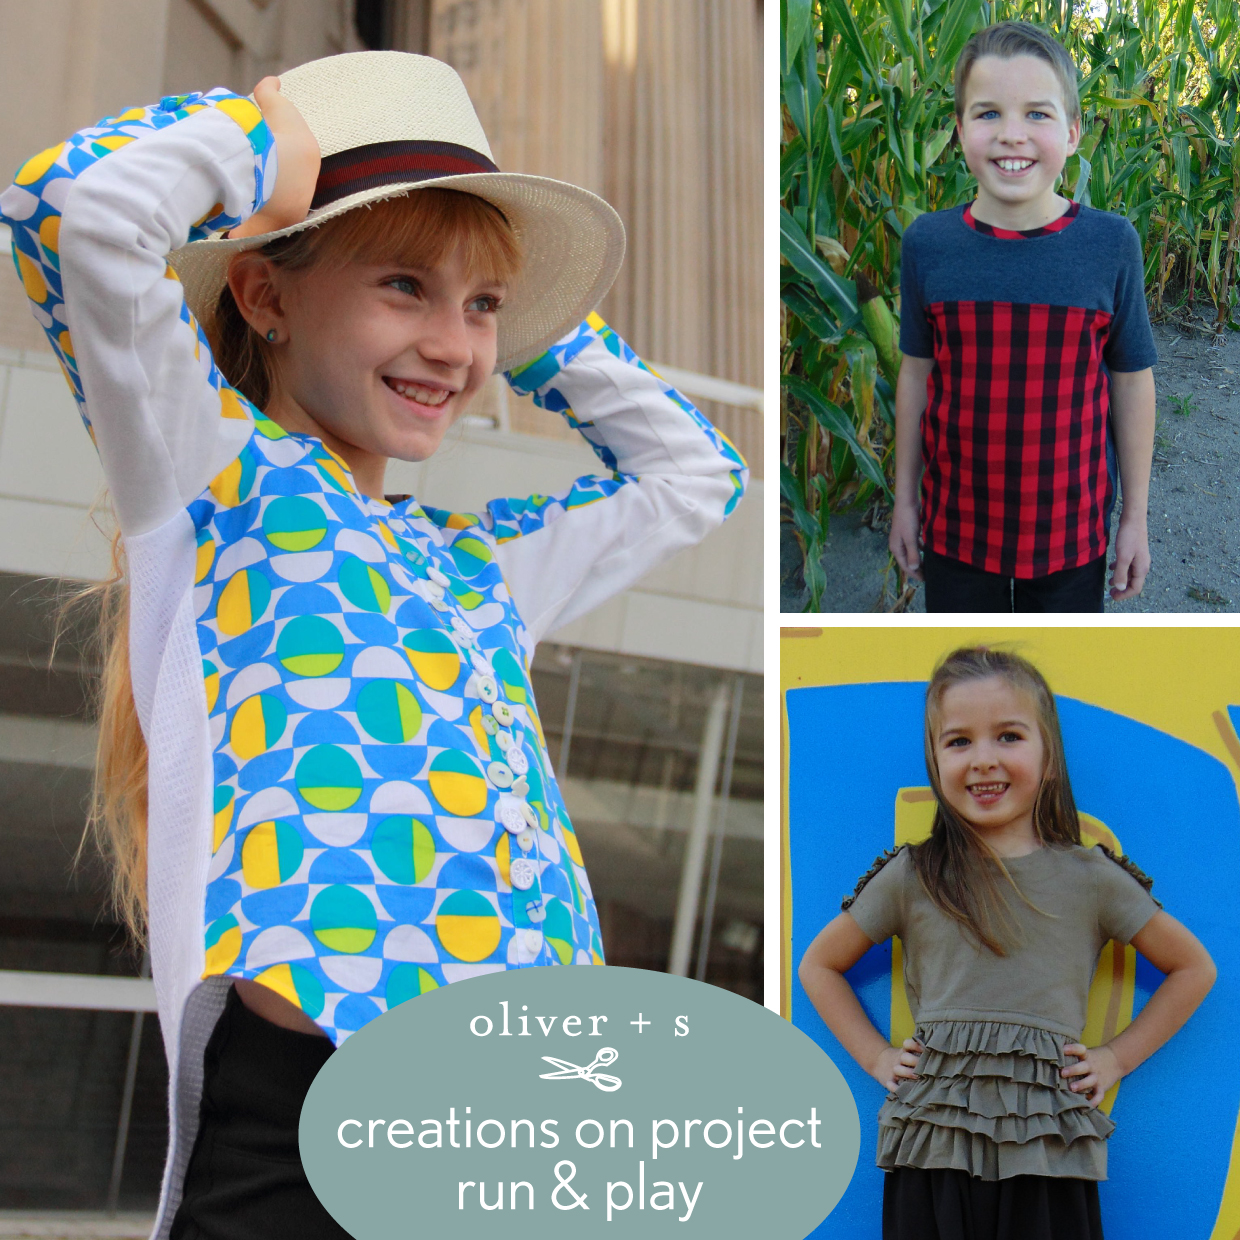
You’re familiar with Project Run & Play, right? It’s an online competition modeled after Project Runway, but for kids. Each week, the designers compete to create their best outfit based on a theme. The competition has been running for several years and Oliver + S is proud to continue to be a sponsor. They just recently finished up Season 14 during which a few Oliver + S creations were made by the designers and we wanted to share them with you today.
First up we have two School Bus T-shirts made by Elizabeth. Here she is.
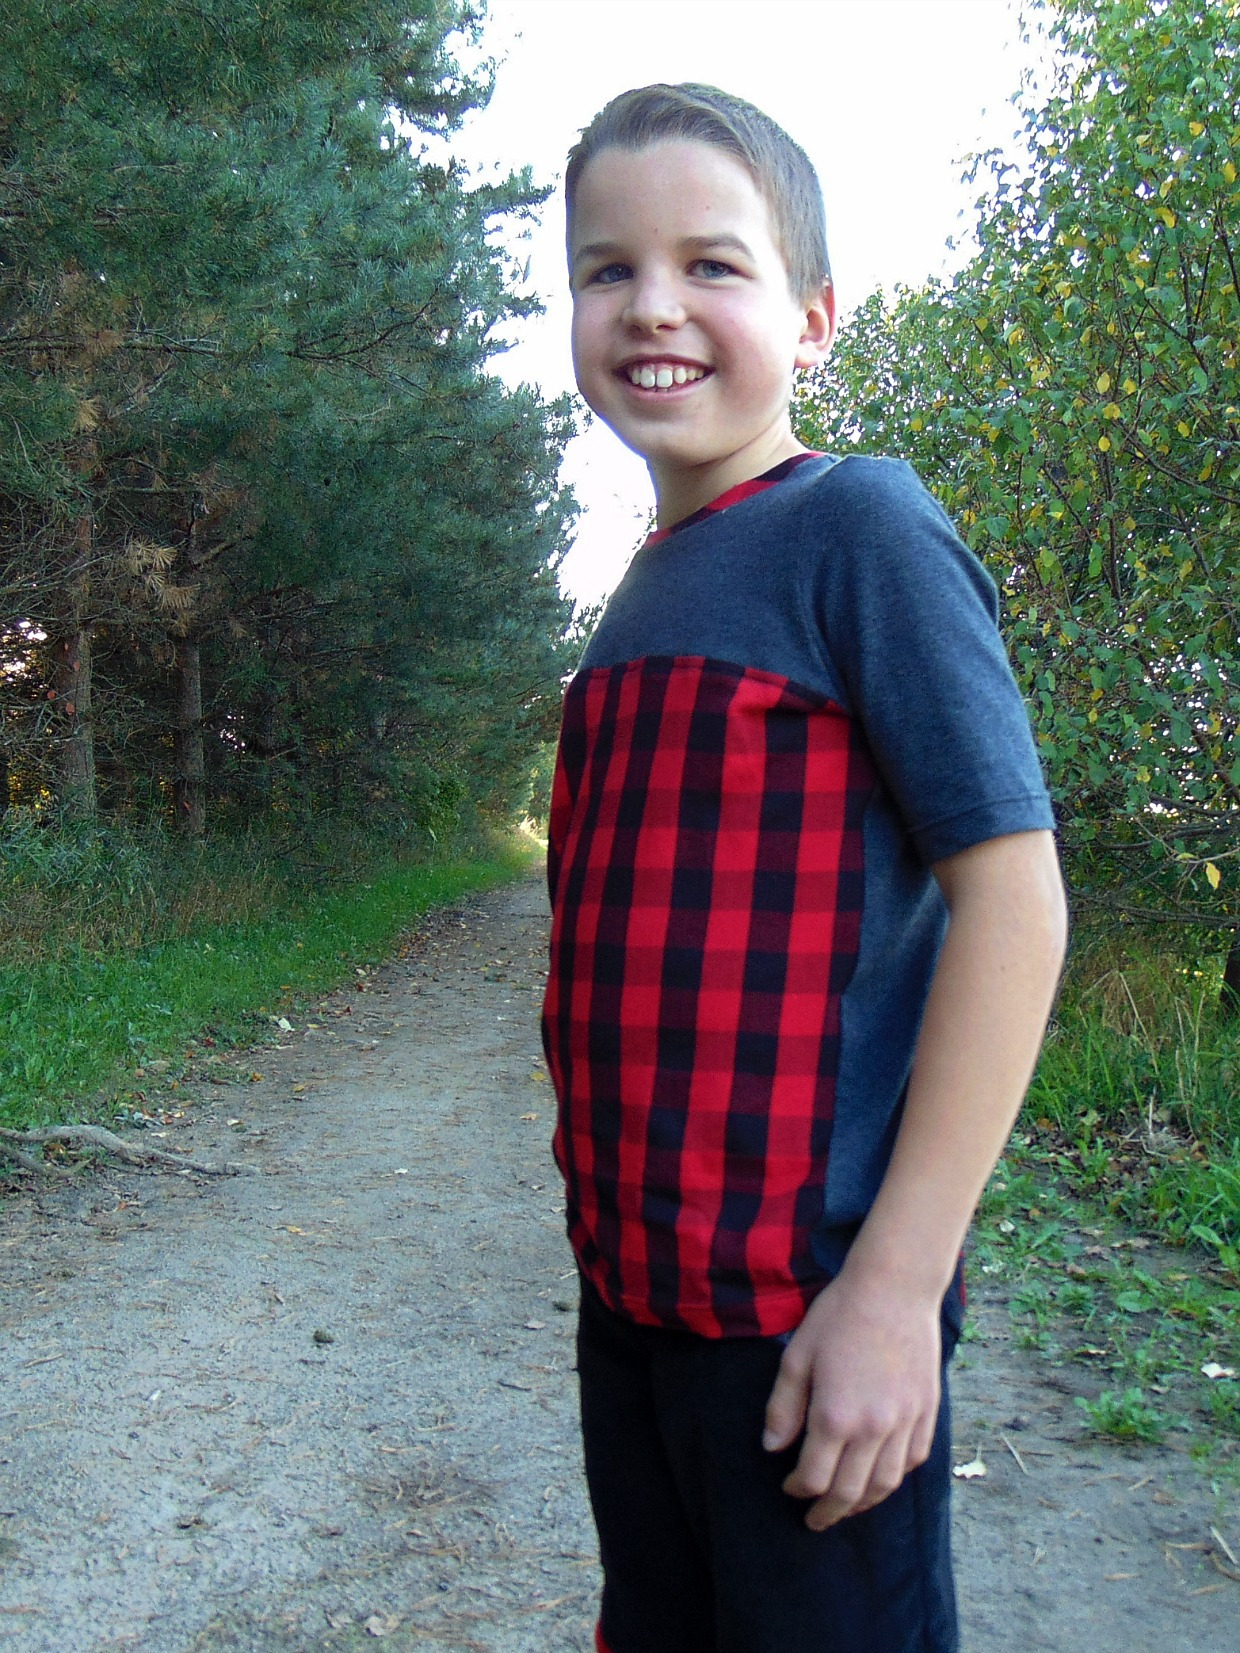
The School Bus T-shirt is one of my favorite shirt patterns to sew for my little siblings because it covers a wide variety of sizes! It is easy to change it up too as I did for my Project Run and Play outfits.
For my little brother’s School Bus T-shirt, I wasn’t intending to color block, but I only had enough plaid knit for the front of the shirt. I cut the front pattern piece right under the armscye and added seam allowance. Then I used my plaid to cut out the bottom part of the shirt and I used a plain grey knit to cut out the top part. It was an easy change, but it’s perfect for using up scraps of knit from your stash!
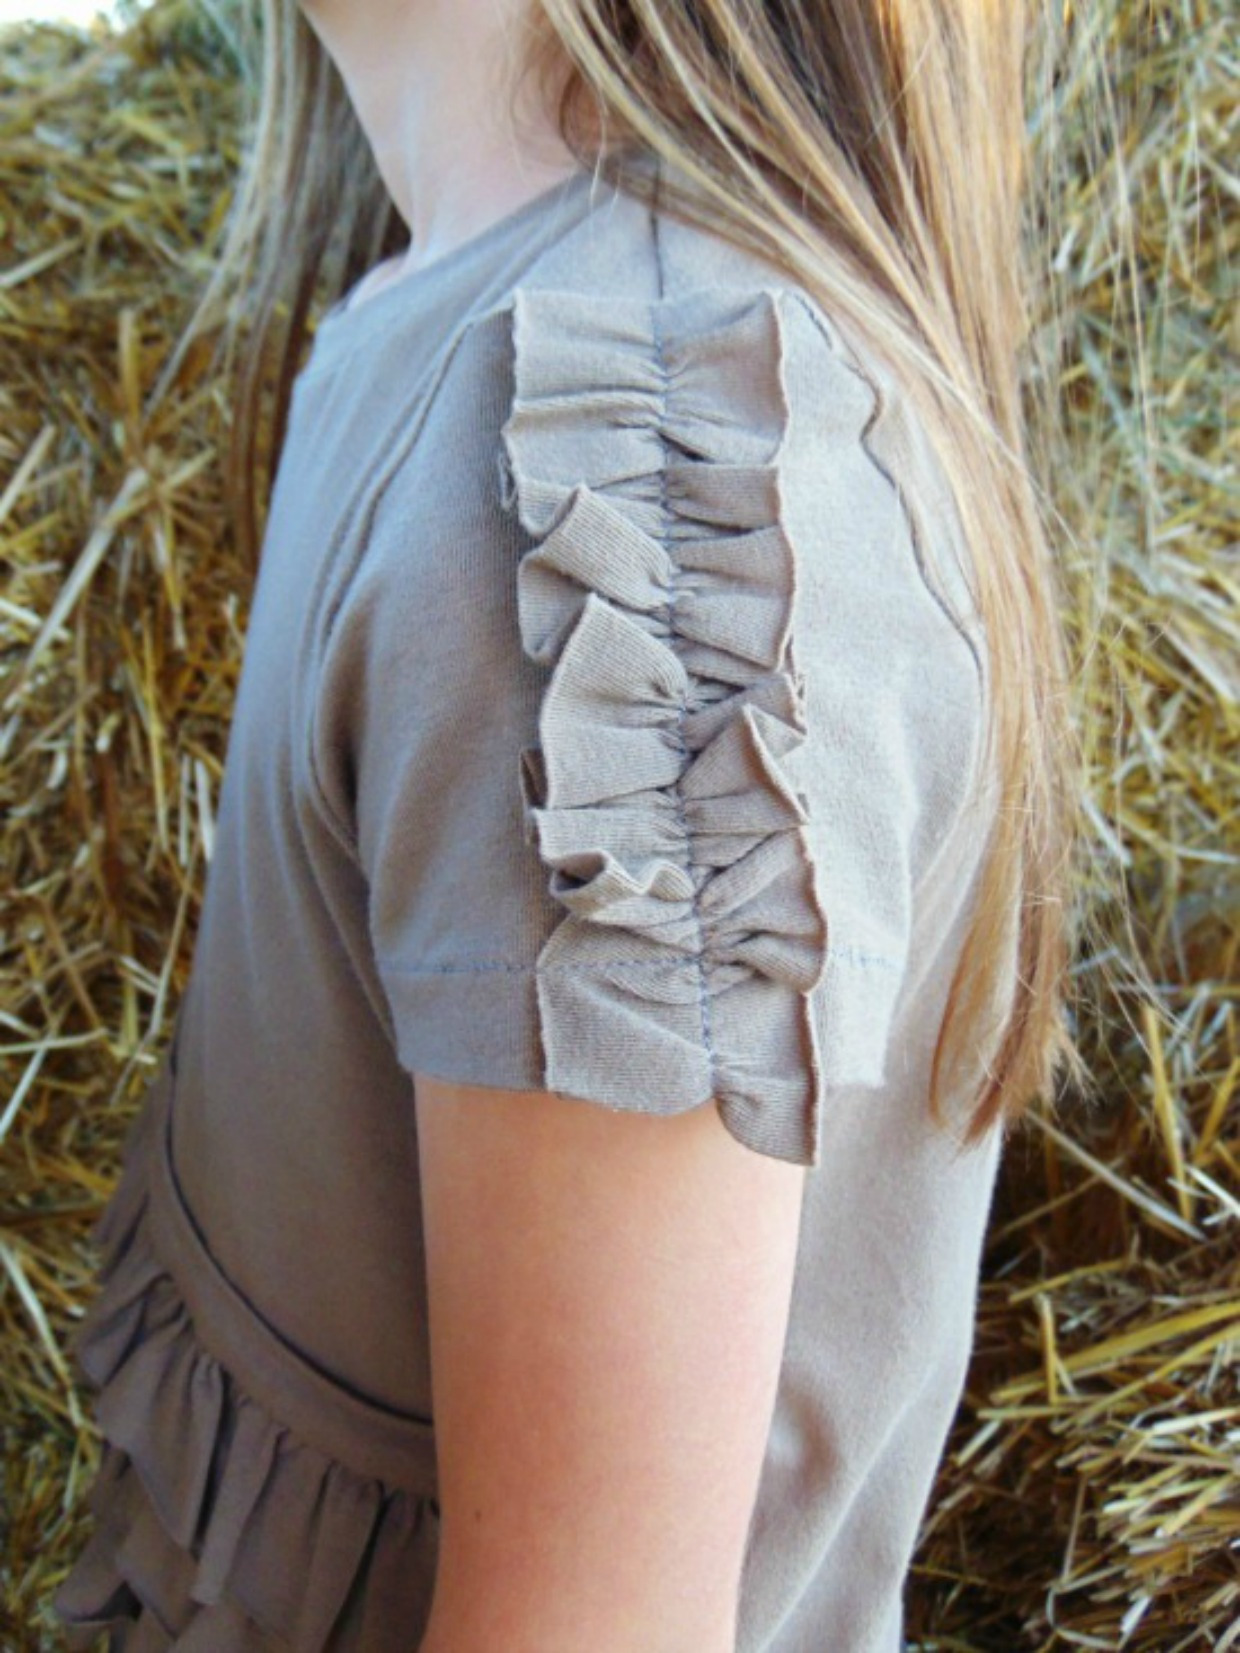
My little sister’s shirt was fun to make. It was for candy inspired week on Project Run and Play, and I wanted to make something to represent peanut butter cups. I used a tan knit and cut out all the pattern pieces as directed. Then before sewing the shirt together I cut strips of fabric to make ruffles and added them to the front of the shirt. I layered the ruffles as I went and topstitched them down. I made the ruffle widths various sizes to add some interest. I also added a ruffle to the middle of each sleeve. Then I sewed the shirt as directed in the pattern. The ruffles were a simple addition but I love the outcome!

Thank you for having me!
Next up, this creation goes to show you that the Building Block Dress can be very versatile. It was designed by Raphaëlle.
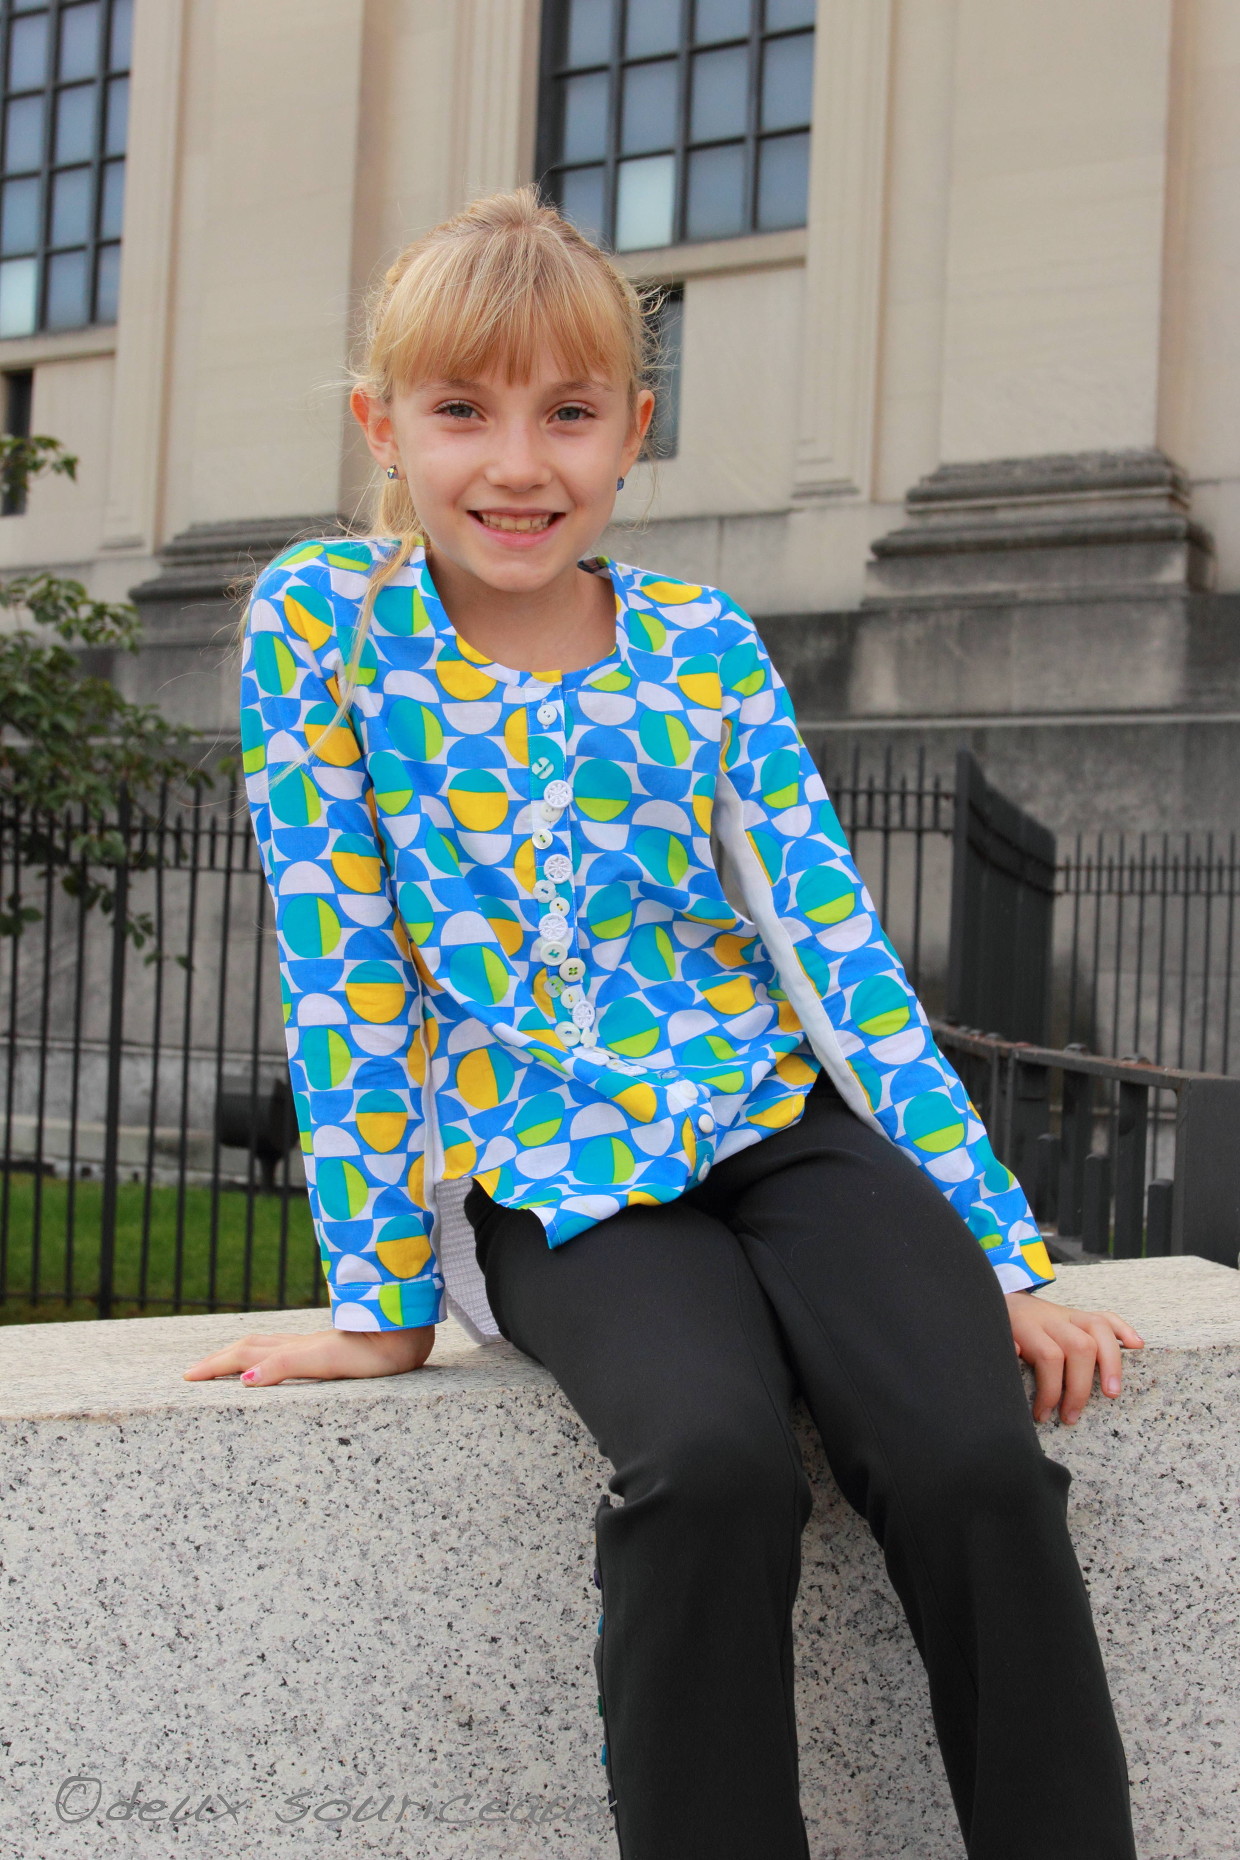
When I came up with the idea for this shirt, I knew I needed it to be partly knit for comfort. Otherwise my daughter would never wear it! I started with the Building Block Dress bodice and sleeves because I knew I could trust the drafting and fit. I switched the opening from back to front and added a button band to the front. I lengthened the bodice and shaped the side seam to follow my daughter’s waist and hip measurements. I shaped the bottom to form a shirttail hem. I split the back into two pieces, roughly at the armscye notches. I added 2″ to the width of the lower back to form a pleat. Sleeves were split into three pieces lengthwise, also at the notches. I shortened them by 2″ in order to add a cuff. The whole shirt was constructed in typical shirt manner, with two upper back pieces, and a bound placket on sleeves. The back and underarm parts of the sleeves were made from jersey and the rest from a lightweight cotton. Neckline was finished with bias strips.
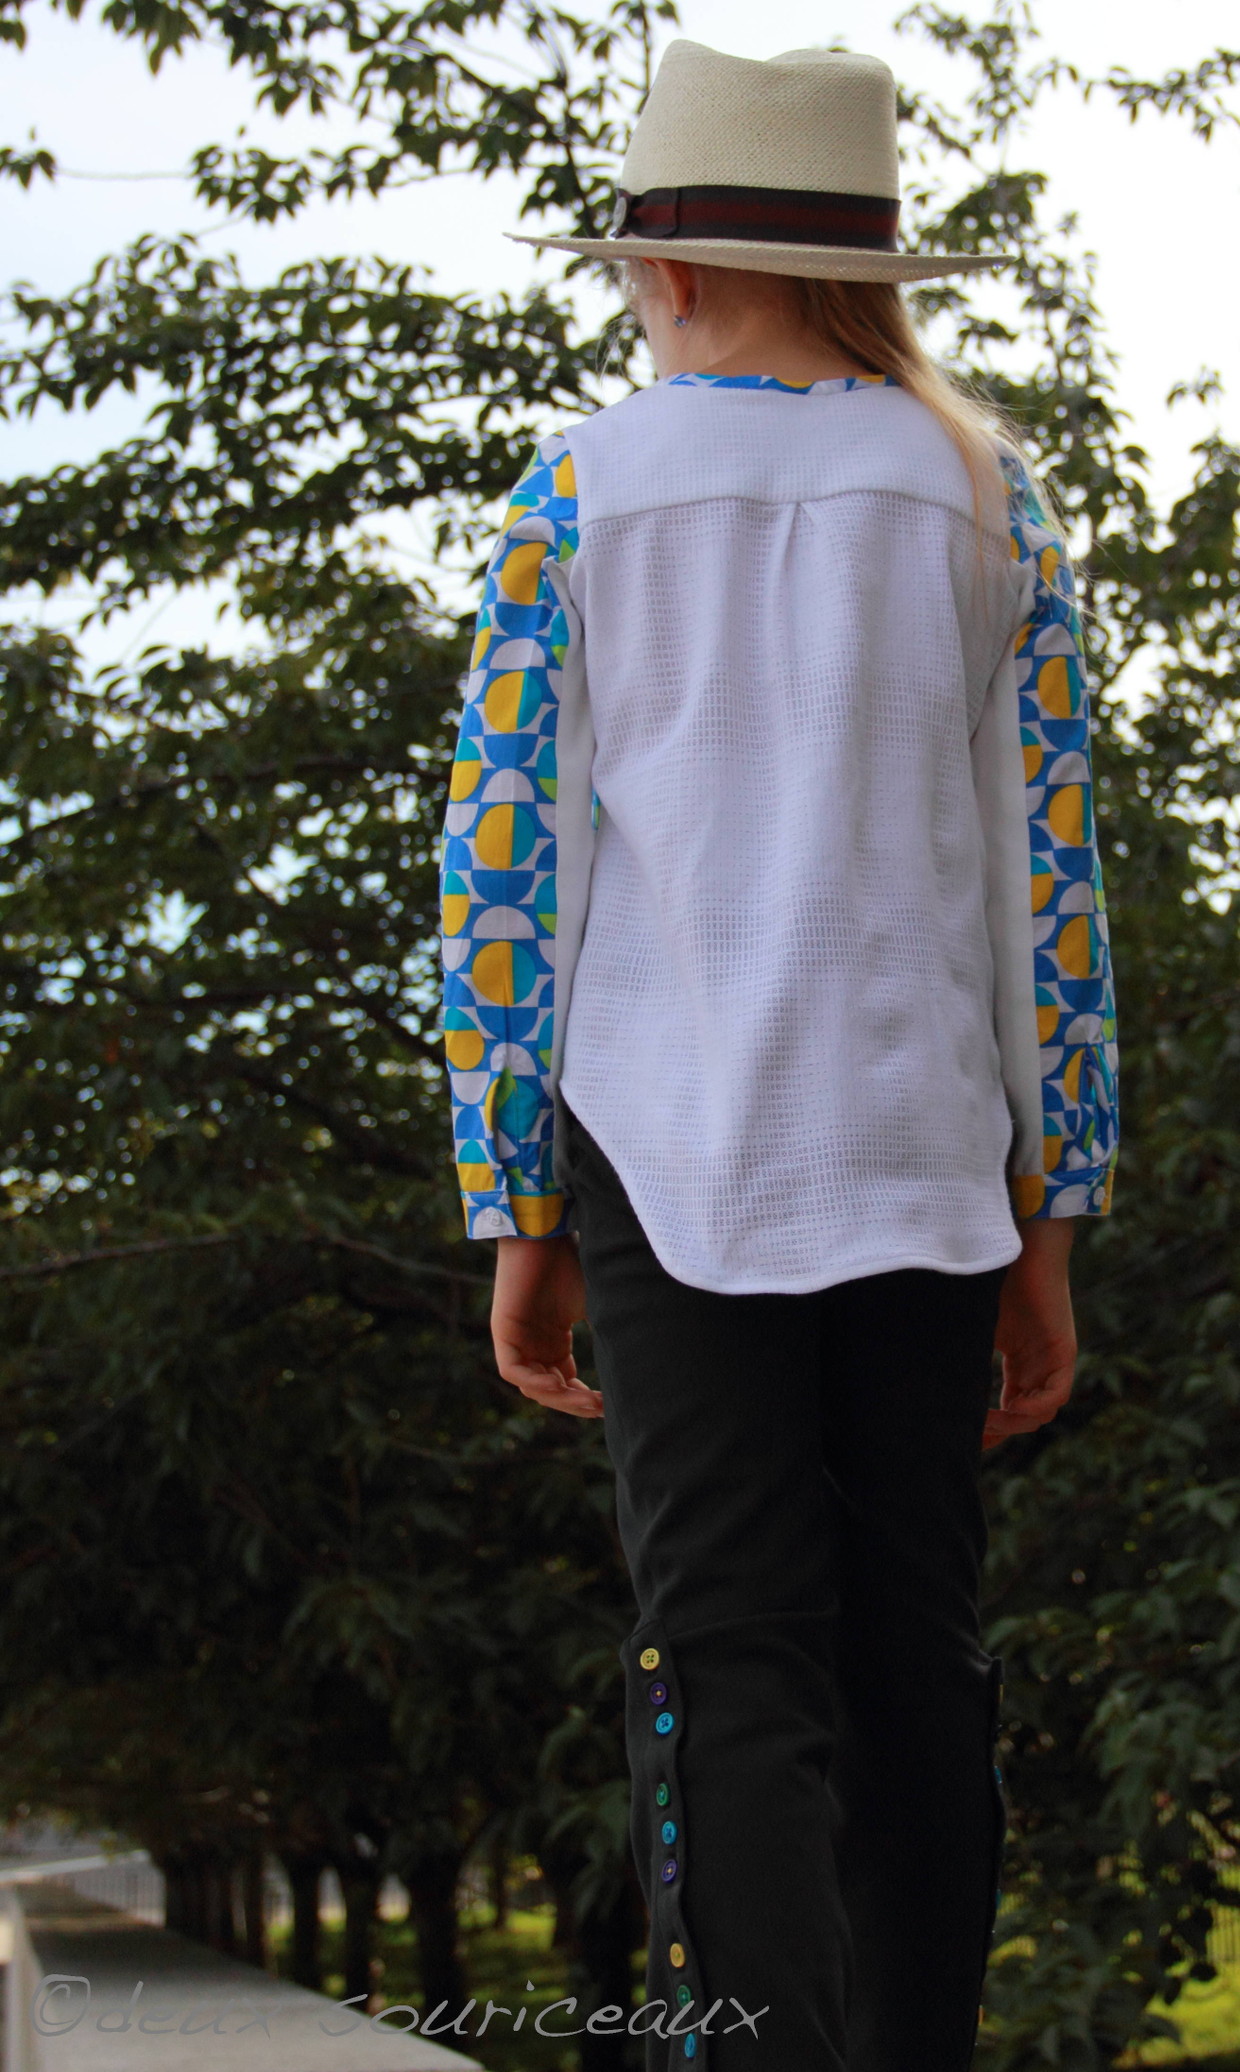
Raphaëlle did mention that she thinks a similar style could also be accomplished with the new Buttoned-Up Button-Down Shirt pattern. It might even be easier for people who are afraid of making a lot of modifications.
Thanks so much ladies!