

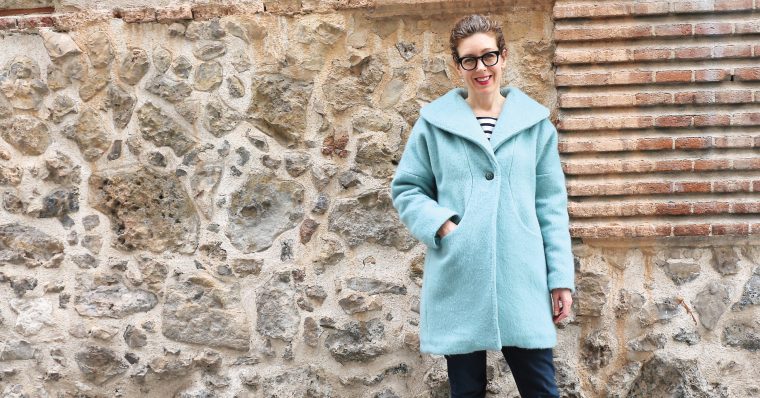
I’ve finally finished my coat, and I’m so happy to share it with you! But I have to tell you, posing for photos like this is my least favorite part. Do you feel that way too?
Name: Liesl.
Where can we find you on the internet? Right here, mostly. But also here, here, and here.
Project Details
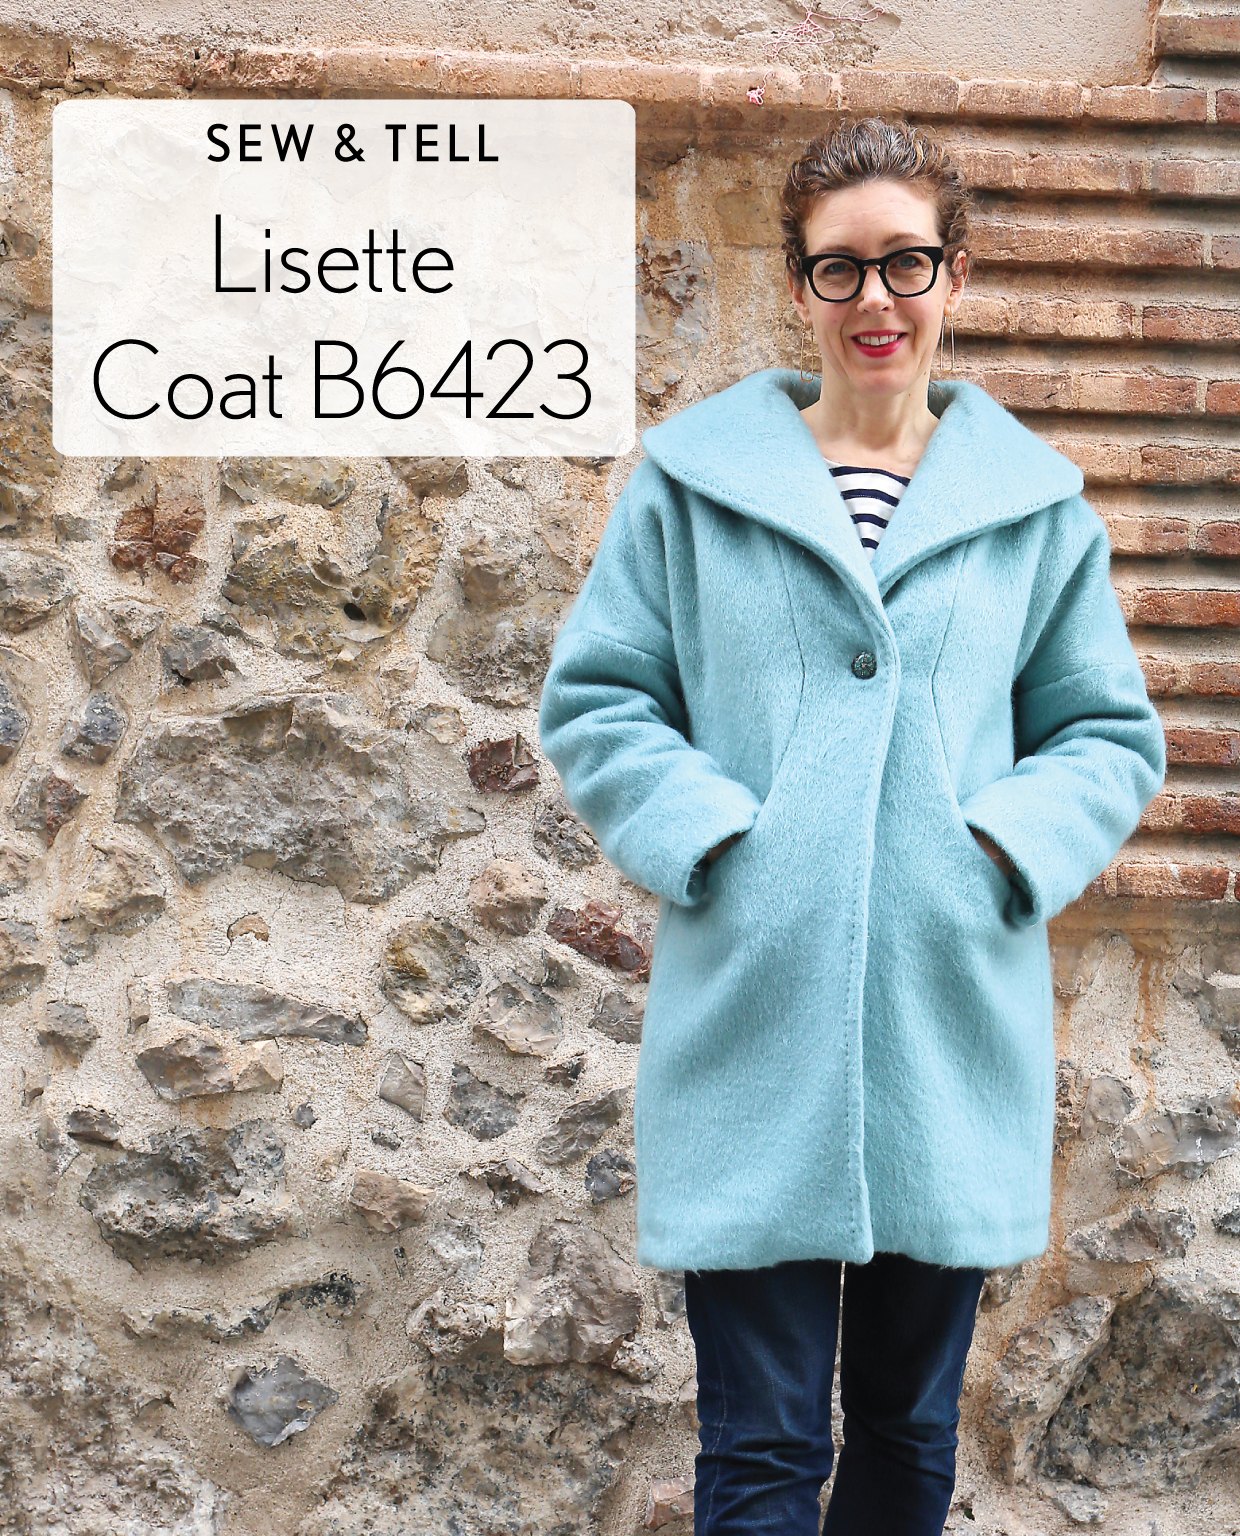
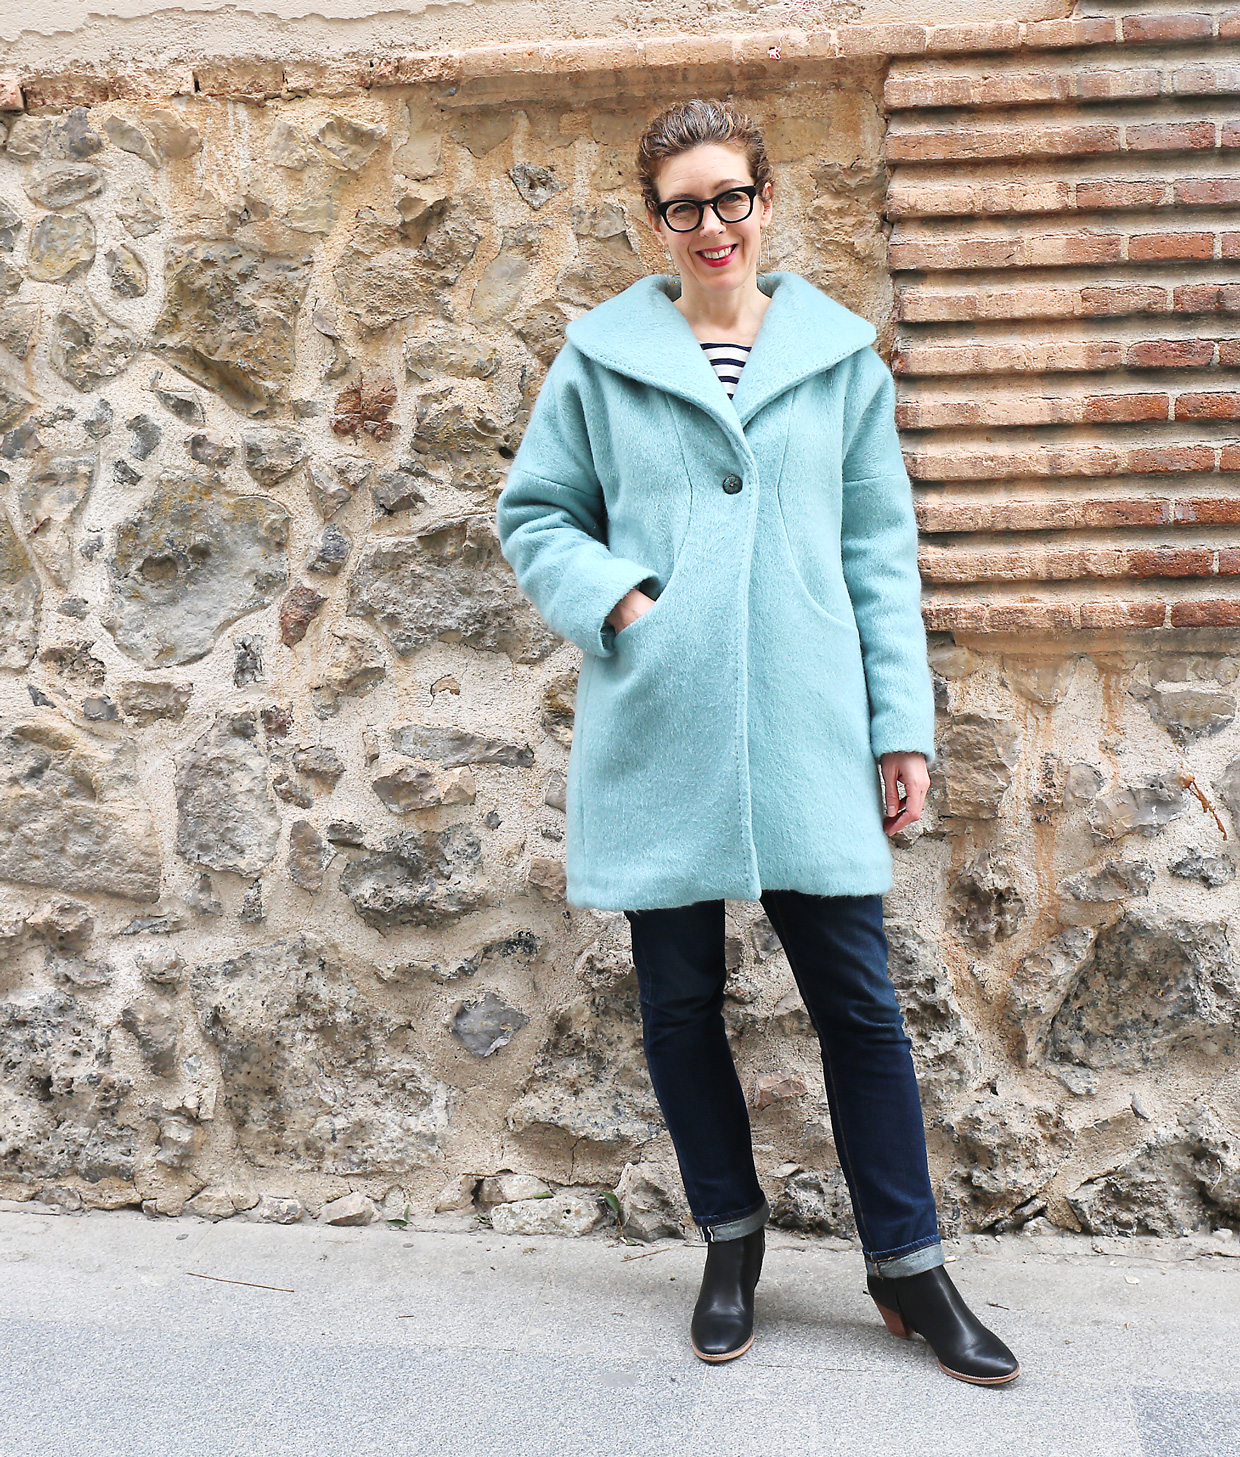
Pattern: Lisette B6423.
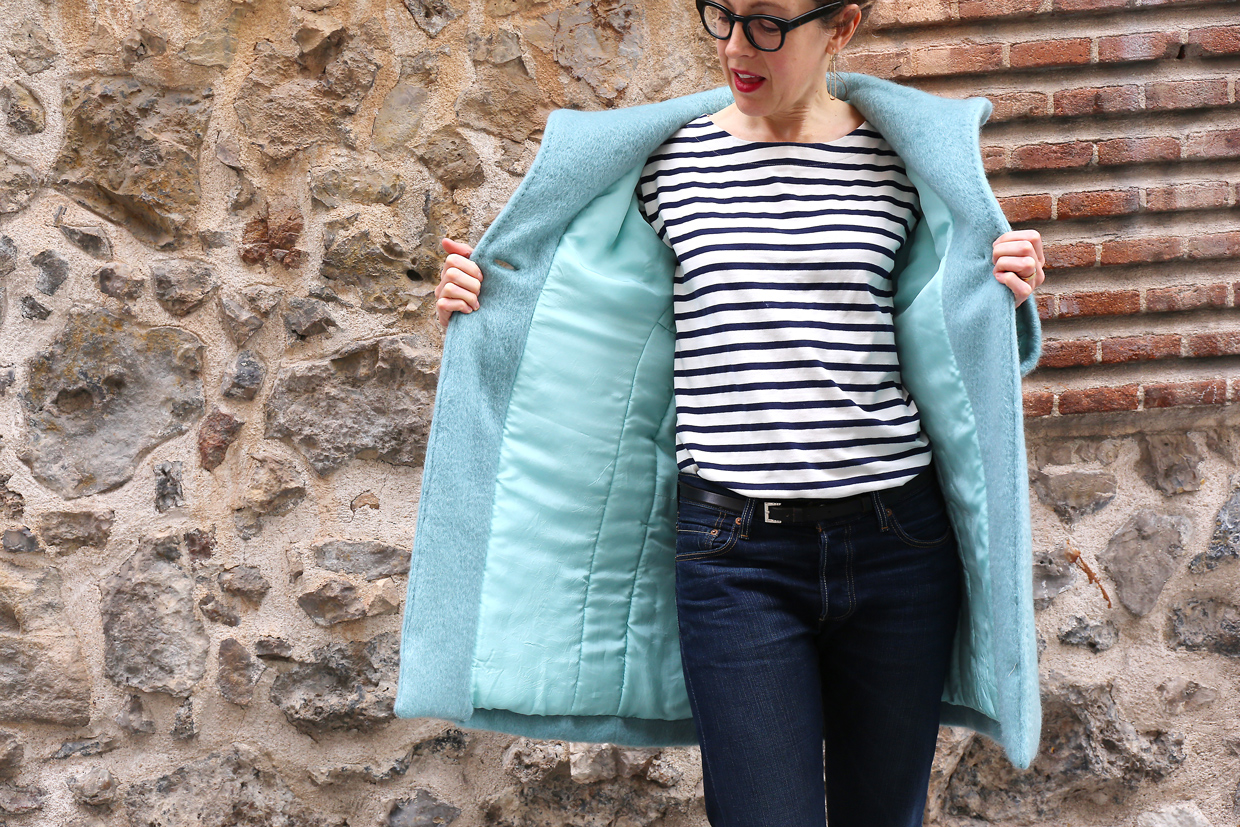
Fabric: Furry wool, acetate lining, Thinsulate interlining.
Sizing: I chose the size based on my hip measurement, since that’s where I’m widest and that’s where the coat is narrowest.

Did the fabric work well? I knew this was going to be a challenge, but that’s what sewing is all about, right? I wanted to make a really warm winter coat with a full Thinsulate lining since it’s so difficult to find anything that’s legitimately ready for frigid weather, and I’m always cold. I fell in love with the furry turquoise wool on a trip to Paris, so I knew this would be a dramatic coat between the color and the thickness of the fabric combined with the Thinsulate.
How did the sewing go? Great, but there were plenty of challenges! I basted the Thinsulate to the lining before sewing the lining (also known as underlining), and then I trimmed the Thinsulate from the seam allowances as I sewed each seam of the lining in order to reduce the crazy amount of bulk that would have accumulated otherwise.
I also underlined the facing so the collar would be bulky and dramatic. I love it–it’s very cozy–but it gave me all the challenges I anticipated. The collar needed to be coaxed to roll properly, so I added a hand-stitched pickstitch along the edge of the collar and center front to help control all the bulk. I also added a single row of padstitching to the underside of the collar to help coax the layers into submission and control the break of the collar. (Basically that just means I coaxed the fabric to fold where I wanted it to fold.)
Of course, when you have two layers of interfaced thick wool as well as a bulky layer of Thinsulate, a buttonhole is going to be an issue! My solution was to make a bound buttonhole, which worked out marvelously. I practiced a couple of times on scraps of fabric to be sure I was ready. And then there was the glass button that fell and broke. A bit of superglue solved that problem and it’s almost not noticeable.

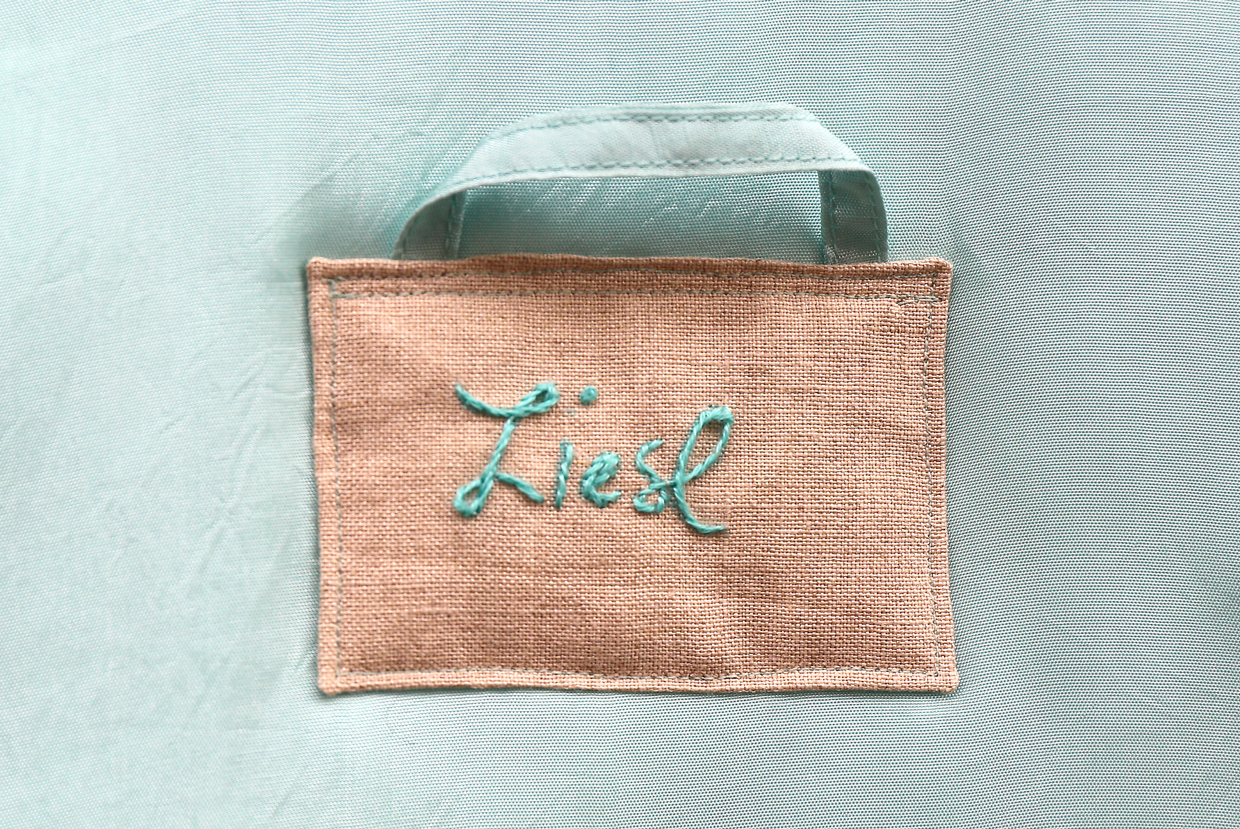
What was the best part? This coat is not for everyone, I know. But it’s just what I wanted. It has much more volume than my yellow coat, which is much lighter and less bulky. For real winter weather, however, I like the cozy, oversized look of this coat. It was a fun challenge to sew, and it’s always a confidence-booster to complete a time-consuming project like this one and realize that I was able to tackle every challenge with confidence. I took my time while sewing it (I even made a custom label and hanging loop for it) so I could be sure I was happy with each decision I made.
I’m glad I took the challenge. Now I’m looking forward to wearing it!