
Ashley is returning to the blog today to add to the Outdoor Ready series which is all about using performance fabrics to make handmade outdoor apparel. So far she has shown us how to adapt Oliver + S patterns to make hiking shirts and camping capes. This time around she’s sharing hiking pants. Thanks so much for being here Ashley!
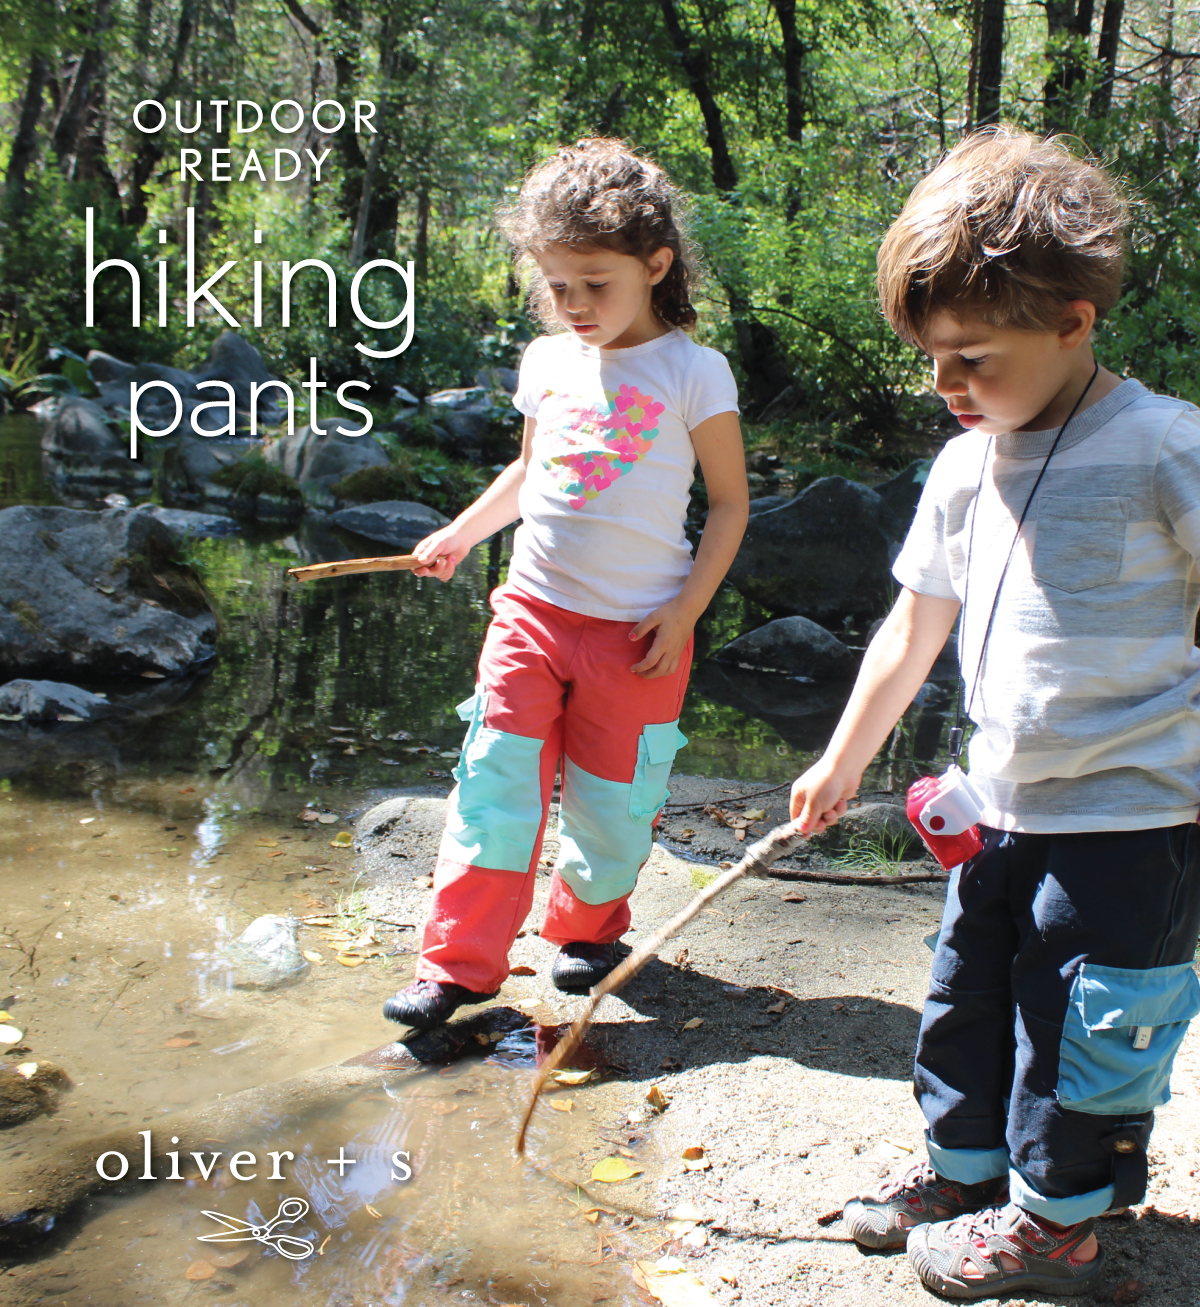
When I first began thinking about making outdoor apparel for my kids, this was the item that immediately jumped out at me. If you have spent anytime outdoors with your children, particularly in the vicinity of water, you can appreciate the value of durable, quick drying pants. Be it an ocean, lake, river, stream or puddle, kids seem to find their way to any water source and jump in feet first. This reckless abandon is one of the wonderful things about childhood, but it also has consequences if your kiddo is dressed in cotton. In addition to splashing around in water, all kinds of accidents occur involving moisture that lead to discomfort when the fun is over and half their bodies are wet and cold!

The idea of sewing outdoor clothing for my children originated from the immediate drenching of pants anytime we step outside the house. On a camping trip or a hike, I found myself budgeting two to three pairs of pants per day per child to account for soggy, muddy, slow drying garments, and I knew there must be a better way. The Field Trip Cargo Pants are pretty much the perfect hiking pants and required so few adjustments to make them outdoor ready, it feels almost too easy! I have my own favorite pair of hiking pants that have traveled many miles over many years, and the minor adjustments I will outline below result in a child-sized replica I think both adults and kids will approve of.
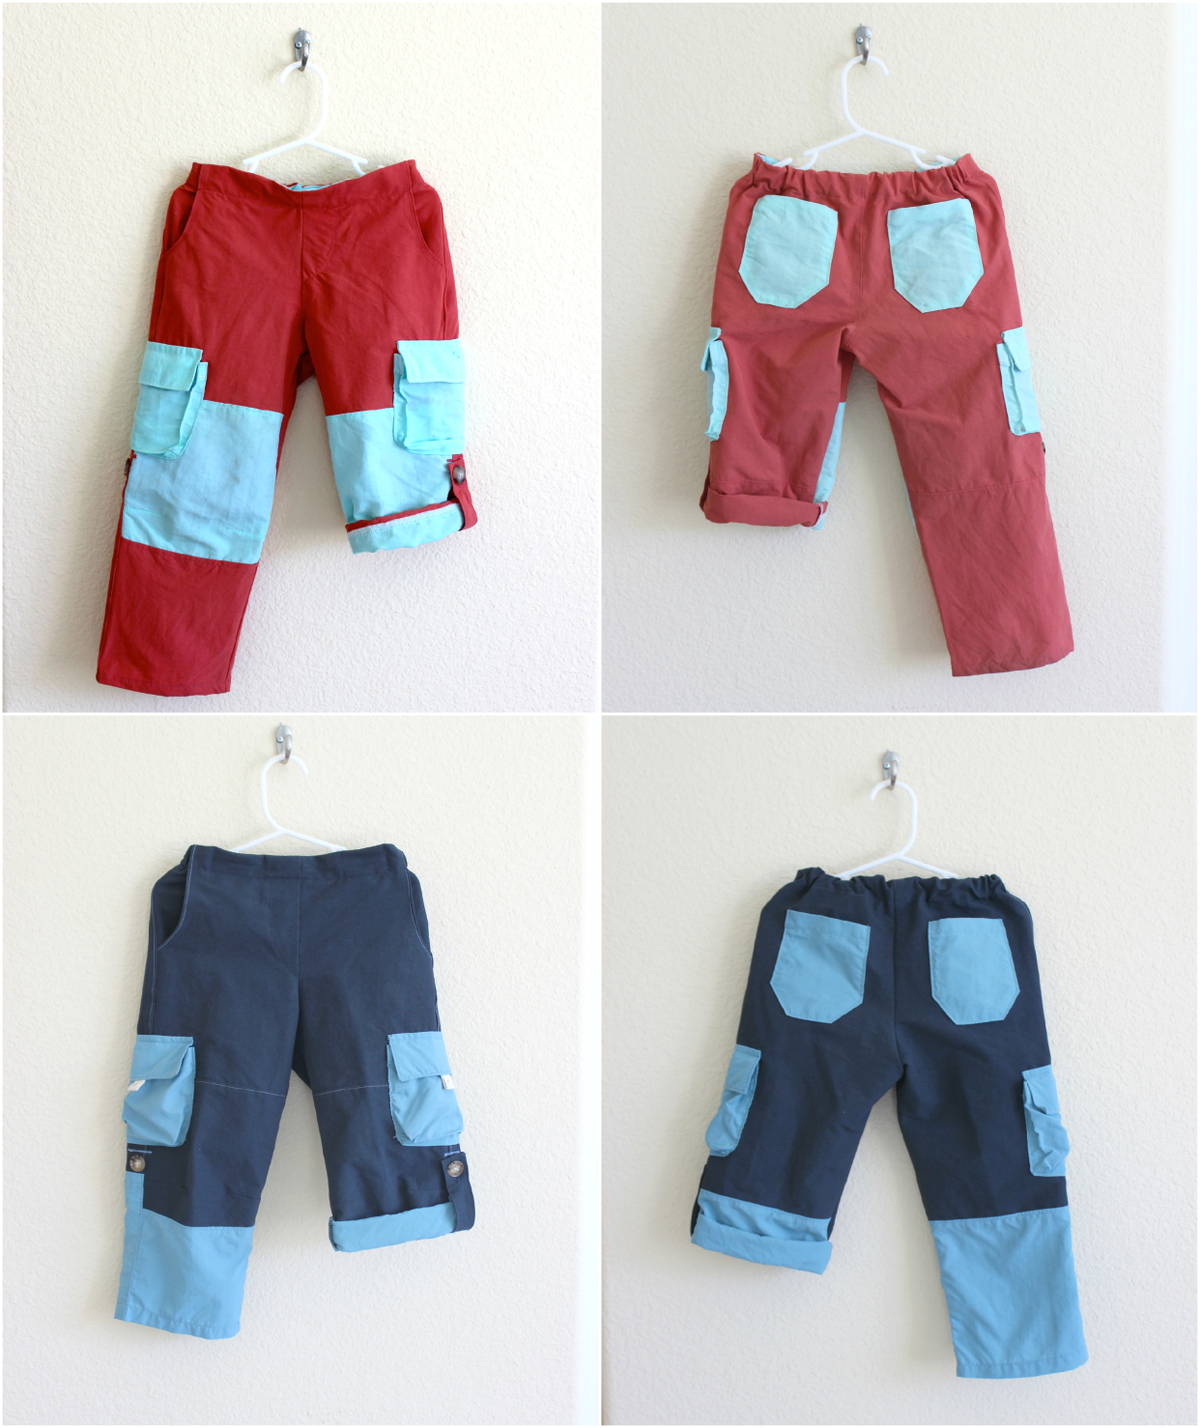
The most critical adjustment to the pattern is quite simple–using performance fabric! For these pants, I used performance stretch woven wicking purchased from Rose City Textiles in Portland, OR. (Don’t worry, they have great online inventory if you don’t live close by and will send swatches.) As the name implies, this is a woven fabric with a bit of vertical stretch (which provides more flexibility for bending at the knee and sitting). The wicking properties allow it both to draw moisture away from the body and then to dry quickly, making it ideal for outdoor apparel with a high likelihood of getting soaked. In addition to the fabric choice, I added Velcro closures and loops to the cargo pockets, as well as button tabs to allow the pants to convert to shorts. I will walk you through each of these adjustments below.
Do not be intimidated! There are only a few steps to keep in mind in caring for and sewing with woven wicking performance fabrics such as those used in this post:
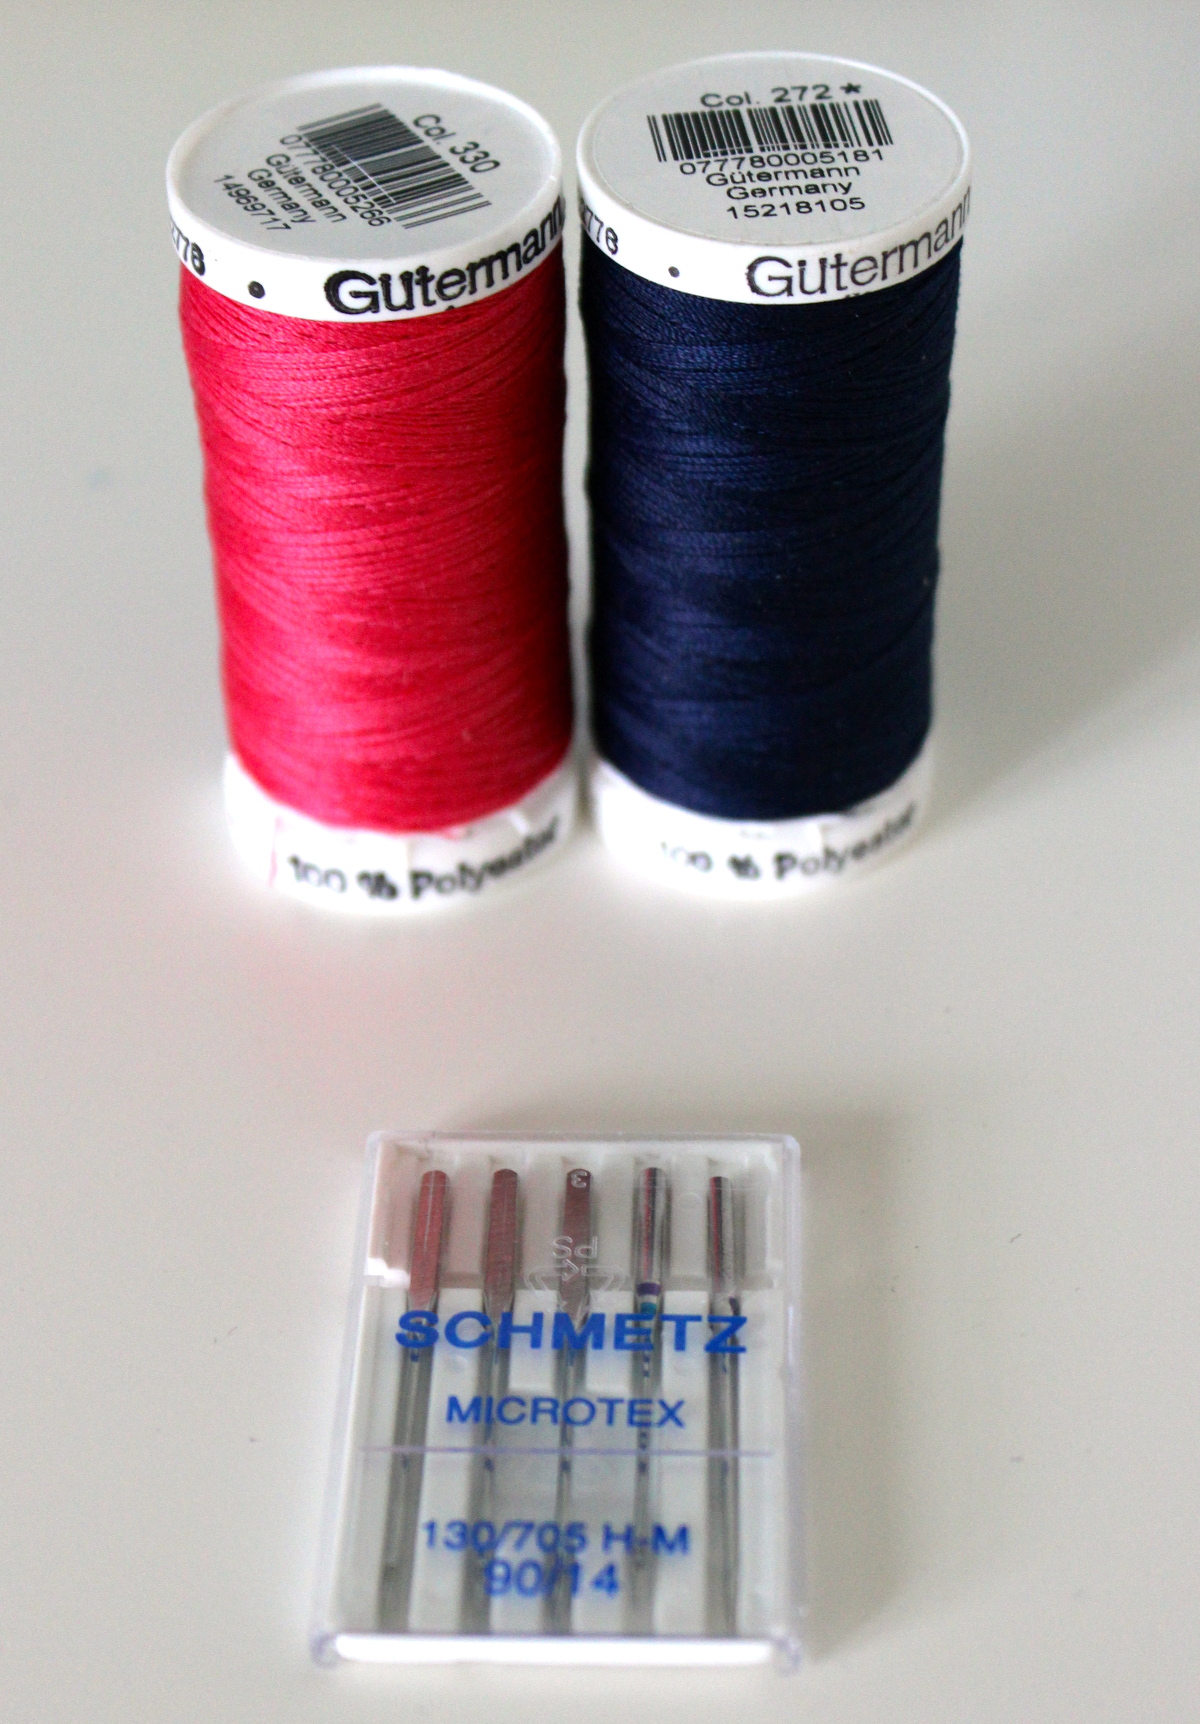
1. Use microtex needles in your sewing machine, available at well stocked fabric stores including Jo-Ann.
2. Don’t be afraid to use pins.
3. Use 100% polyester thread.
4. Machine wash cool, line dry.
5. Do not use heat to dry the fabrics as it may disrupt their performance properties.
6. Iron on low heat.
Keeping those tips in mind, cut out the pattern per the instructions. The design of the pattern really lends itself to color blocking, which you’ll notice I had a bit of fun with! I also doubled the knee pad portion of the pattern to make that high-traffic area extra durable (i.e., I cut four knee pieces instead of two for each pair of pants I made). Assemble the pattern per the instructions. When you come to the knee portion, execute the dart instructions separately on all four pieces, and simply double each of them appropriately when the darts are complete before attaching to the rest of the front pant pieces as outlined in the instructions, so you have two layers of knee pads per pant leg. There are several opportunities to top stitch an extra line or two on a seam, which not only looks professional, but also serves to reinforce the seams, further increasing durability.
Velcro has become my go-to closure for pockets on outdoor apparel. It serves the purpose of guarding treasures, but is simple enough for even the tiniest fingers to open and close with ease. In order to add Velcro closures to the cargo pockets, you will need to do the following:
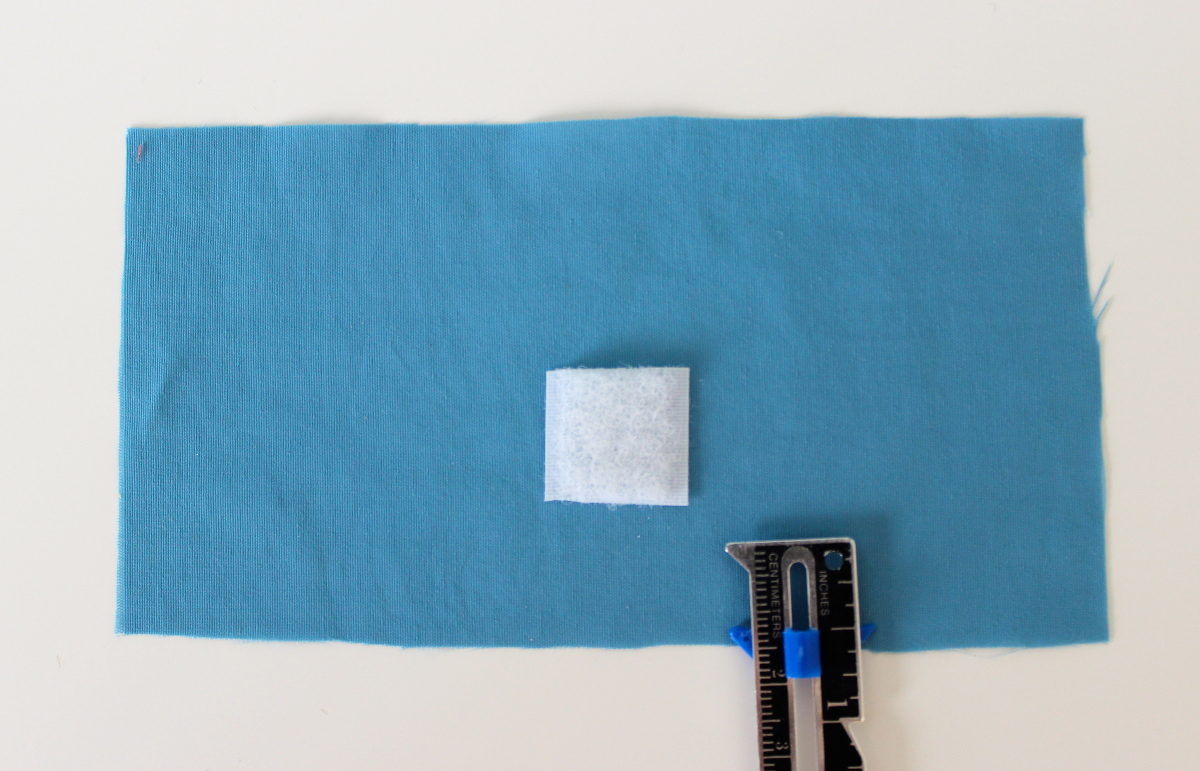
1. On the right side of one pocket flap piece, center a piece of Velcro 3/4″ from one long side. You want the Velcro to be quite close to the bottom of the flap after you sew the 1/2″ seam allowance. Sew Velcro in place.
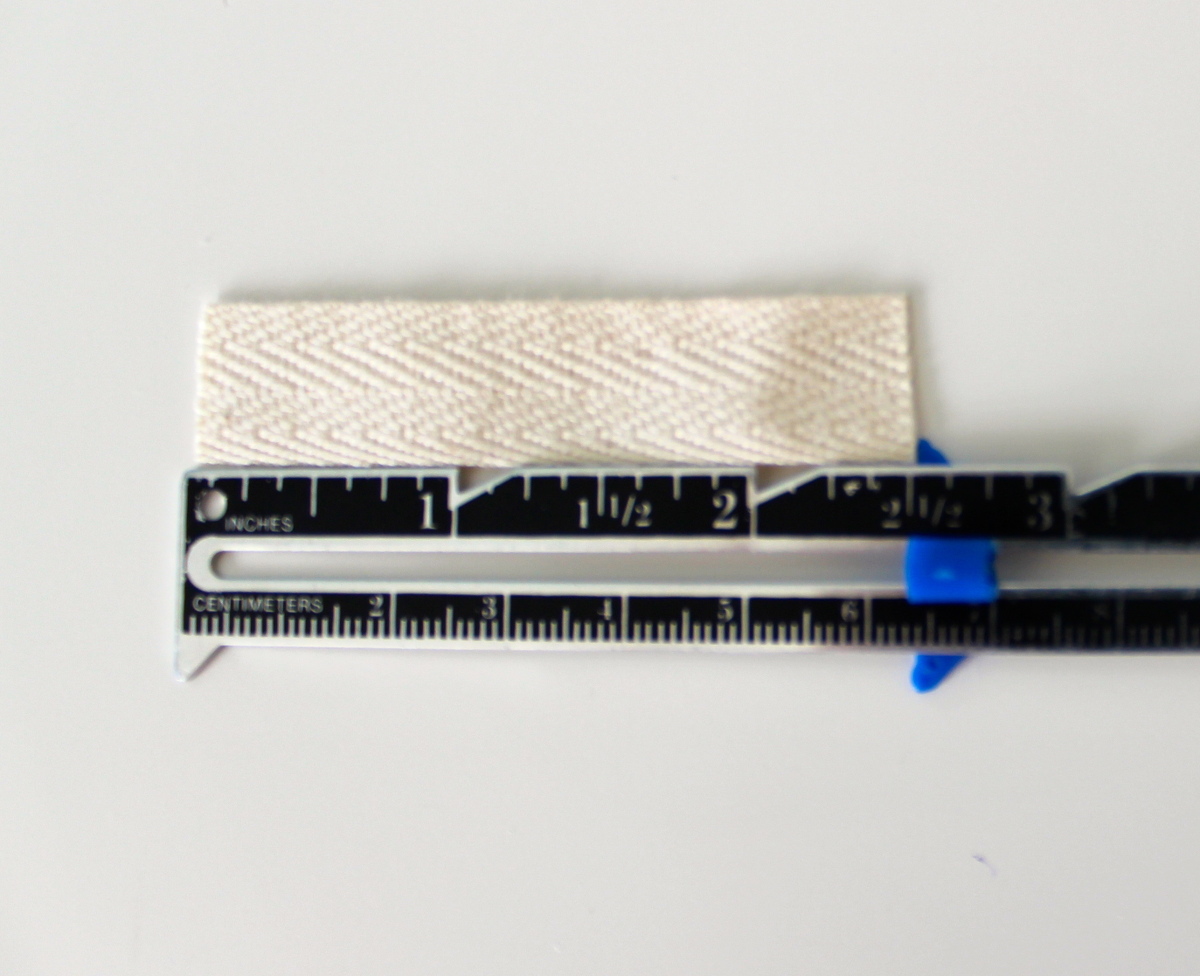
2. If you would like to add a loop for hanging tools (whistles, compasses, etc), cut a piece of ribbon or twill tape measuring 2.5″. The twill tape pictured here is 0.5″ wide.
3. When assembling the pocket flap, be sure that this piece of Velcro is at the bottom of the flap which will be seamed shut, not the top which is left open. Fold the twill tape in half to form a loop and center on the bottom of the pocket flap (using your Velcro as a guide), with the closed side of the loop facing in, raw edges of loop aligned with raw edges of pocket flap.
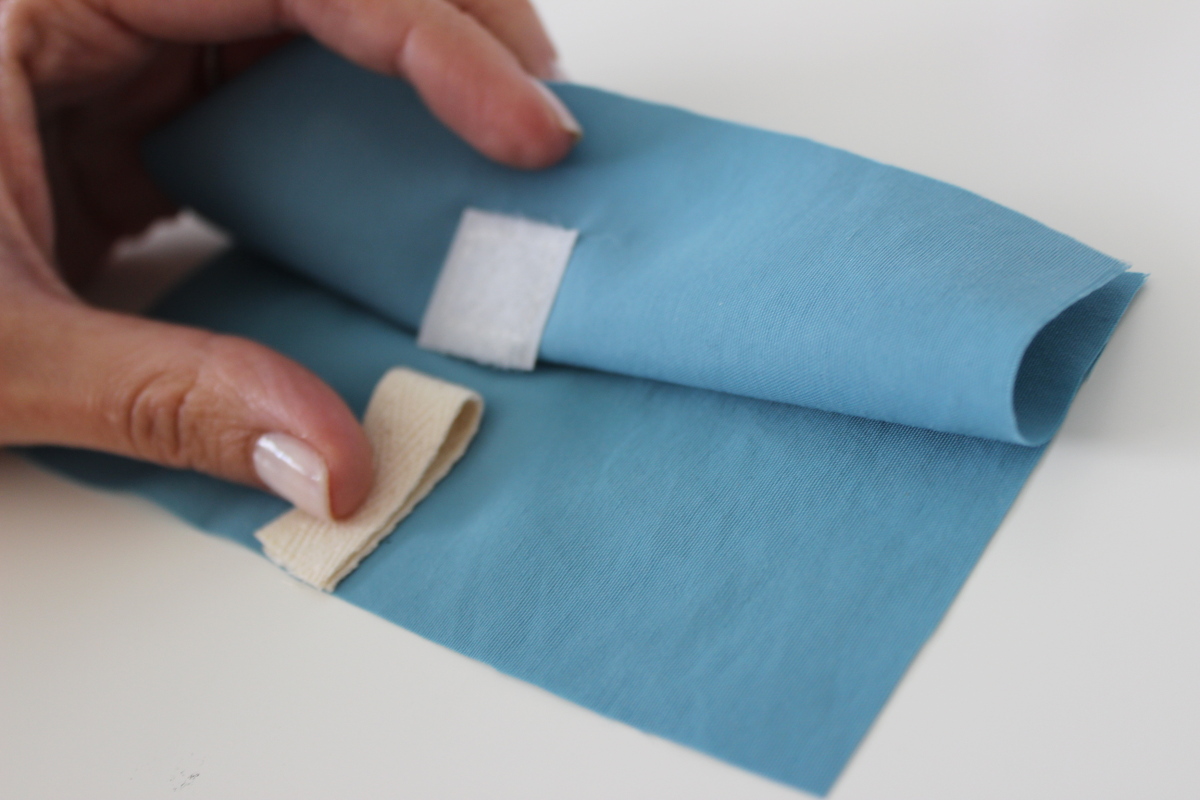
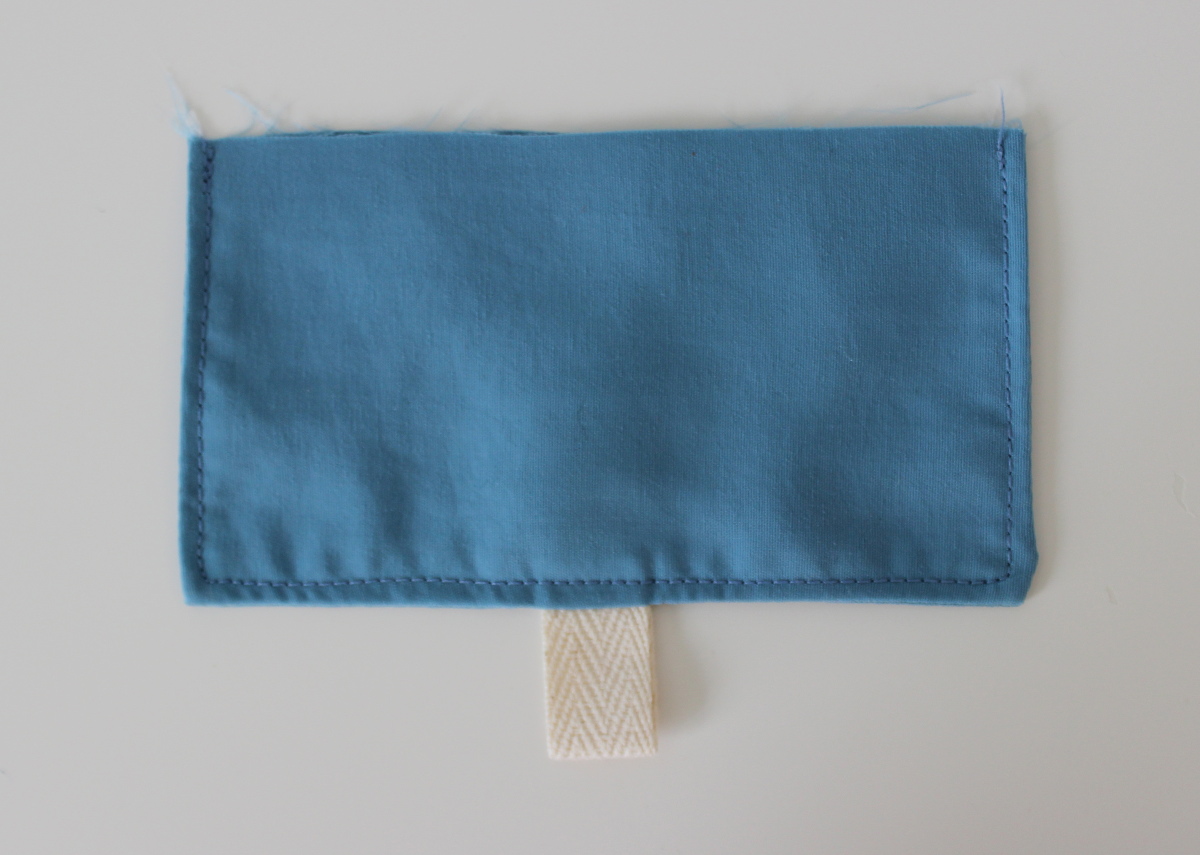
4. Sew the two pocket flap pieces, right sides together, as instructed. The loop will be formed as the raw edges of your twill tape or ribbon are caught in the seam allowance. Turn, press, and top stitch as instructed.
Once the rest of the cargo pocket is assembled and attached to the pants, you can use the flap as a guide of where to affix the other half of the Velcro. Attach the other half of the Velcro to the Velcro on the flap, then close the flap and mark on the main pocket where the other half should be placed for the pocket to close comfortably. Sew in place, being careful to sew only the pocket piece and not catch the pants in the seam.

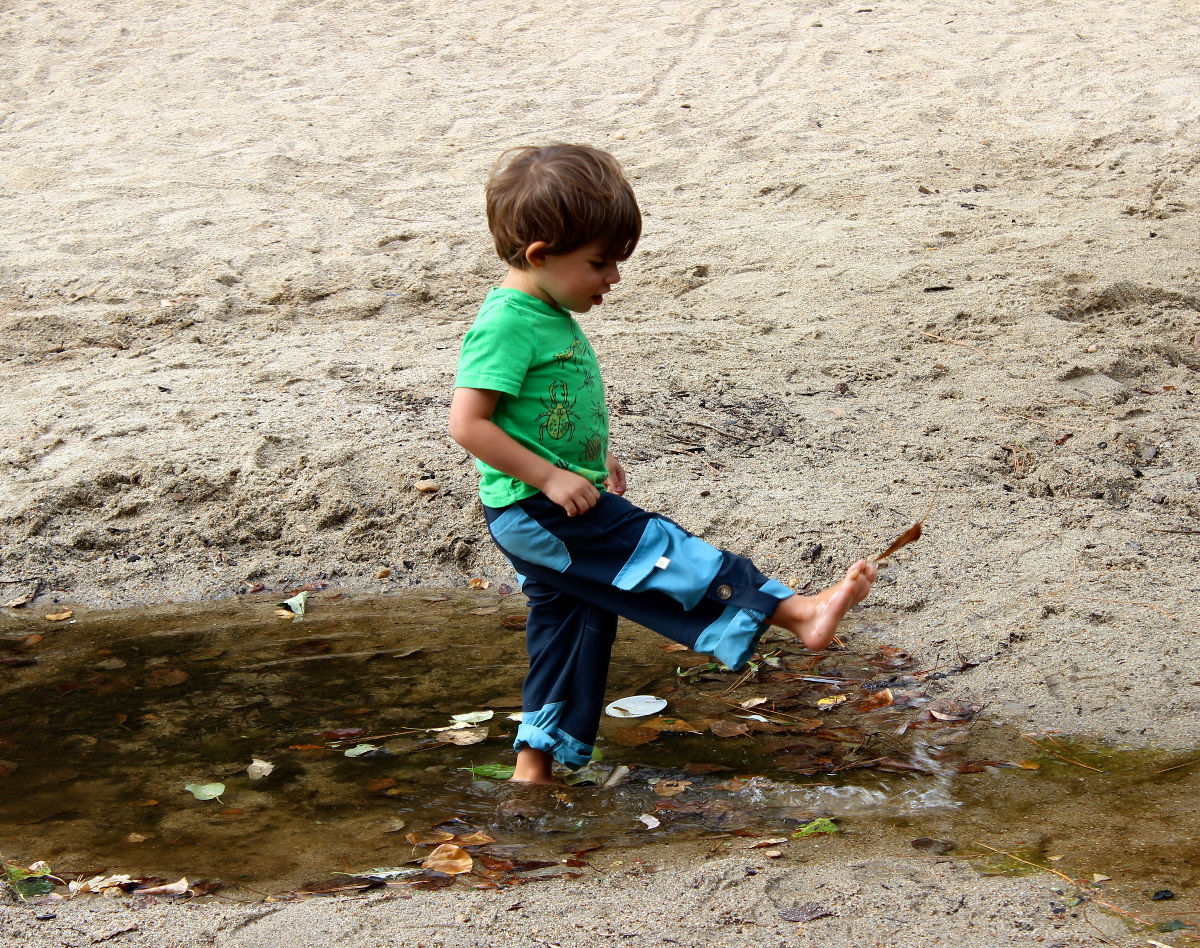
I made one other addition to these pants that really contributes to versatility. There seems to be two main types of convertible hiking pants: roll up vs. zip off. My personal preference is for roll up because I have a sneaking suspicion I wouldn’t be able to keep track of several different pants pieces. With the roll up version, you still have the option of converting the pants to shorts, but can change them back to pants with no difficulty and never have to worry about them accidentally becoming shorts permanently! An added bonus, creating a button tab to roll up the pants can be achieved in just a few simple steps. I added one tab per pant leg, but after watching the pants in action, I would recommend adding an additional tab for extra security, centered on the inseam (the steps outlined below result in a tab on the side seam of the pants).

1. Cut two rectangles of fabric, keeping the following in mind: the finished width should be wide enough to accommodate the size of button you choose to use for the button tab, and the length needs to wrap from the inside of the pants around the rolled cuff and attach on the outside of the pant leg. For both the three and four year pattern sizes, I used rectangles 3″ x 7″.
2. Fold and press the rectangles in half length wise, right sides together. To prepare for turning a narrow tube, I place a safety pin in the crease close to what will be the closed end of my strap, facing what will be the open end. Sew around the strap, leaving one short end open. We will address finishing that raw edge when we affix the strap to the pants.
3. Turn your tube to the right side, however you like to do so.
4. Press, edgestitch if you wish, and add a buttonhole about 0.5″ from the closed short edge of your tab.

To affix the button tab to the pant leg, turn your finished pants inside out. Because the cargo pocket is positioned across the side seam in the middle of the pant, you will most likely want to place your button tab just under the bottom of the pocket vs. over the top, or you would have some rather short shorts! Locate the the seam at the bottom of the pocket, and center your button tab just underneath it over the side seam of the pants.

To attach the button tab, set your machine to a tight, narrow zigzag stitch. I had mine set to 0.5 stitch length and 2.5 stitch width. You may want to manually check the needle placement before affixing the strap, as those tight little stitches are a pain to rip out! You want to overlap your stitches between the raw edge of the strap and the sleeve so that you both finish the edge of the strap and attach it in one step, like machine appliqué. This reduces bulk at the seam and is both neater and easier than fussing with folding over and pressing a tiny edge. Optionally, you may choose to use a contrasting thread for top stitching and affixing the button tab as a neat design detail.

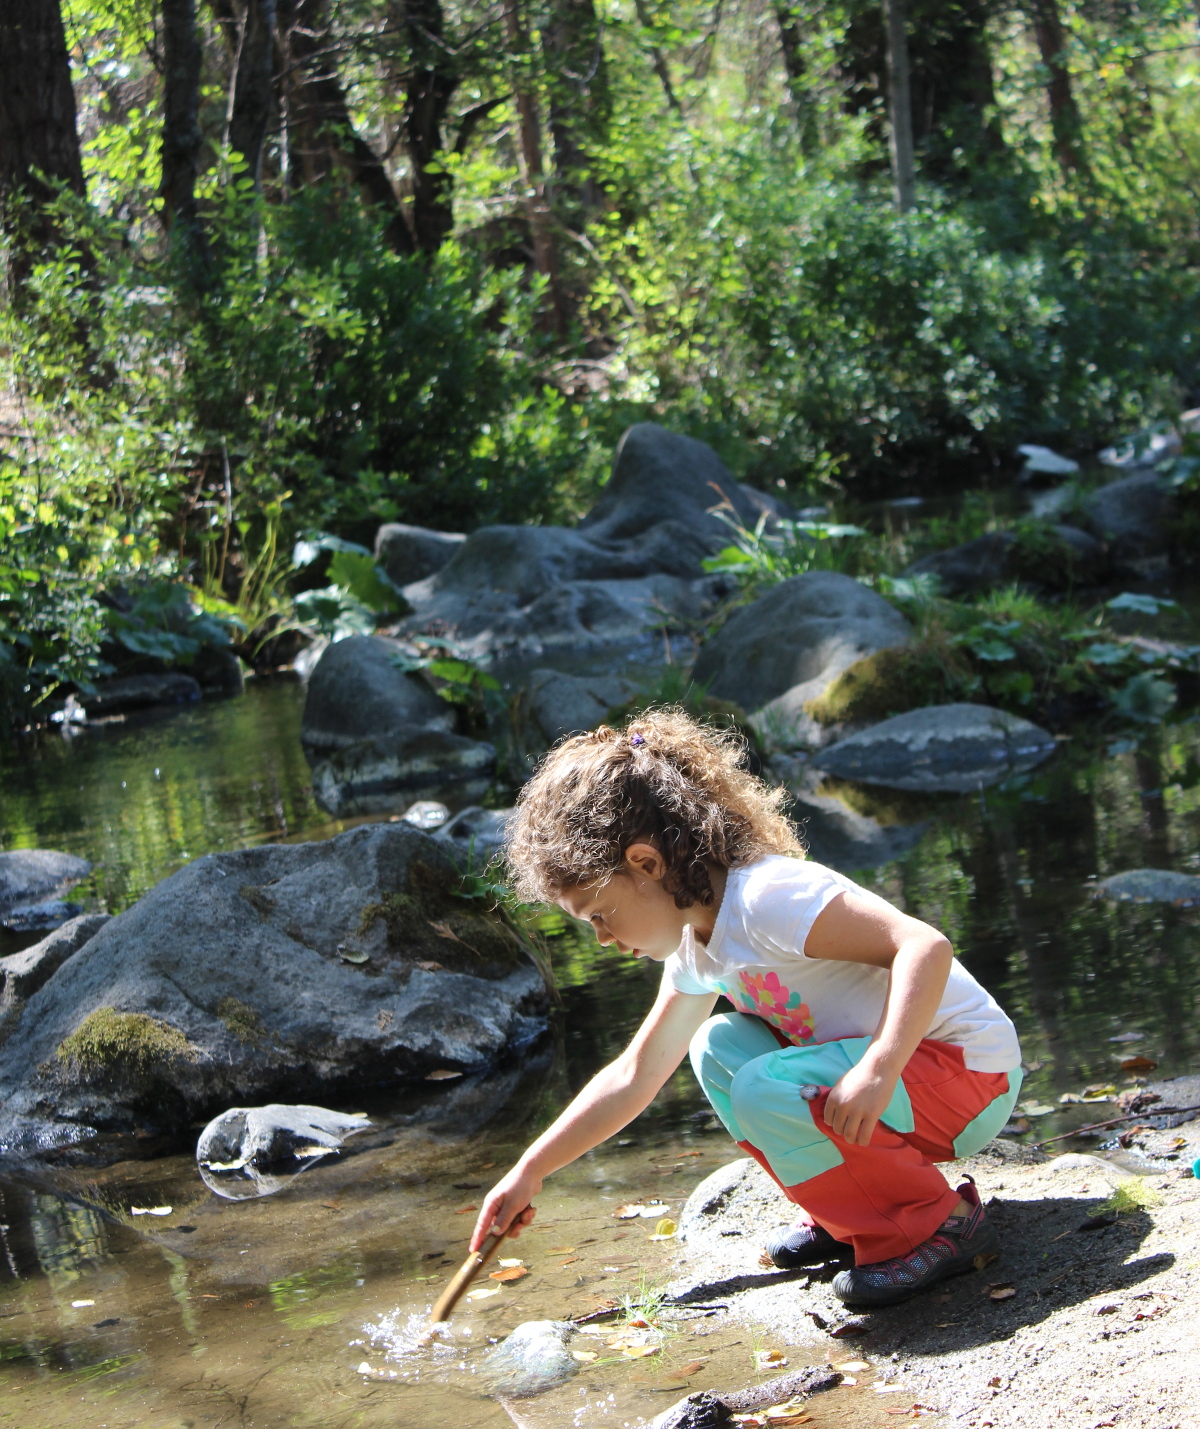
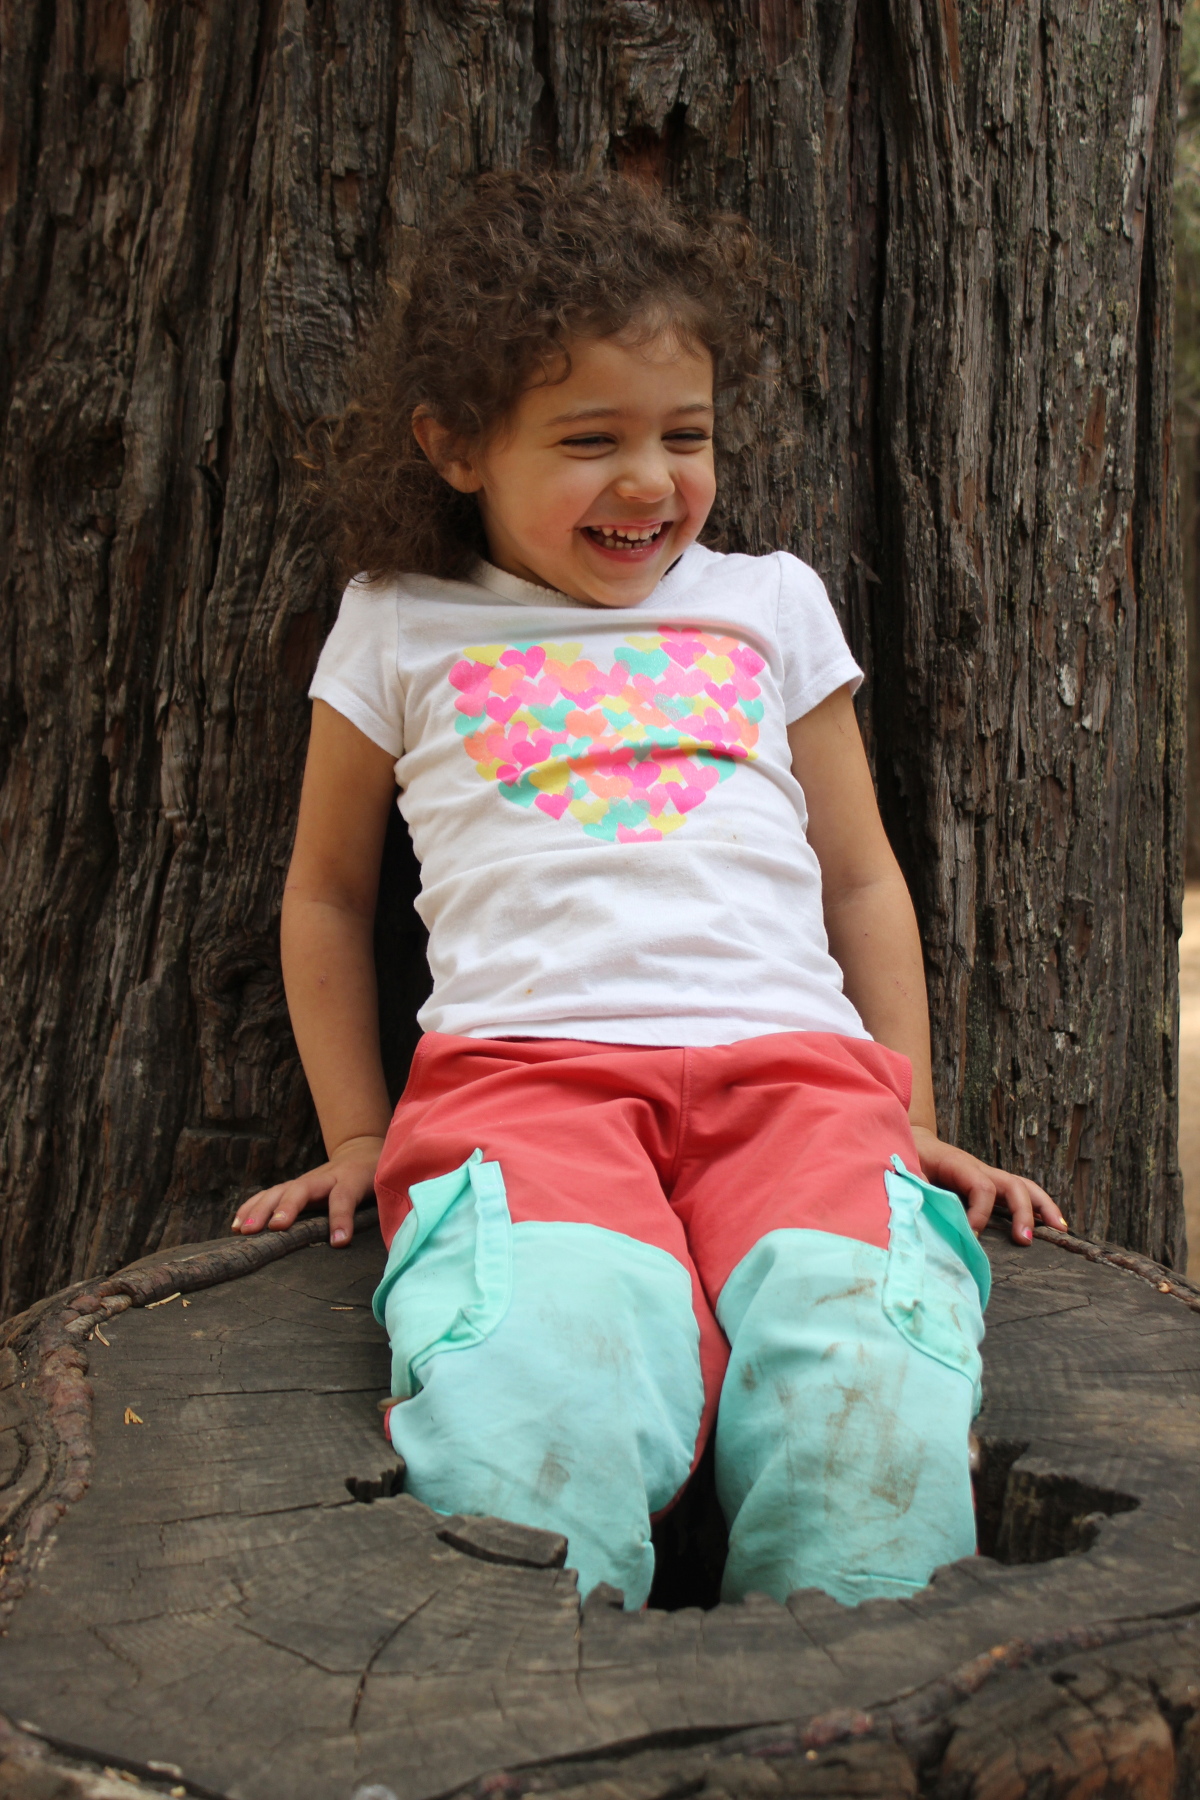
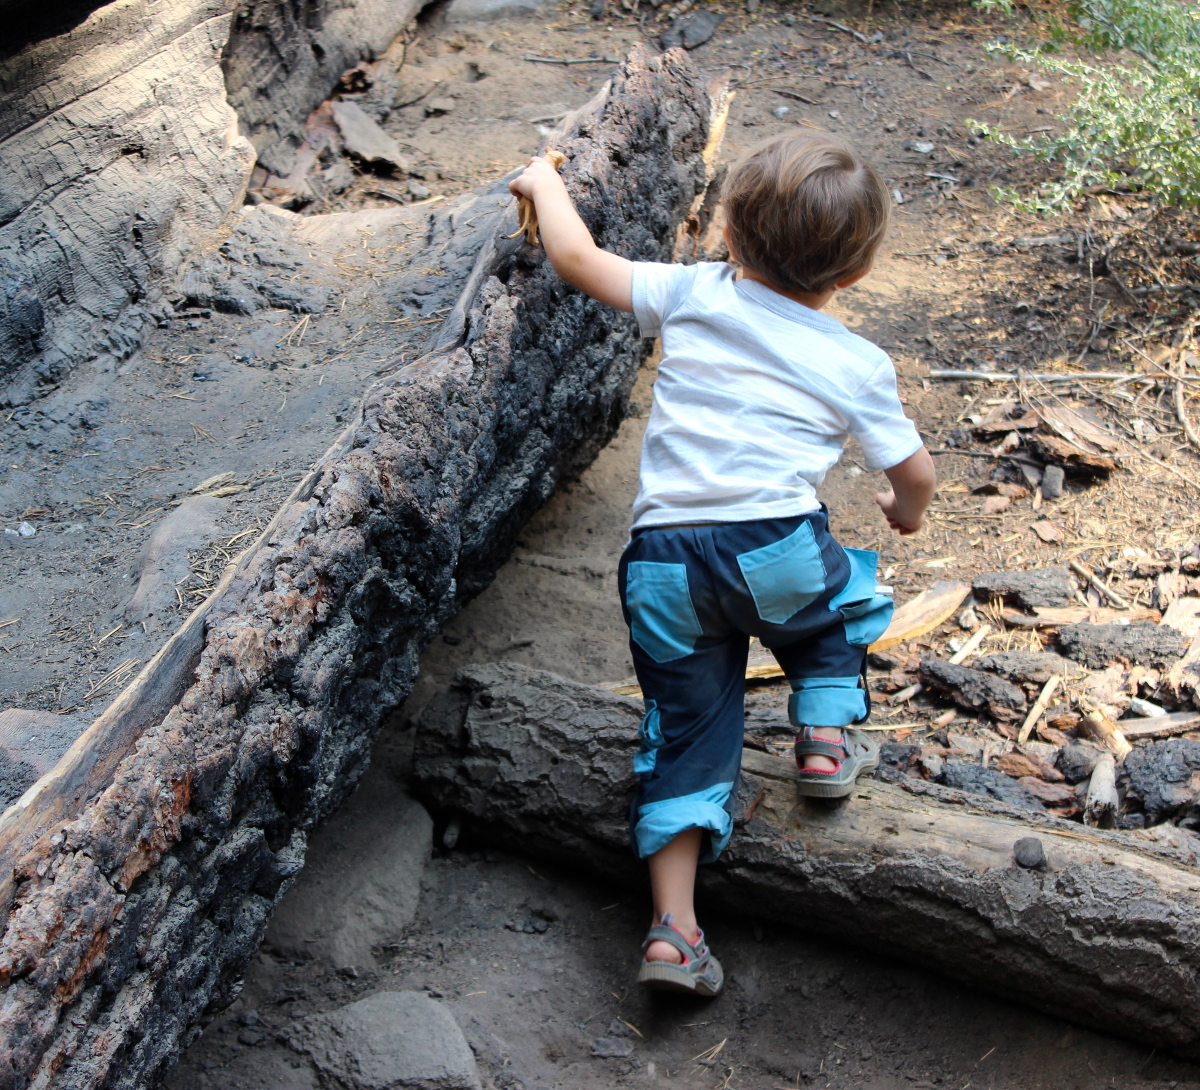
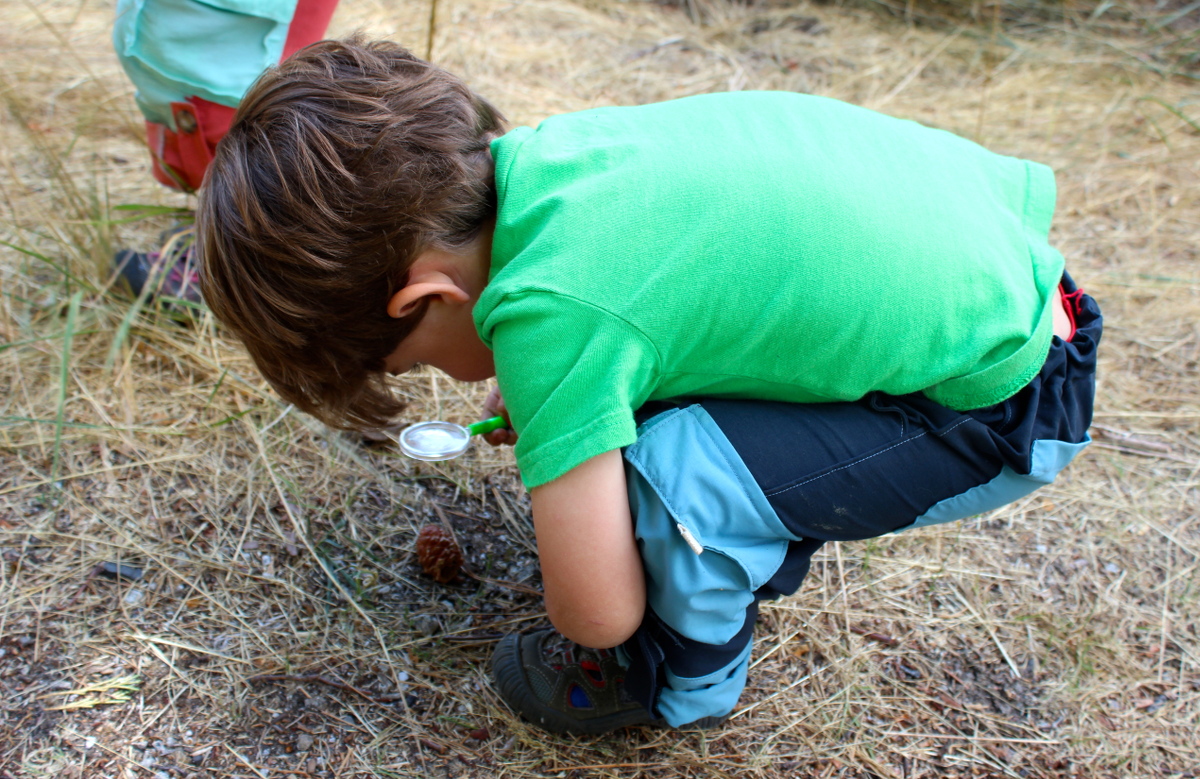
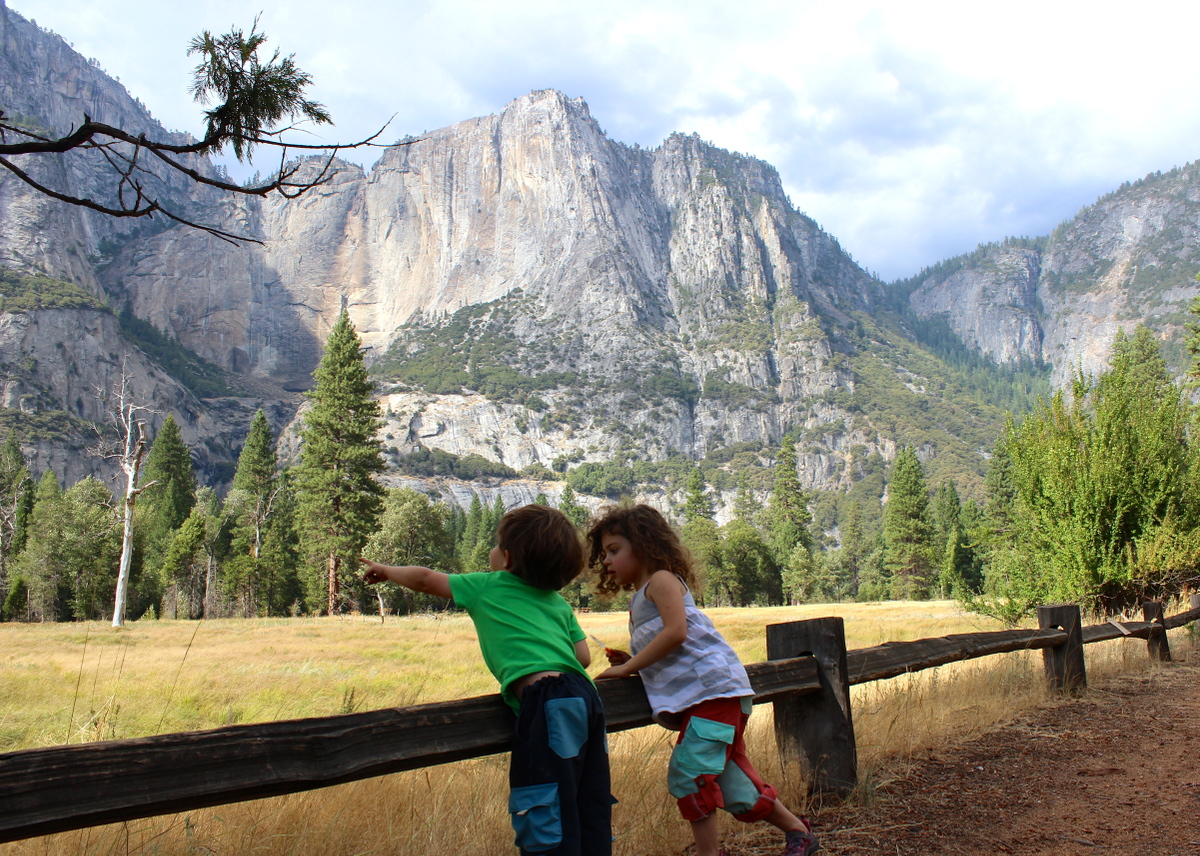
We put these pants to the test over several days in Yosemite National Park, where they came up against creeks, rivers, streams, sandy beaches, dusty paths, craggy rocks, and sappy trees. I put the kids in these pants for three straight days of hiking, wading, biking, and climbing without washing them in between wears, and they are everything we dreamed hiking pants would be. They provided ease of movement for all of these activities, ample storage space for treasures, dried quickly in between wet activities, rolled up in the heat of midday and back down when the sun began to set.


I tried to capture on film how absolutely filthy these pants were becoming, but somehow they belie all the mischief they endured. A quick brush off, and they could pass for clean in spite of what they’d been through, with nary a snag or tear. One trip through the wash (and some sap spot treatment with rubbing alcohol) and they were good as new. I packed backup pants and never had to use them–exactly what we need to simplify packing for future outdoor trips.

I hope this post has been helpful and that you’re inspired to make some hiking pants for your own little ones. Even as we transition into cooler weather, these will make a great layering piece over long johns or fleece. You will need little else to have the kids outdoor ready!
Save