
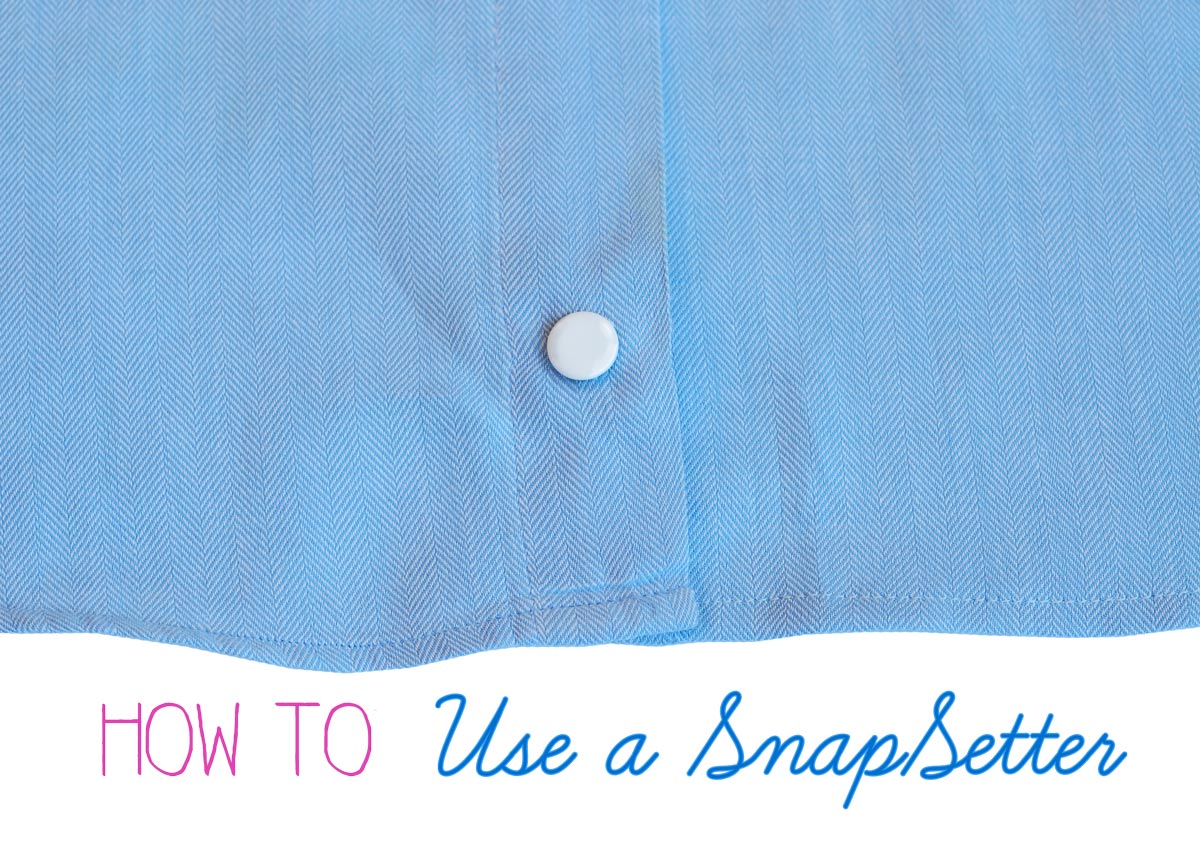
I’ve always dreaded anything that calls for snaps. In fact, I used to think it was more difficult to attach a snap than it was to make a buttonhole. But the SnapSetter tool makes it so easy. And since we made good use of snaps on our new layette pattern, I thought it would be helpful to have a tutorial to lead you through the steps with photos.
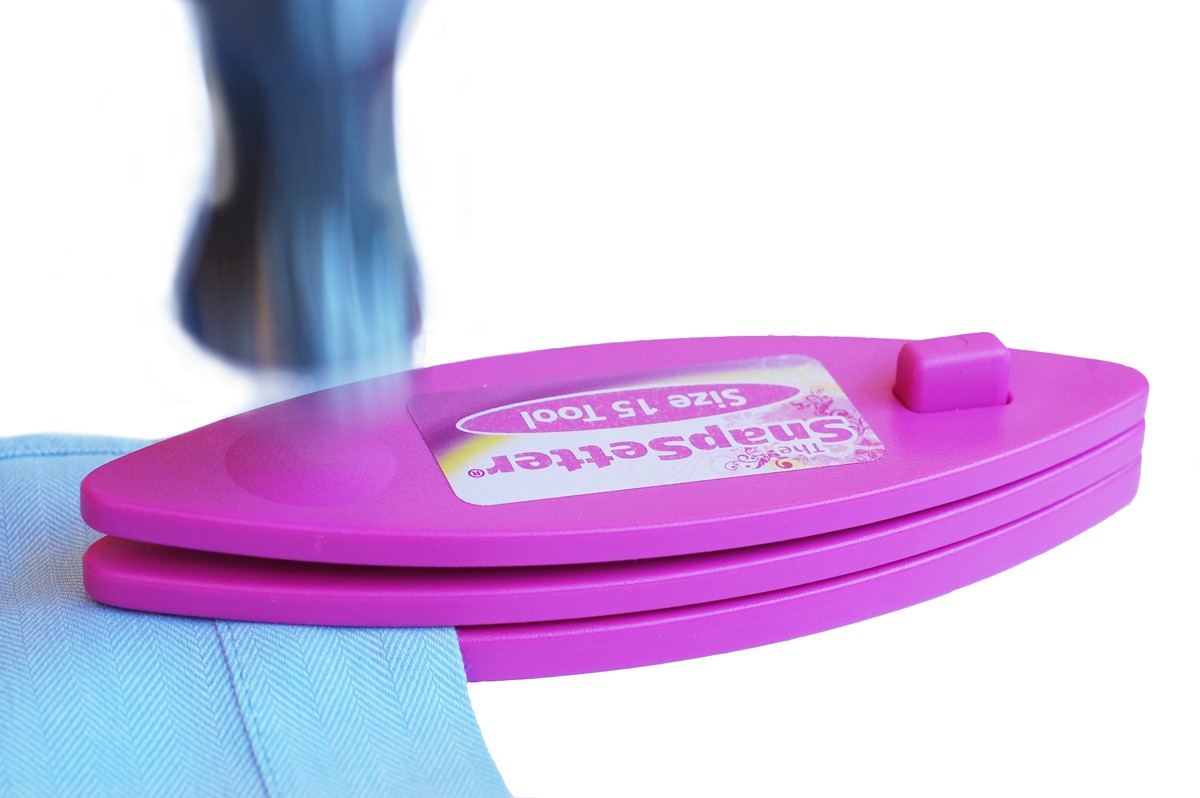
The SnapSetter tool is made up of three pieces that fit together, and it’s the key to attaching snaps easily and smoothly. It’s important to get the right size SnapSetter. I like size 15 snaps because they’re just the right size for the Lullabye Layette pattern. (We use the size 16 snaps and SnapSetter for our Straight Stitch Society Have It All Wallet because it needs a more substantial snap to look right.)
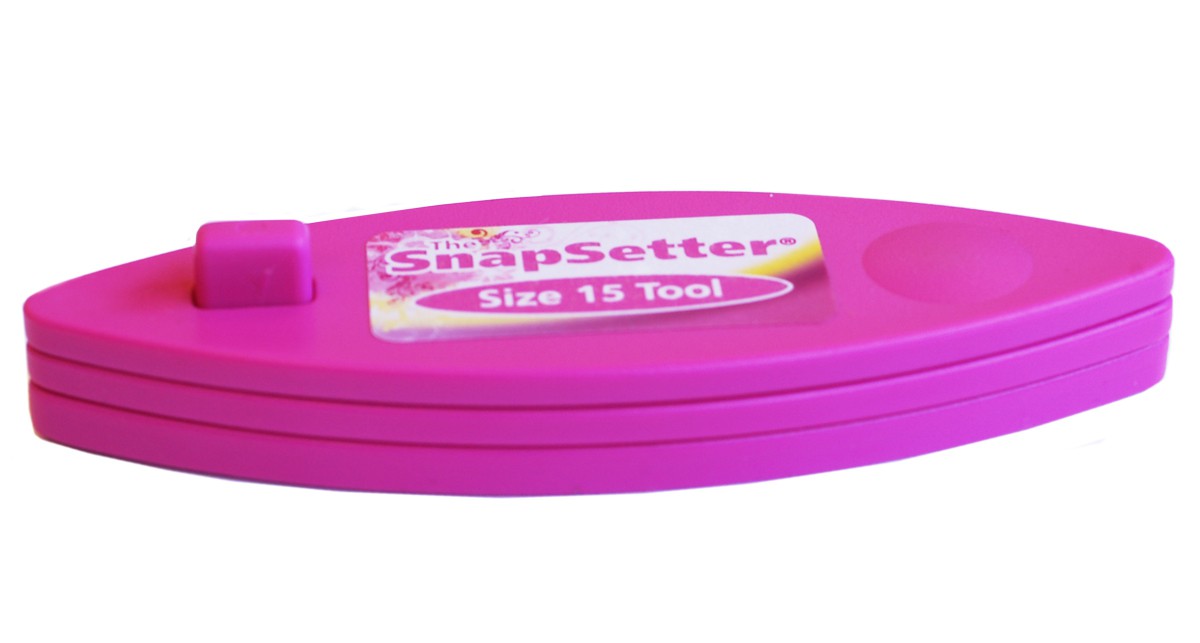

It’s a simple tool, really, and it’s simple and easy to use. Here’s how you do it.
There are four parts to each snap. The first part is the part that shows when the snap is snapped. We’ll call it the top snap. (The official name is the “capped prong ring,” but I think that name makes it easy to confuse it with the fourth part of the snap.) This top snap comes in both solid and ring styles and in different colors so you can coordinate it with your fabric, and it also serves the job of holding the second part of the snap in place. The second part is called the socket. It’s the part with the hole in it, which is located on the back side of the top snap. The third part is the stud, or the ball that fits into the socket to do the actual snapping. And the fourth part is the pronged open ring, which holds the stud in place on the back side of the snap.

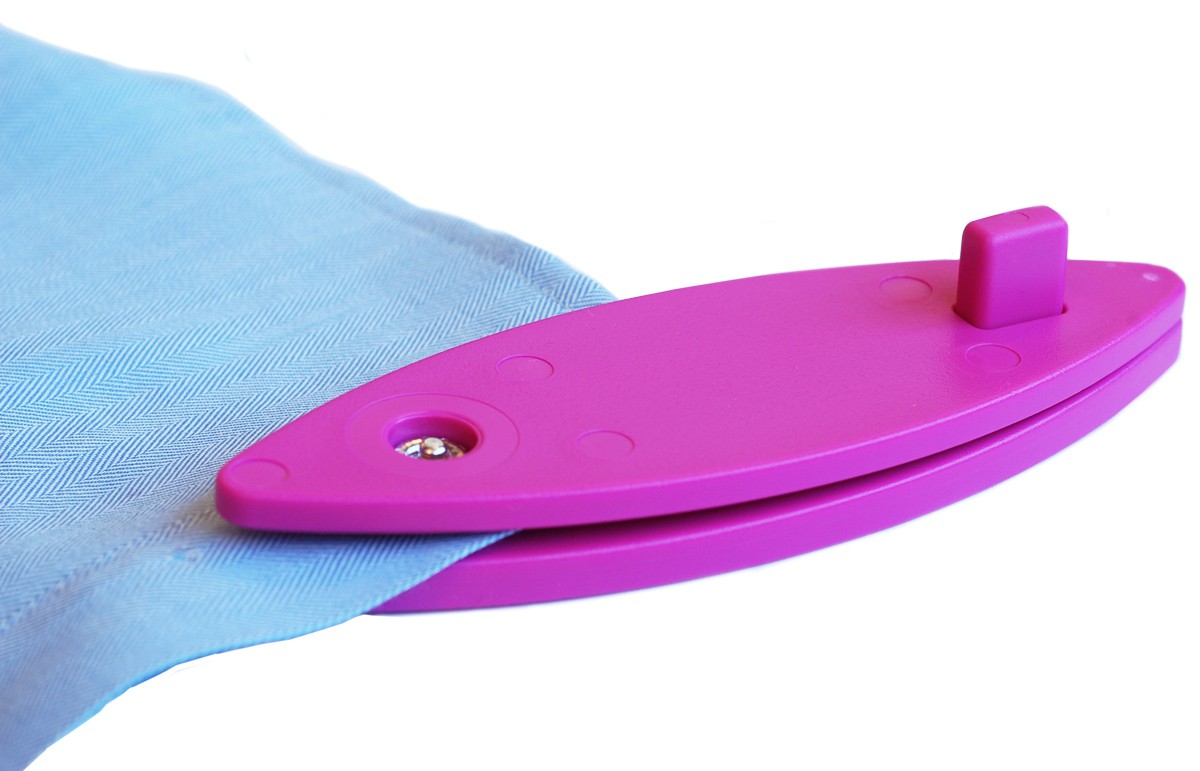
To start out, we’ll use the top snap and the socket and attach them to the top layer of your fabric. First, determine where you want your snap to be located and put a mark on your fabric. Then place the top snap on the base of the Snapsetter, prong-side up.

Lay the fabric, right side down, over the snap’s prongs so the mark on your fabric is centered on the middle of the prongs. I like to push the fabric down over the prongs a bit to be sure it stays in place.

Next, add the middle bar of the SnapSetter. The hole in the middle bar will act as a window so you can see the prongs centered within it.
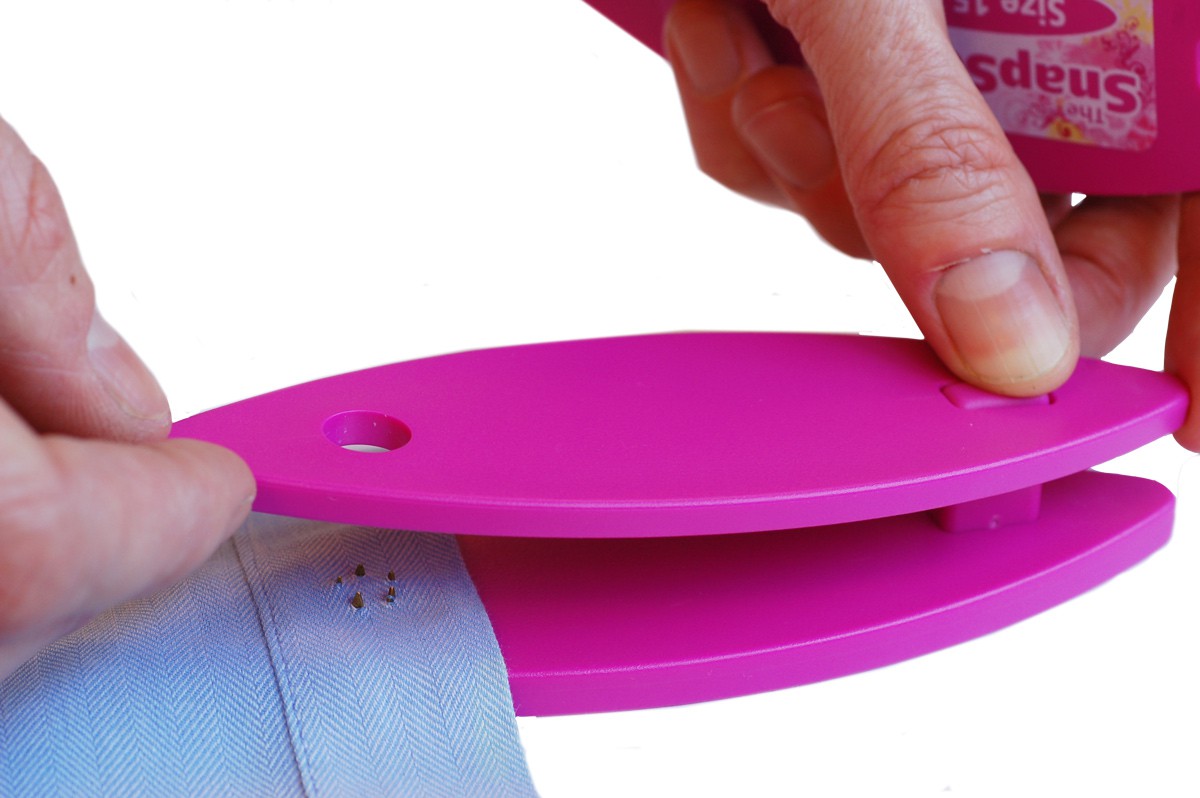
Drop the snap socket into the little window of the middle bar. The socket’s smooth, raised side should be face down, and the side with seams, which isn’t as raised as the opposite side, will be face up (visible within the window).
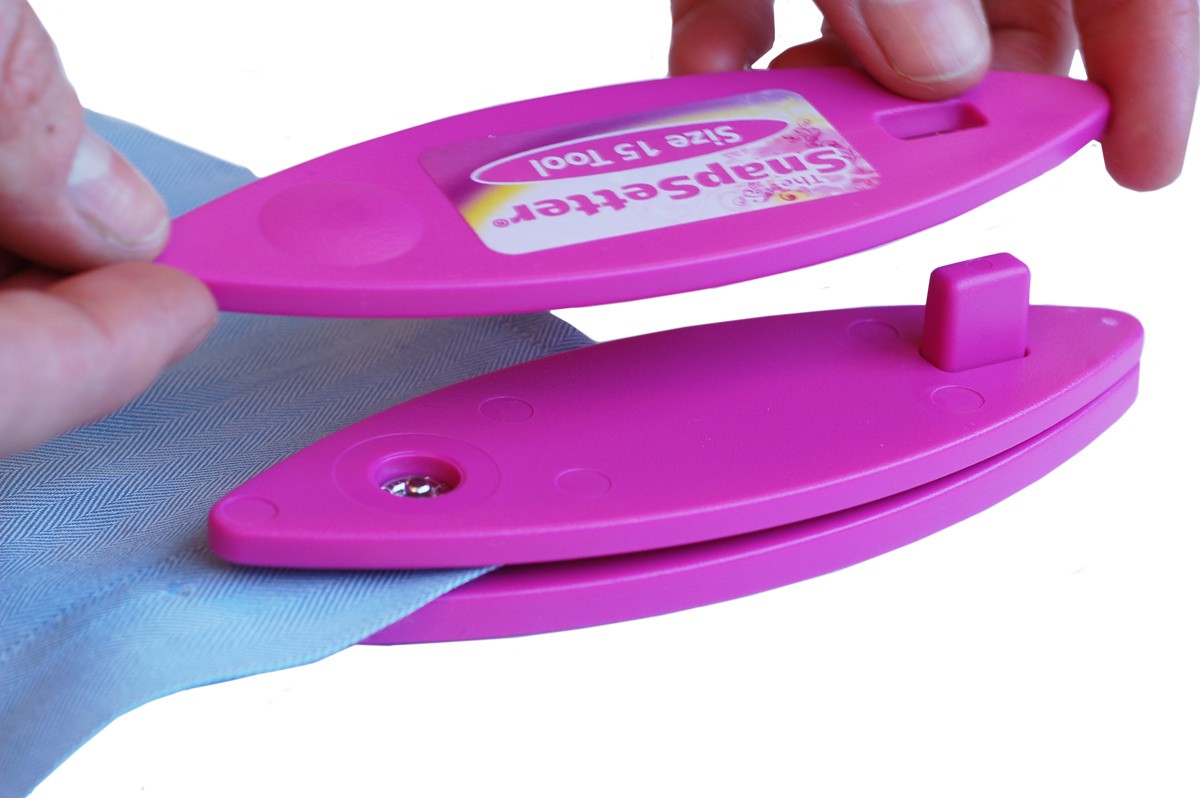
Now the only thing left to do is to add the top bar of the SnapSetter and whack it on the raised bump of the SnapSetter a few times with a hammer. It doesn’t take much to set the snap, but I think it’s a good idea to make sure the snap is really secure.
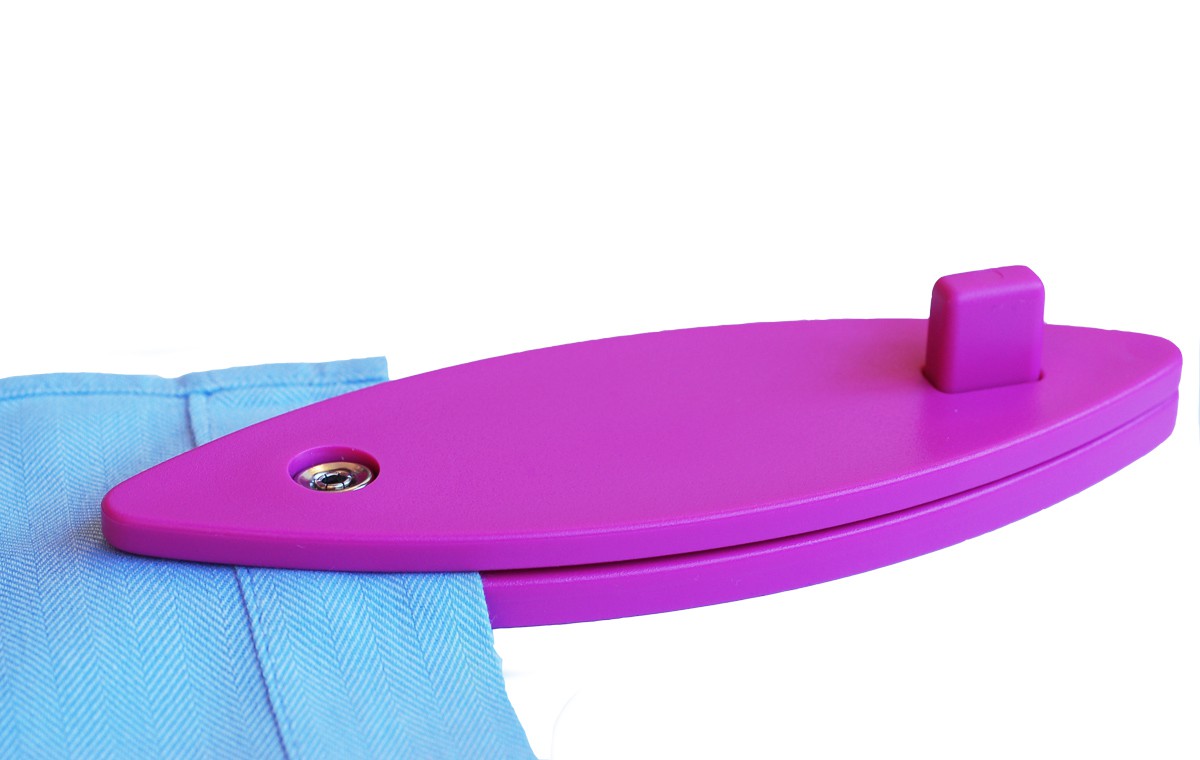
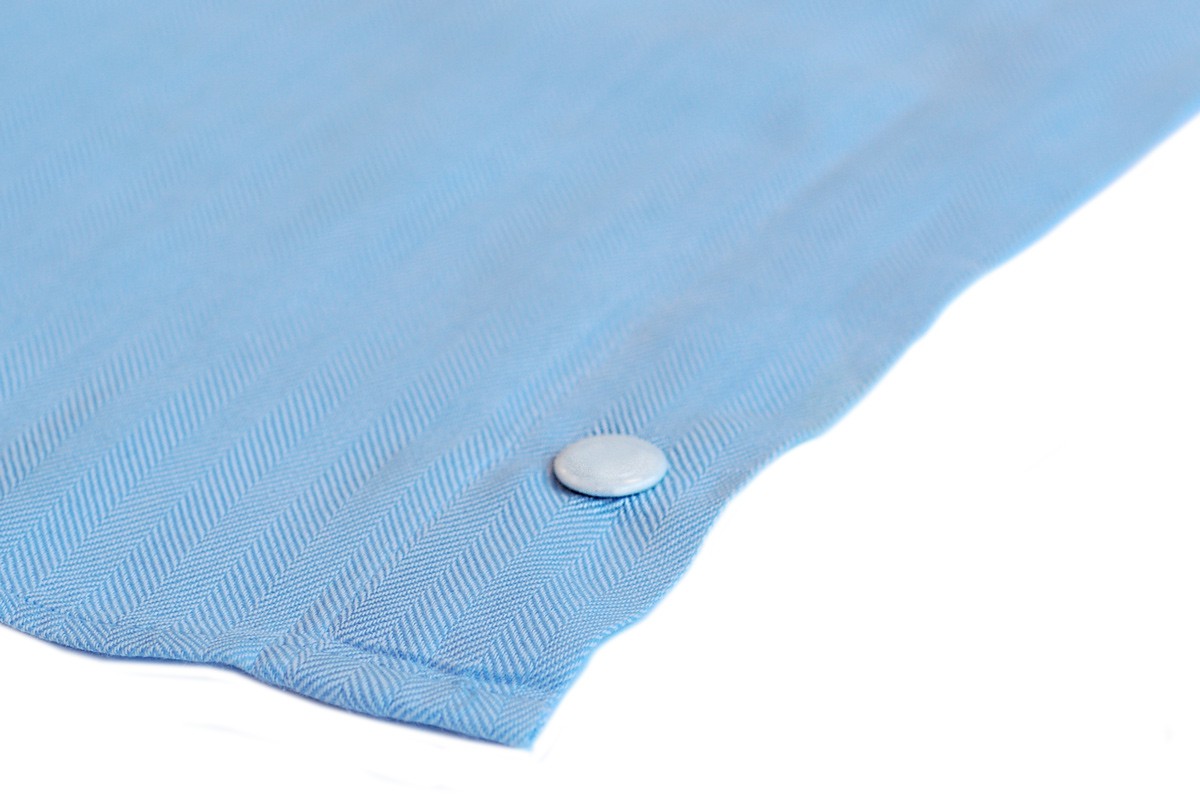
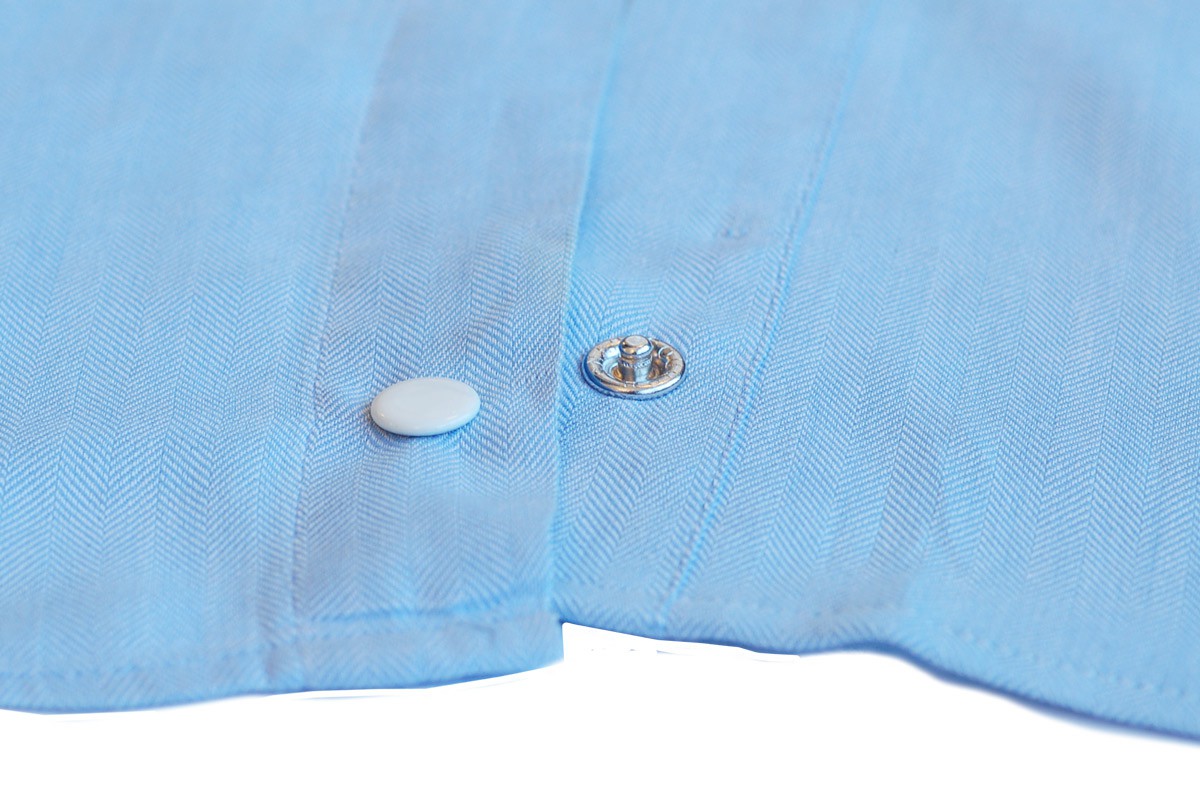
And the top half of the snap is finished! Here it is from the front:
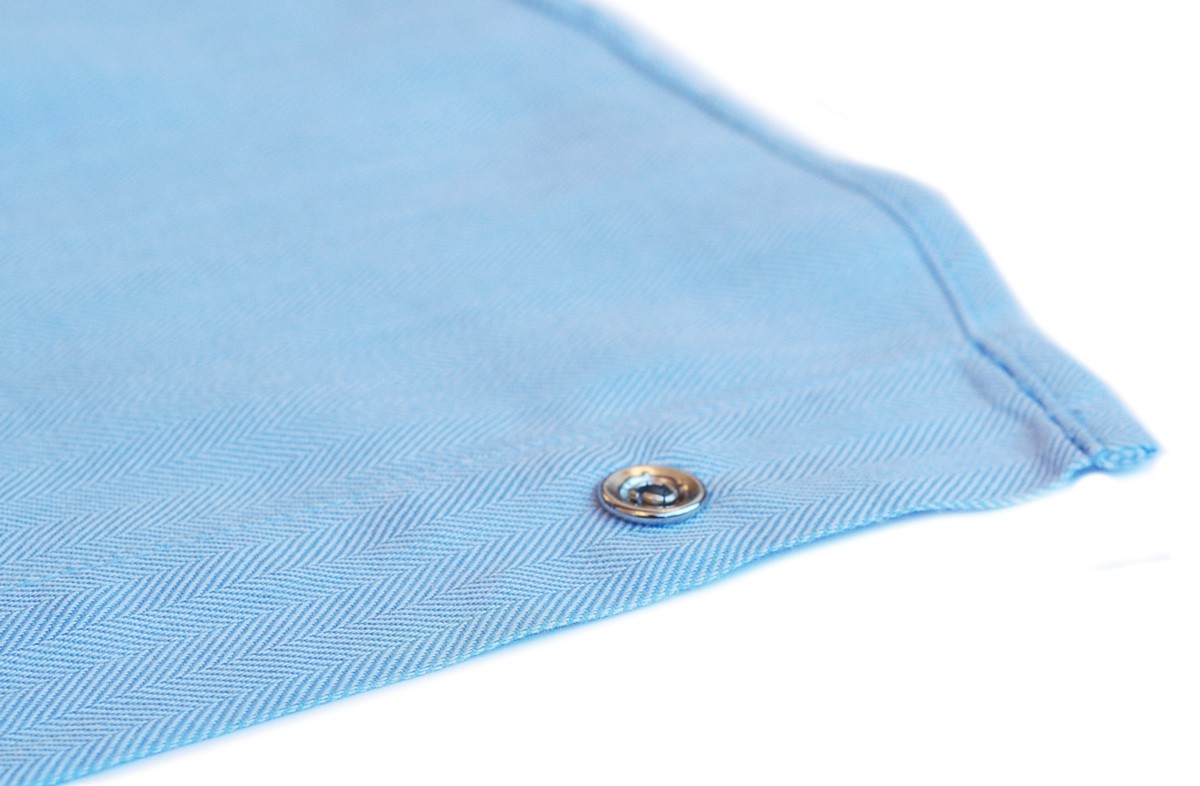
and from the back:
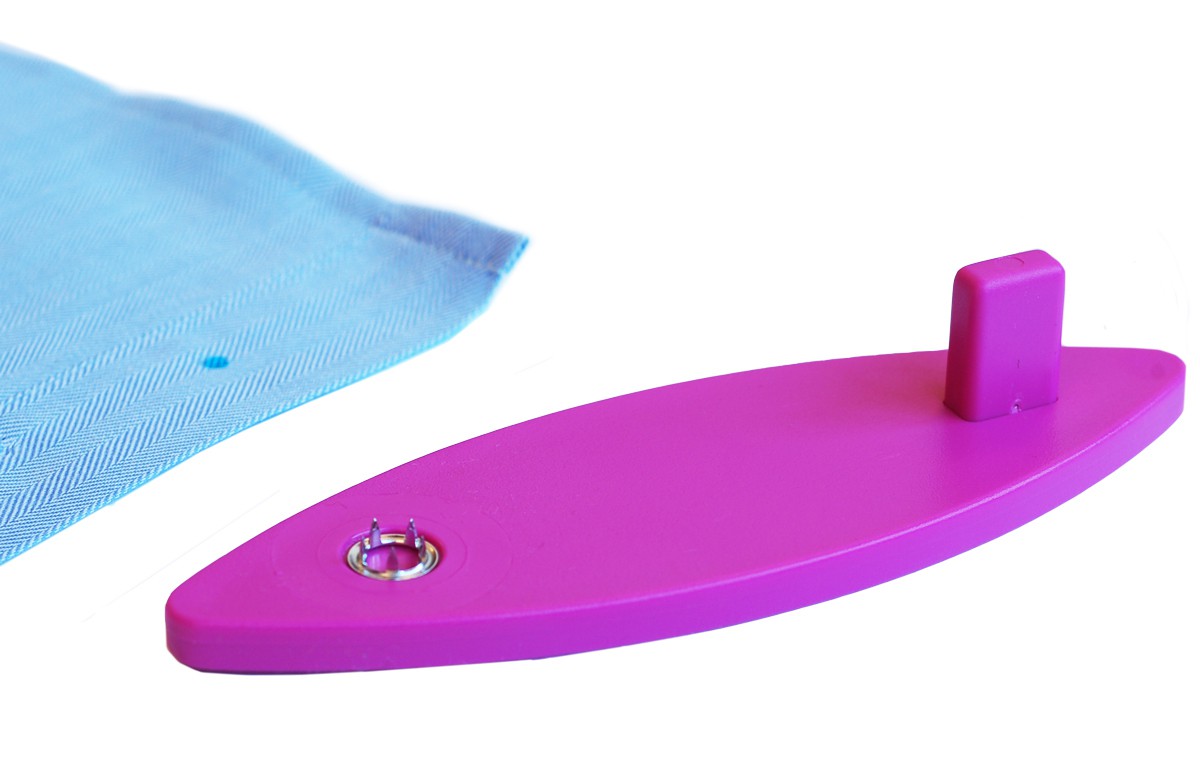
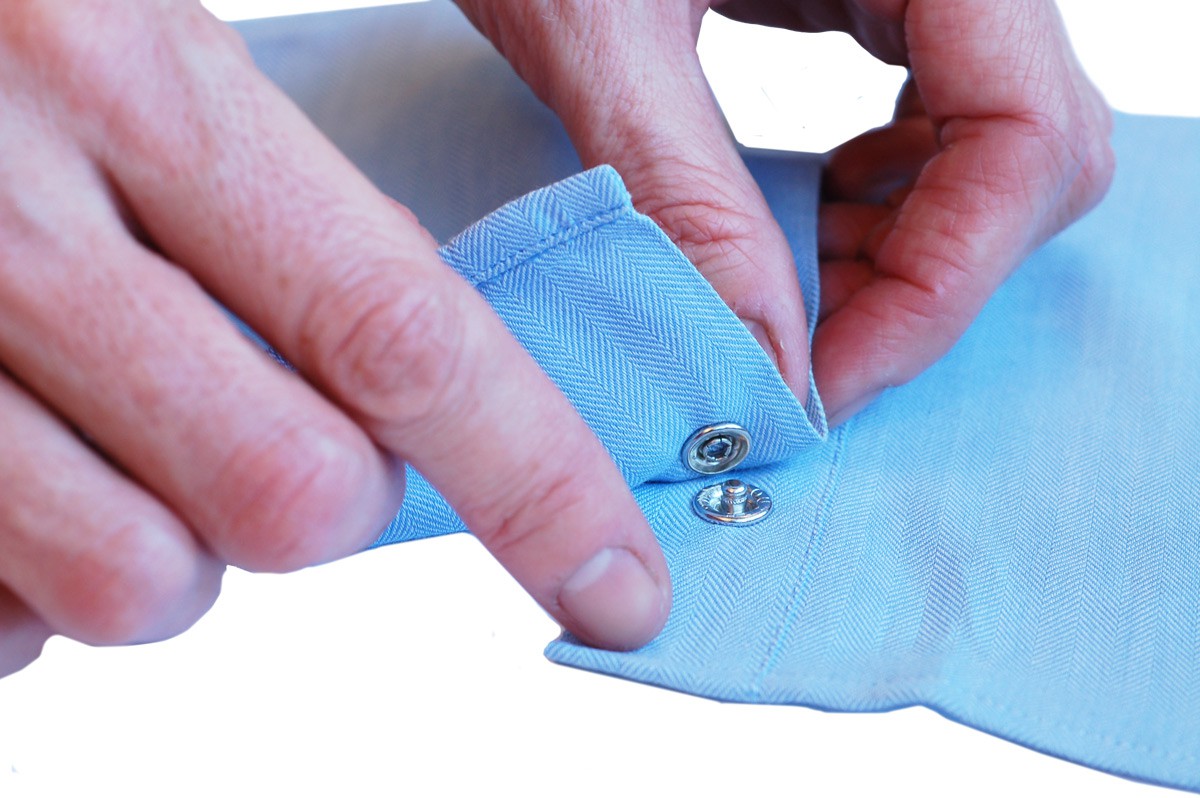
The second half of the snap is very much the same. Start with the pronged ring in the base of the SnapSetter:
Then you’ll position the fabric, this time wrong side down (against the prongs), centering your positioning mark over the prongs. Make sure the right side of the fabric is facing up!

Position the middle section of the SnapSetter over the fabric so you can see the prongs and fabric centered in the window, just like before. This time you’ll place the stud, right side up, inside the window:
Place the top part of the SnapSetter over the stud.

And then hit it two or three times with the hammer, as you did before, to attach the two halves. That’s it! The snap is ready to use.
The first few times you use the snap it may be a little tight, but after it’s been used a few times it will loosen up.
As long as you place the right pieces in the right places, the SnapSetter and the hammer do the rest of the work: namely, keeping the pieces in place so they don’t slip when you hammer to attach them and preventing the snaps from being crushed by the hammer itself. And if you ever find that the snap hasn’t set correctly or you need to move it (it happens sometimes), just use a screwdriver or I’ve also used a metal letter opener to wedge the two pieces of the snap apart. Discard it and attach a new snap, no worries. One of the great things about a prong snap is that it generally doesn’t damage the fabric. Any little holes left from the prongs can be easily removed by working the threads back into place with your fingers or with a fingernail.
See? Easy, right? To help you finish your Lullaby Layette set, we’re now carrying the size 15 SnapSetter and a size 15 snaps in a variety of colors in the shop.