If you’ve spent any time on Pinterest, you know that sometimes photo links there can be broken. This can be really annoying, particularly when you see something intriguing and want to learn more about it.
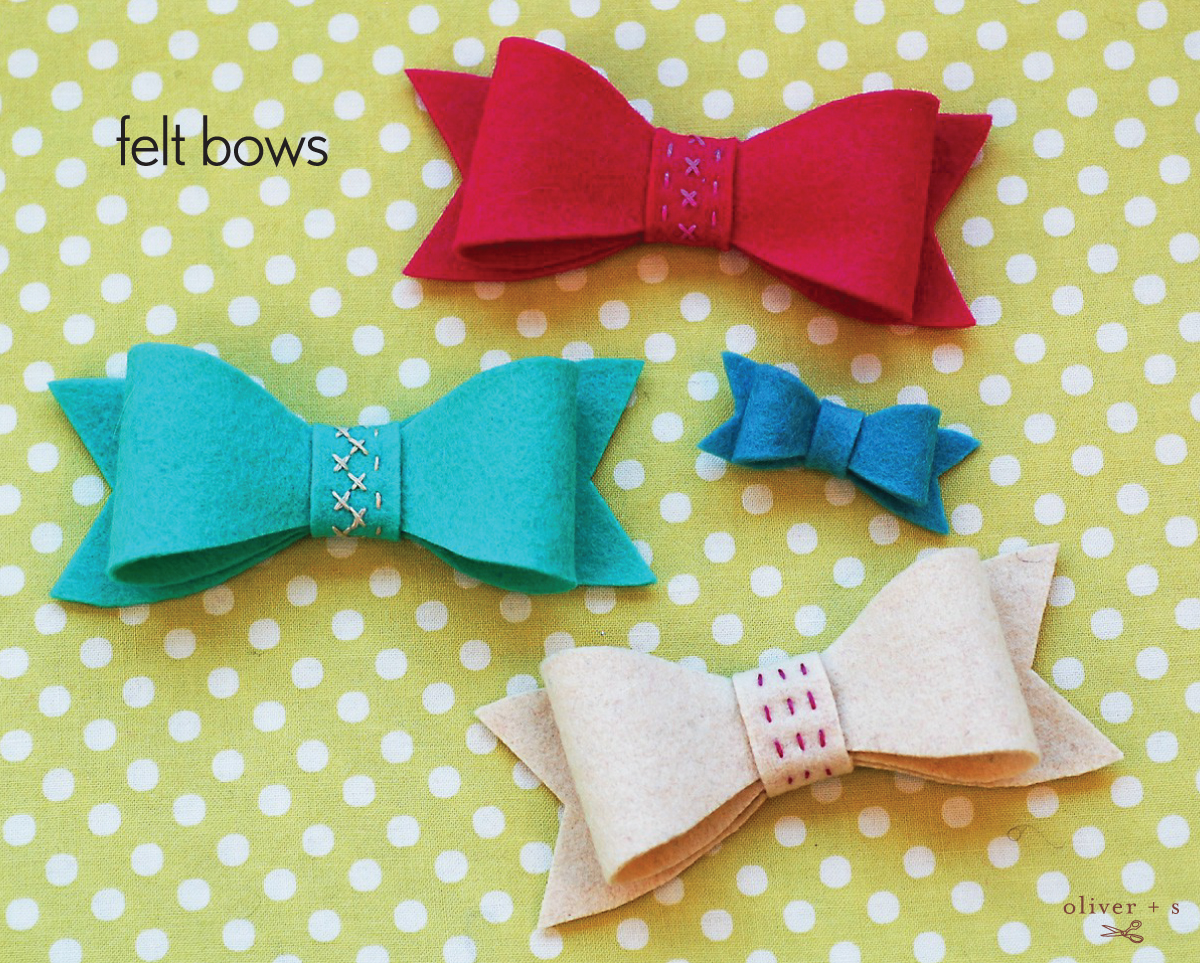
That was the case for me a while ago when I saw some adorable felt bows like these that seemed to originate from a Japanese website, but the photo had a broken link. I searched and searched and couldn’t figure out where the photo had come from (which could be blamed, in part, on my lack of Japanese skills), and finally decided that it would be pretty easy to figure out how to make them myself. So I did. And I made some. And then I went ahead and made a free pattern that you can download to make your own as well.
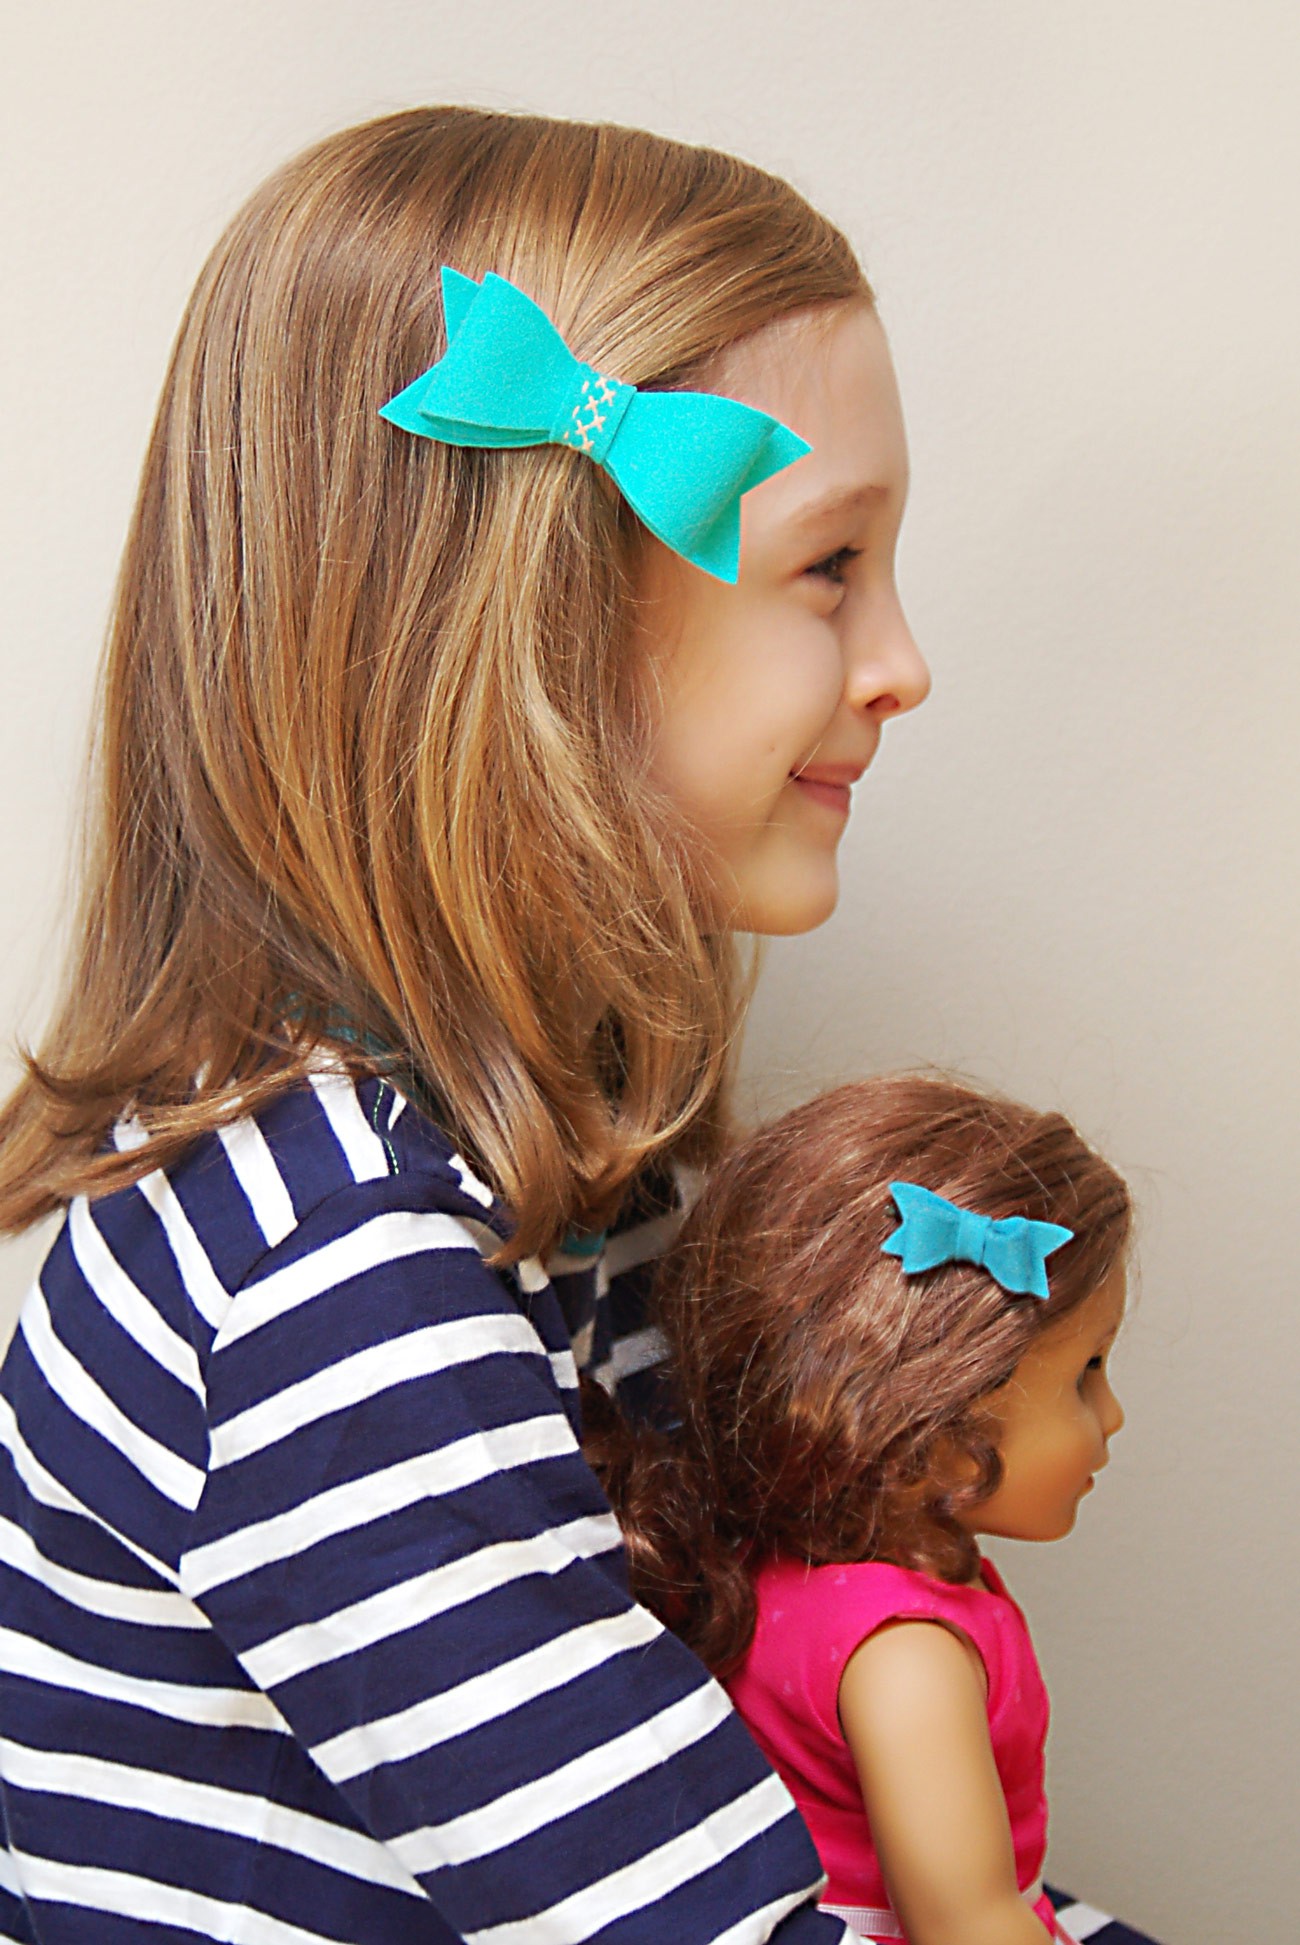
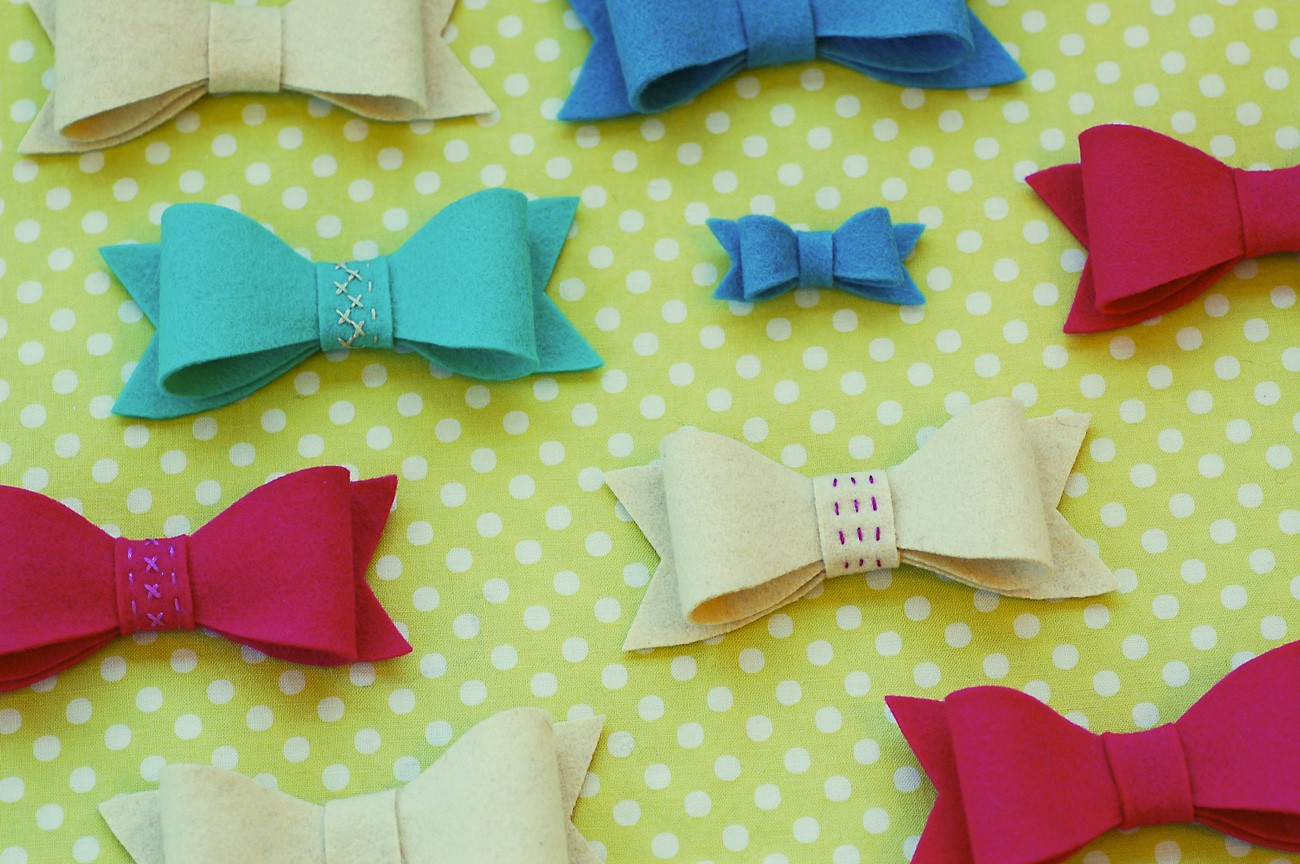
The shaping of the tie is similar to a classic men’s bow tie, so that’s where I started for this project: a basic bow tie. The bow itself has three pieces and a really quick and easy assembly that can done mostly by machine if you want. Enlarge it or reduce the size as desired. I used it at 100% for S and reduced it by about 60% to make bows for S’s doll. Once you’ve assembled the bow, whipstitch it to a little barrette or a bobby pin for a cute hair ornament, or sew it to a safety pin or locking pin (from the craft store) to wear on your coat or dress
I added a little bit of cross-stitch to the center piece using waste canvas before assembling, just for the fun of it.
We made these as favors for S’s birthday party the other day. All the girls got a hair bow tie and a felt bow barrette in their favor bags. (I hoped that the hair ornaments would make it up to their parents in exchange for all the candy sushi we made at the party and sent home with the girls. Sugar overload!)
Here’s what you need to do to make your own felt bows.
Supplies Needed
For this project, you’ll need felt, leather, suede, or some other non-woven material that doesn’t ravel. This pattern works best with something that has a little body so it doesn’t collapse on itself too much. You’ll also need thread, a sewing machine or hand-sewing needle, a pencil or tailor’s chalk. Also select a barrette or safety pin or something to attach to the back of the bow so you can clip it somewhere. (You’ll probably want to remove the bow for cleaning, so I wouldn’t recommend sewing it directly to clothing unless you don’t mind removing it and re-stitching each time you wash that item.)
Download and print out the pattern template here.
How To
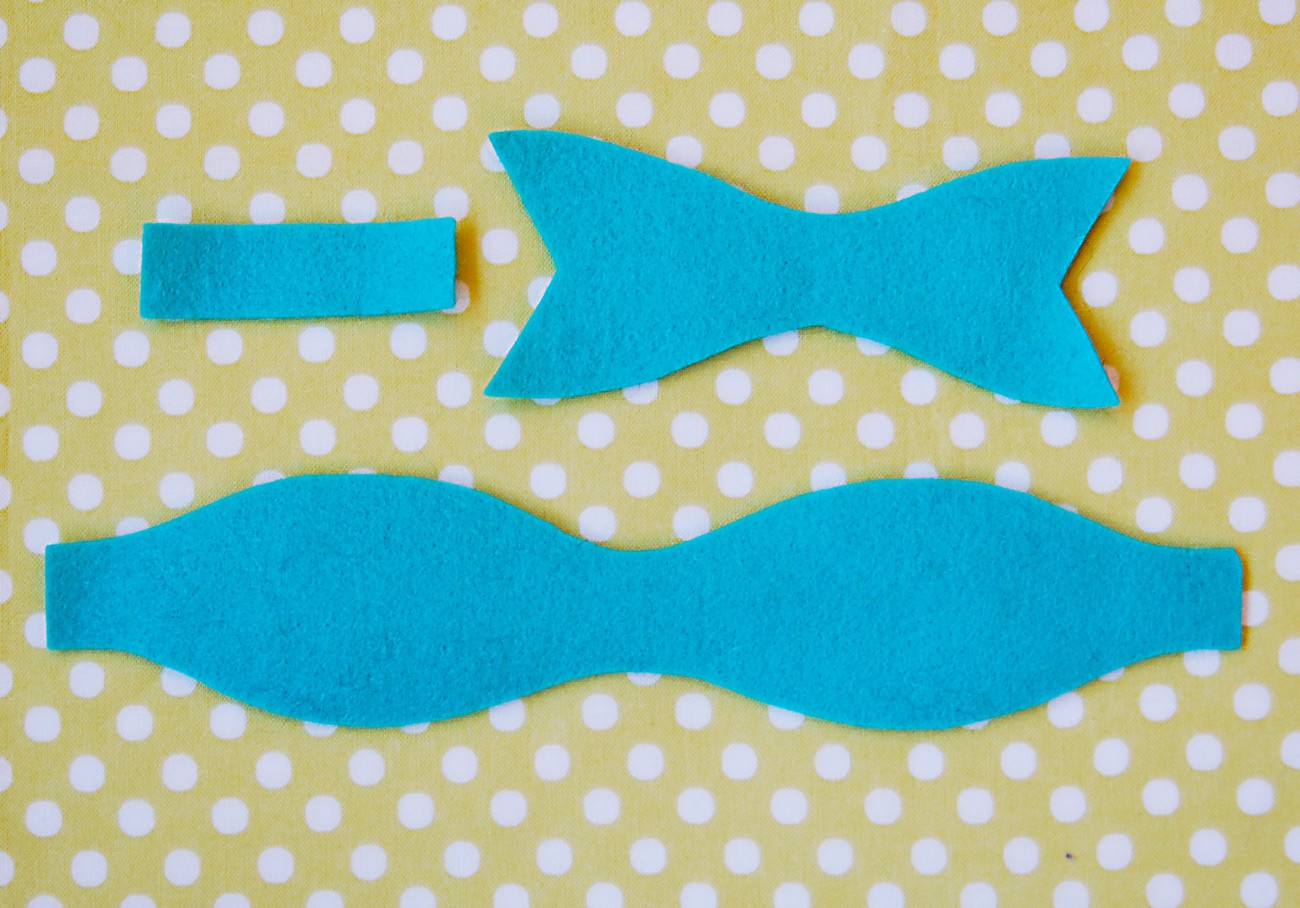
1. I like to glue the paper to an old file folder before cutting out the pieces so they can be traced around easily. You can use a pencil or tailor’s chalk to trace the pattern pieces onto your fabric. Non-woven fabrics don’t have a grain, so you can squeeze the pieces together tightly to conserve space. Then cut out all three pieces of the pattern.
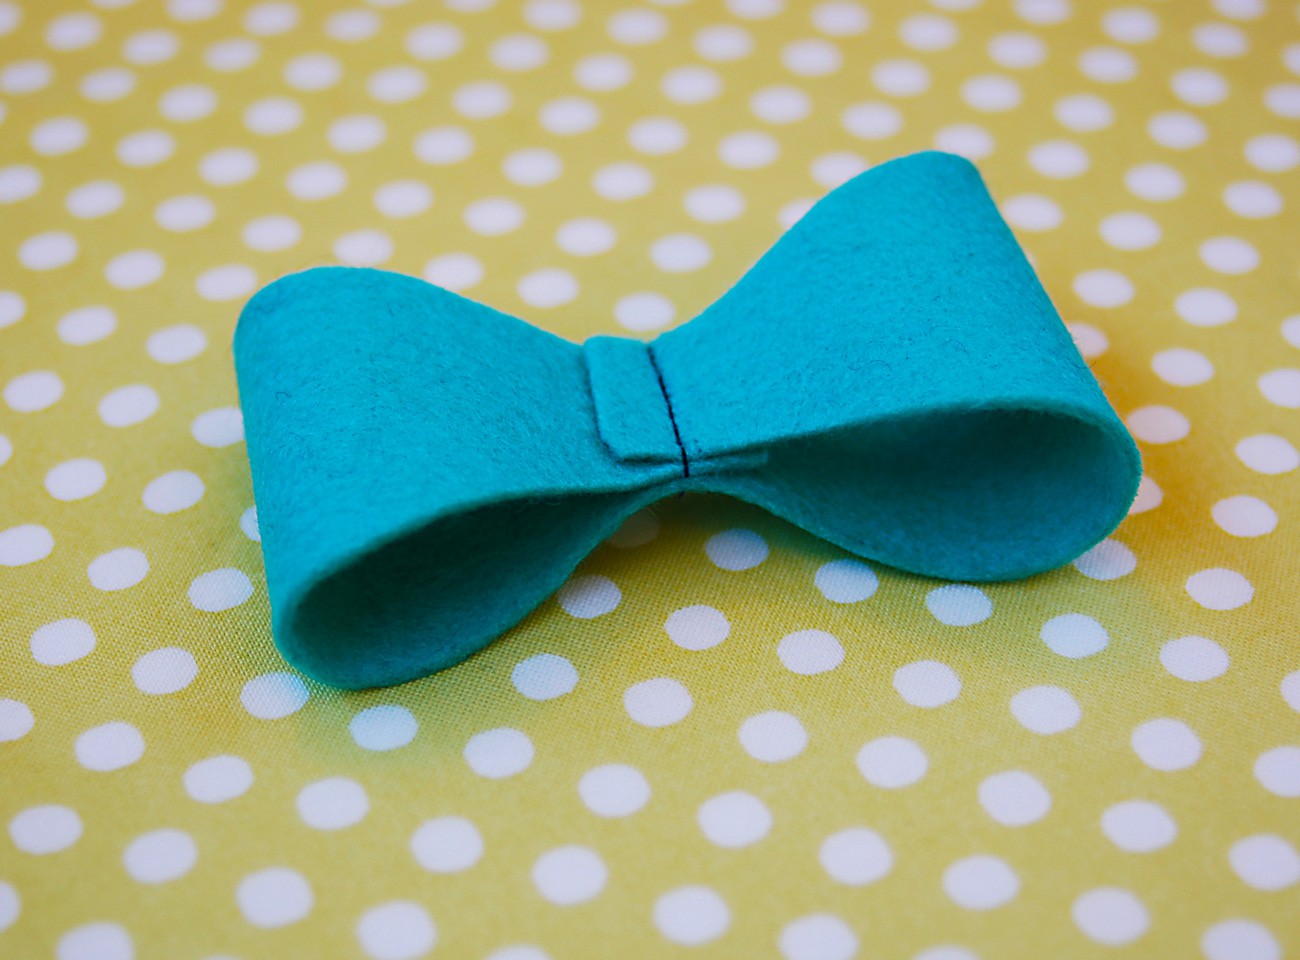
2. Start by bending the two ends of the bow loop toward the middle so they overlap. Stitch the three layers together by machine or by hand like this:
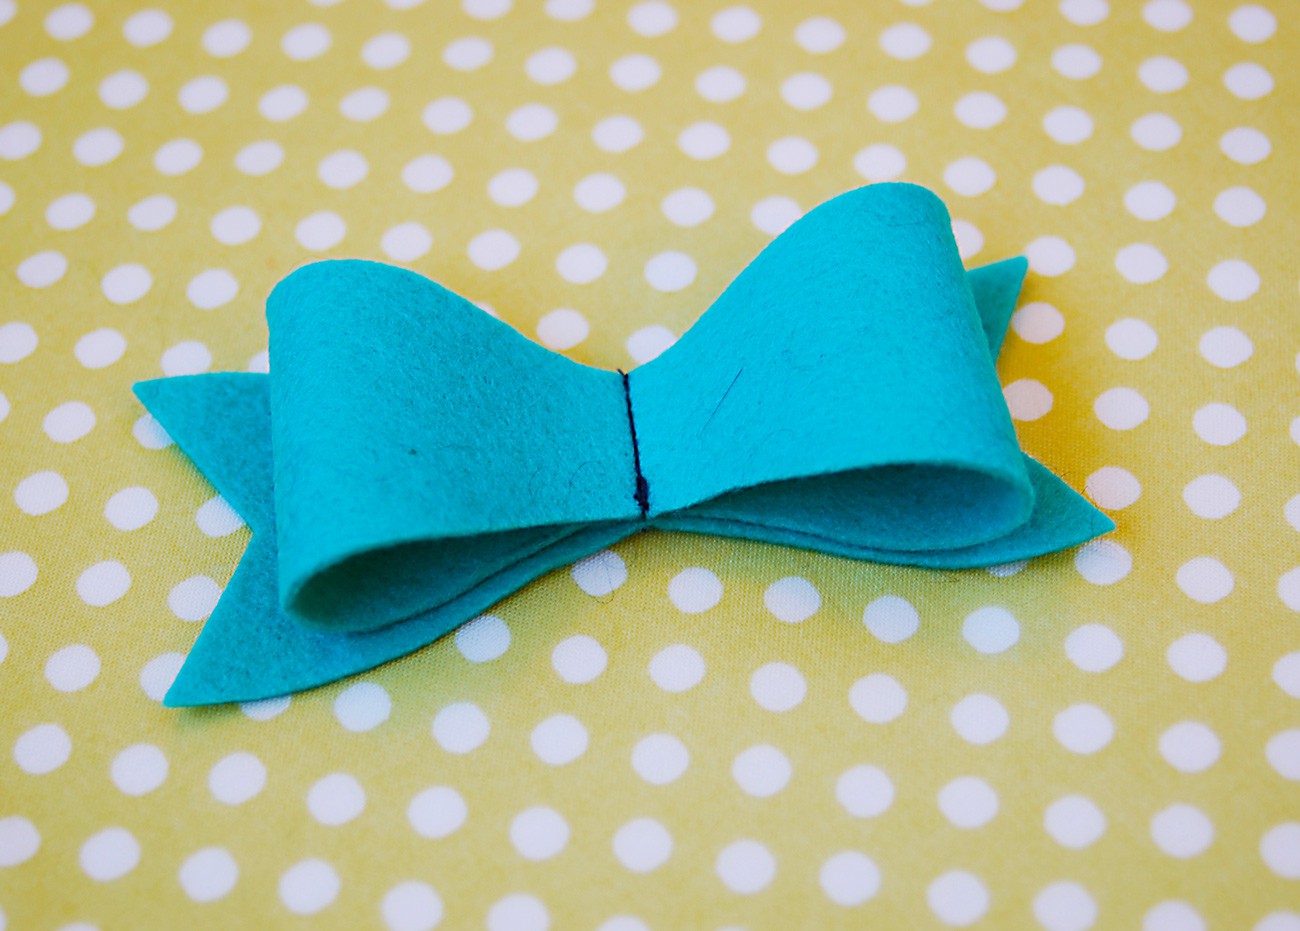
3. Turn the stitched bow loop over so the middle portion is face up, and position it over the base, centering the pieces so the narrow portions match. Stitch through all the layers down the center to hold them in place as shown:
4. If you want to embellish the center piece, do that before you attach it. Then wrap it around the narrow center of the assembled bow snugly and pin the ends at the back so they don’t show.
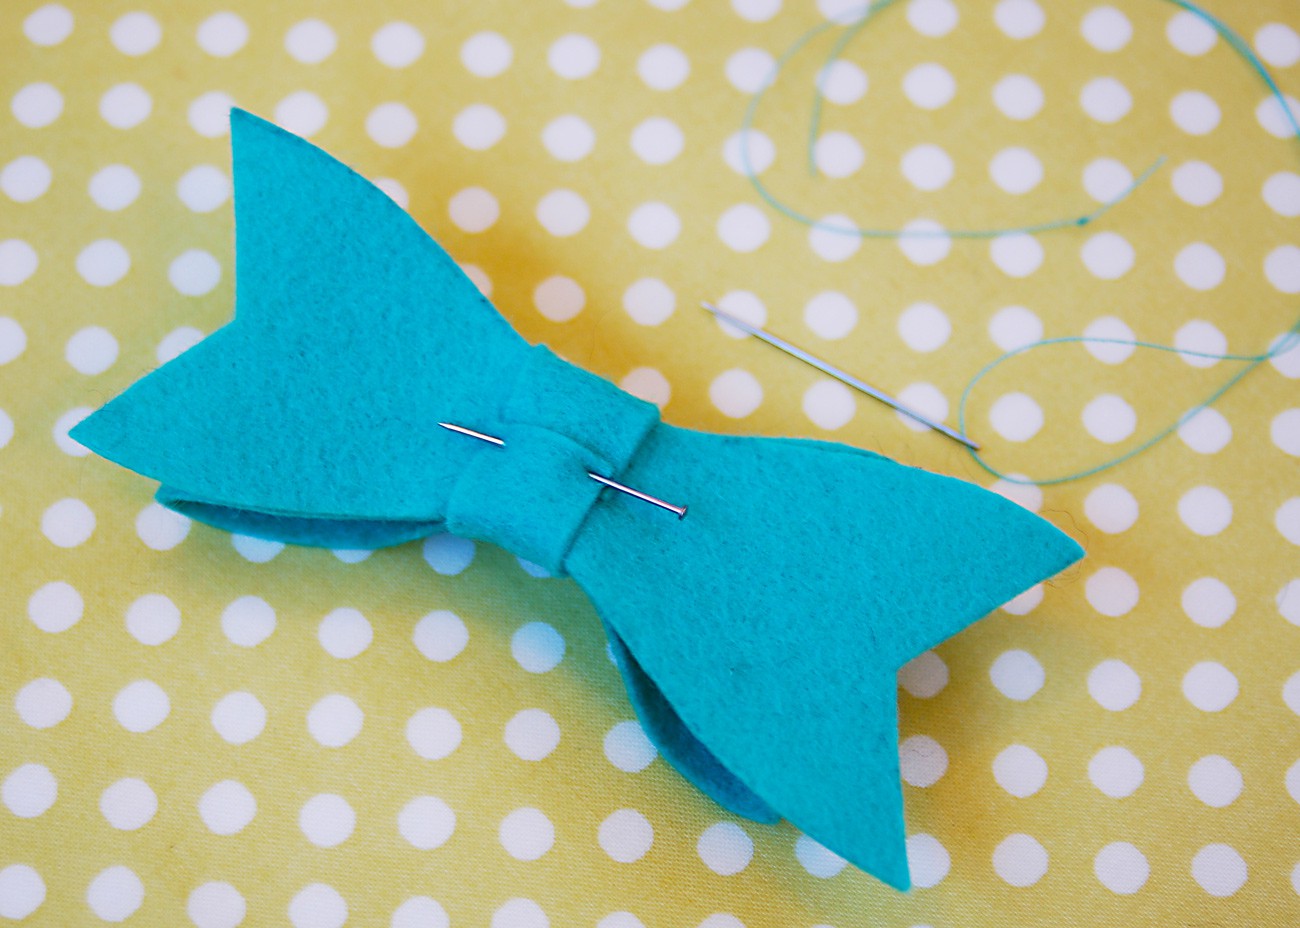
5. Hand stitch the ends of the bow center together, taking a few stitches through at least a couple of the other layers to keep everything in place. Slip a safety pin under the loop and stitch it in place, or whipstitch a barrette to the back of the bow.
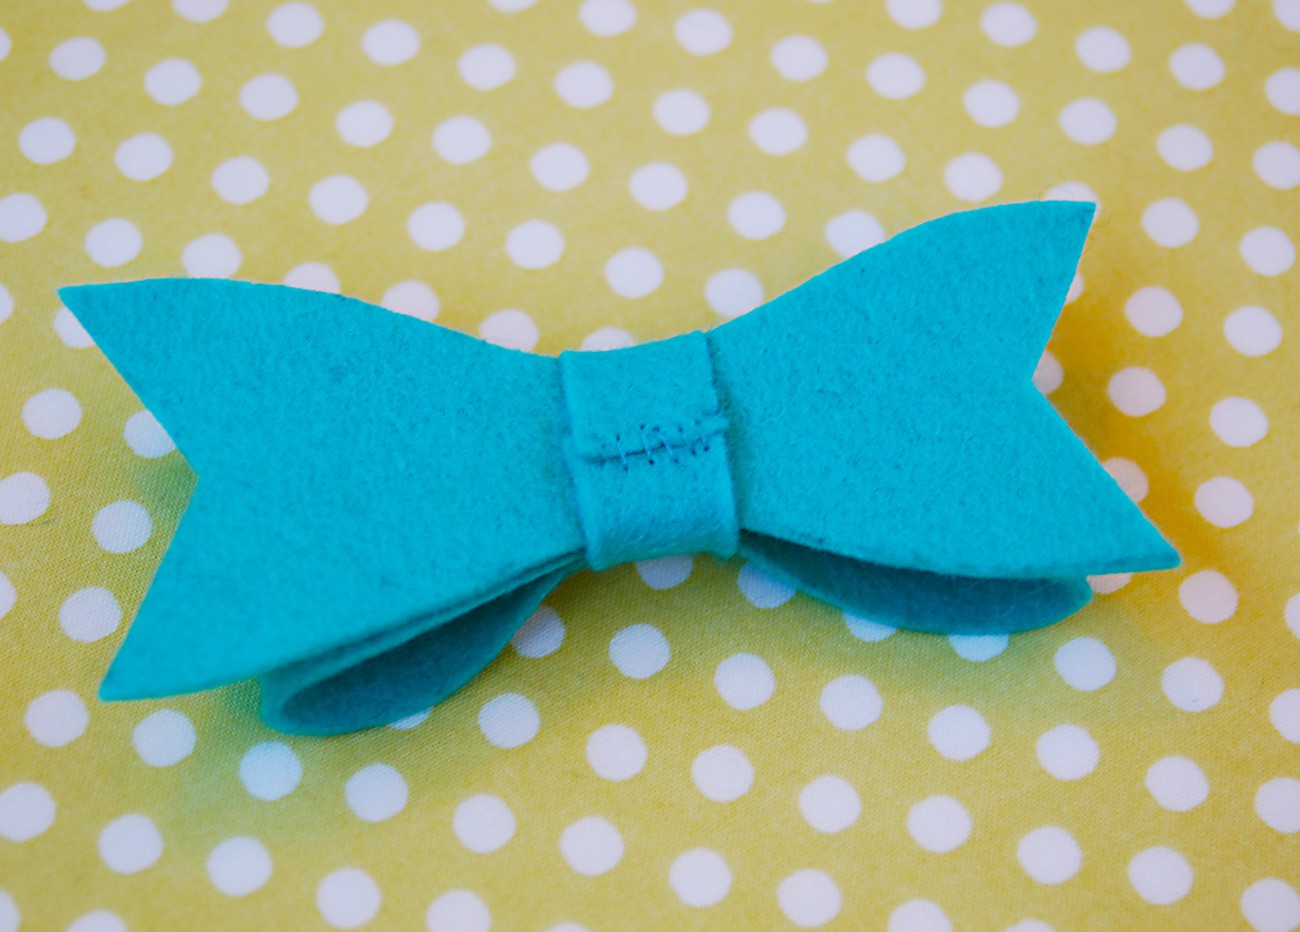
6. Finished! What are you going to embellish with these bows? They could be a cute addition to a spring or Easter wardrobe!

If you enjoyed this blog post, why not sign up for our newsletter? It’s free, and you can opt to have new blog posts sent to you by email too!
Very cute, thanks! Love the candy sushi idea!
plz reply
adorable! thanks for sharing!
So cute! I love wool felt, and LOVE how it sews up, but never know what to make with it. Now I do! Thanks so much! Eleanor will love these.
I think I might just “pin” this! 🙂
Thank you, Liesl — I think I had the same broken link pinned and I really wanted to make these myself. My daughter loved the fabric hair ties you did last month (I made 3 in red prints for Valentine’s Day) and she will love these too.
I’d like to make something like these for parties or school holidays but I never know what to make for the boys as an equivalent…
These are adorable! I will “pin” these as well.
Thanks for ALL of your great ideas and inspiration!
Adorable Liesl! Off to make a stack of these…
Chistina, I too have the same problem. As favors I wanted to make the hair bows for Valentines, but then what to make the boys? A boy tie won’t fly with 6 year olds…..
Hmm. Yes, the boys. I’ll try to think of some fun ideas for them. If you have any suggestions, I’m always open to ideas!
Perfect!
I have followed that link too.
Thank you.
Thank you! I have the same broken link pinned and I’m grateful not to have to do the work to create it myself. I’ve already made 6 – they are perfect!
So cute!
So sweet, thank you! 🙂
Oh so cute – I’m thinking green bows for st Patrick’s day!
Hi, I saw these on homemadebyjill.blogspot.com’s instagram and fell in love with them! I’m just curious, this might be a really elementary question, but did you use felted wool, or just normal felt? I love your vibrant colors and want to try and find some like it! Thanks!
Alicia, I used regular wool felt. I have felted wool but was concerned that it might be too drapey for this project. You want something with a little body to it so the loops keep their shape. I’d encourage you to play with it and see what works, however, since the bows are really fast and easy to make.
Thank you for getting back to me on this. I have never heard of wool felt, but was thinking of the same issue with felted wool. I’ll play around, but will try and find wool felt, thanks!
This is so cute! Thanks for these directions. I just made a few bows for may daughter. The edges are a little sloppy though. Does it make a difference if you use sewing scissors?
Thank you so much. In the midst of making an Angelina Ballerina costume for Book Week, and this felt bow has just completed the custom felt ears that I made. It is the cherry on the cake!
Been making my daughters bows for years….never thought of using felt. Off to make some now.
It’s so cute! Thank you for sharing 🙂
love these! thanks for the how to…..where do you get wool felt? I like the look of the wool felt much better than the reg. felt.
Aleah, I find the wool felt at fabric stores. Purl Soho has it, but I’ve also purchased it at quilt shops and other fabric stores. I think you can get it at Magic Cabin, too. Have fun!
Hello. Was wondering if you had a template for a small version of felt bow. Thank you.
Hi!! This is fantastic and I love the idea of making matching bows for the dolls hair. My daughter’s birthday is coming up and I know what I’m going to be doing…I too am wondering if you have the template for the doll version…?? TIA!
You can enlarge or shrink the pattern as needed. I think I used it at 25% for the dolls, but it’s been a while. Since there aren’t any seam allowances the scale can be changed as needed. Cheers!
How simple and quaint! Look forward to making a whole slew of them 🙂
Lovely, thanks for sharing x
Beautiful, thank you for sharing.
Hello there,
I found this on Pinterest, and I shared this tutorial/template on my blog. Just wanted to let you know!
Thank you for your genius idea. I live wearing these.
Liesl, thank you for your gorgeous bow tutorial. I’m obsessed with wool felt and had fun making up some lovely hair bows for Christmas. I just shared your tutorial with my readers. I hope that’s ok! http://mollyandmama.wordpress.com/2014/12/20/pretty-felt-bows-for-christmas/
great little bow, am now going to try it out as another one on here is more time
consuming xx
Love the bows and can’t wait to make some. Did you use 100% wool felt or a blend? I can only find a blend at my local stores.
Thanks
Christy, a blend should work fine for this project if it is what you can find.
Just found your tutorial. Can’t wait to get started…..just wondering what size bow does the template make? If I wanted to do a 6 inch would this work?
How do you reduce the size?
Is it possible to make this into a baby headband? Have you ever tried it?
I enlarged the pattern and made some bows to go on top of Christmas presents out of craft foam. Worked beautifully. Thank you for the template!