

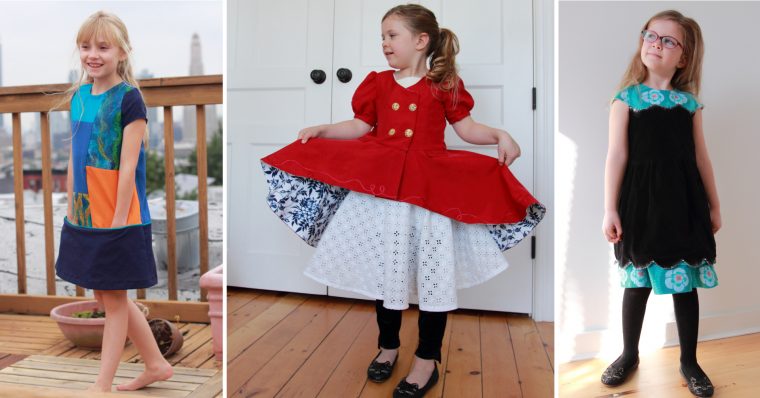
Here is the next installment of our favorite pattern series. It’s where we ask fans to share a bit about their favorite Oliver + S pattern, telling us why they like it, what they learned from it, and to show off the multiple times they’ve made it. Today we have Raphaëlle. Here she is.
Hi, my name is Raphaëlle and I blog over at Deux Souriceaux. The first Oliver + S pattern I ever used was the Music Class Blouse + Skirt. I remember how happy and nervous I was about sewing this precious pattern. I remember that I just could not understand how those skirt pattern pieces fit together. I blindly trusted the instructions and it worked! That was the day I was won over. My love of Oliver + S patterns hasn’t wavered since. But I’ve changed. I made that outfit for my daughter’s first day of kindergarten. That little girl is now in fifth grade and I’ve grown a lot more confident in my sewing. I rarely sew a pattern the same way more than once or twice now. I’ll have a vision of what I want to make and modify a pattern until I get exactly what I want. So when the Building Block Dress book came out, I pounced on it. A basic dress pattern with drafting and grading I can trust coupled with detailed instructions for a bunch of different modifications? It was love at first sight! I devoured it straight away when I got it and my mind started spinning with all the possibilities.
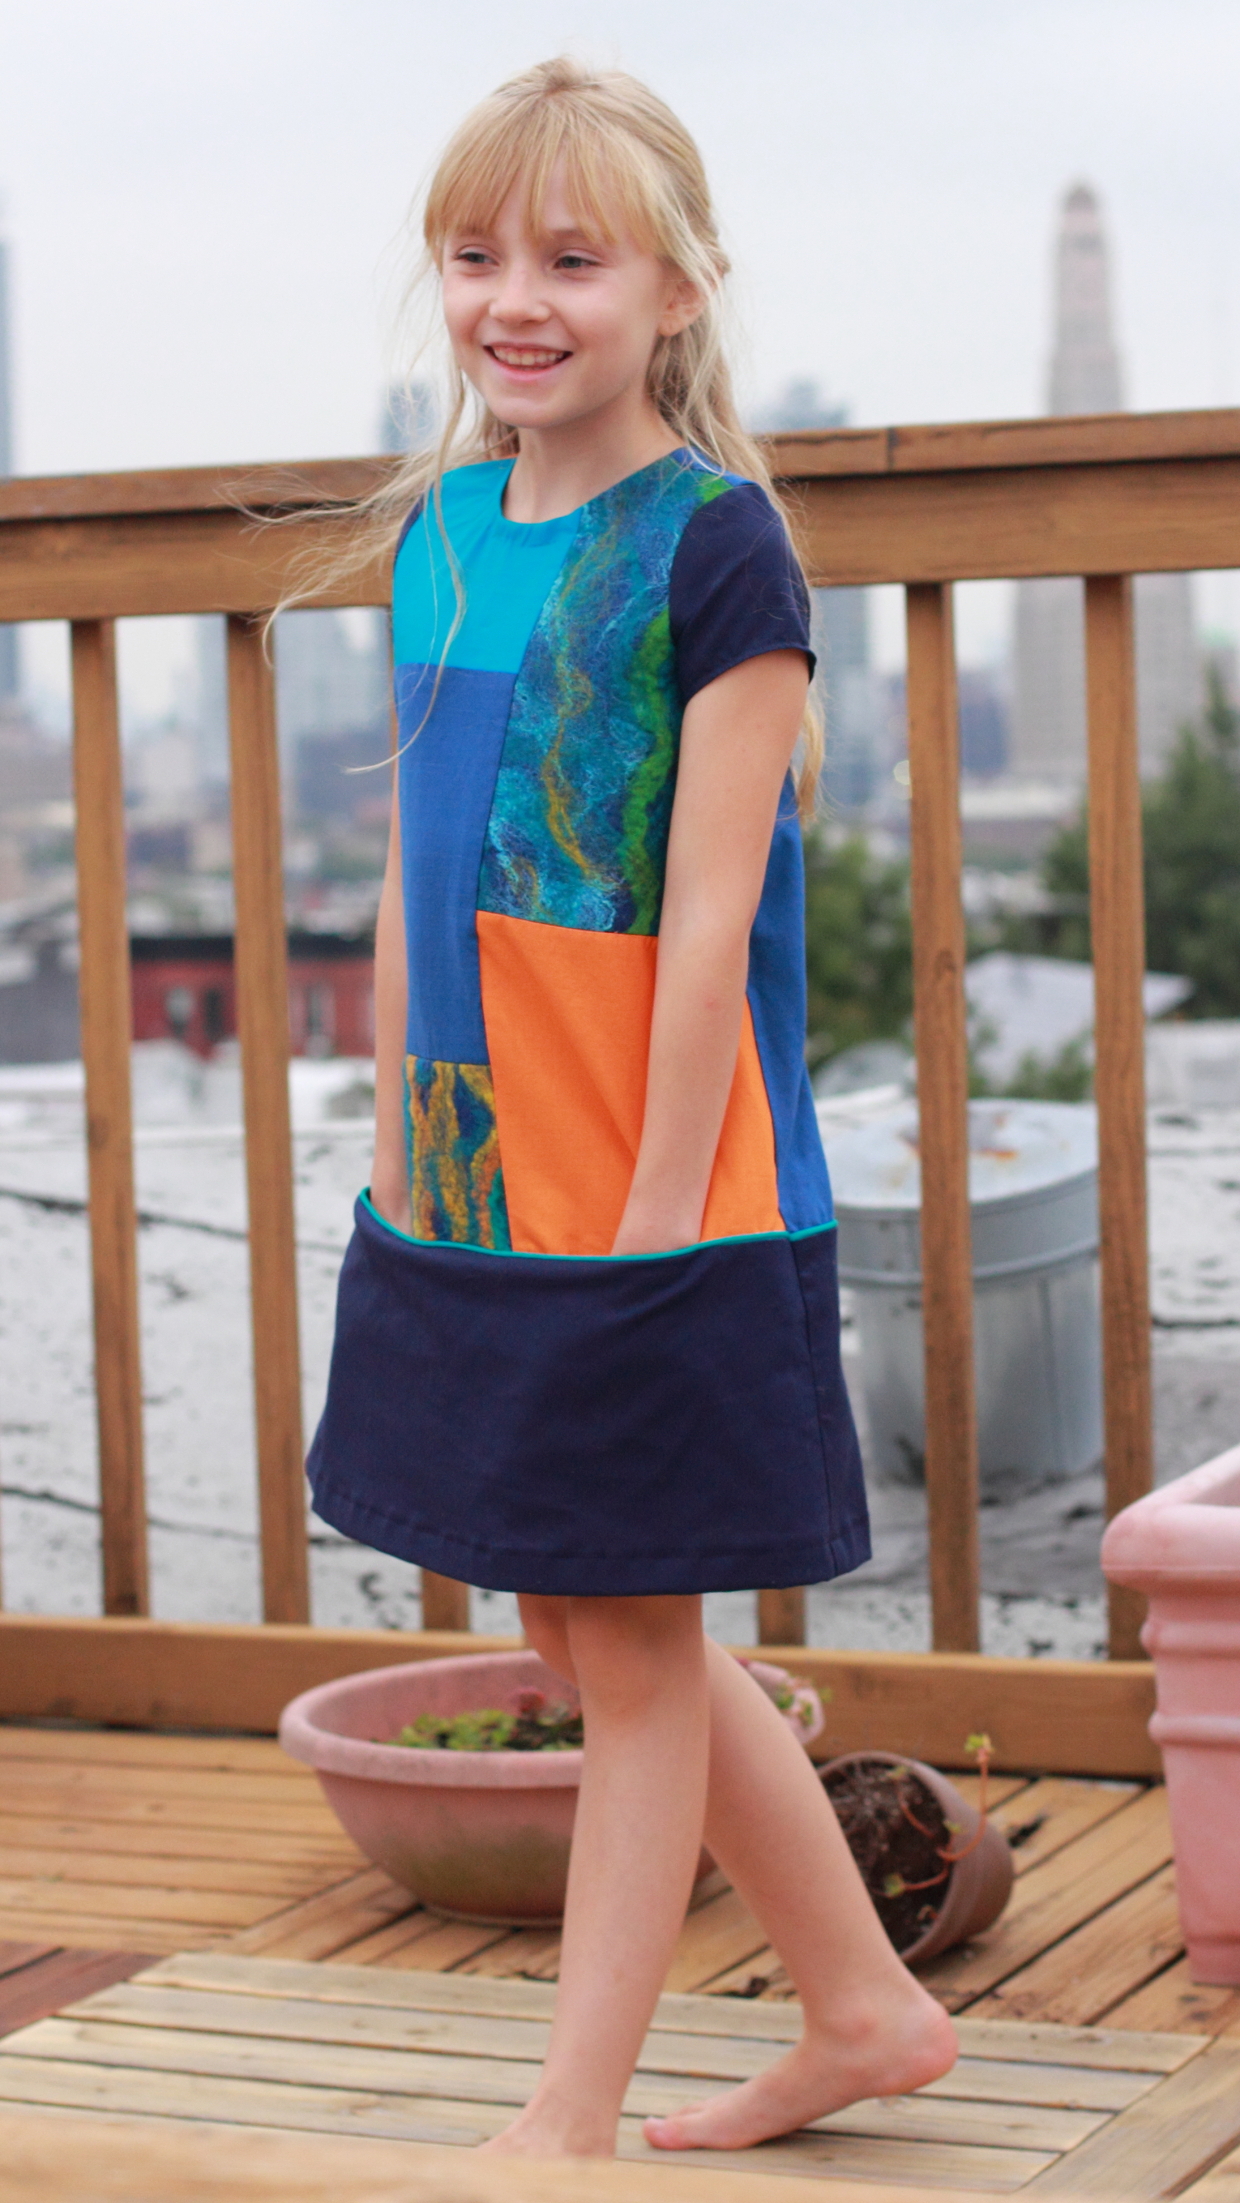
My first time around, I used it to make an A-line dress with color blocking. A good, basic A-line shift dress had been on my wishlist for so long! It’s one of my favorite silhouettes. Of course, I had to add a modification not in the book: those in seam pockets at the front. I used easy-to-sew cottons except for that funky fabric. That one is merino wool felt that I made. I underlined it with cotton to be sure it would be comfortable.
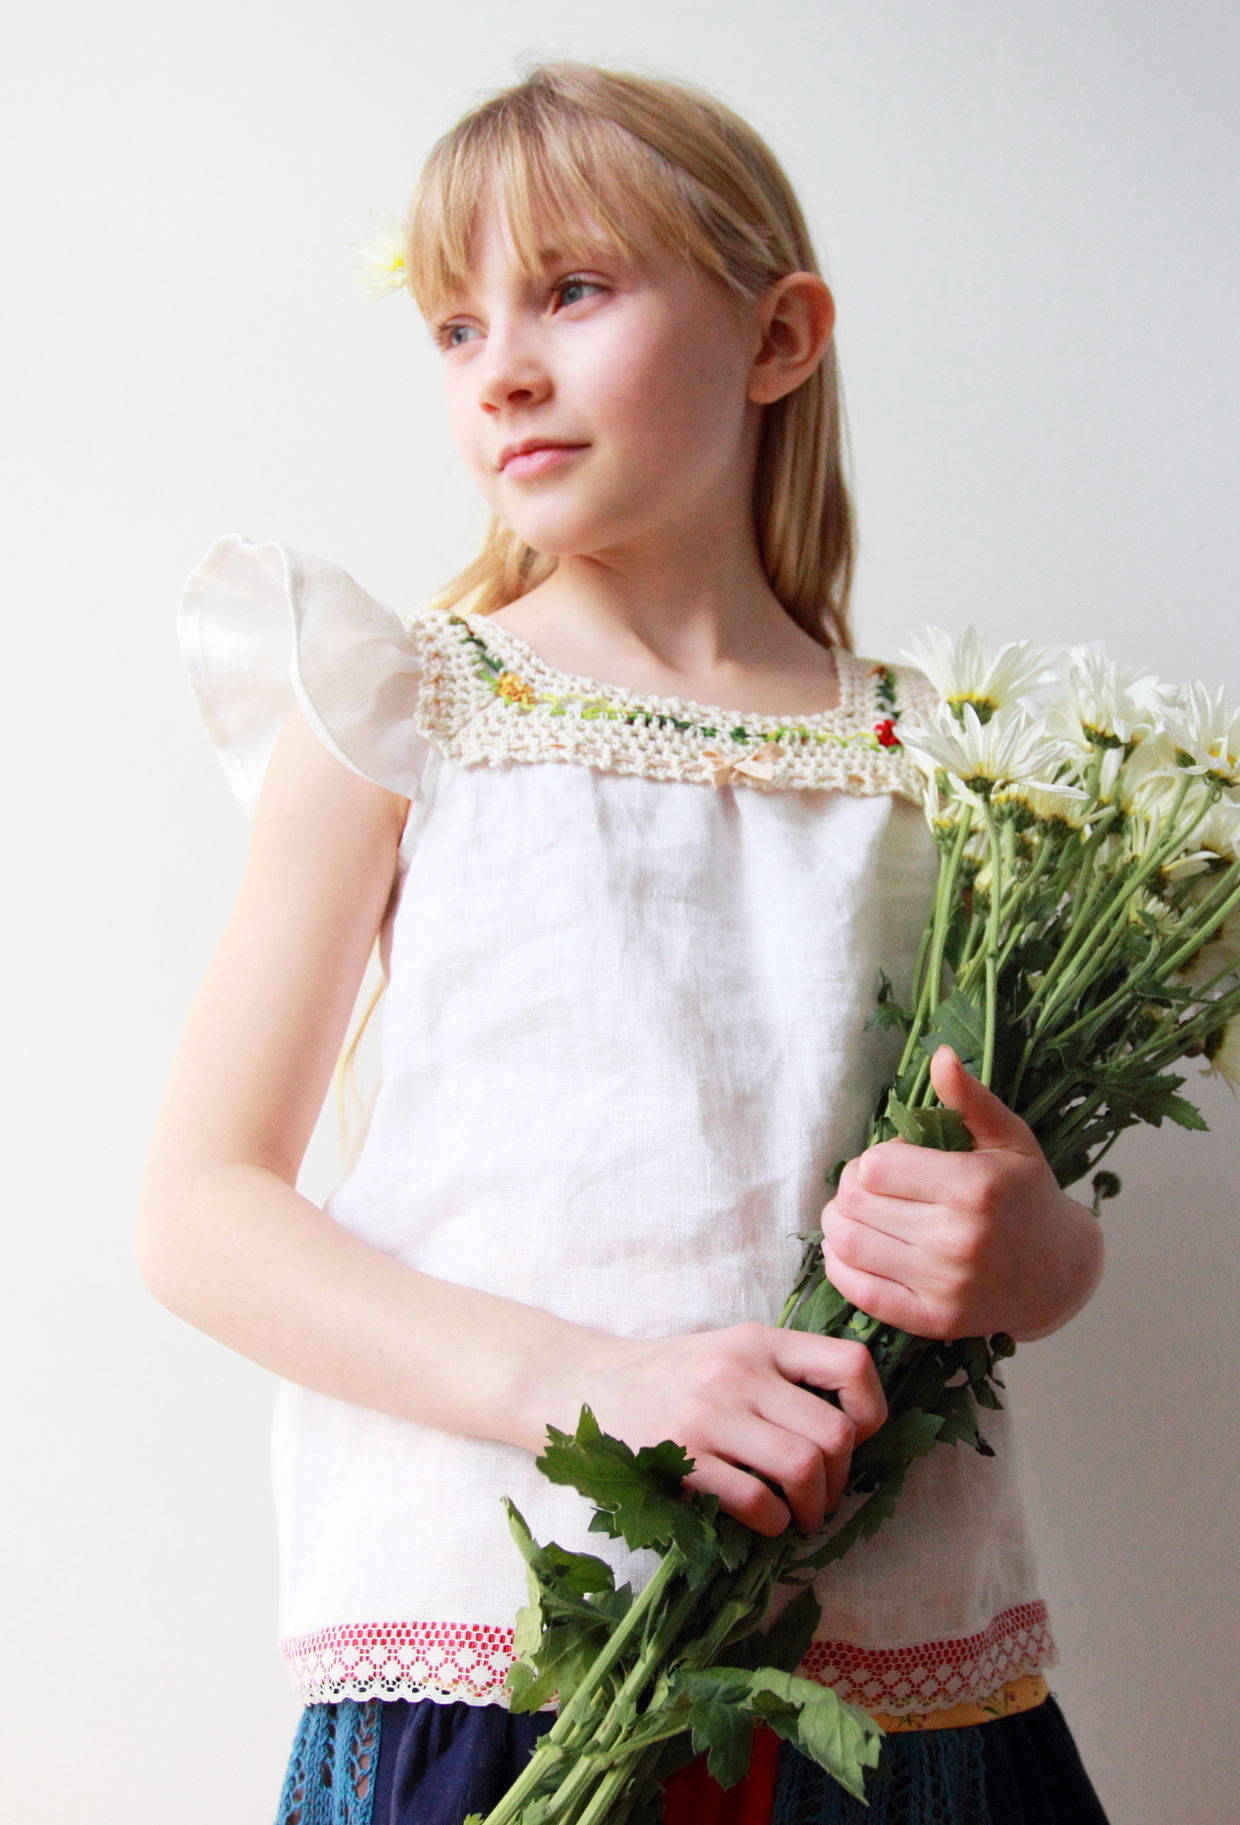
The second time, I went even further away. I had a vision for a linen peasant blouse using some trim I’d scavenged from an old dress. I needed the neckline to match that very wobbly crochet lace. I used the Building Block Dress bodice and lengthened, created my square neckline to match the trim and added the flutter sleeves. Would you believe that neckline trim came from a baby dress! It’s amazing to think that it actually fits over her head so well!
Then, little sister needed a dress too, right? I made a sleeveless A-line again and let her pick the back buttons. In front, I used the instructions from Pattern Magic 3 to get that shirred circle. The Pattern Magic books are perfect for using with the Building Block Dress since the projects are usually done on a basic bodice. (Pattern Magic is done on a women’s bodice so it has darts but I haven’t found it that difficult to adapt to a dartless bodice.)

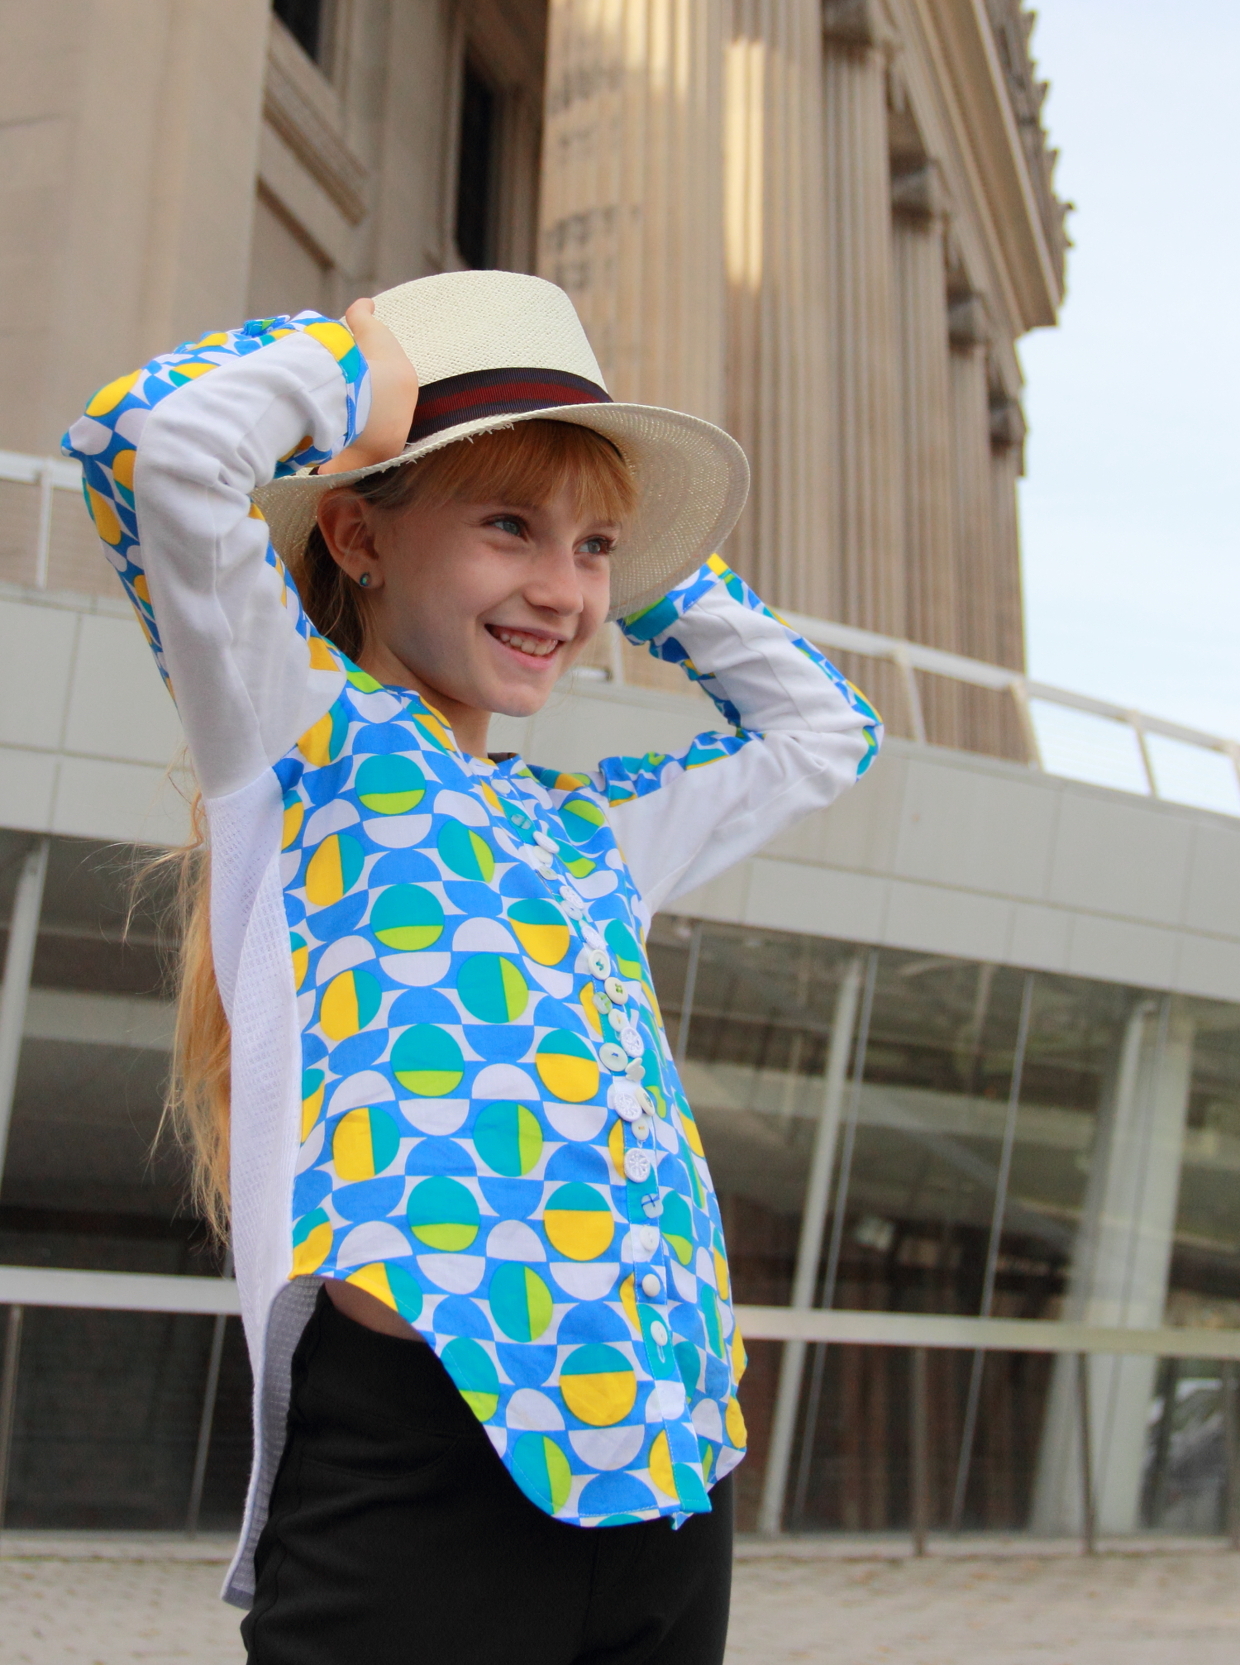
Last Fall, as a contestant on Project Run & Play, I again wanted to make a shirt and used the Building Block Dress as a starting point. This was my first time incorporating knits into this pattern and it worked beautifully. You can see all the details of my modifications in this post.
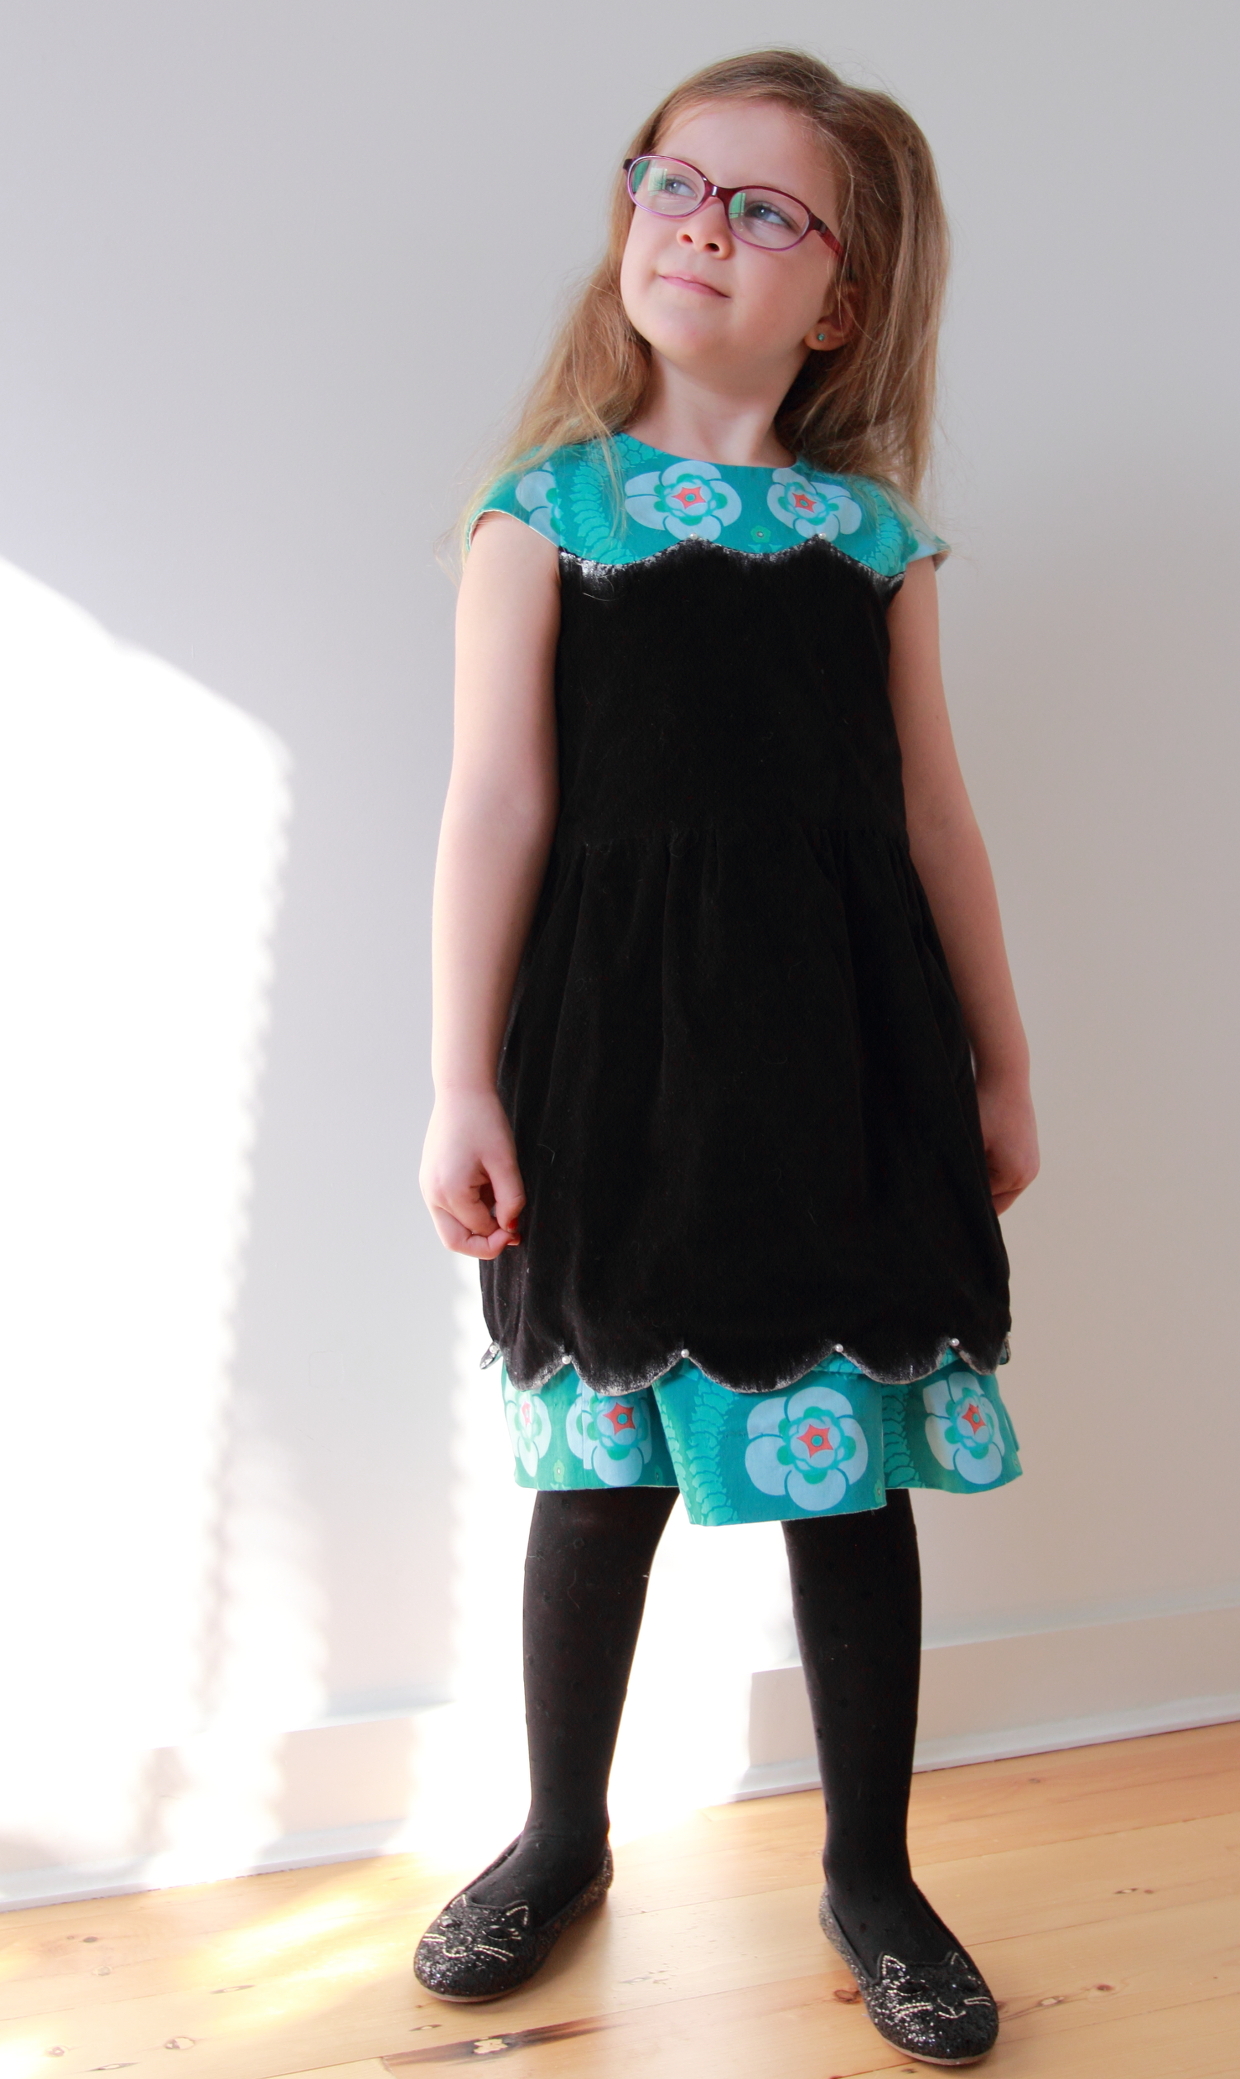
Since I got eliminated, I didn’t get a chance to make what I’d planned for little sister but I did make her Christmas dress! This time, I tried to stick to modifications from the book. I used the cap sleeves, scalloped color blocking on the bodice, scalloped facing on the skirt, and an underskirt. I think the scalloped color blocking was the trickiest sewing I’ve ever done! I’m sure the stiffness of my fabrics (velveteen and sateen) didn’t help….
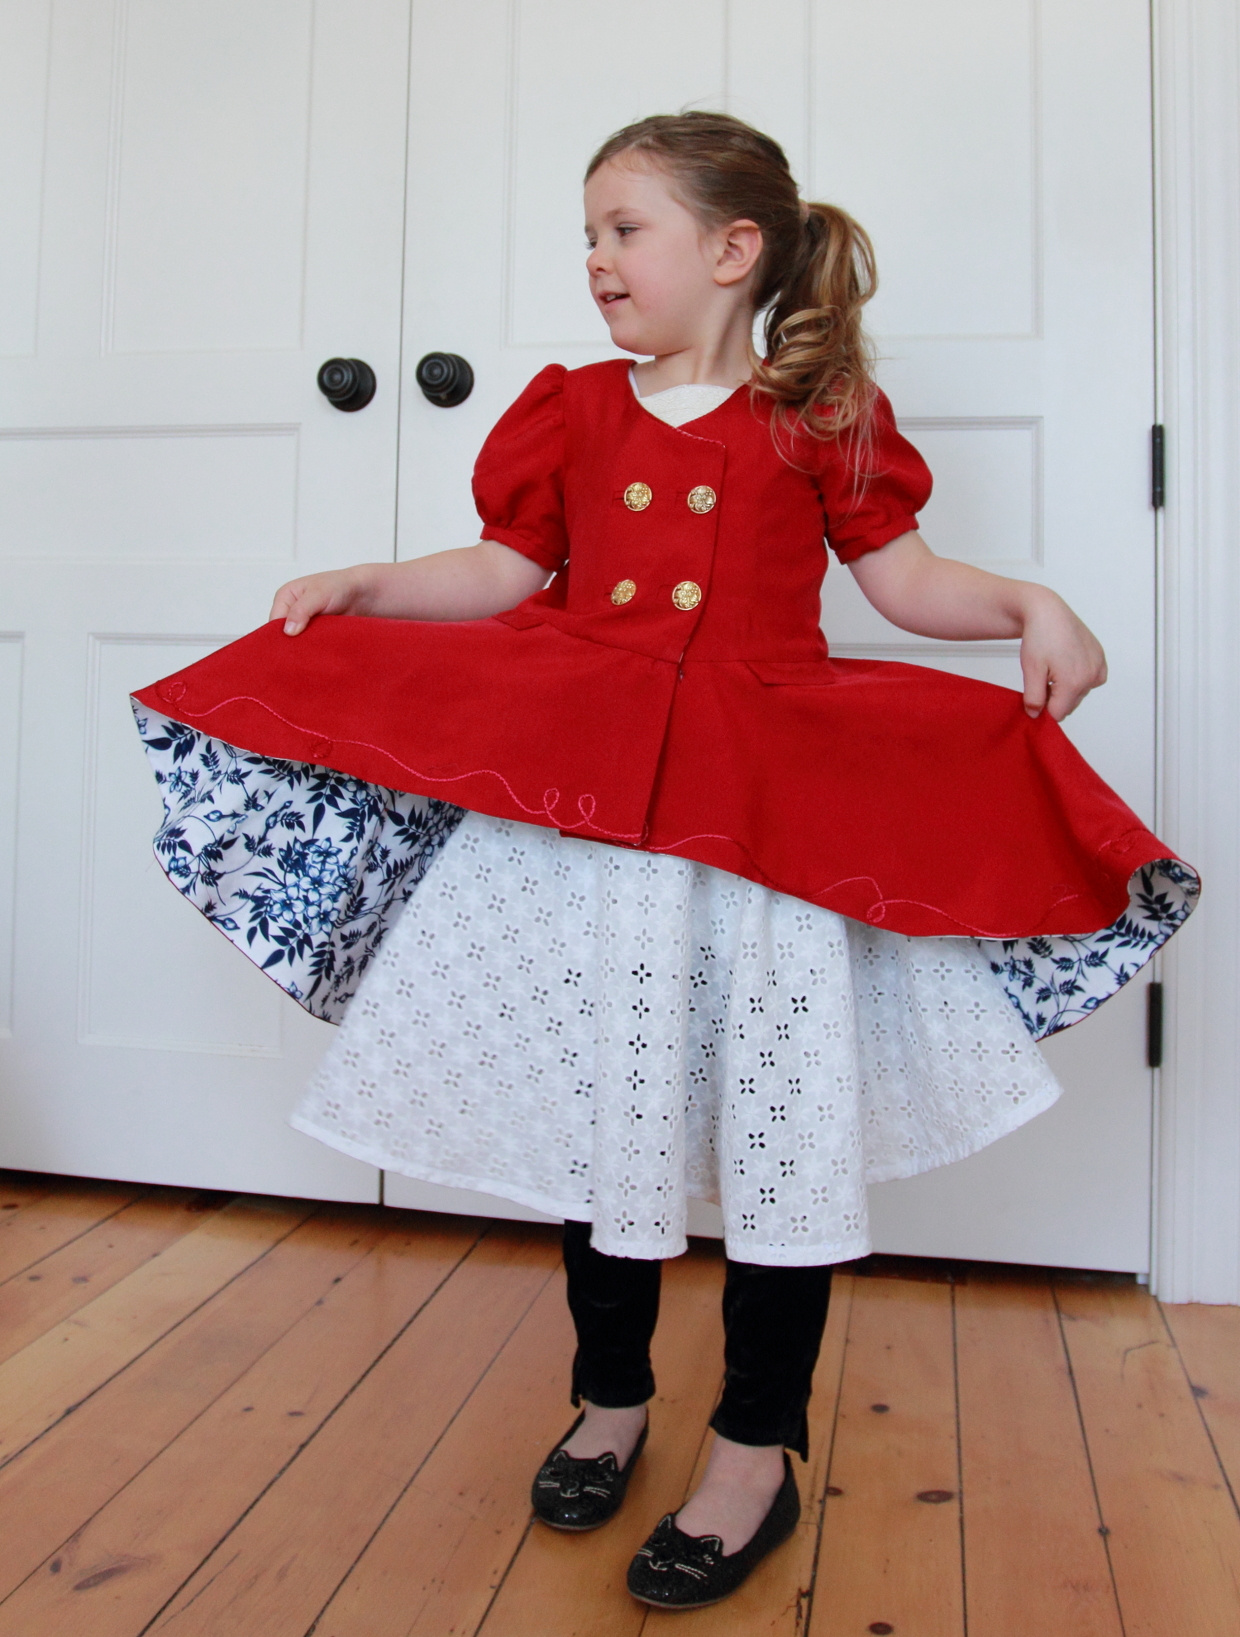
This winter, I was given the chance to participate in Project Run & Play again. I jumped at the chance but got eliminated before I could share this coat dress. My best work ever, with bound buttonholes, tiny pockets, and embroidery! I moved the opening to the front and extended it to create a double breasted coat and made a V neckline. I made the puff sleeves just as described in the book and they turned out absolutely perfect. I wouldn’t have thought about the necessity of adding a little height to the center top and bottom of the sleeve without the instructions. The skirt is simply the flared version but with a high-low hem. Even the underskirt is from the dress pattern! I used the same flared skirt piece but added a little space at the waist to make pulling it over the hips easier. I added a straight waistband with an elastic in it.
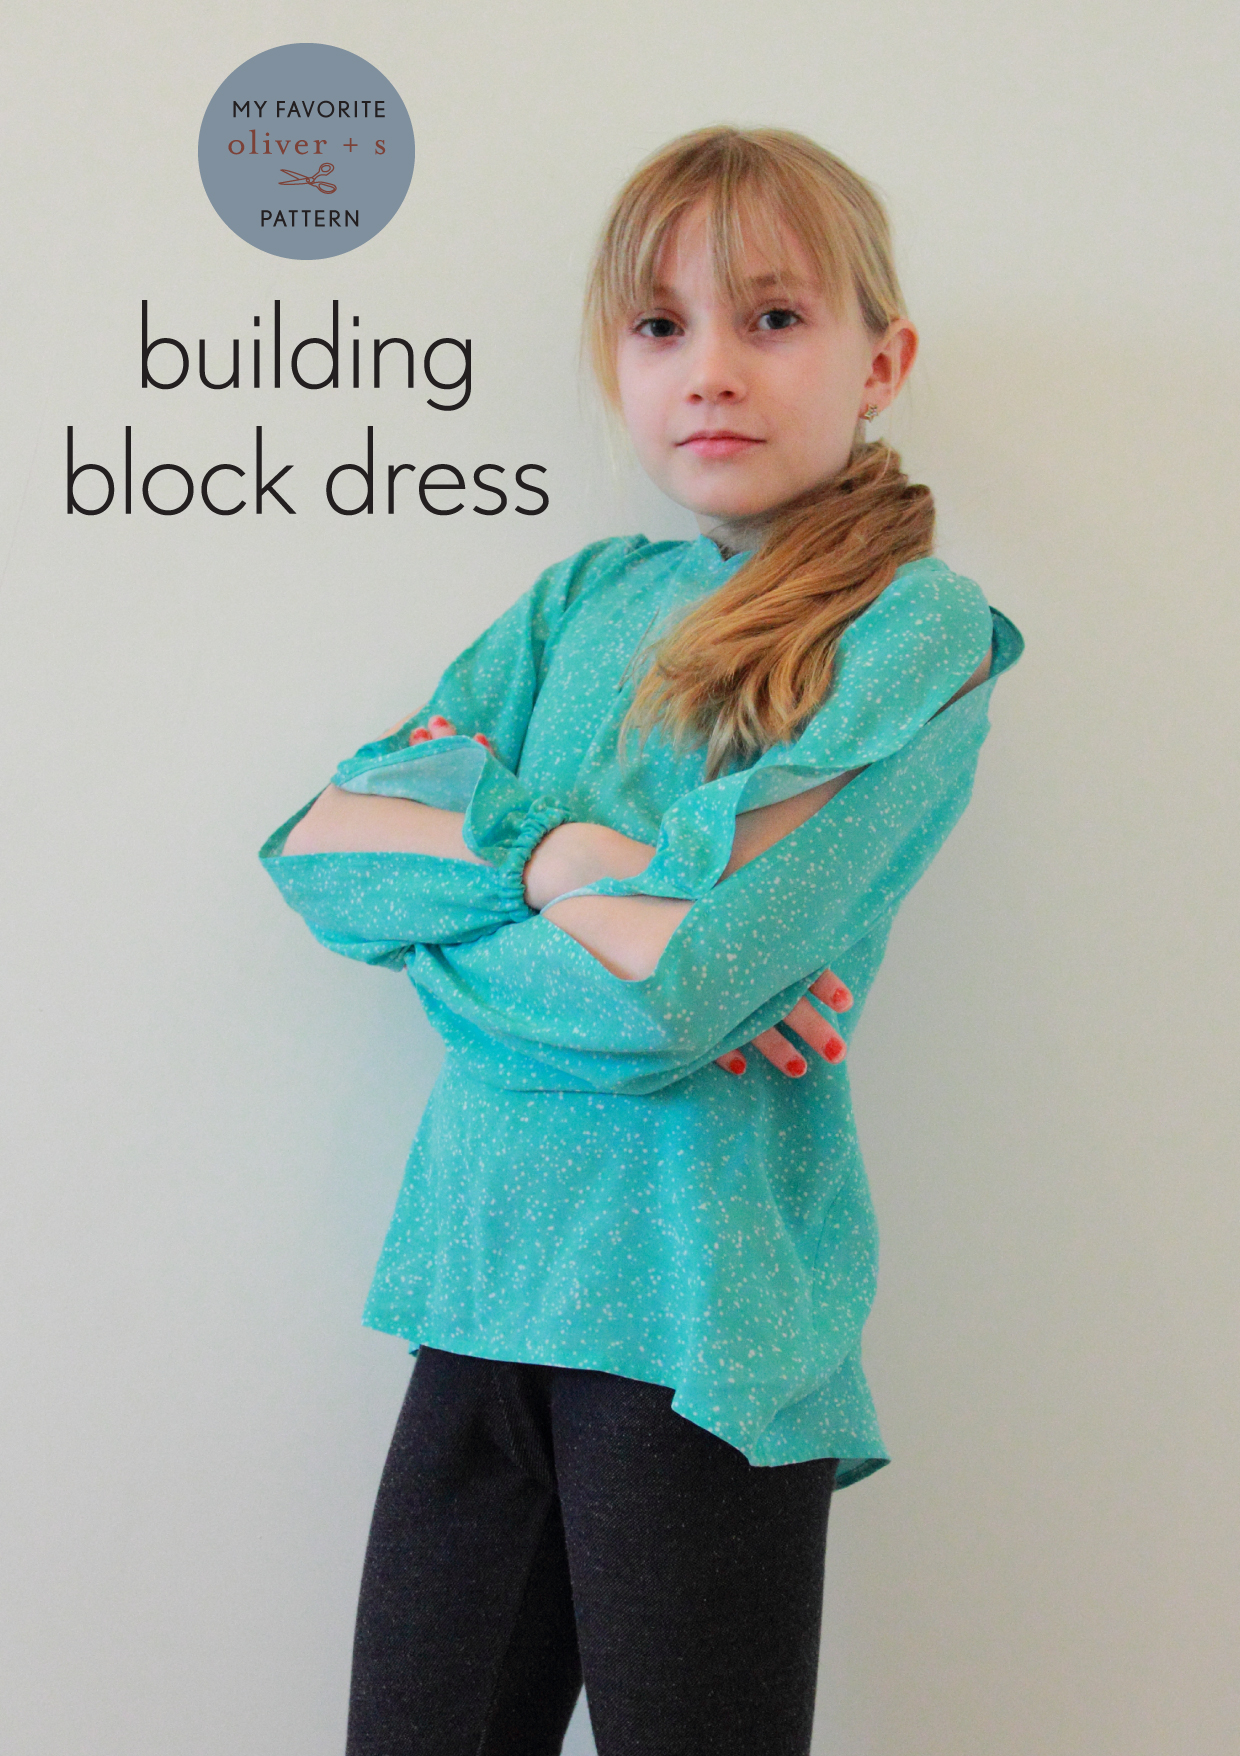
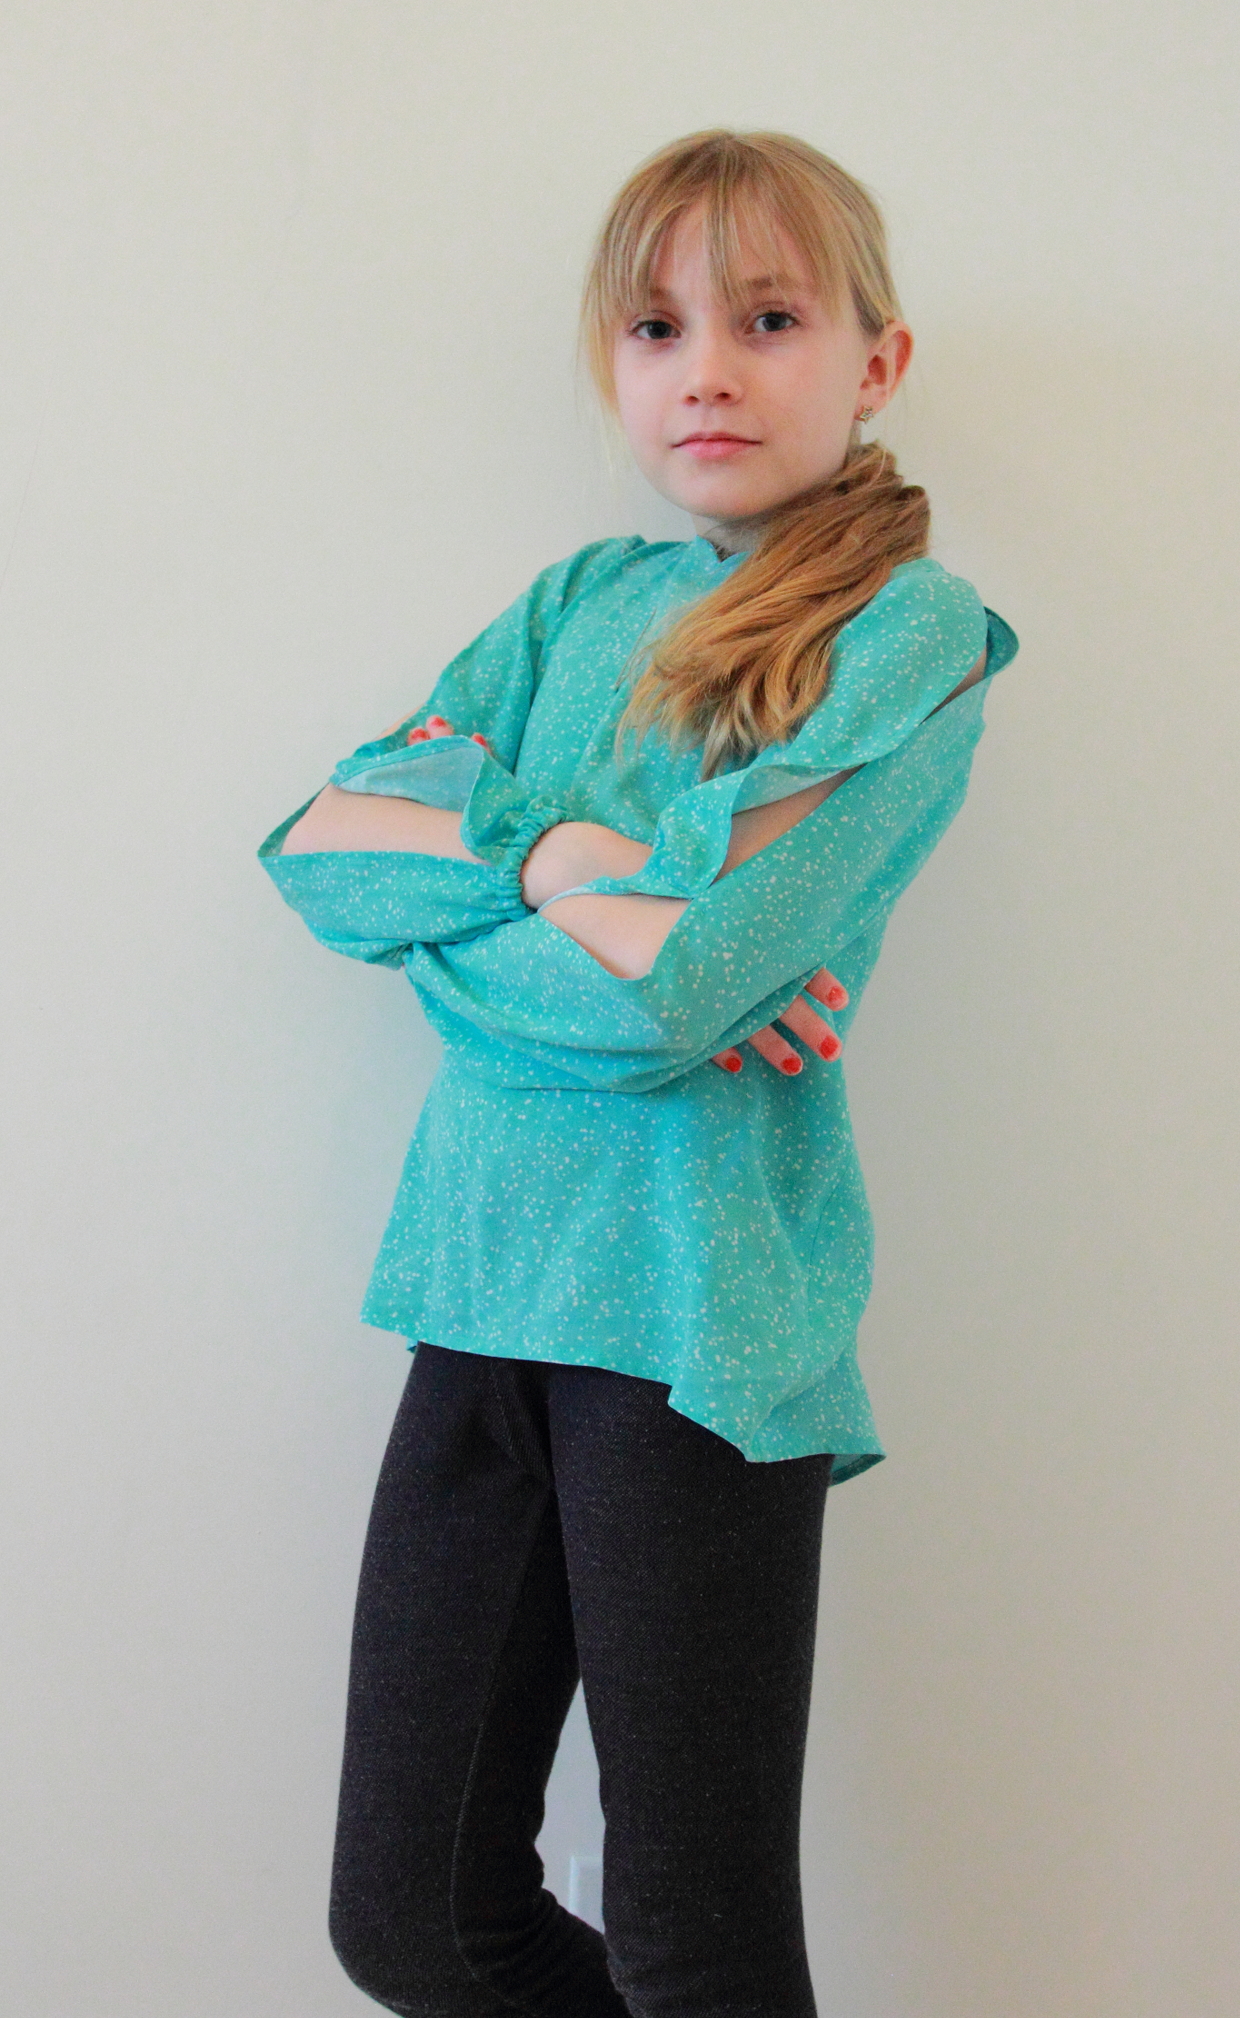
Finally, just for today, I made yet another blouse for my daughter. I lengthened the bodice and gave it just a touch of flare for ease of movement at the hips. I kept the opening at the back but shaped the buttonhole side into waves. I used a facing for the neckline to give a bit of shape to it, just a little curved dip in the center. For the sleeves, I did the long puffed sleeve but let it puff all the way down. Then, I split it down the center and rejoined it at the underarm and added a hem allowance to the new edges. This was my second attempt at creating a split sleeve and I’m so happy it worked just as I’d envisioned! Instead of hemming the sleeve, I added a small cuff with an elastic. I hand tacked the two sides of the sleeve together at the elbow. Otherwise, the sleeve just flopped open and looked like an odd wing.
I have never used a pattern this much and I foresee many more! For one, I see that little sister hasn’t had her fair share of dresses. I know she’d love a dress with fancy back detailing. I’ll have to give that a go….