
You all know our friend Sarvi, right? She’s one of the moderators over in the discussion forums. Well, she did a fantastic series on the blog last year about preserving patterns, which included several different methods: freezer paper, Swedish tracing paper, and carbon tracing paper. They were popular posts and you’ll want to be sure to check them out, if you haven’t already. This week she’s back with another series, but this time around it’s all about photography. Take it away Sarvi!
Hi folks! I’m hoping to keep this relatively short and sweet. I want to share some practical photography tips that will help you improve your images, so let me briefly explain what this post is meant to do. I know we all work hard on our sewing, and a big part of the fun is sharing that with our sewing friends. But since most of us are not professional photographers but just parents sewing for our kids (or metric equivalent–grandchildren, nieces, young friends), we often have to shoot in less than ideal conditions. If you’re indoors at night, with a rushed kid on her way out the door, or with no kid at all, and all you have is a cell phone or tablet, what’s going to save you is the work you’ve done in advance. And that’s what I’m going to talk about today: finding your spot.

Here are all the devices in my house that take photos. This photo was taken with my husband’s smartphone. There’s a DSLR, pocket digital camera, film camera, laptop, tablet, and smartphone. They all do the same thing.
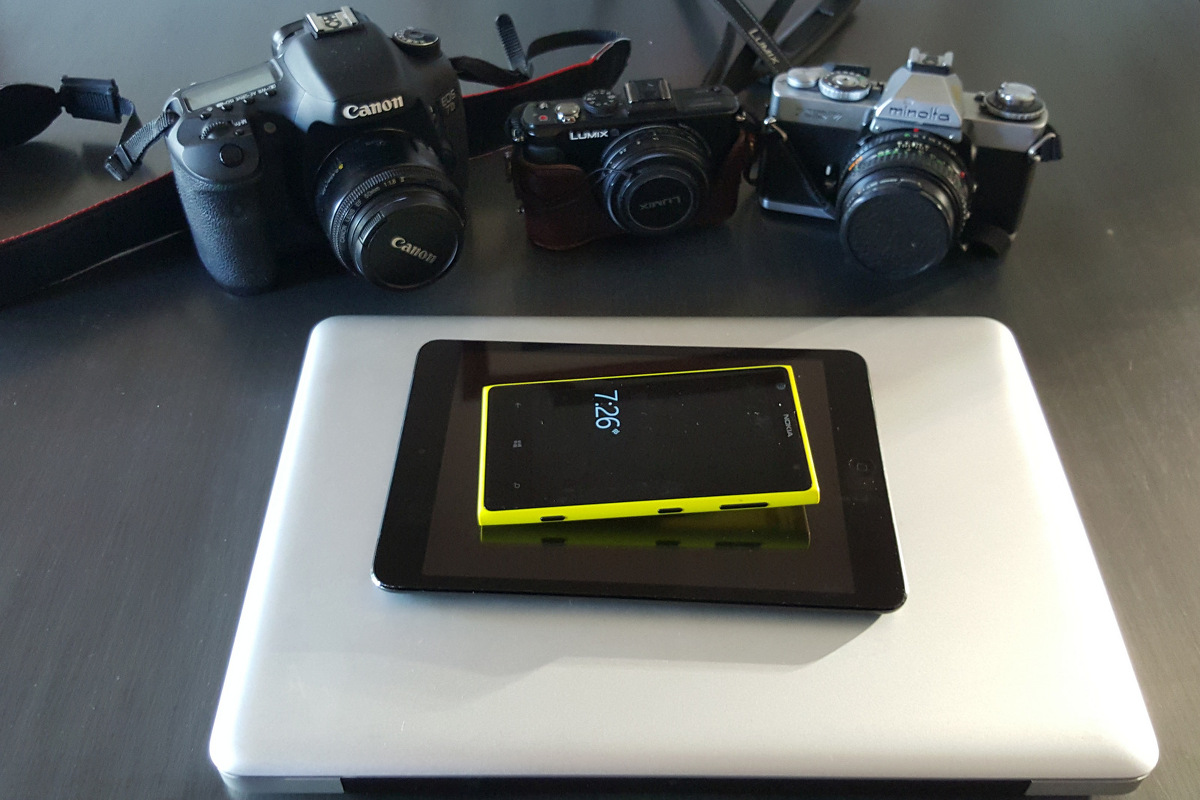
They don’t actually take photos of subjects; they take photos of light. It’s the one rule of photography that rules everything else. So when you start setting up your spot, the little patch of your house that you identify and prep as your micro photo studio, the first thing you need to look at is light.
Step 1: Find some light. A window, a lamp, a string of bulbs maybe? Now put something in the light and see how the light falls. If you can move the light, move it around until it’s sweeping over the folds and curves of the fabric and you can see those beautiful shapes and textures. If you can’t move the light, move your subject! Standing at not-quite right angles to a window, maybe turned a little more to the light, shows shapes very nicely.
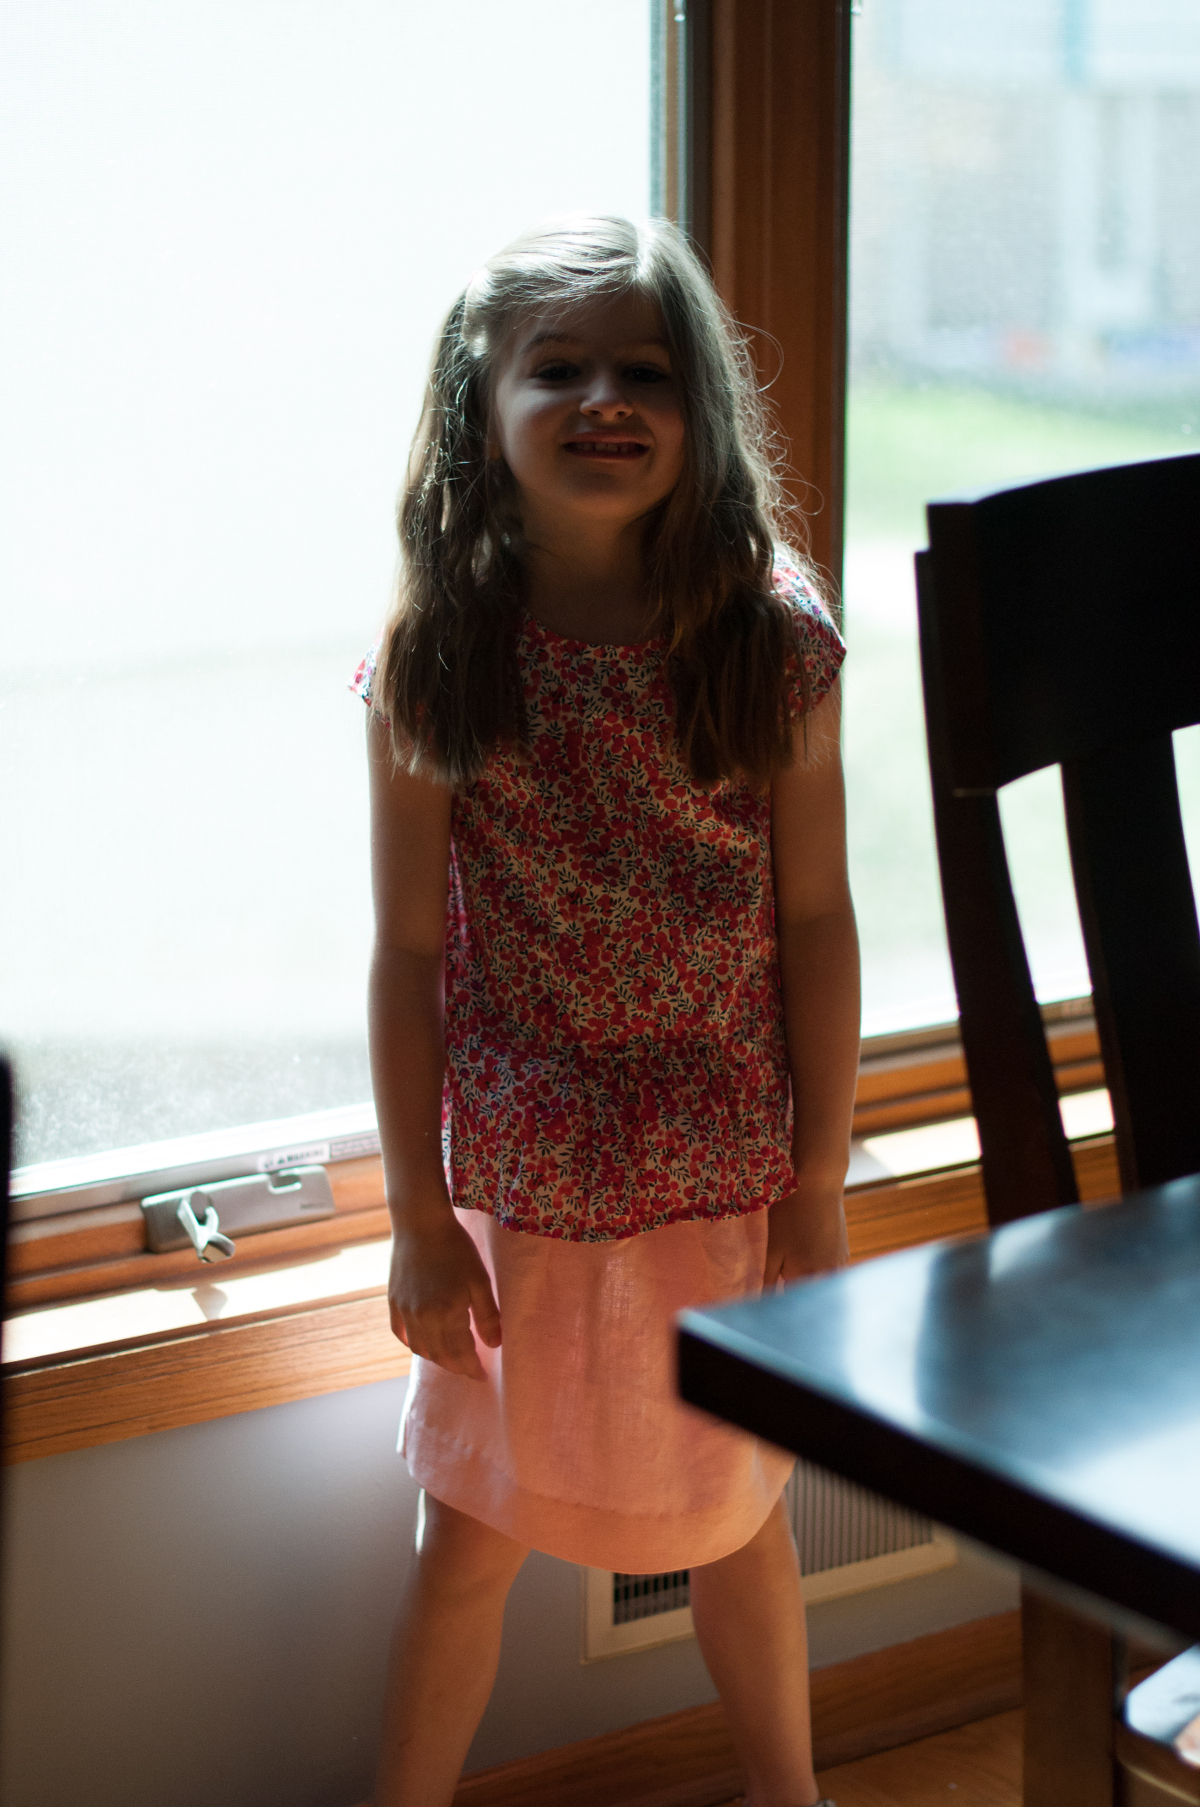
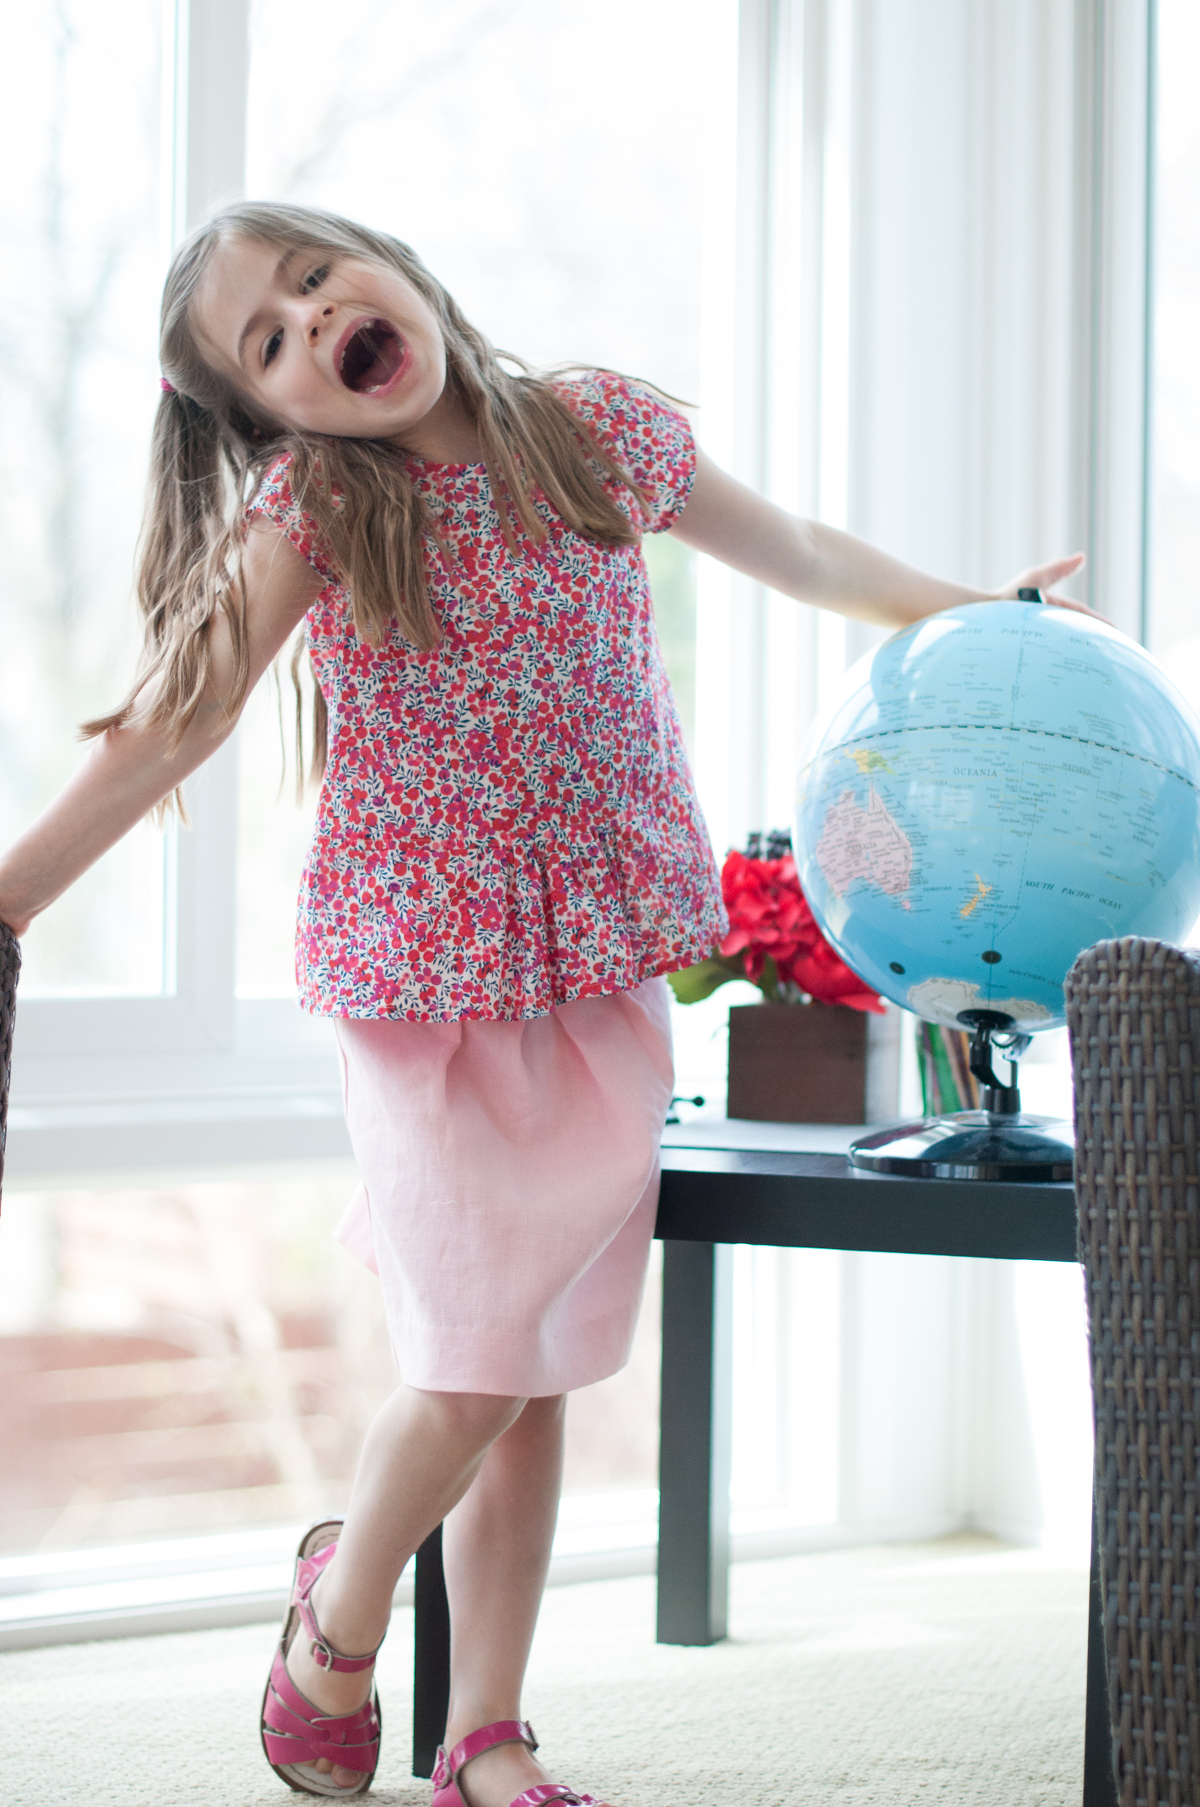
Step 2: Control the quality of the light. If the sun is pounding straight into your window, that’s going to give you very harsh light.
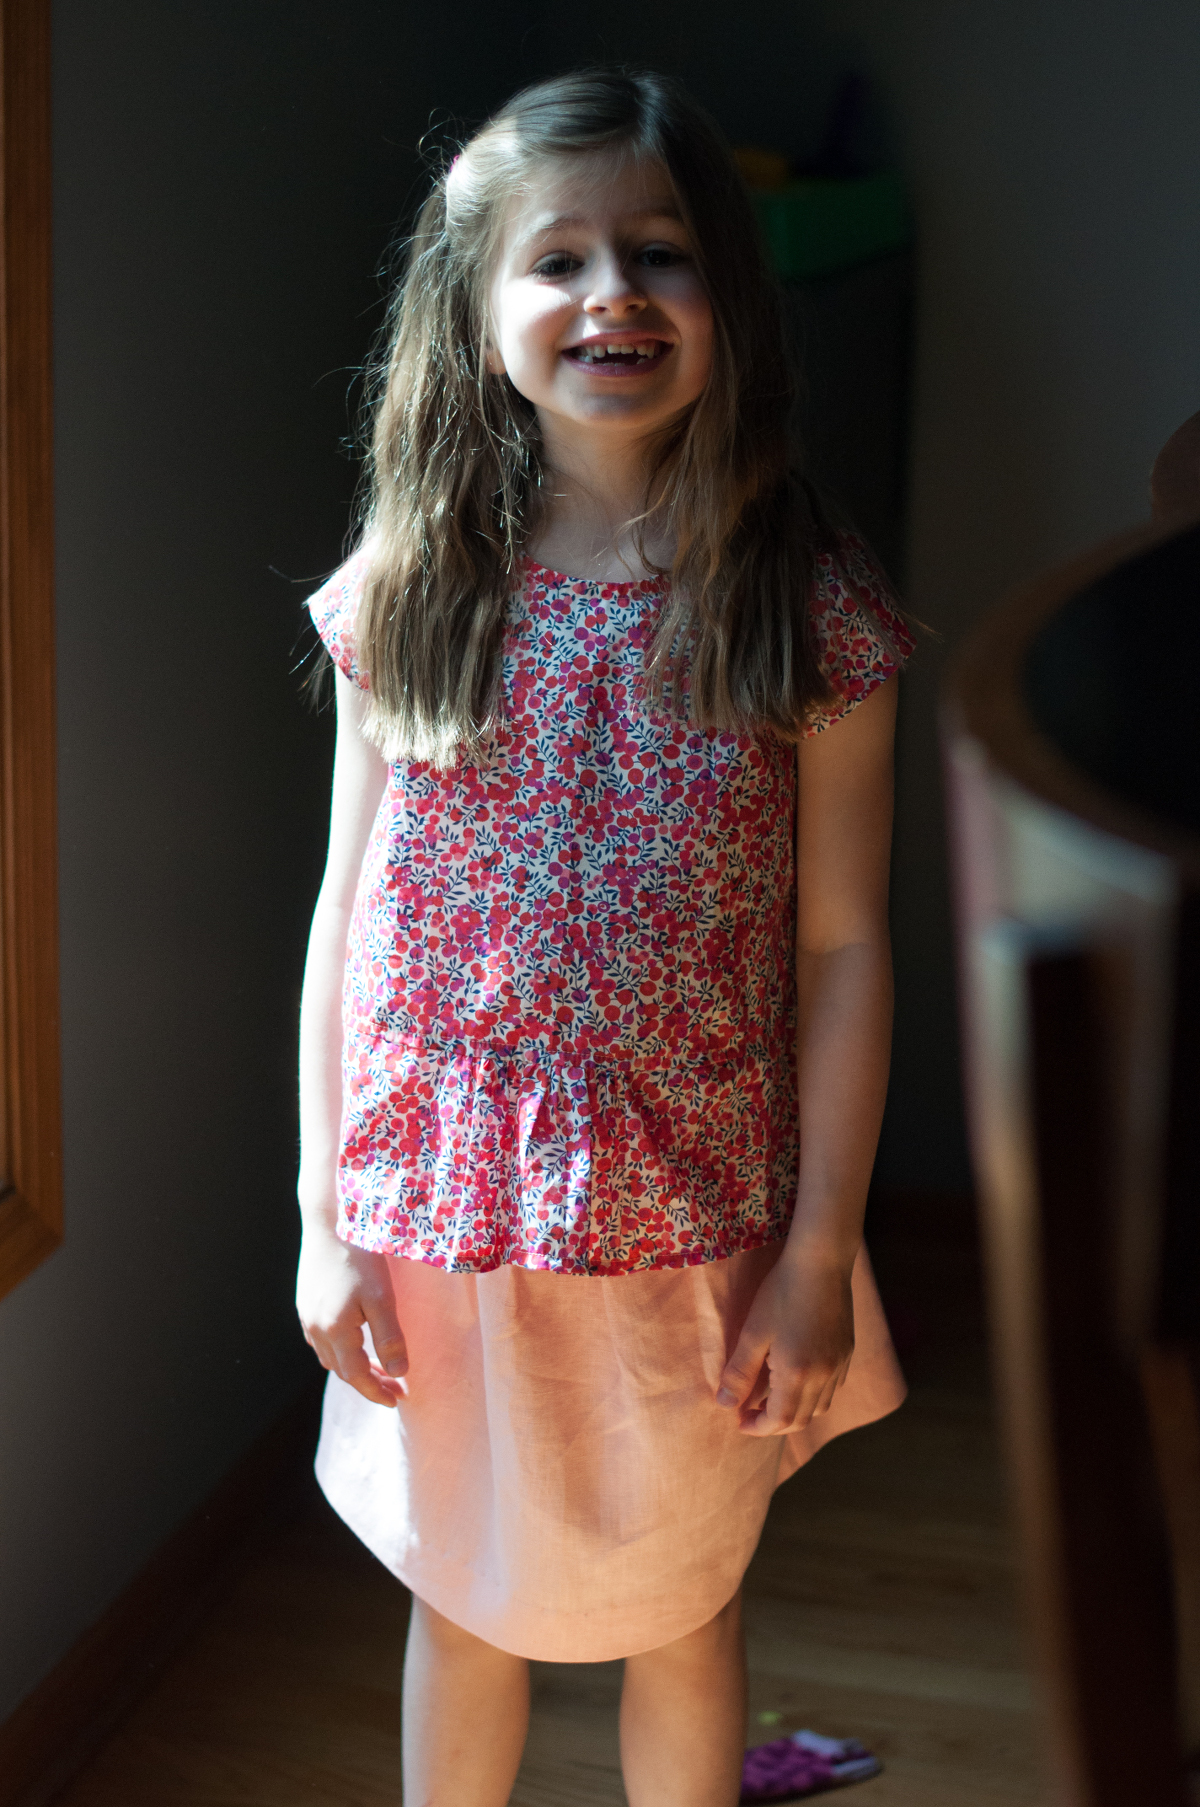
Try looking to see how far into the room the light falls. Taking a few steps farther into the room might give you all the light you need, while cutting down on hard shadows. Remember that it’s not about using a specific technique, it’s about the principle of trying to achieve big, soft light in whatever your unique space is.
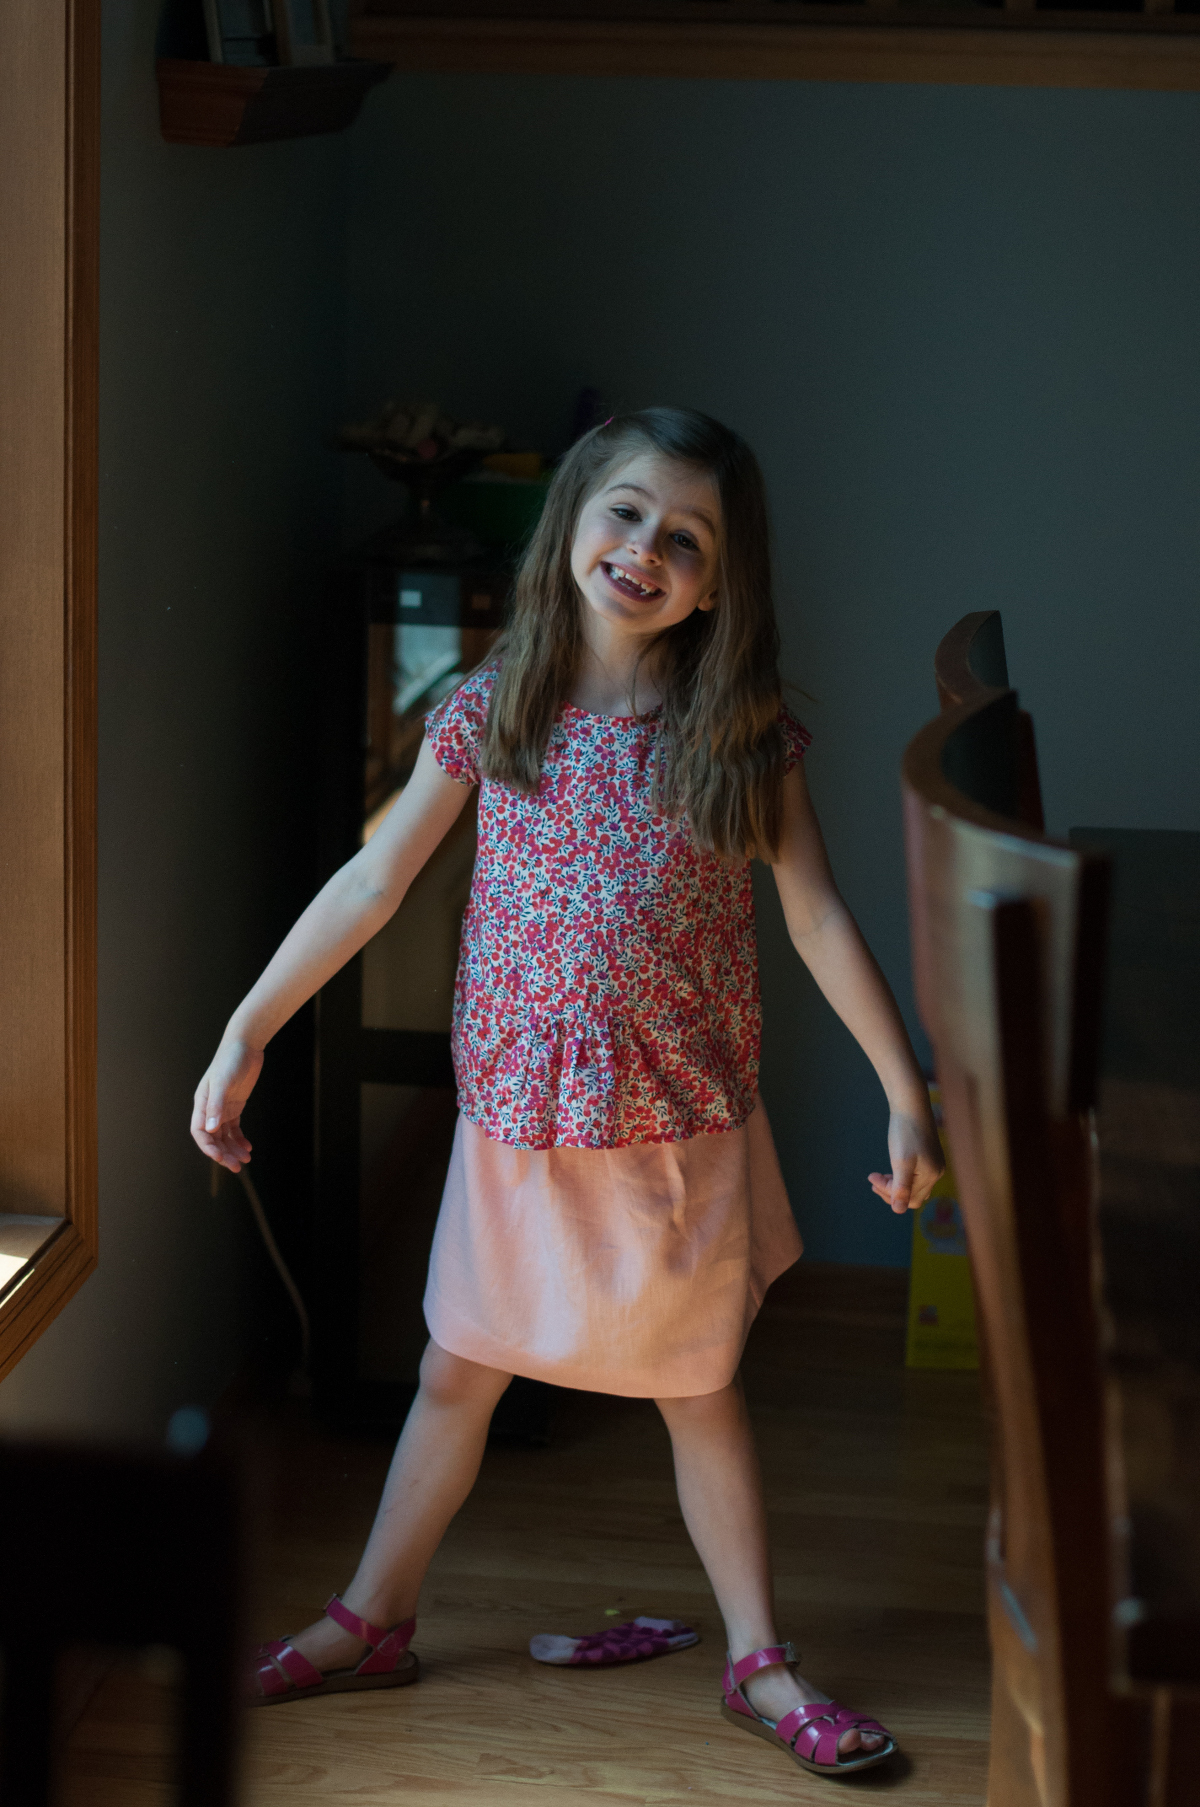
Step 3: Art direct. This is so seemingly obvious but can feel so unintuitive.

It’s almost as though people feel they don’t have permission to move themselves or their subject, or to move or replace background clutter, or get some cute props. I give you permission! Get a cute basket and shove all the toys into it. Again, it’s not the specific technique you use, it’s about identifying the Spot, the space in your home that’s the best candidate for grabbing quick, consistent shots.

Step 4: Compose. It doesn’t matter if your whole house looks like a tornado hit it as long as it doesn’t show up in the viewfinder. If you’re using a cellphone, don’t zoom, especially in the dark. Either twin-ankle zoom (walk in closer) or shoot big and crop later. Cut the head room, position your kid’s face, or the top of the garment, right at the top of the frame. Unless you have a particular reason to to show a bunch of space over the top of your kid’s head (maybe your kid’s holding a balloon?), cut the head room like your life depends on it.

In the last place I lived, the light was ridiculously bad. Recessed lights, fluorescent bulbs, few windows, and those badly angled. I wound up shooting everything in front of a set of white shutters, while standing on a stool in the kitchen. The result wasn’t anything you’d want in a portfolio, but the best was made of a bad situation and you could at least see the clothes reasonably well.
Up next: photography 102: working with kids.