
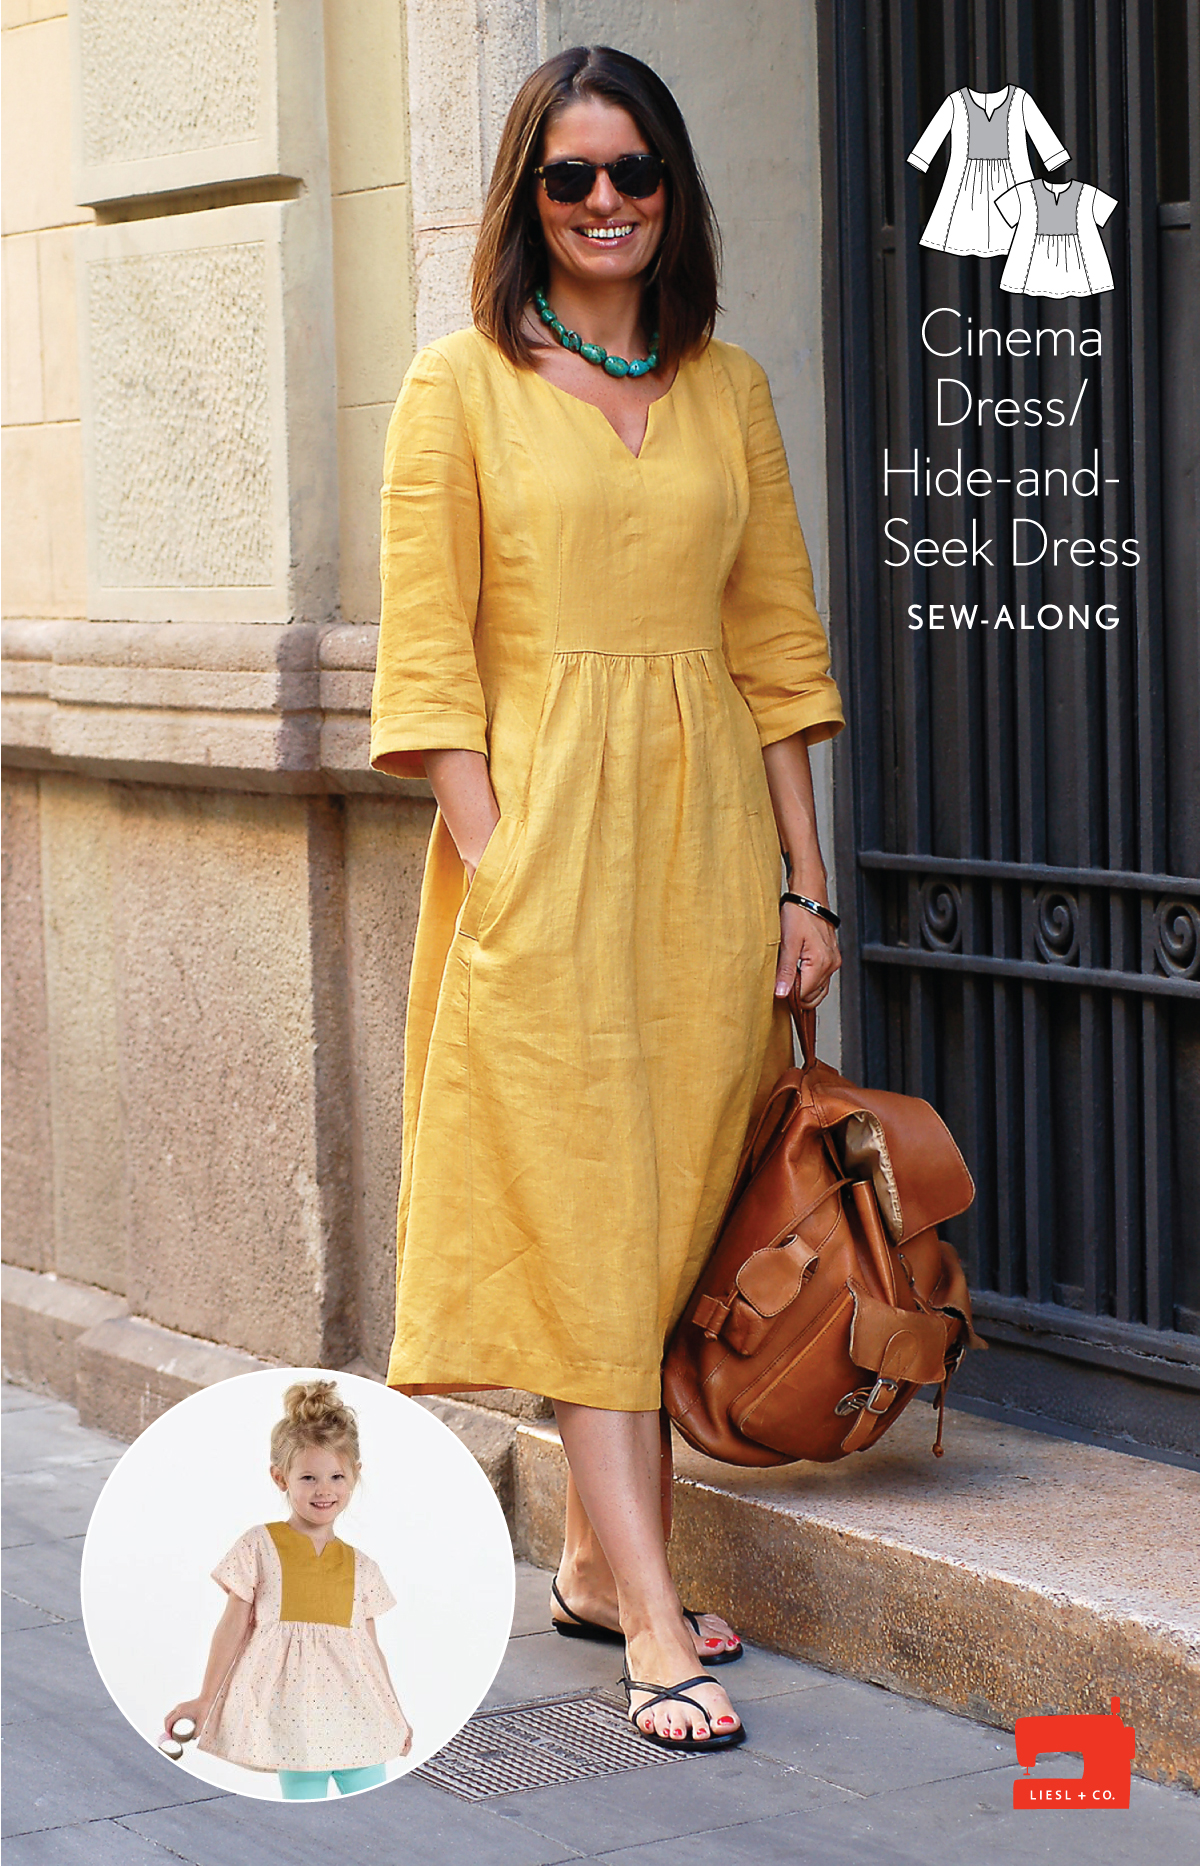
Welcome to day two of the Cinema/Hide-and-Seek Dress Sew-Along.
Whether you are sewing up a Cinema Dress or a Hide-and-Seek Dress, in this sew-along we will be sewing it by the pattern. Liesl’s patterns have been called sewing lessons in an envelope. If there is a sewing skill that you haven’t developed yet, there’s no need to worry. The instructions will walk you through it step by step.
Today we will be sewing the pocket welts and the yoke. So let’s begin, shall we?
Getting started
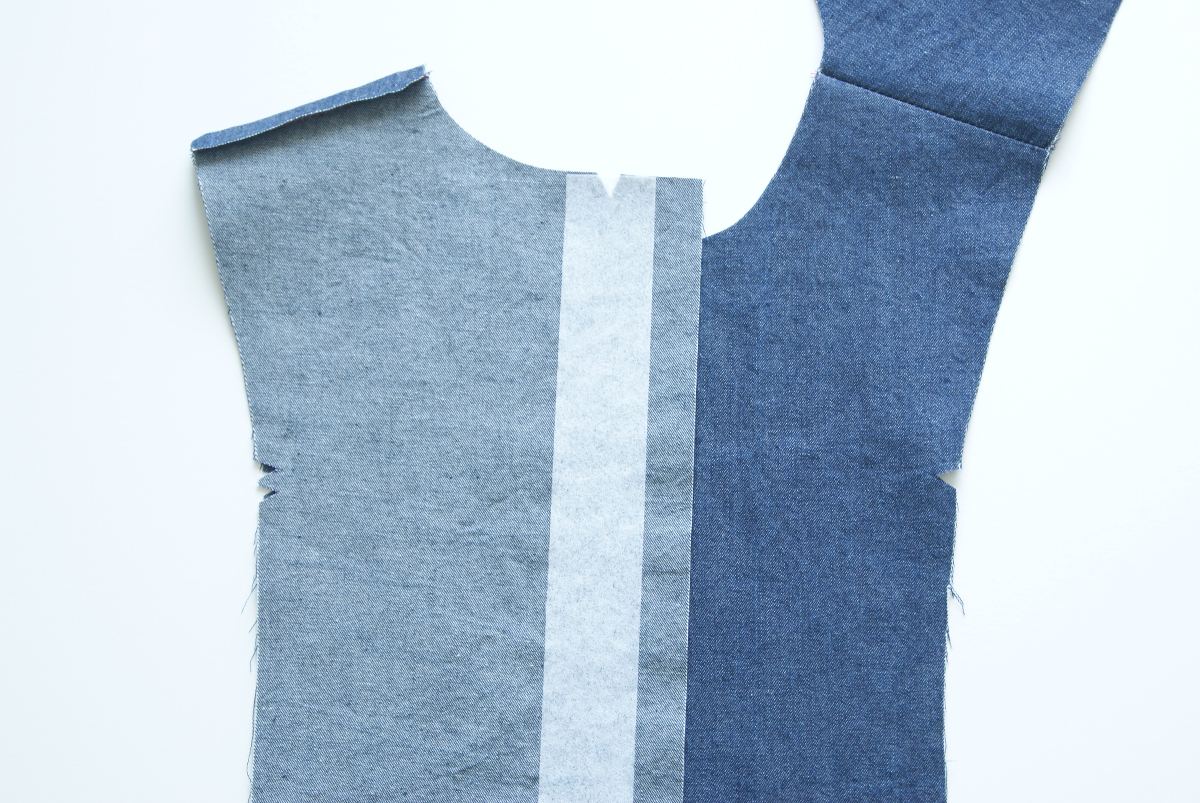
Transfer all markings and fuse interfacing to the wrong sides of the fabric pieces according to your pattern and instructions.
Make the Welt Pockets
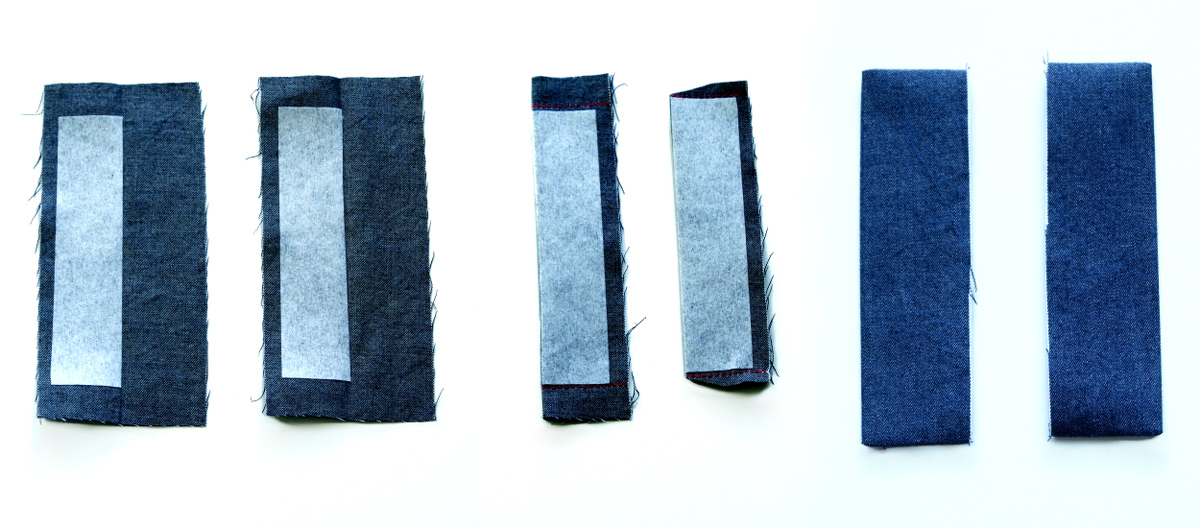
- Fold one pocket welt in half on the fold line, with right sides together, and stitch the short edges with a 1/2″ seam, backstitching or lockstitching at both ends. Trim the seam allowances to 1/4″ and trim the corners. Repeat to sew the second welt.
- Turn each welt right-side out, gently pushing out the corners with a knitting needle or chopstick. Then press the welts.

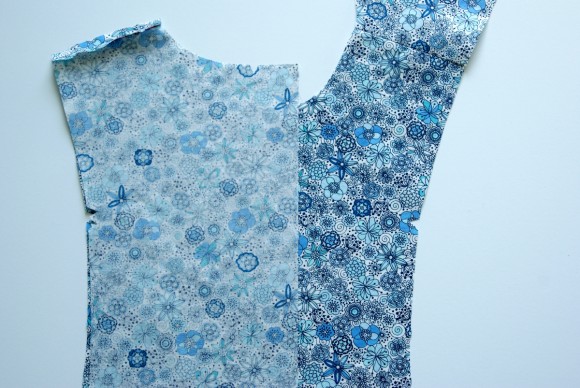
Prepare the Yoke
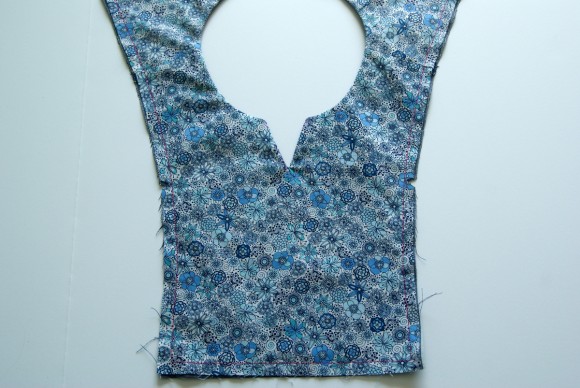
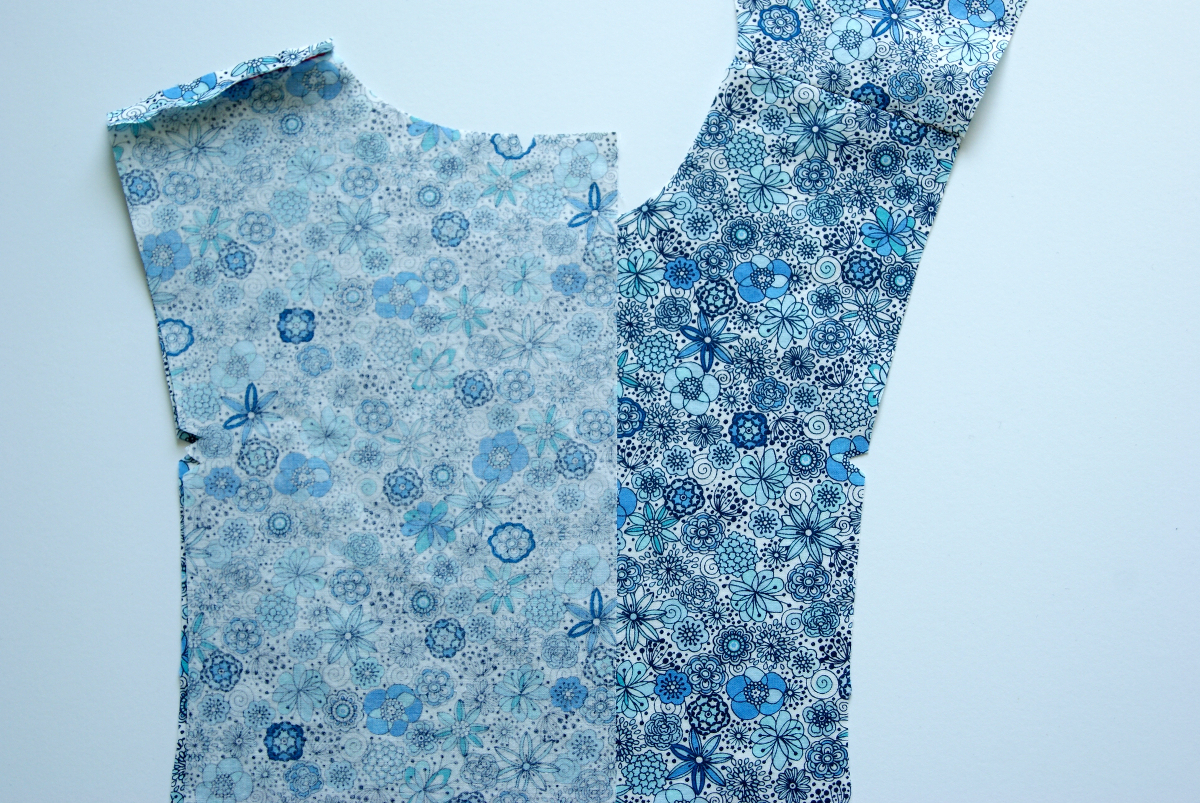
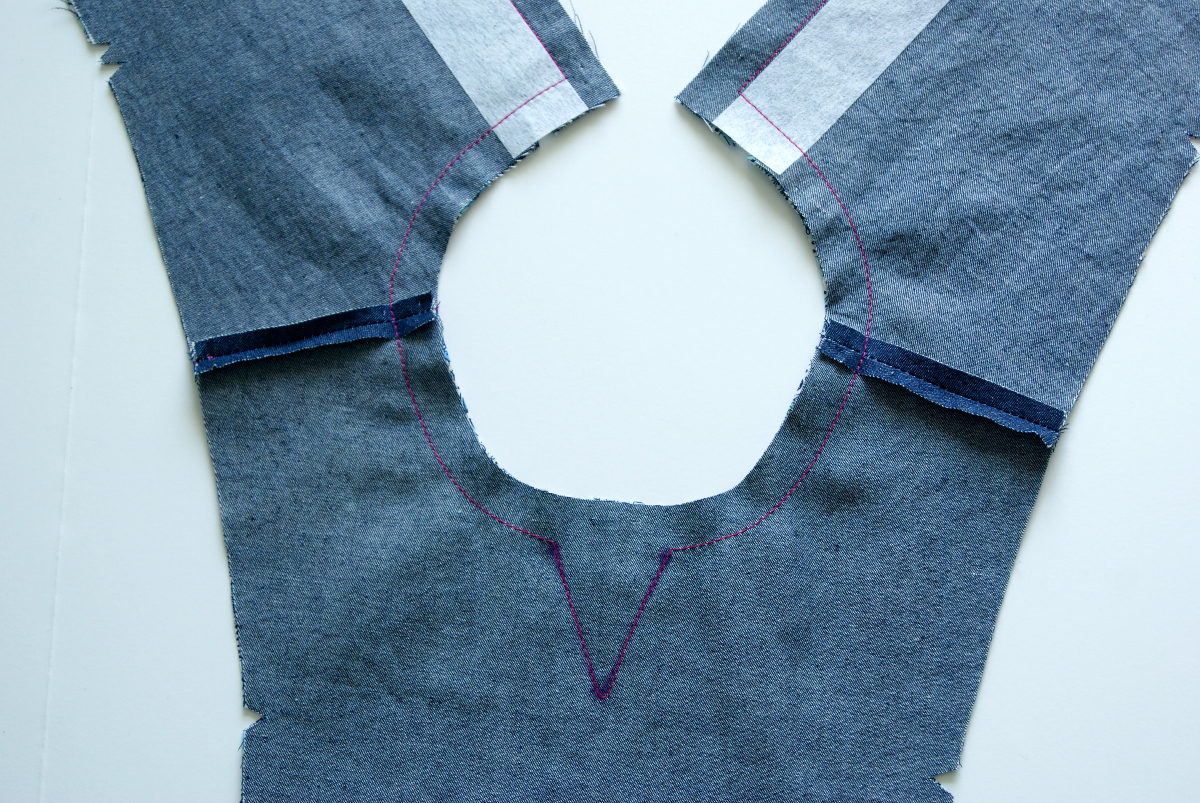
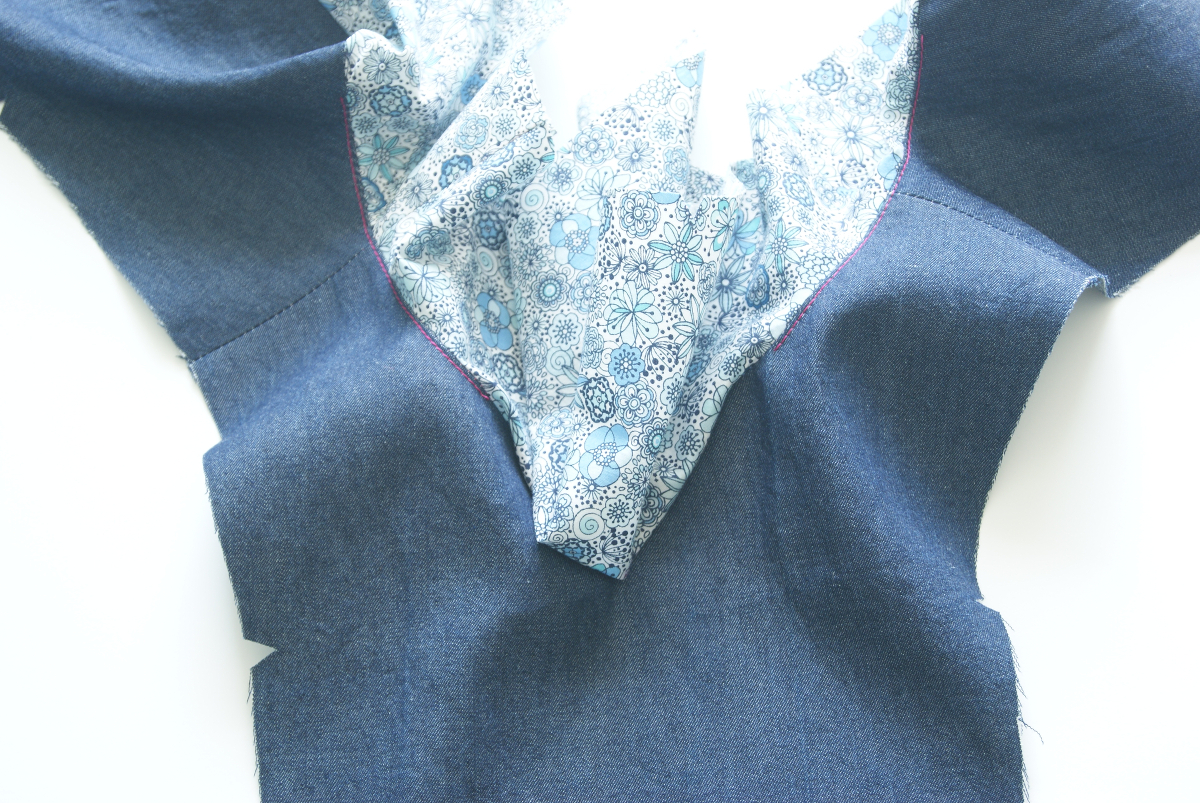
- Align and pin two opposing back-yoke pieces to the one front-yoke at the shoulders, with right sides together and raw edges aligned. Stitch just the shoulders with a 1/2” seam, backstitching or lockstitching at both ends of the seam. Trim the seam allowances to 1/4” and press them open. Repeat with the second set of yoke pieces (the yoke facing).

- Pin the yoke and yoke facing together along the neckline and the center-back edges, with right sides together and matching the shoulder seam. Stitch the center backs and neckline together with a 1/2” seam as follows. Start stitching at one center-back edge, pivot at the corner of the neckline to start stitching around it, pivot at the corner of the center-front V-notch, stitch down one side of the V, pivot at the bottom of the V to sew one stitch across the pint, pivot again to stitch back up the V, pivot again to stitch around the other side of the neckline, and finally pivot once more to finish sewing the remaining center-back edge.
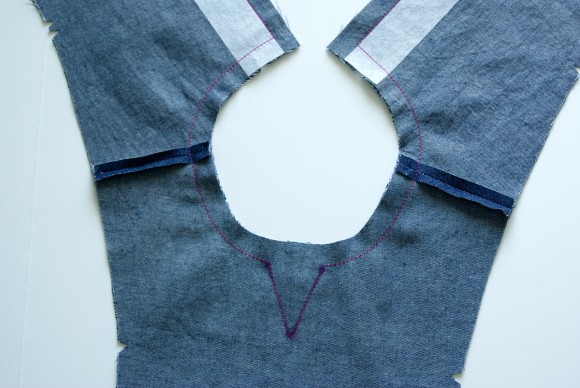
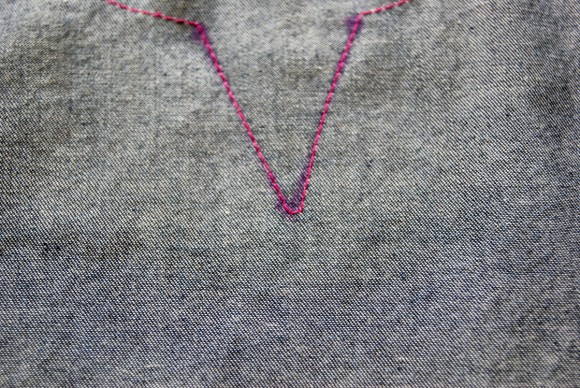
- Trim the seam allowances to between 1/8” and 1/4” at the neckline and the V-notch, and clip into the seam allowances as necessary to release them at the curved areas. Clip very close to the stitching line at the V-notch dot without cutting into the stitches themselves. Trim the back corners, but don’t trim the center-back seam allowances.

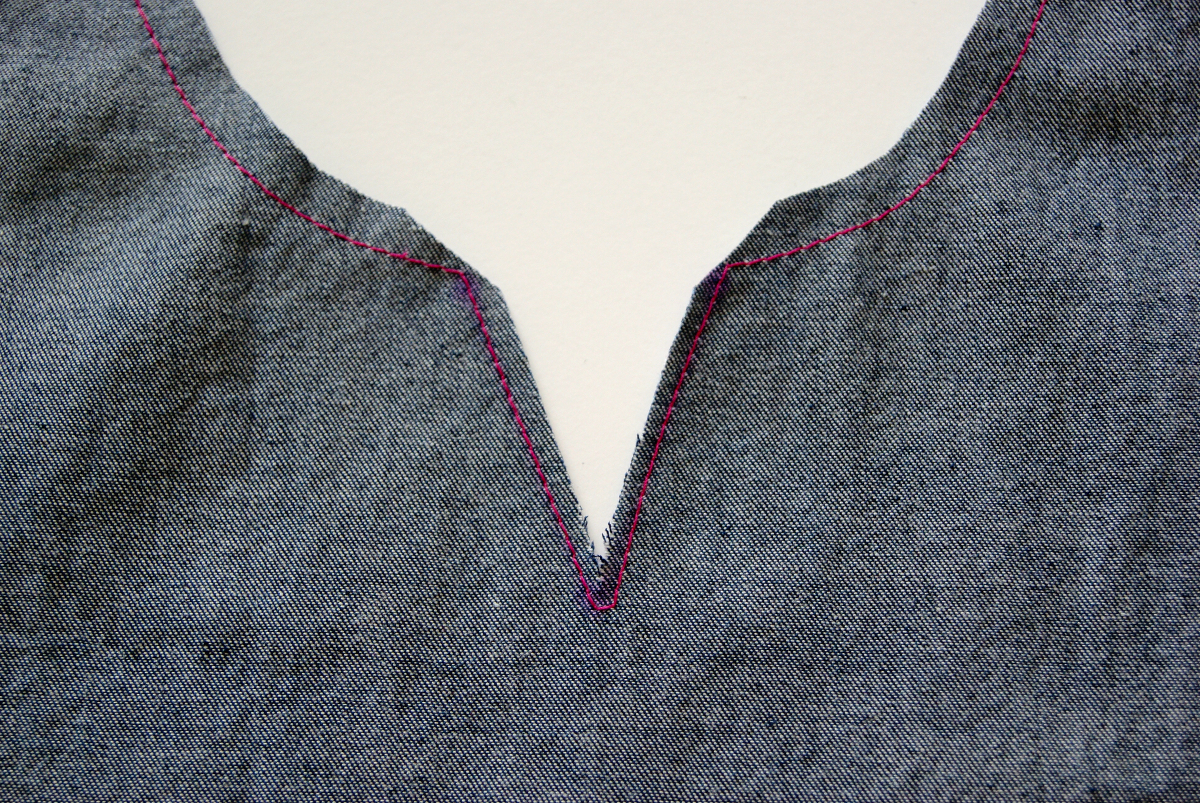
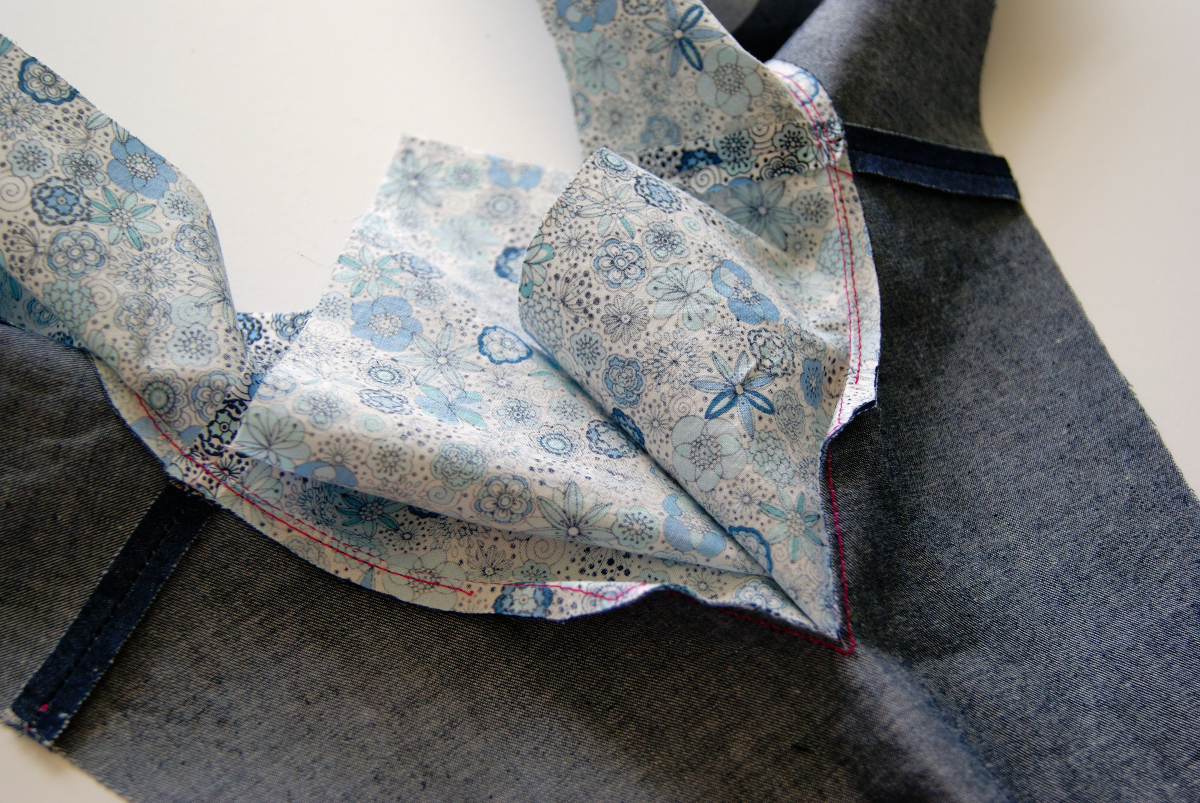
- Press the neckline seam allowance toward the yoke facing as far as you can reach with the iron. Understitch the curved parts of the neck, stitching the seam allowances to the facing as far as the sewing machine can reach. (You won’t be able to stitch all the way to the corners.)
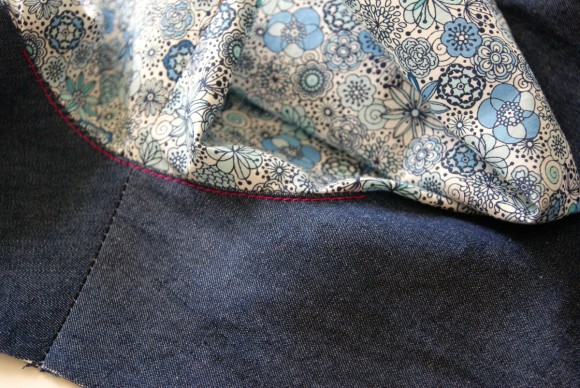
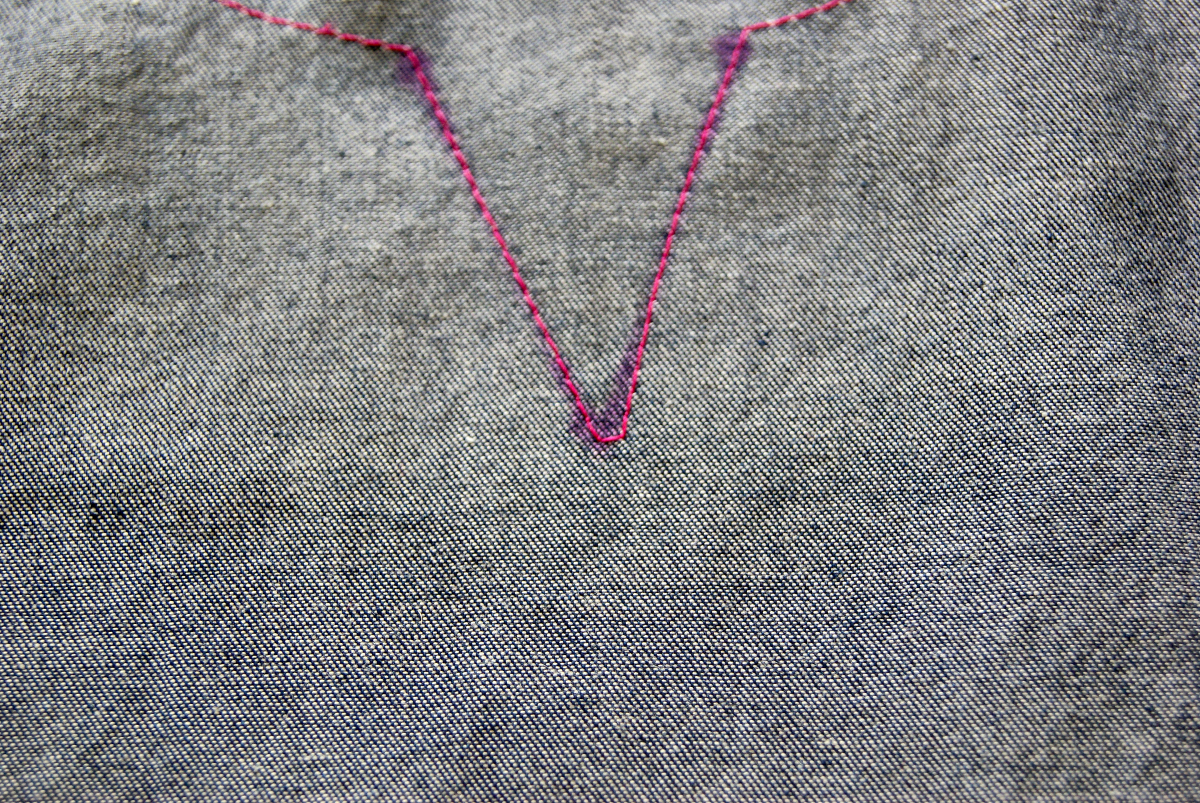
(This is what the understitched, curved parts of the neckline look like from the wrong side of the fabric.)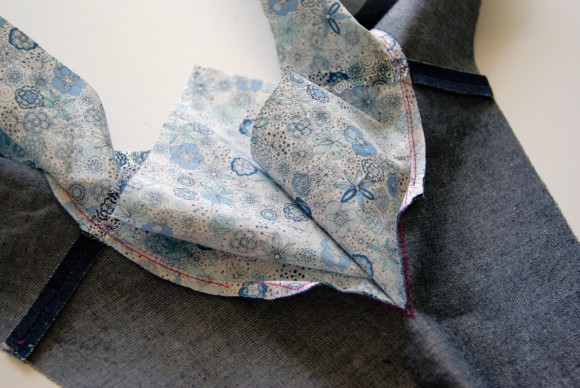
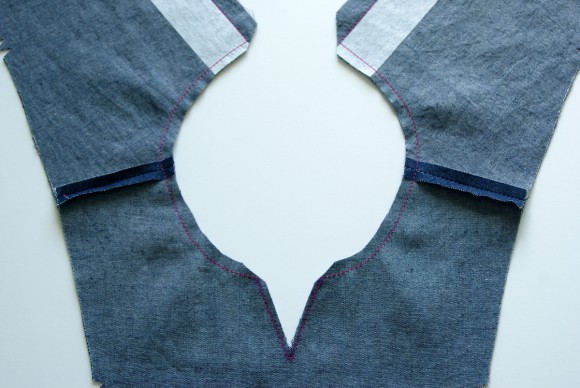
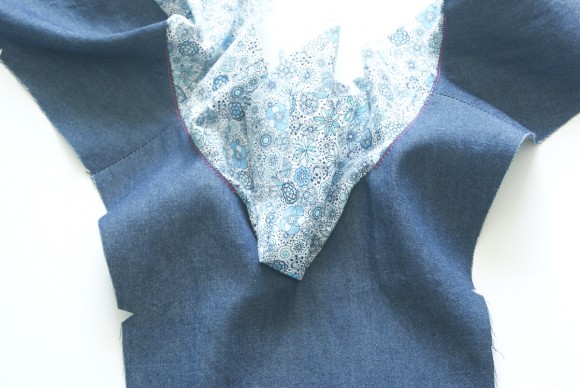
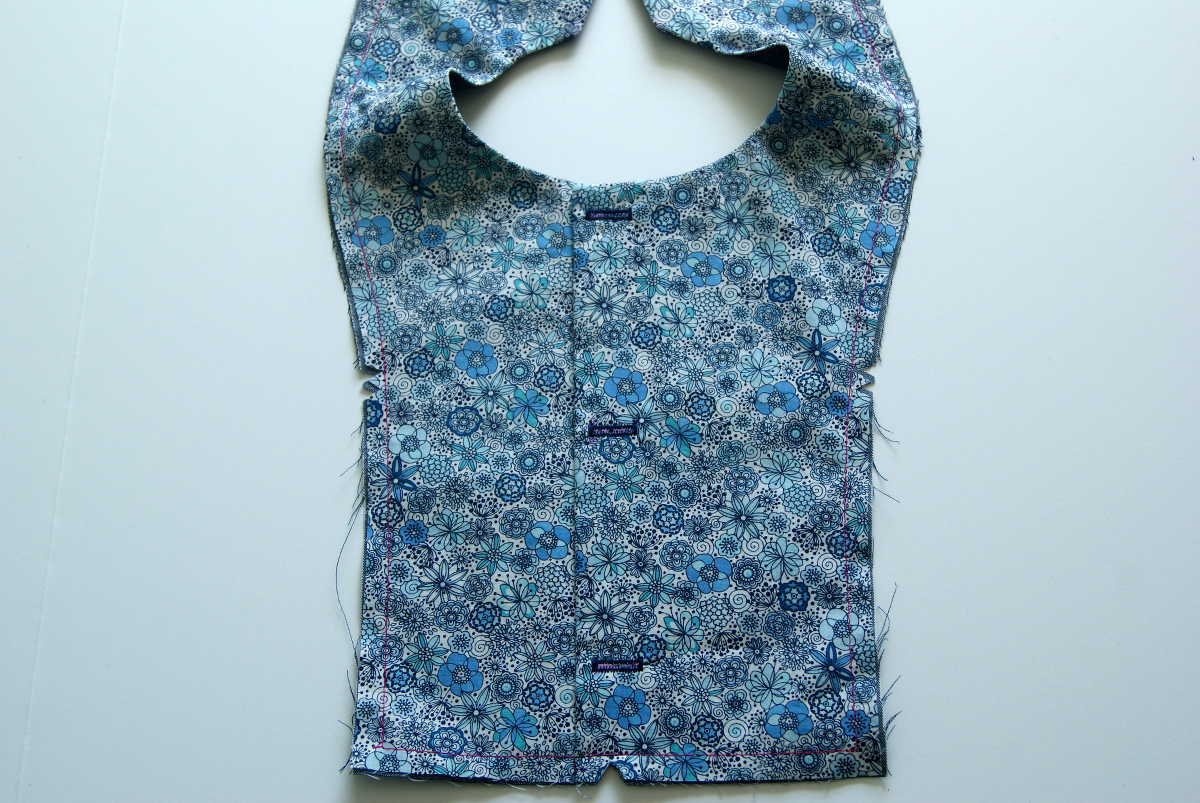
- Turn the yoke right-side out and press the neck and back edges, rolling the seam slightly toward the facing side so it won’t be visible when the dress is finished. (If the V-notch puckers or doesn’t lie flat, you may need to clip a little closer to the stitching line.) Press the yoke flat, pin and baste the raw edges together with a 3/8” seam, and trim off any facing seam allowances that extend beyond the yoke’s outer edges.
- Stitch the buttonholes on the wearer’s back right side, as marked on the button placement template.
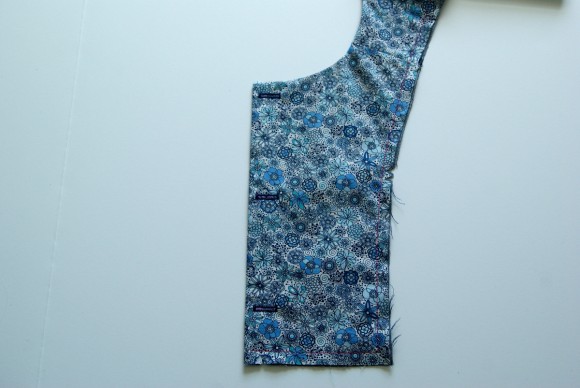
- Overlap the back edges of the yoke so the wearer’s right side is over the left, matching the notch at the bottom edges and baste the layers together along the bottom edge with a 3/8” seam.


Done for today! If you have any questions on any of the steps so far, please ask them in the comment section. See you tomorrow for day three when we will tackle attaching the skirt, assembling the side panels, attaching the pockets, and assembling the dress.