
Last month on the blog we had a tween dress round-up, showing examples of how the Oliver + S patterns can work for older kids. We would like to continue to share more ideas and today we are happy to welcome Stacy who is the mother of two tweens. She is going to share how she customized a couple of tops for her tween daughter to create a layered look perfect for fall and winter. Although this look was made for a tween (which is the nine to twelve year old range), these ideas and tips can be used for other sizes, too. Thanks so much for being here Stacy!
Sewing for a tween can be an angst ridden process. They have definite opinions on what they want to wear, and are highly influenced by their friend’s retail fashions.
In order to please the tween, I do the following:
- Ask her opinion on fabric selections and patterns before I start sewing
- Add some bling (or…a lot!)
In today’s garment, I had shown her a catalog from a trendy tween store to get some ideas of what she wanted for fall. She saw some denim shirts that peaked her interest, so I used the Sketchbook Shirt pattern to make it for her (with modifications).

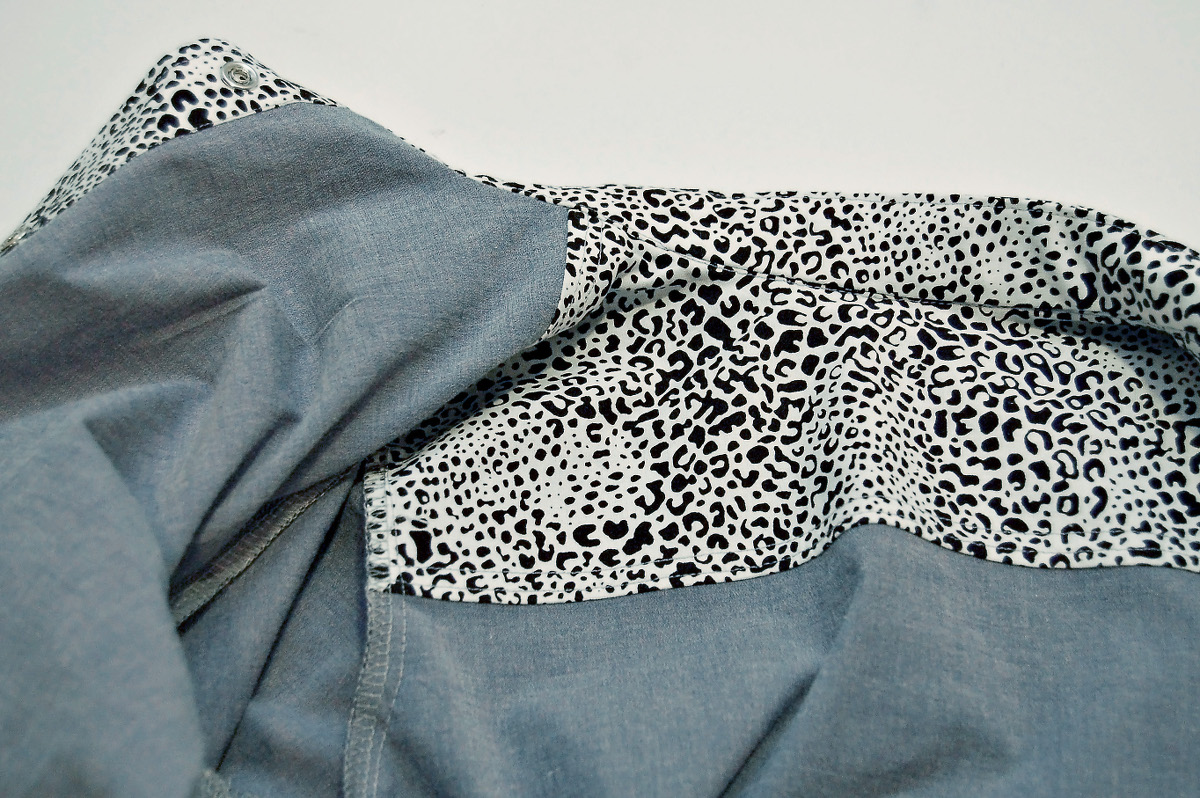
My daughter is thin, so I didn’t want the shirt to be too boxy on her. I omitted the back pleat to keep it a bit closer to the body. I used a stretch woven chambray, so it has some give to it. I also lined the inside of the yoke with a contrasting cotton, in addition to the inside of the placket, outside of the cuff and collar. Adding these kinds of details to a regular button up top can really make them fun. It is a great element in how the contrast on the placket shows when it is tied up on her torso.
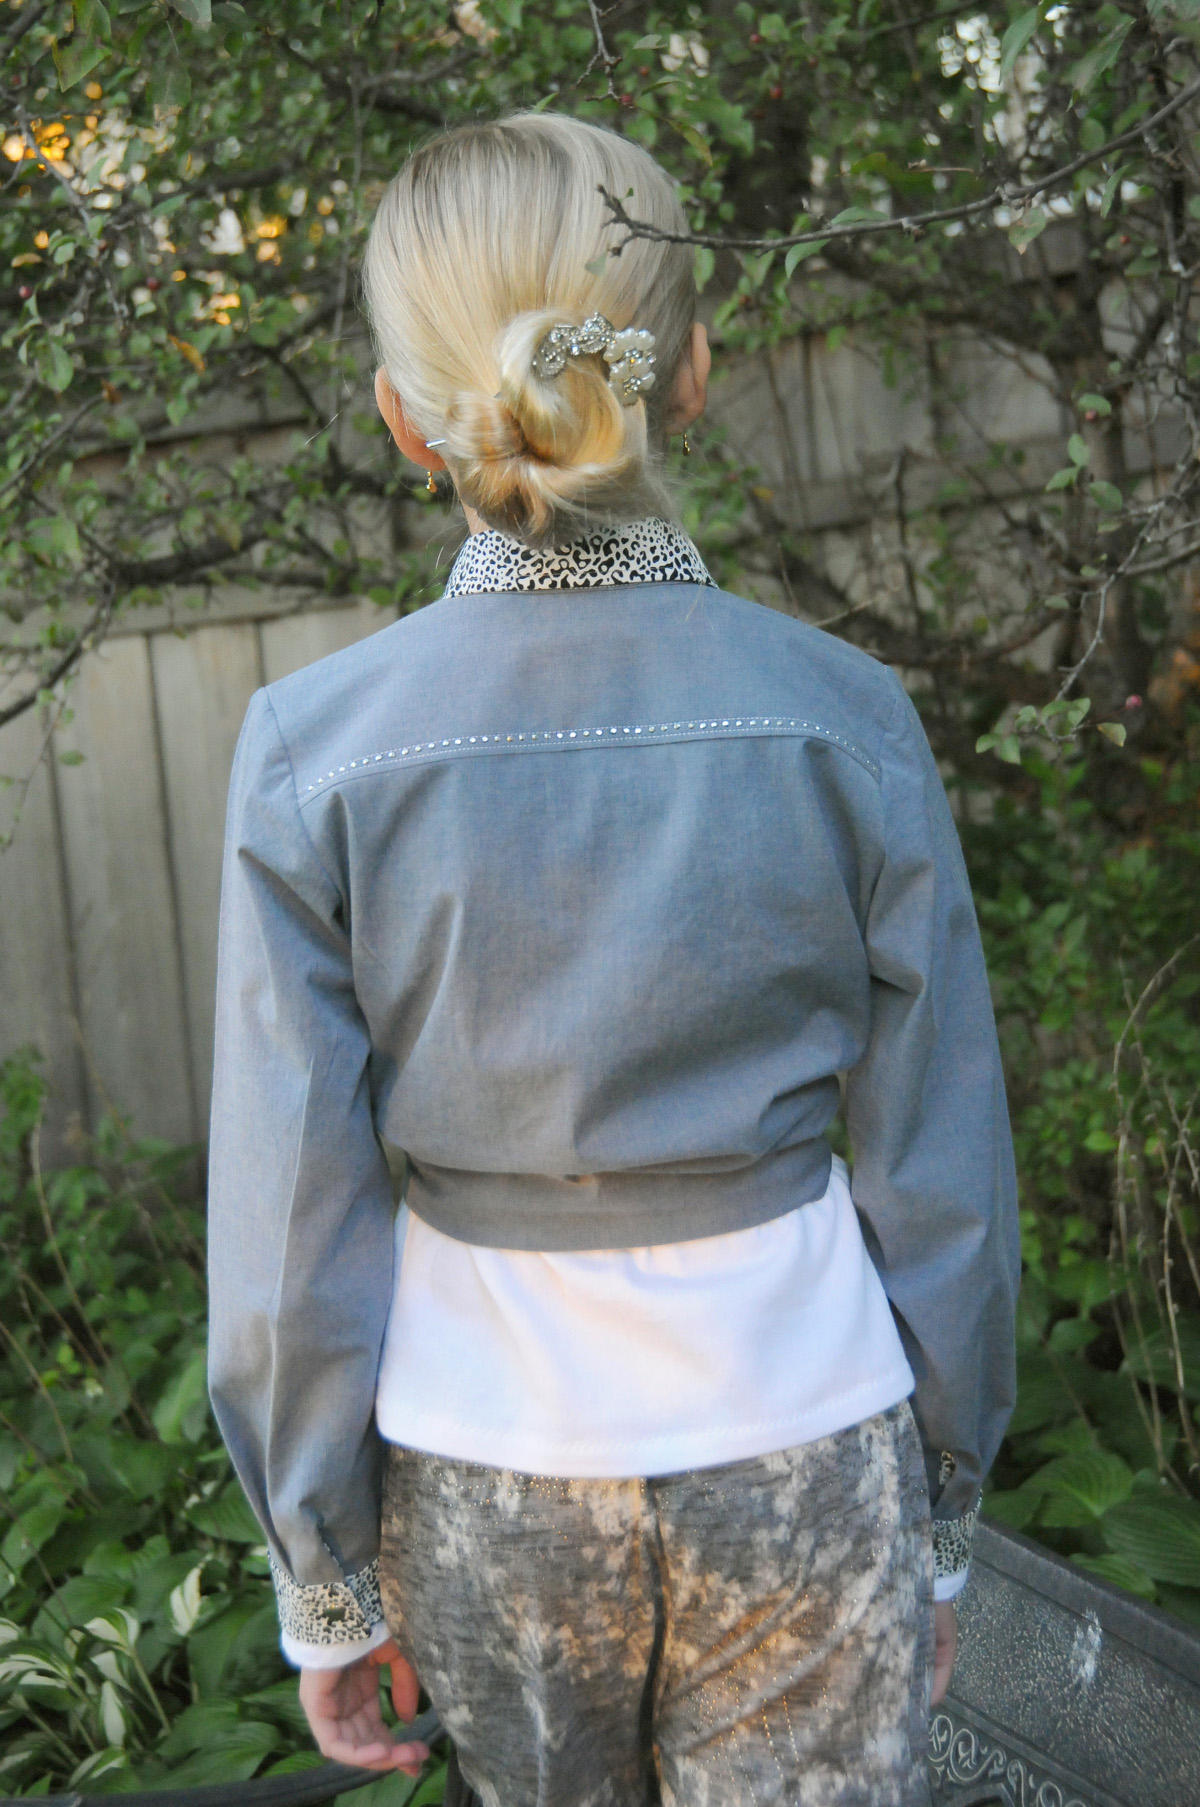
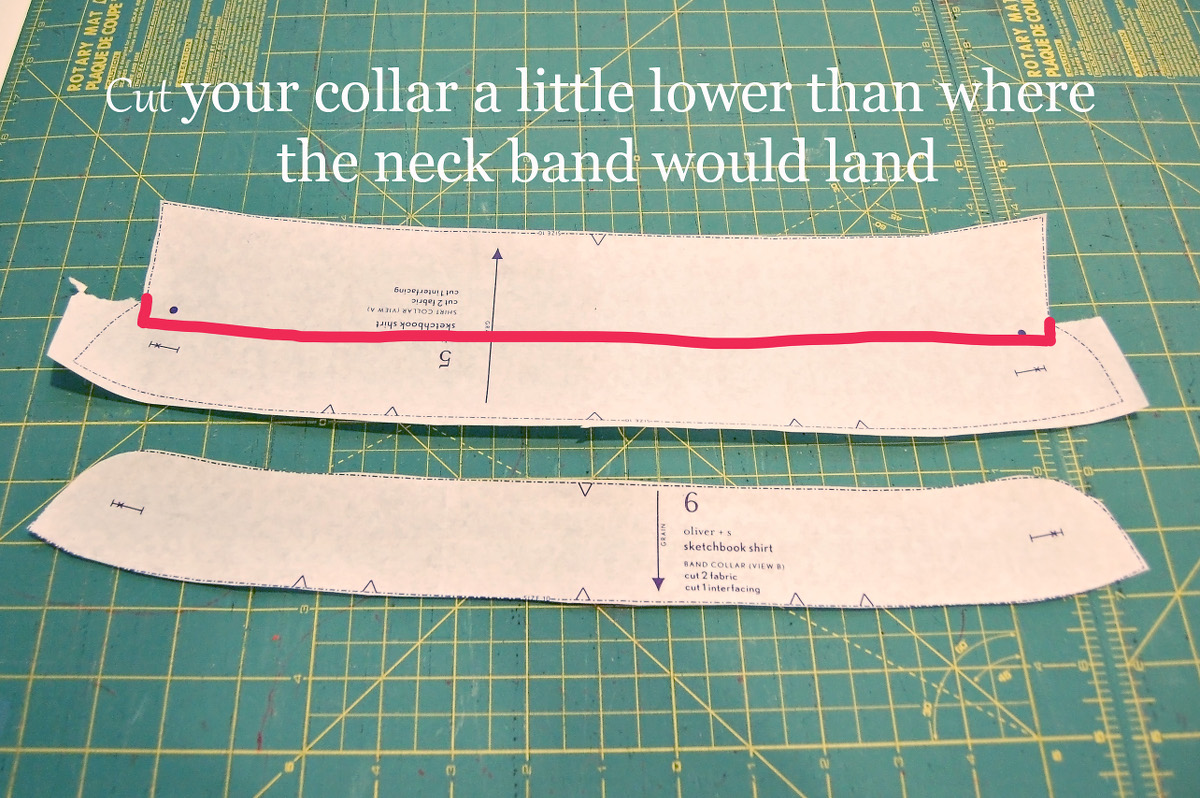
The collar was modified to create a separate collar stand and collar. I just prefer it that way, as that is how I have always made my shirts. I find the collar stands up better that way, though it does take extra steps.
First, I used the existing neckband for the collar stand, and cut the collar along the red lines on the pattern piece below:
Next, interface the pieces as the pattern calls for, and sew up the collar on the sides and top. Topstitch. Sandwich it in between the layers of the collar stand and sew:

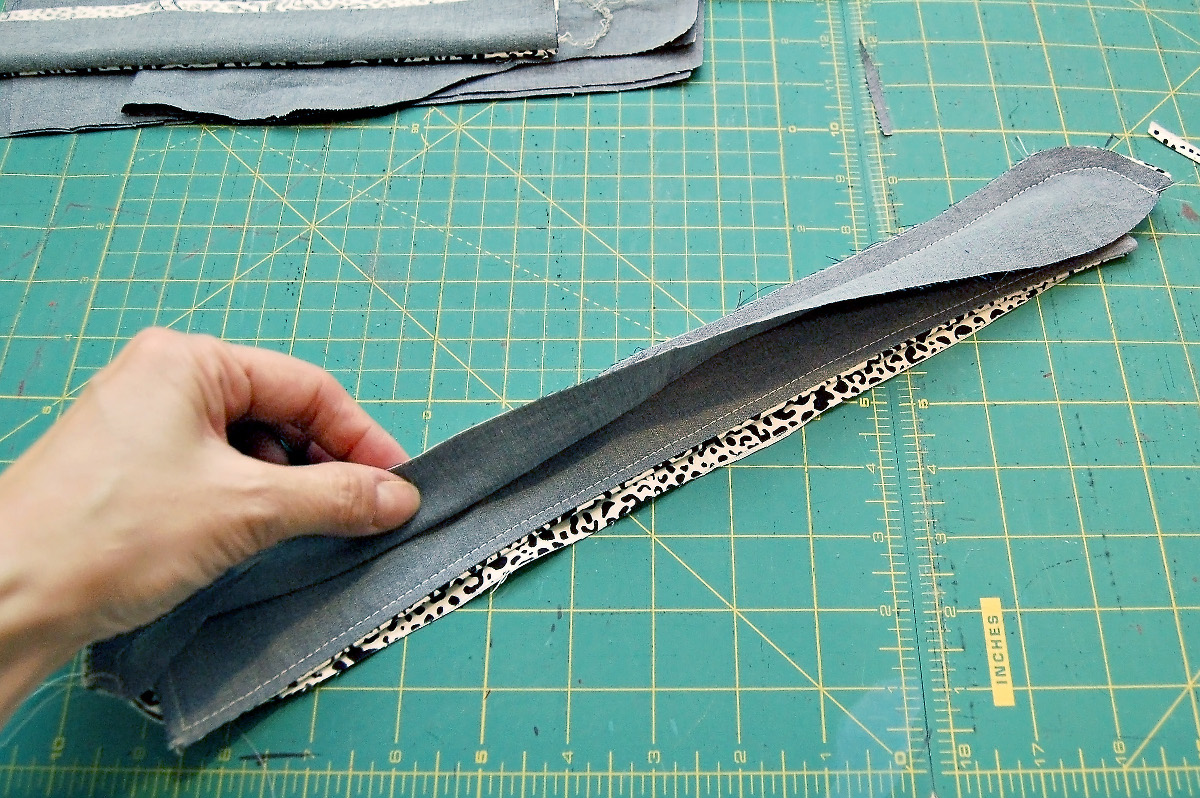
Put them right sides out, and you are ready to attach it to the neckline. Topstitch the neckband after it is attached to the shirt.

The pattern is also written that the button placket and cuffs are one pattern piece, so in order to create the different inside/outside pieces I cut them in half and added a 1/2″ seam allowance. You can certainly keep the current pieces and just cut in one piece.
If you notice, you can see that the placket shows a bit of the inside fabric on the edge. You can make the inside a little bigger, iron it down so a little bit shows on the outside and topstitch in place.
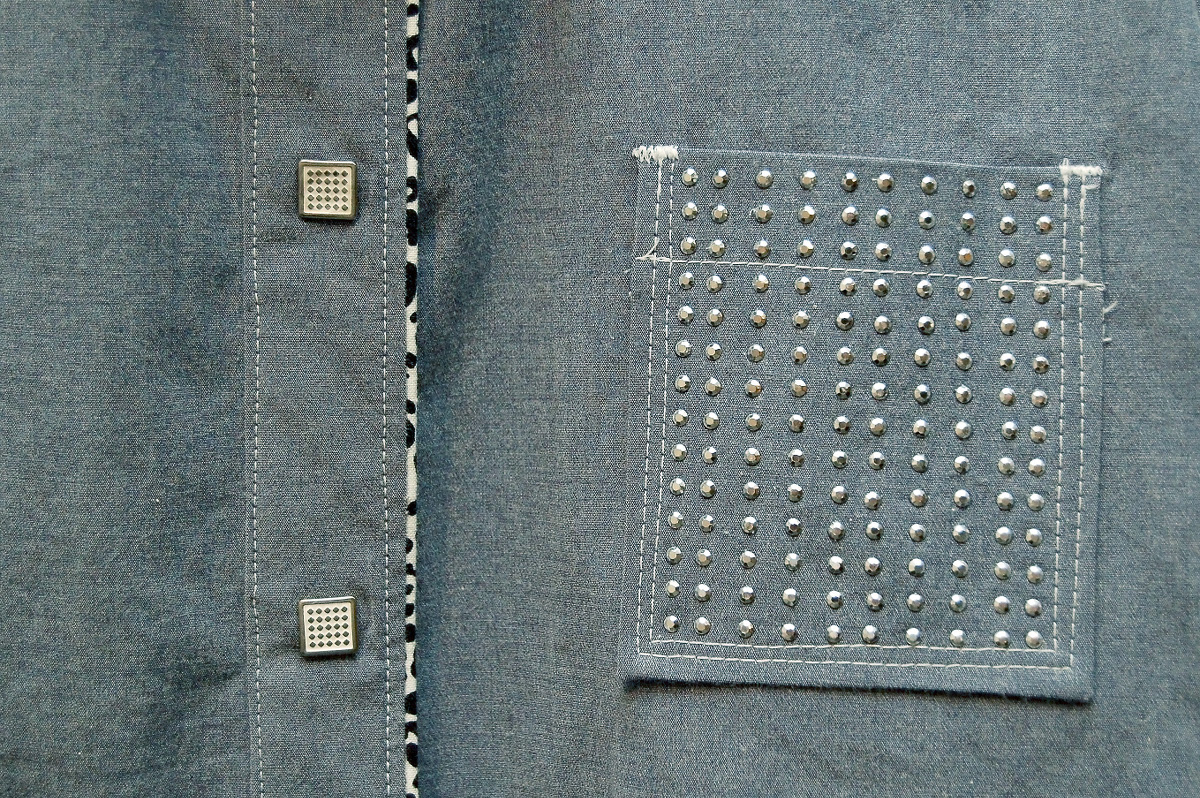
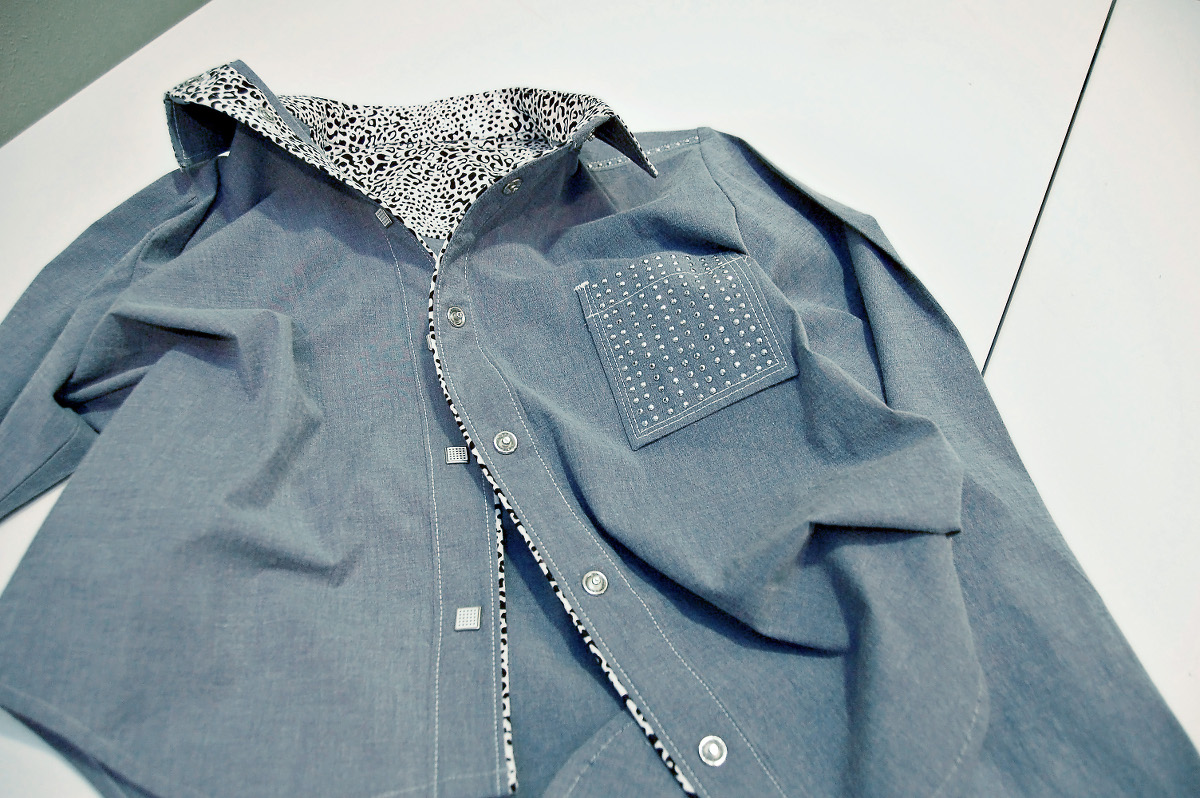
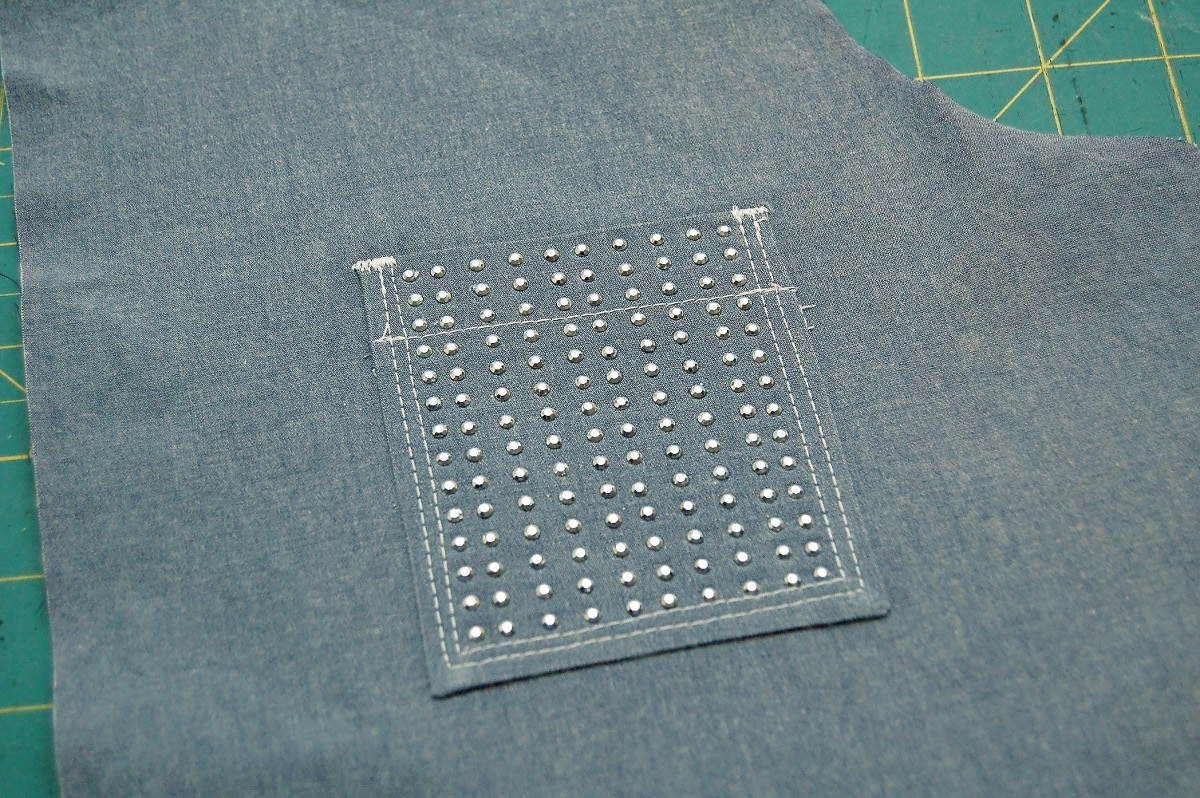
Now the bling. You can find iron-on rhinestones just about anywhere these days. I purchased mine at a Michael’s store, but you can find them online or in other sewing stores. I added a strip to the yoke seams, and blinged up the pocket. This is a simple and easy way to make your clothes for your tween look more ready to wear. When washing, I wash on cold and always wash and dry inside out.
When placing the iron-on for the pocket, I started at the outside edges. That way I could place the ones on the inside to make sure it was all mostly even.


All done, and she loved it!
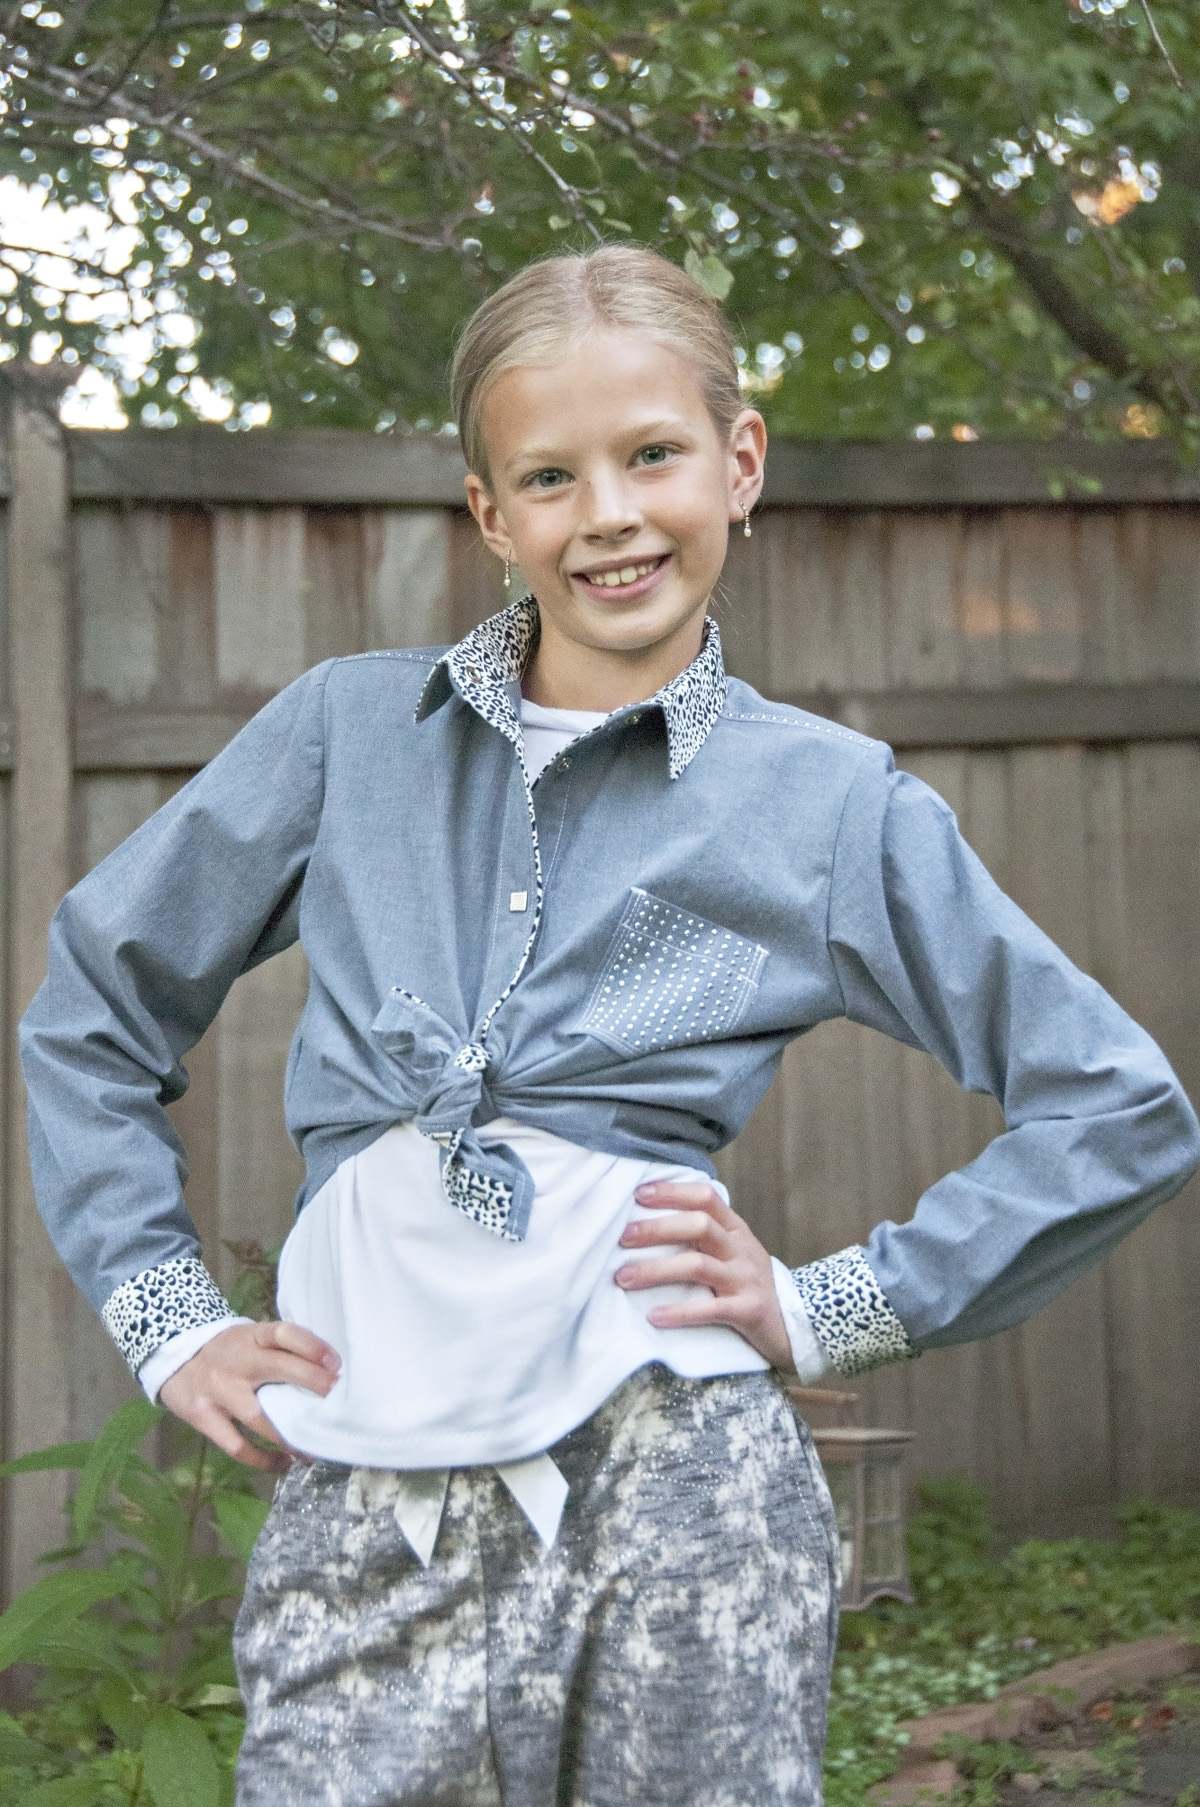
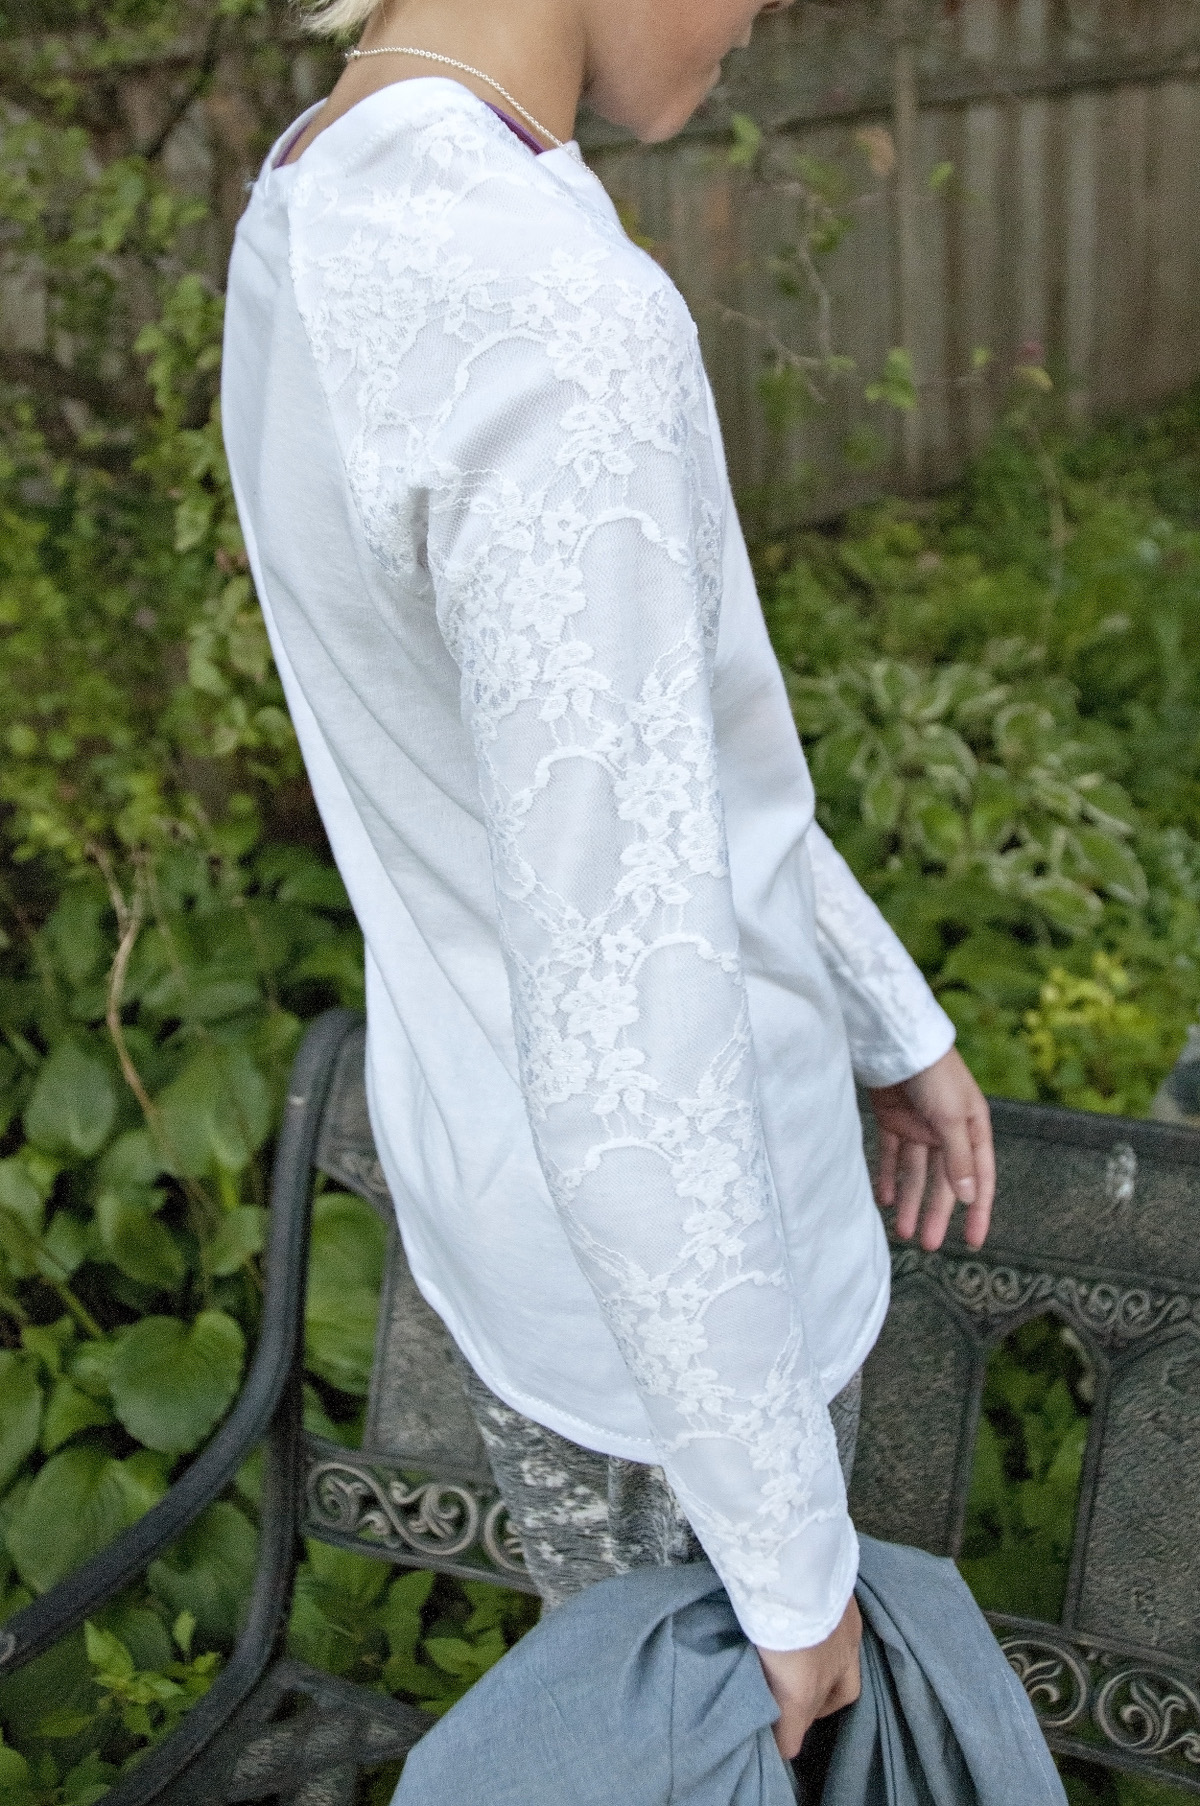
Next, I also made the Field Trip Raglan T-shirt, with lace on the arms. The hot trend right now is lace, and this is such a nice and easy pattern to throw together. I just did a stretch lace overlay on the arms over a knit fabric. We get cold weather here soon, so I didn’t want just lace for the arms.
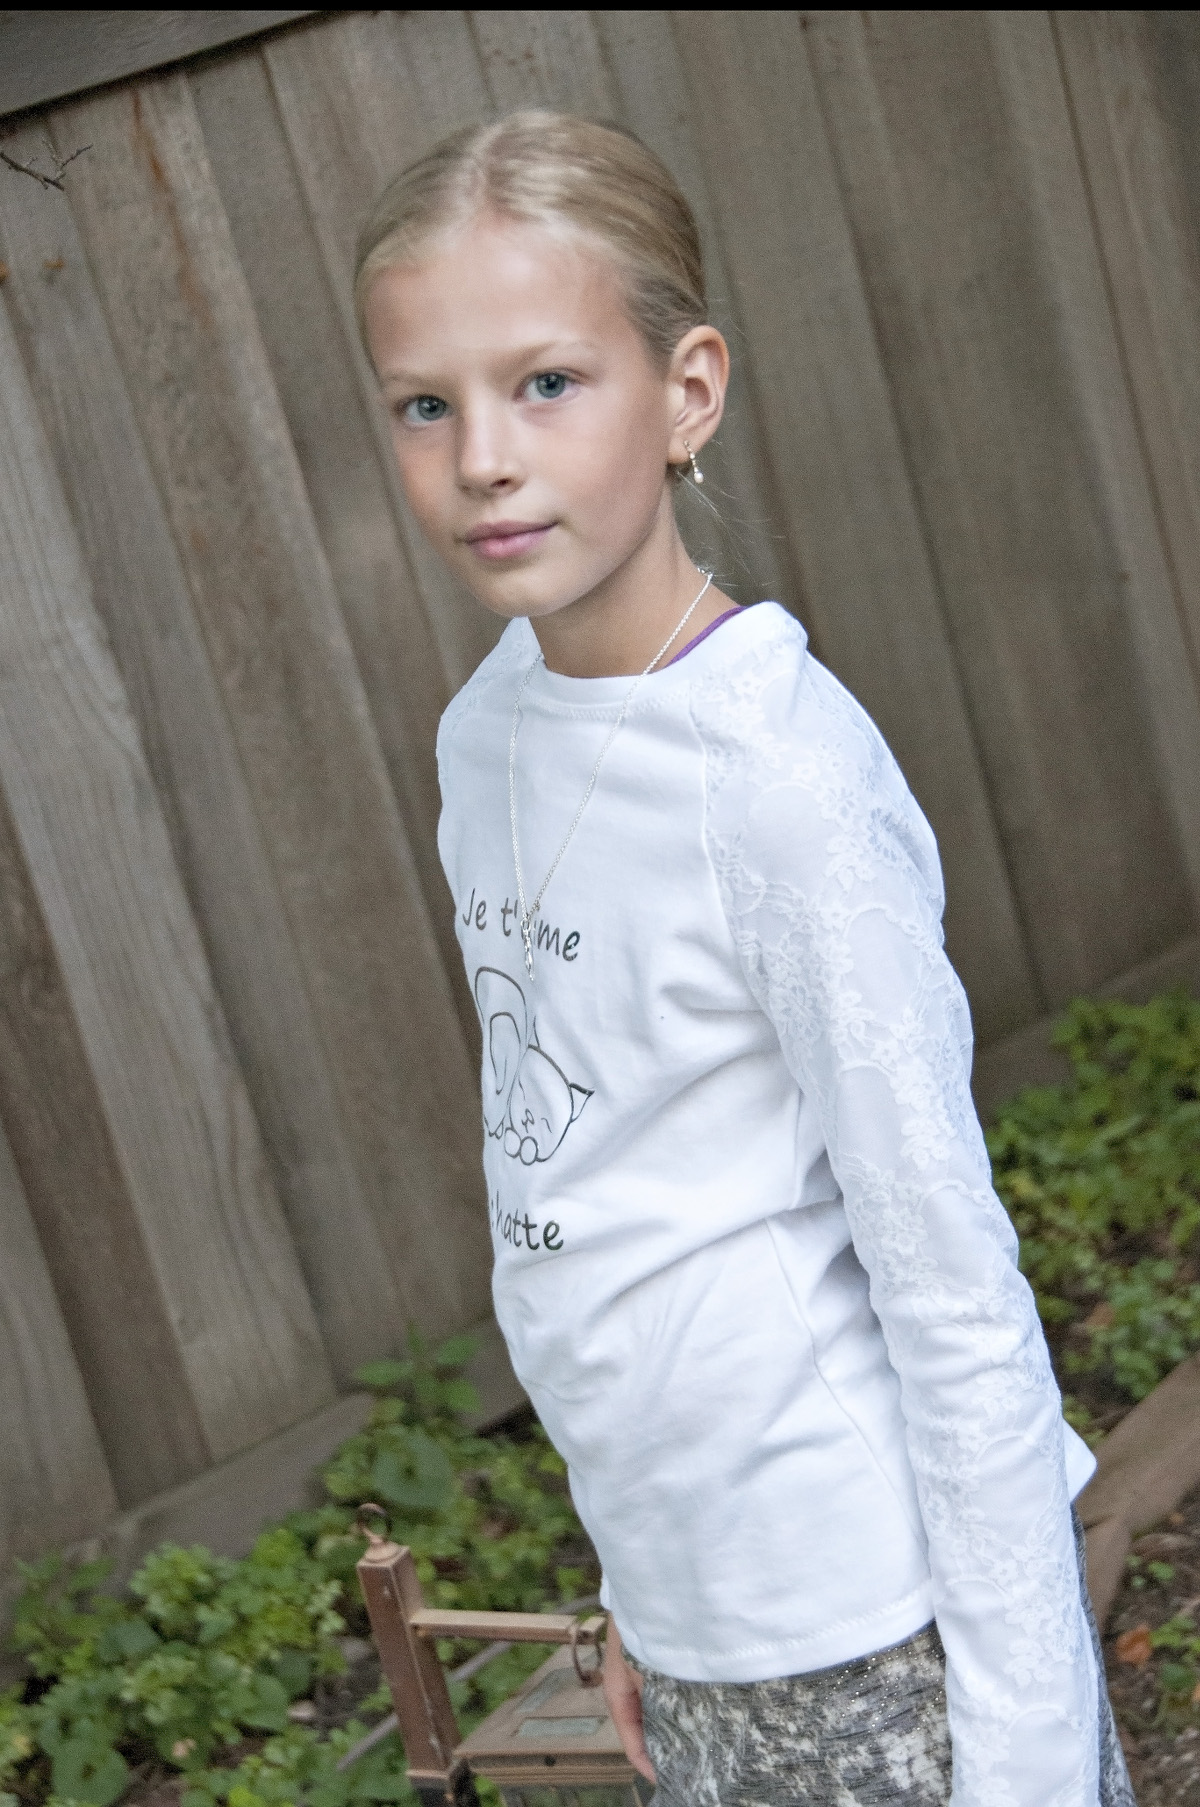
I did make modifications to this pattern, too. I cut the body width for a size 7 and a length of size 10. The wonderful thing about sewing for your kids is that you can modify patterns for their bodies. My daughter is thin, and she likes her shirts to fit close to her body (so it doesn’t slide up when she does handstands!). All you have to do is grade the arms from a size 10 at the bottom hem to a size 7 at the armscye.
The bling I added for this shirt was a stencil I cut with my Cameo Silhouette. I have also done freezer paper stencils, art transfer paper (and here is a project I used it for), and iron-on rhinestones. Adding interest to the front of the shirt, especially something they like, really makes your mama mades shine for your tween.

I hope you liked my tweenified version of the Oliver + S patterns!