Today Sarvi returns to explain how to preserve a sewing pattern by using freezer paper.
What It Is
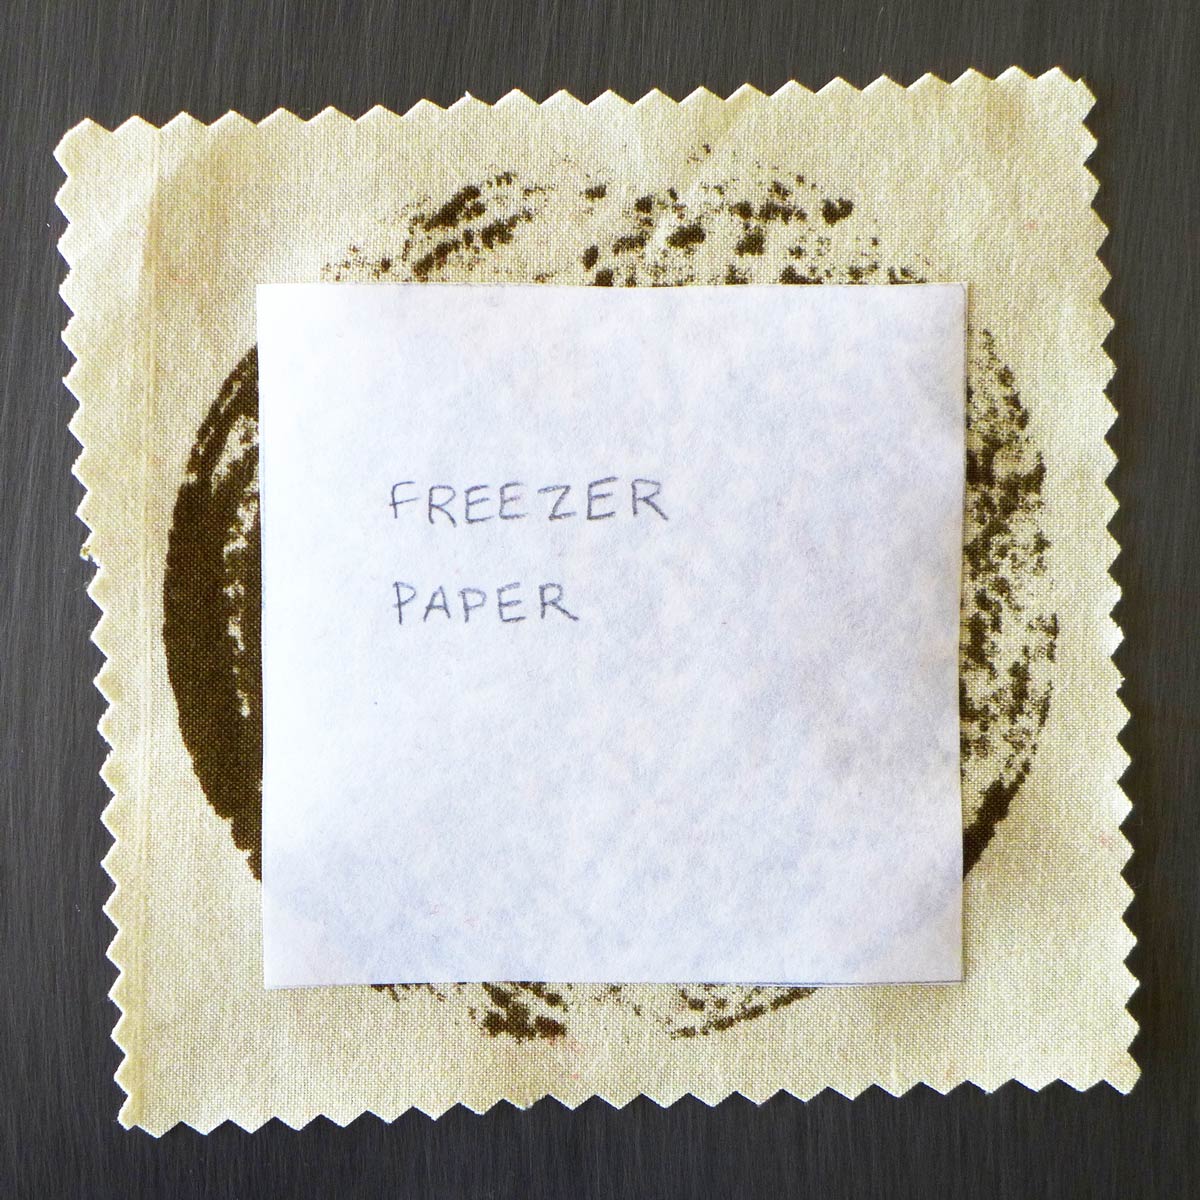
Freezer paper is a heavyish paper that has a slick plastic coating on one side. It reminds me of the paper they use to wrap fish at the market, a bit water-resistant on one side. It is not wax paper or parchment paper, though it comes on a roll in the same sort of cardboard box. When you lay it over fabric and run a warm iron over it, it adheres lightly to the fabric so you don’t need pins. It does not fuse with or melt anything into the fabric as wax would. I had a bit of trouble envisioning how it would work until I’d handled some.
How to Use It
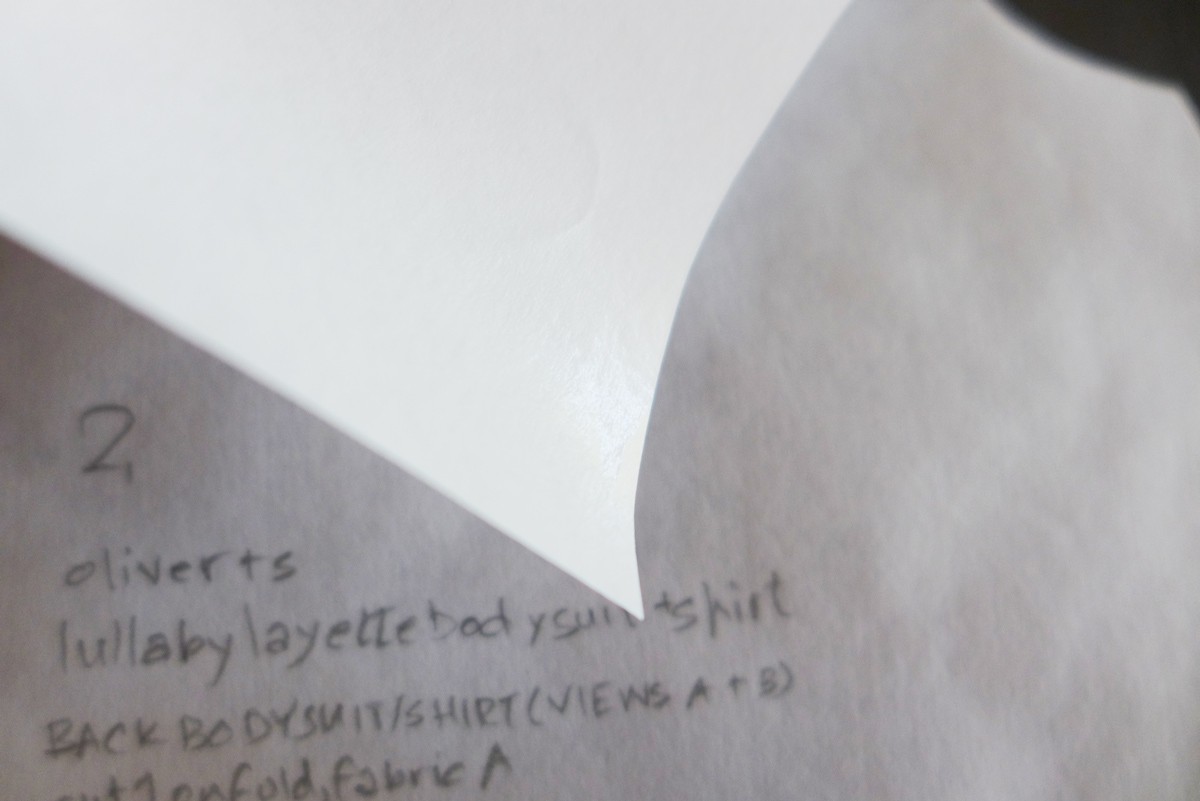
Although it is not transparent, freezer paper is translucent enough to see the lines of a pattern through, even without being backlit. If you have a big window and prefer working vertically, or if you just need a little more contrast, you can tape your pattern sheet to a window and tape the freezer paper over it. Here, I’m using a large-scale print of the Lullaby Layette PDF pattern, which I’ve laid on my dining table. I’ve torn a piece of freezer paper from the roll to make it a little easier to handle.
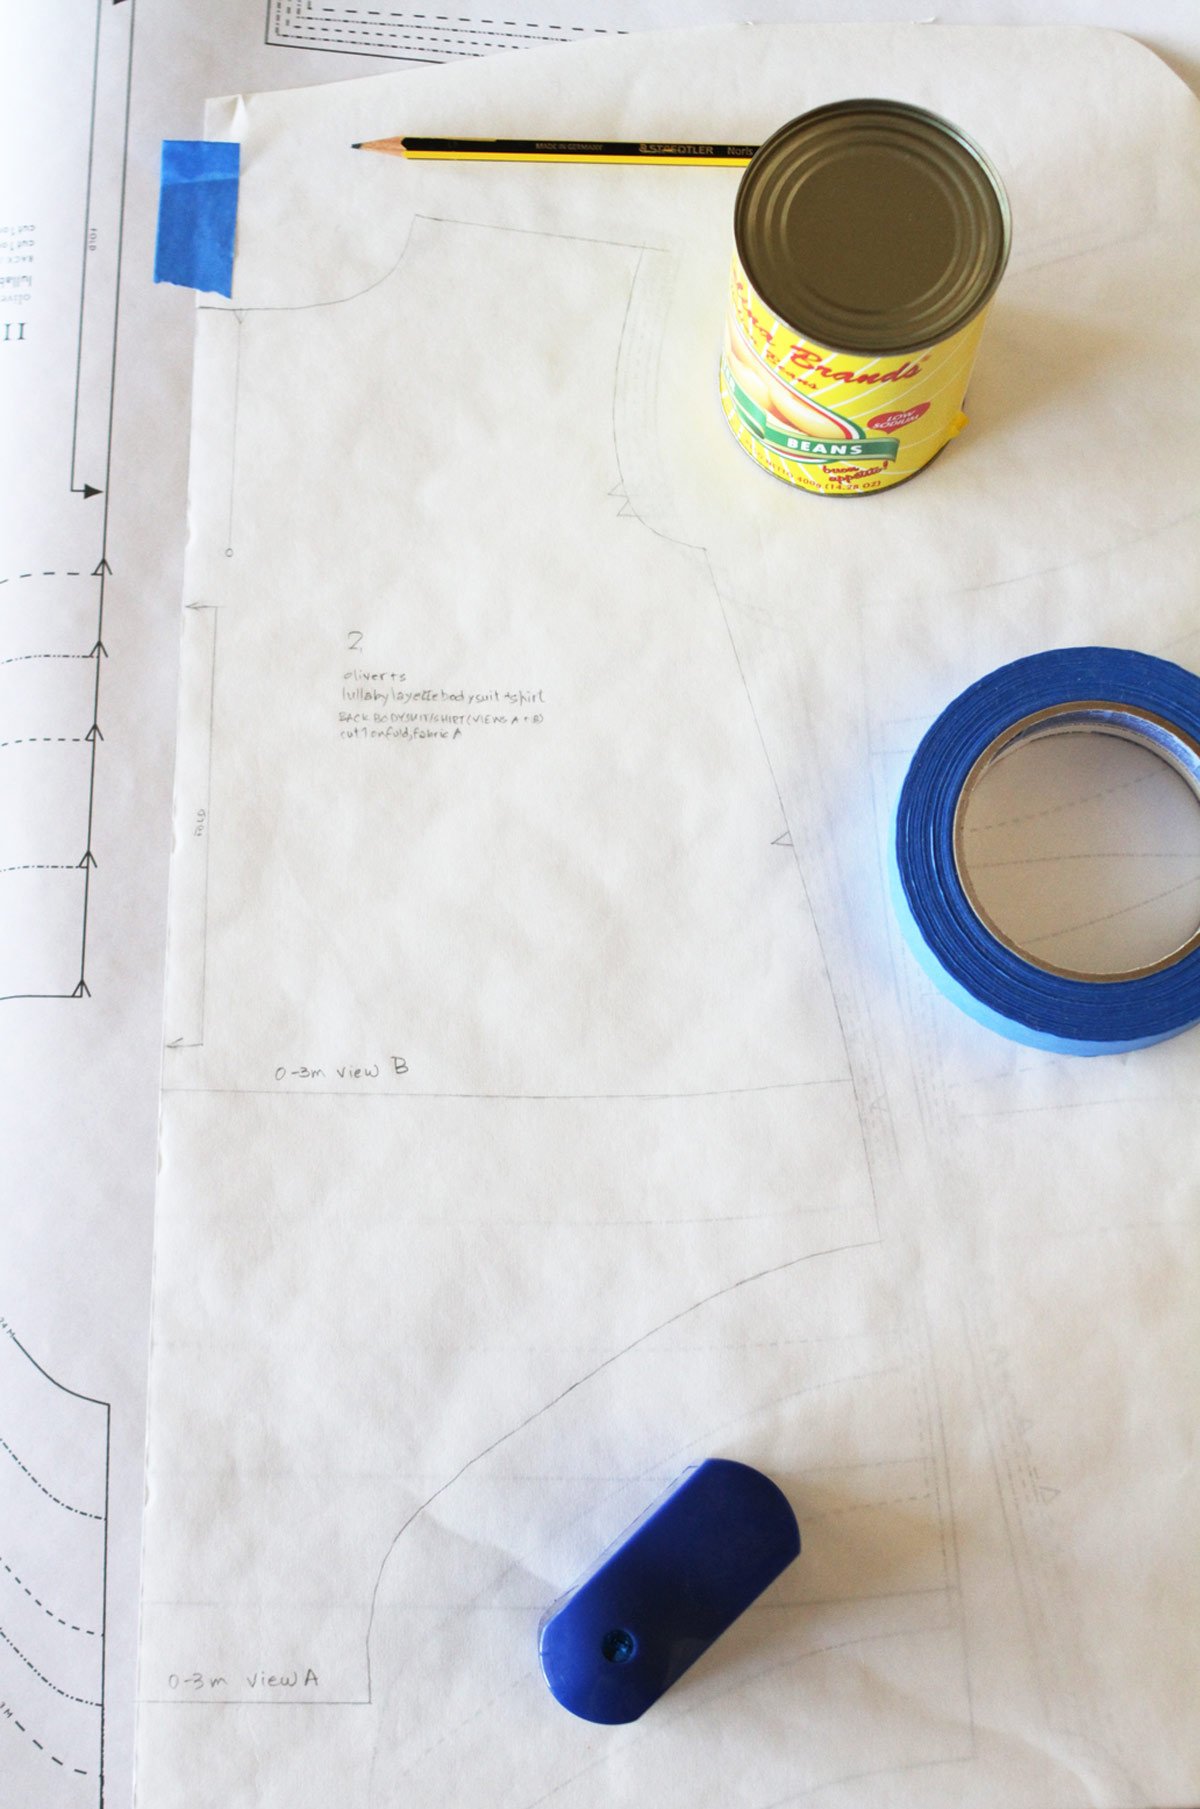
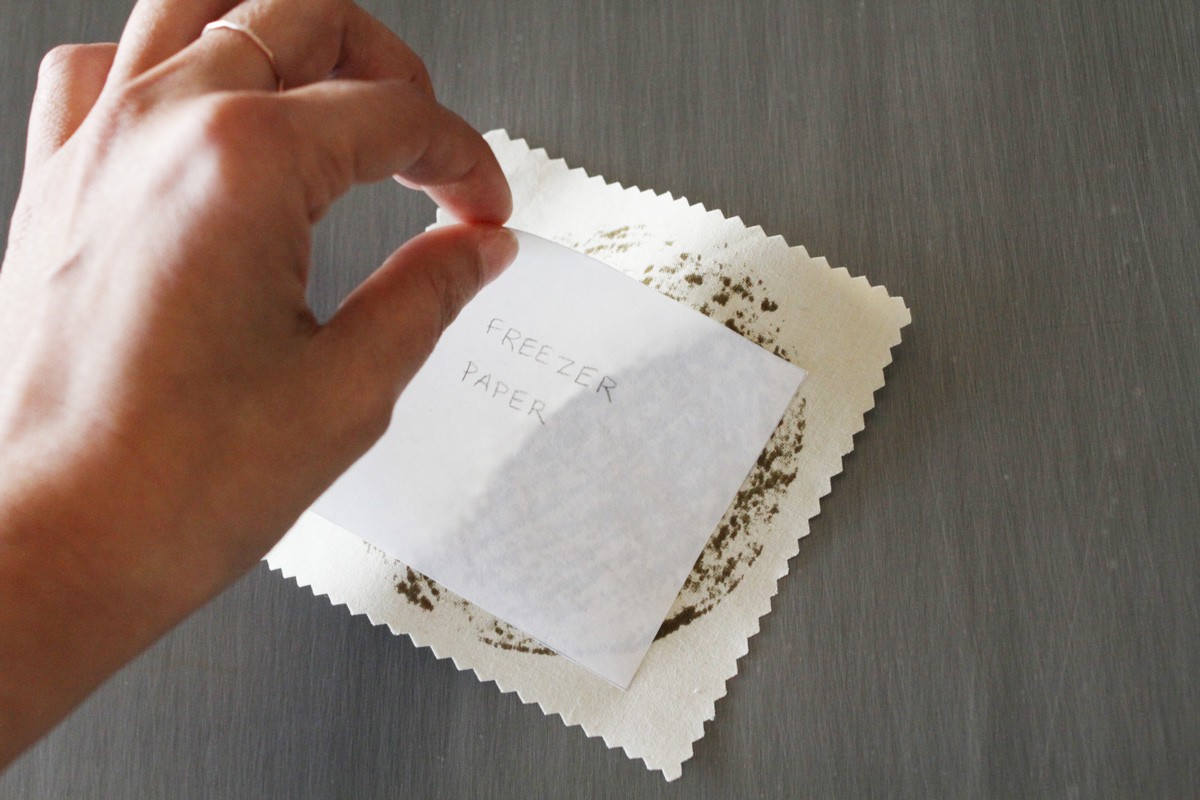
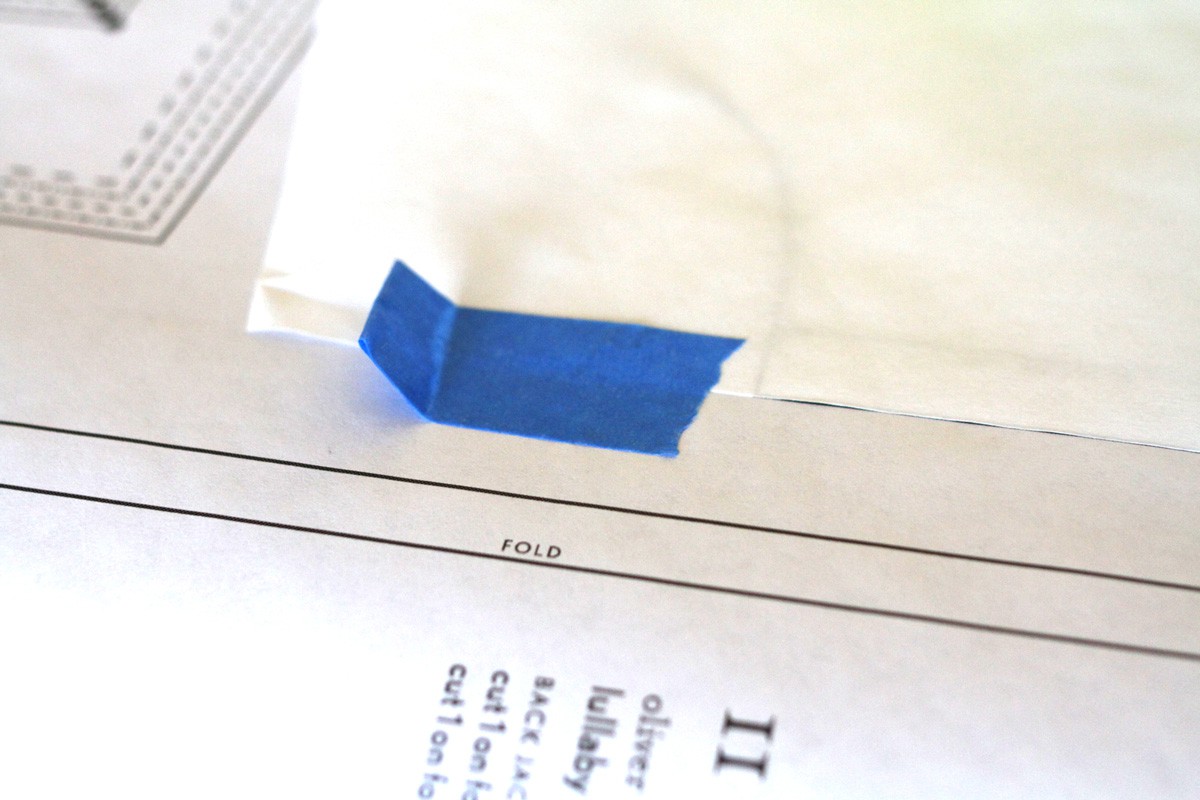
I’m taking advantage of the straight edge of the paper, and laying the freezer paper plastic side down, lined up with the longest straight line of the pattern piece I’m tracing. I’ve weighted it with things I have lying around (like a can of beans) and taped one corner that wanted to fly away. I’m using blue painter’s tape that lifts off without tearing the paper, and I’ve turned one under corner of the tape to make a little tab to grab it by.
How to Mark It
It’s paper, so a good old-fashioned number 2 pencil works great! You could use whatever you had handy — pens, pencils, markers. The paper side you’re marking on has a bit of ‘tooth’ to it so you might want to have a pencil sharpener handy to freshen your point. It’s a bit tricky to photograph but I can actually see well enough to trace the tiny letters on the pattern piece. Once you have everything traced (don’t forget to copy all the markings for pleats, folds, grain lines) you can cut it out with regular paper scissors.
Just like with ordinary tracing paper, once you have your pattern all traced and cut out, you can treat your single-size copy as a new master pattern. If the iron is too warm, I find it warps my self-healing mat a bit, so I like to iron my fabric, then unplug the iron and let it cool down while I arrange the pieces on the fabric to see how I want to cut them. Once your iron has cooled a bit, adhere the freezer paper pieces to your fabric and trace around the edges of the pieces with a pencil or chalk, then peel the freezer paper away and cut out the pieces with a rotary cutter or scissors. You can also just carefully cut around the edges with a rotary cutter before peeling. After you’ve ironed the freezer paper a few times it becomes less sticky, but you can still use the pieces as you would a regular paper pattern, by pinning or weighting them in place. You might want to do this anyway; for example, if you’re trying to pack the pieces tightly into a small piece of fabric and a pattern piece will nestle better if it’s flipped coated-side-up.
Where to Find It
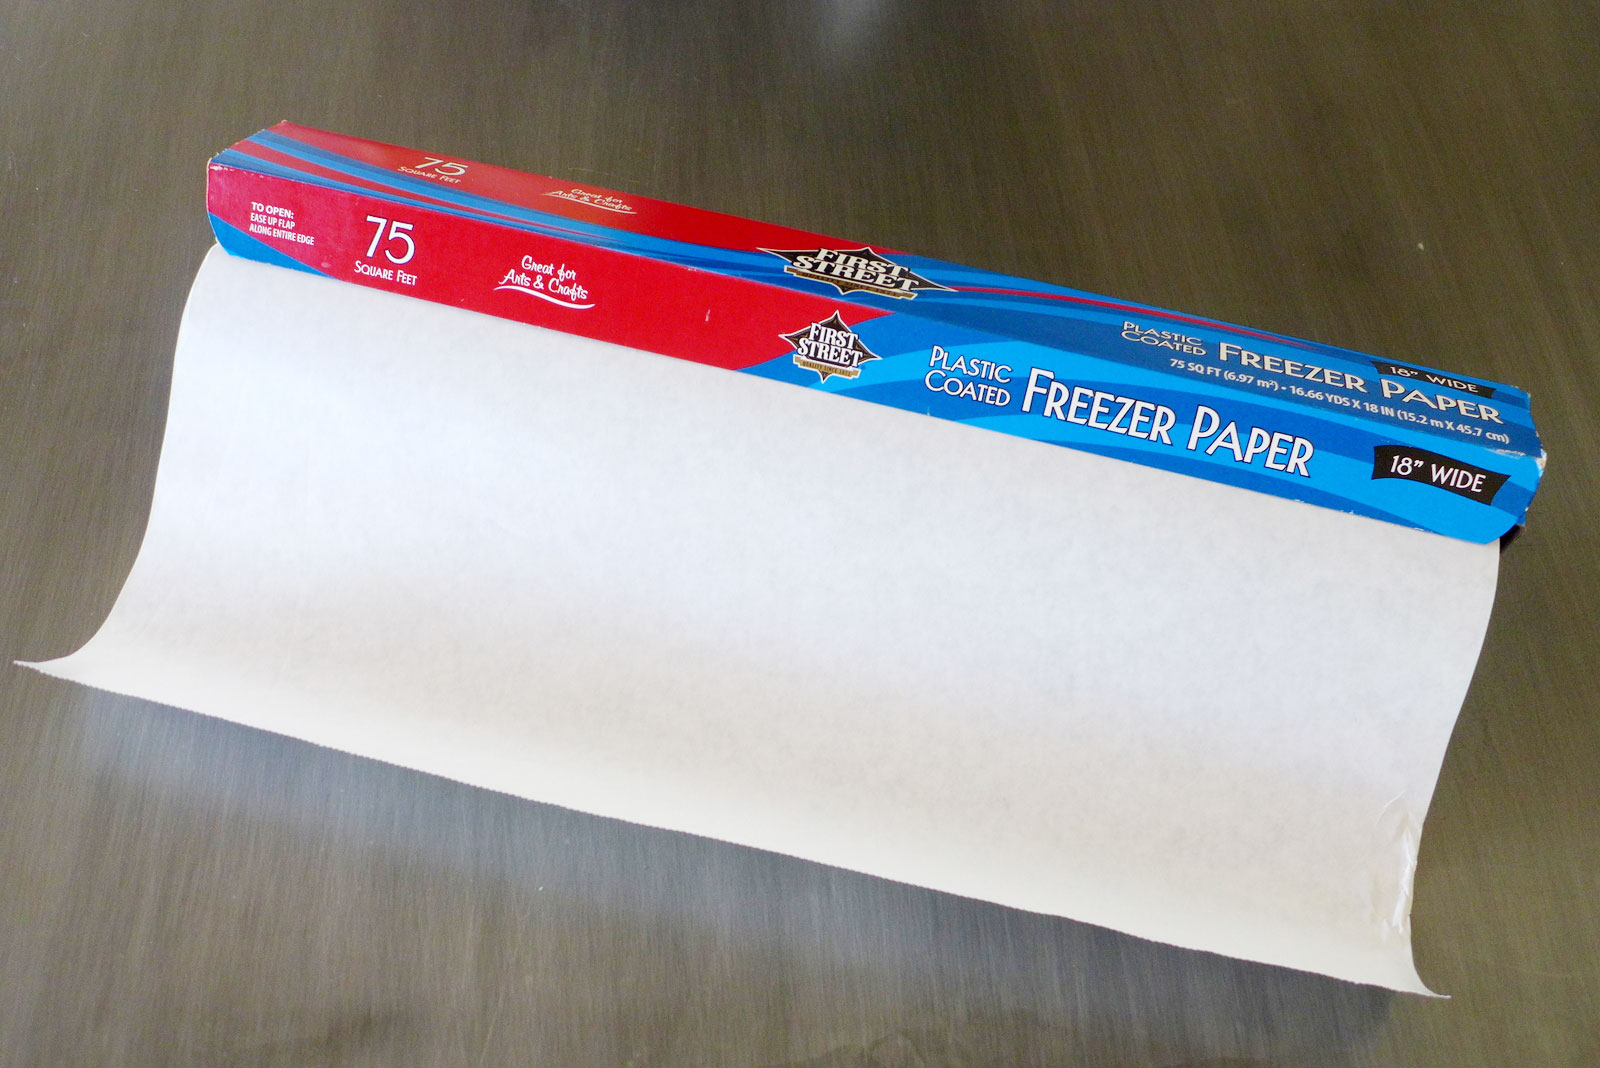
I get my freezer paper at the supermarket, and I’ve also found it at bulk supply stores like Smart&Final here in the US. Since it’s also sold explicitly as a craft supply (says so right on the box) I would imagine you could also find it at hobby or craft shops. Readers outside of the US, please chime in with sources that have worked for you, if you know of them! It costs a few dollars a roll.
Tomorrow: Swedish tracing paper
No Comments yet.