Here we go with day two of Sharon’s photo tutorial on the School Photo Dress. Yesterday she demonstrated how to start the dress and sew the kangaroo pocket. Today she’ll finish the dress. Thanks so much, Sharon!

Are you ready to finish up our dresses today? I know I am! Today we tackle the invisible zipper, collar, lining and sleeves. First up, we need to sew together the back panels.
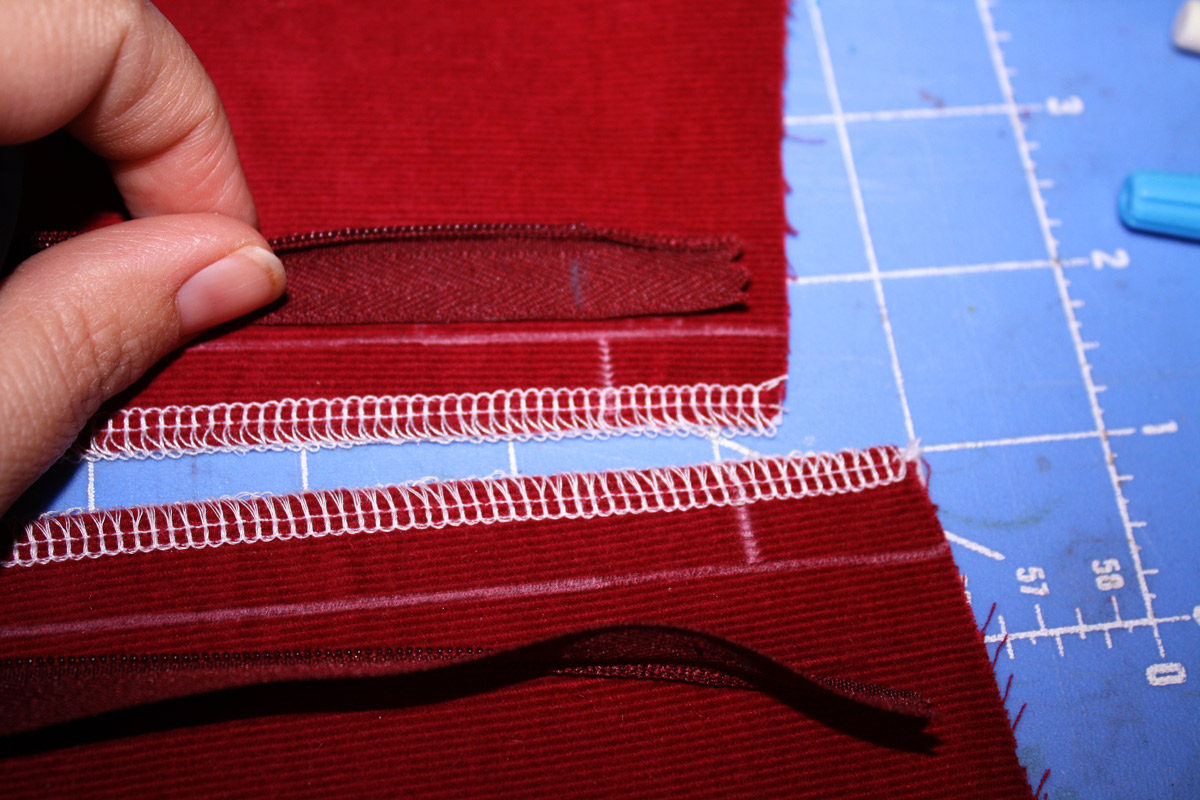
I finish the seams on the center back panel where the zipper goes before I start so the dress has a lovely finish.
Cut a 1” wide piece of interfacing for both sides of back panel. Cut pieces long enough to reach from the neck of the back center panel to the dot you transferred earlier. Fuse the interfacing to the wrong side of the fabric

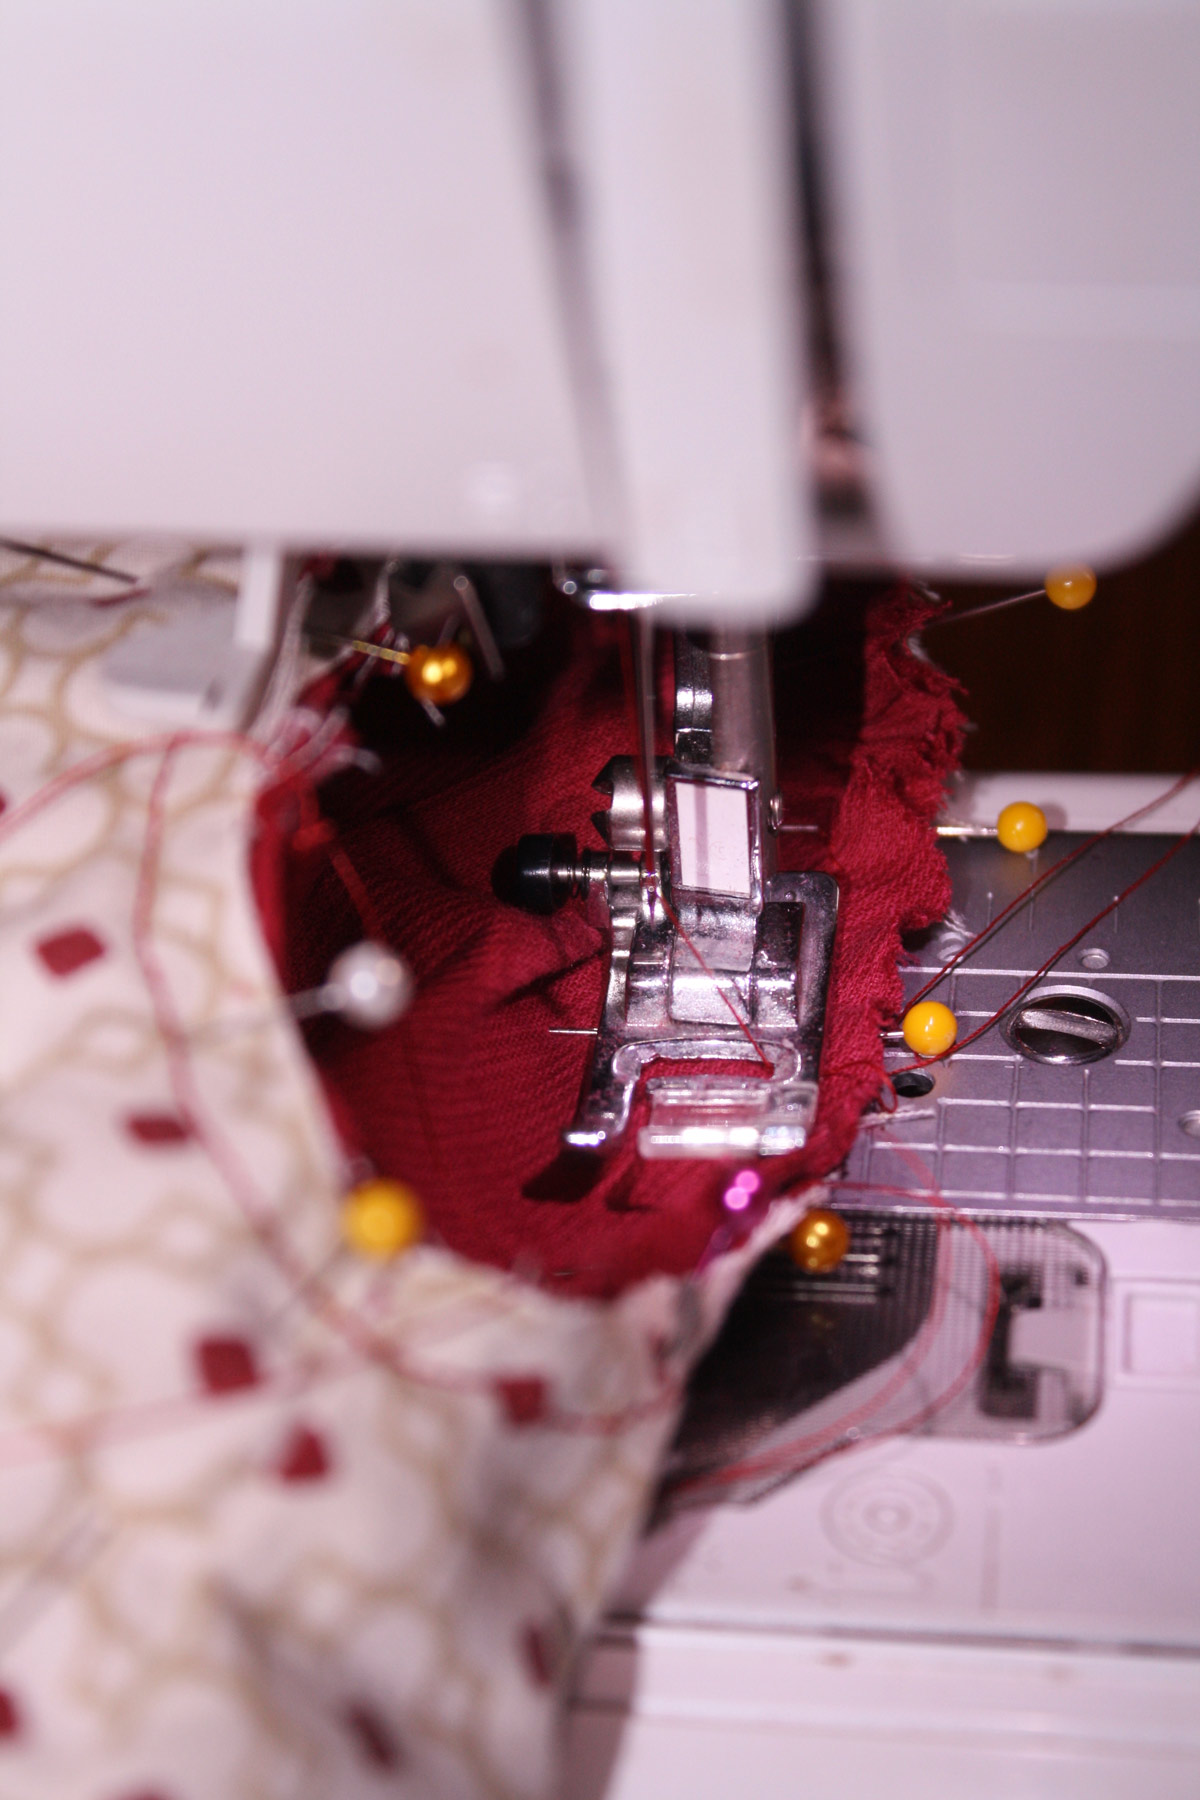
Take your fabric pen or pencil, and on right side of both back center panels mark a 1/2” seam allowance from the top (neck edge) to the hem. Then put a horizontal mark 7/8” down on the neck edge of both pieces. The instructions say to “close the zipper and mark the wrong side of the zipper tape at the top of the zipper slider.” These marks will make sewing the zipper more accurate so that the two ends of the zipper will match at the neckline. Pin the zipper in place and sew it following the instructions.
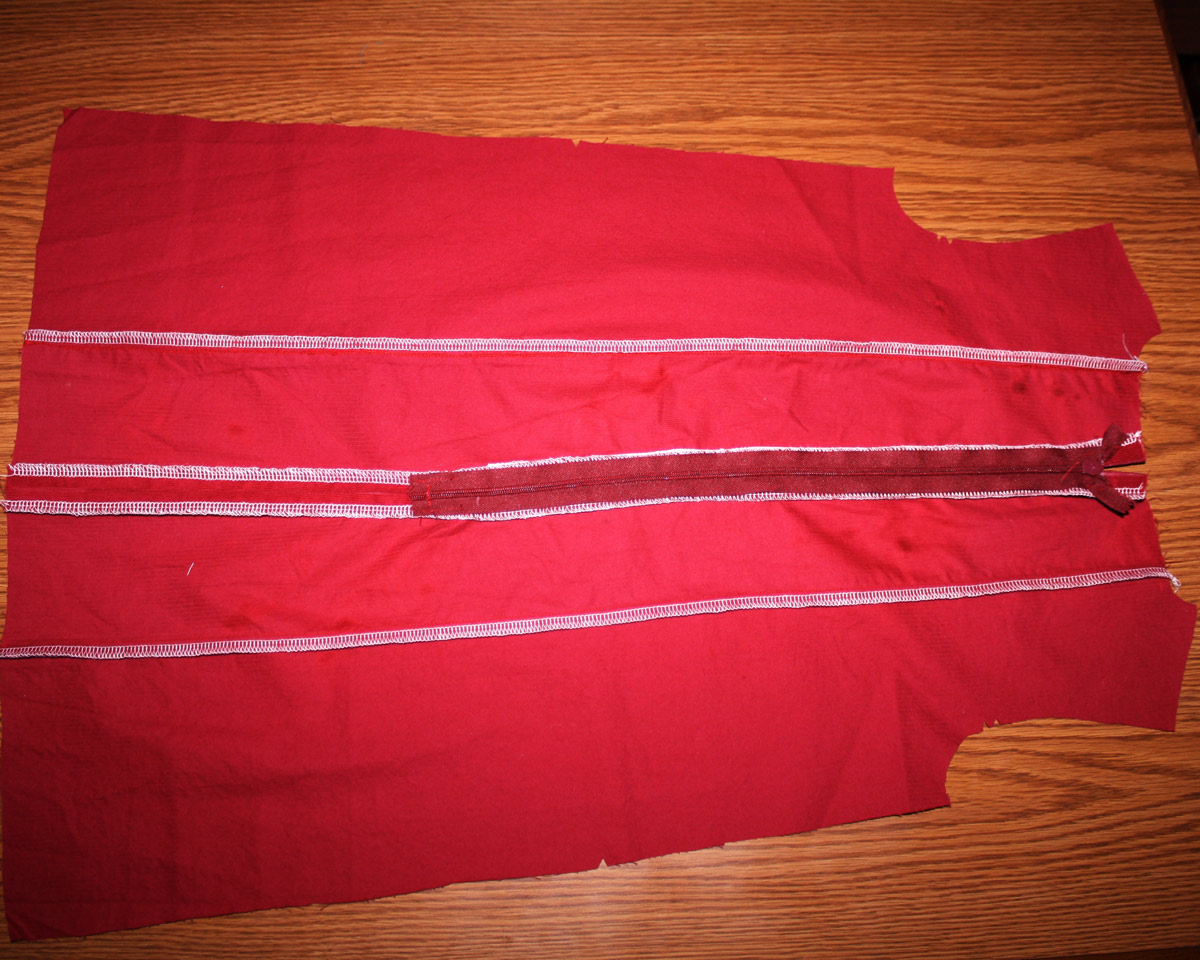
Now pin the lower half of the center back with right sides together and stitch from dot to the hem. Press the seam open.
Pin the back side panel to the back center panel pieces, stitch together and finish your seam, then press. Since I serge my seams together I press towards the outside (away from the zipper).
Pin the front to the back dress at shoulders with right sides together. Finish the seams and press. Once again, I serge my seams together so I press them toward the back of the dress.
On to the lining!
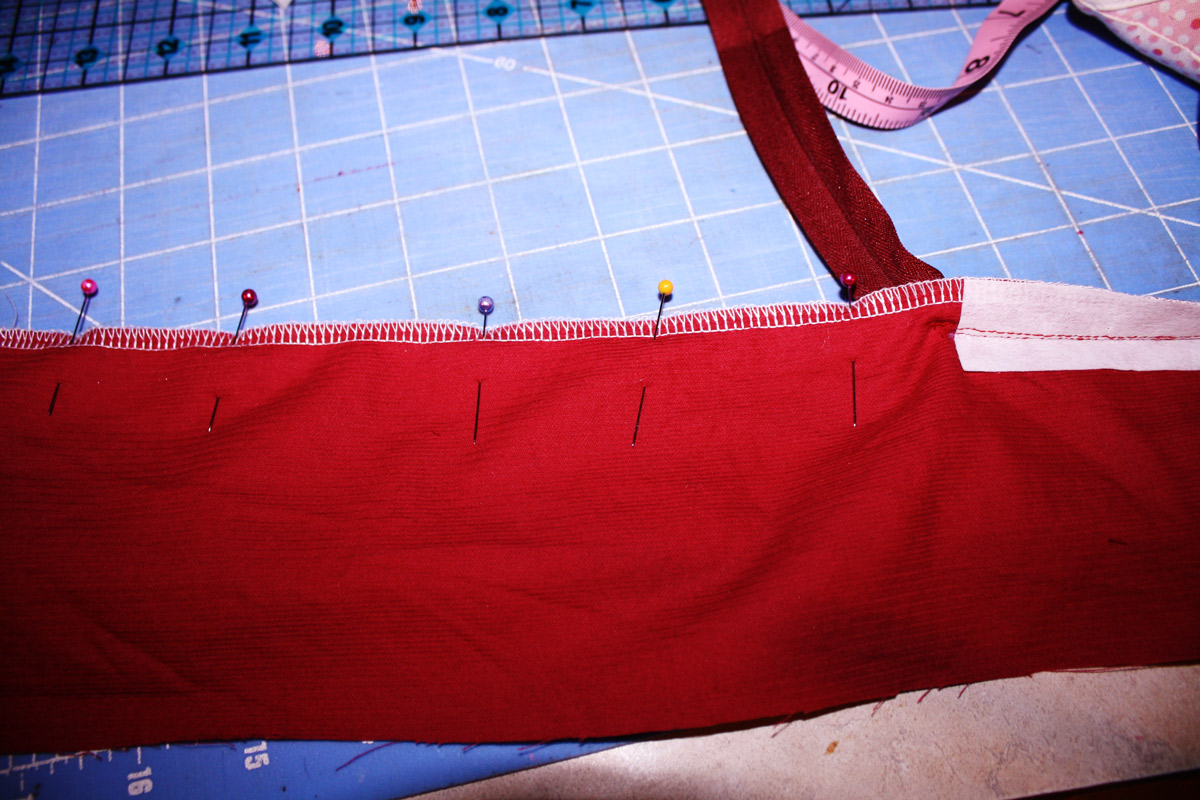
Finish (serge) the inside seam of the back lining at the location of the zipper. Pin both of these pieces, with right sides together, at the center back seam. Stitch it from the dot you transferred down to the hem. Press the seam open, also pressing the upper unsewn seam allowance to the wrong side by 1/2”. This will make for a neat finish over the zipper tape.
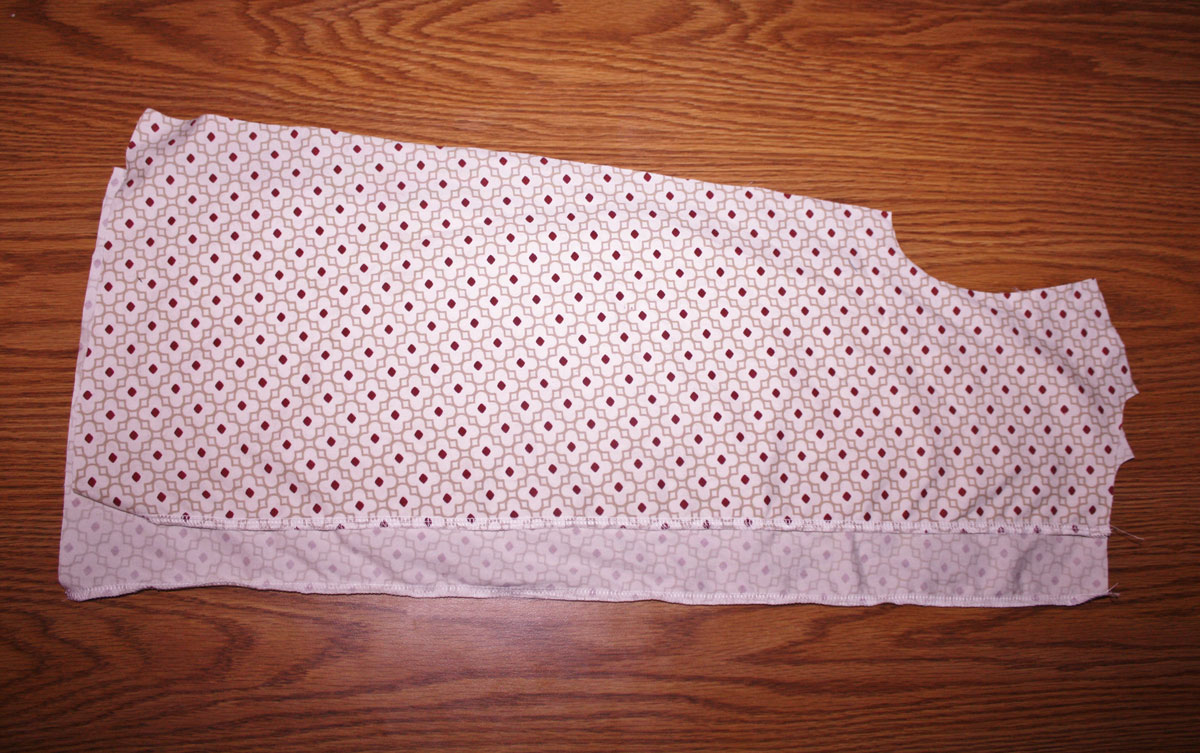
Stitch the back lining to the front lining at shoulders, with right sides together. Finish the seam allowances and press open.

For the collar of both dress views, they really do sew the same. View B is just gathered, so the instructions work for both (other than the gathering part)! Fold the collar of your choice in half with right sides together and stitch the short ends, then trim, turn, and press. For the gathered collar, run two rows of gathering stitching along the long unsewn edge before doing the regular collar steps.
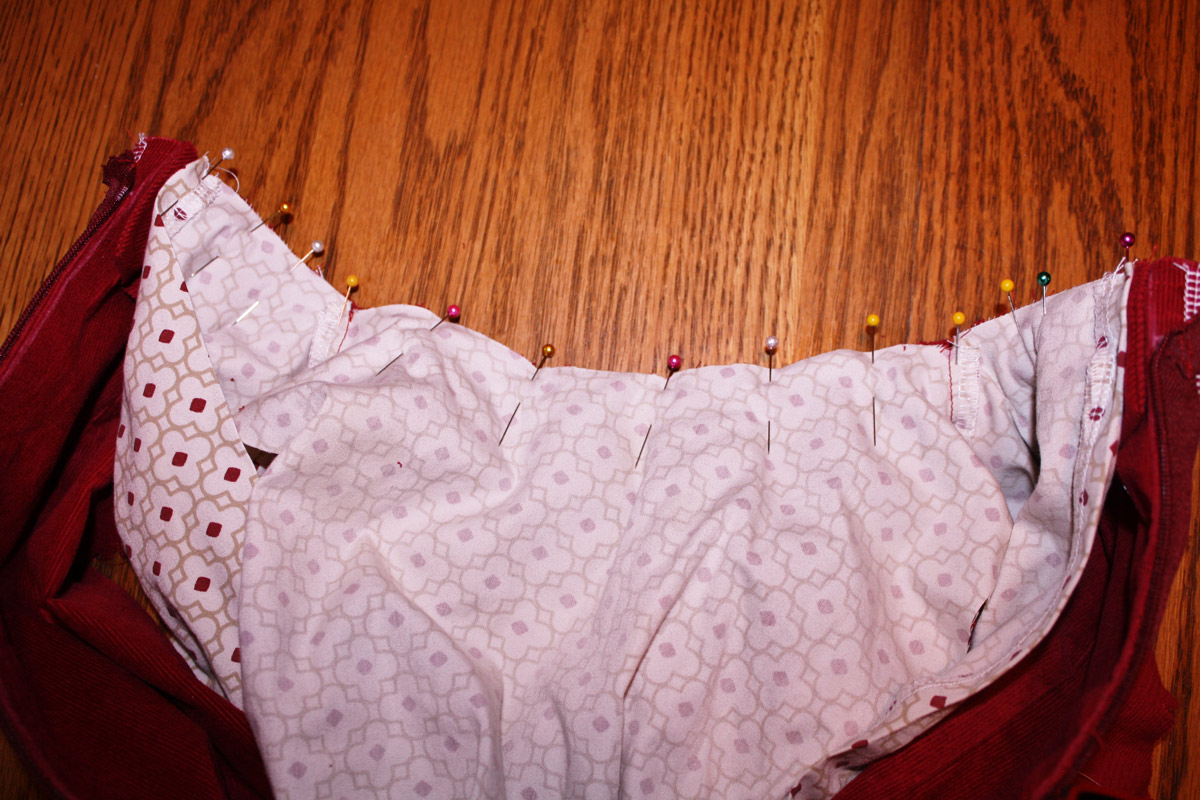
To attach the collar onto our dresses for both views, match the notches from the collar to the dress neckline on the right side of the dress. After matching the notches of view B, gather the collar until in fits nicely onto the dress, pin it in place, then baste.

To attach the lining to the dress, place the lining with the right side to the right side of the dress with the collar sandwiched in between. The lining will be a shorter than the collar so the collar will be sticking out by 1/8”. Once you have this pinned in nicely, stitch it in place.
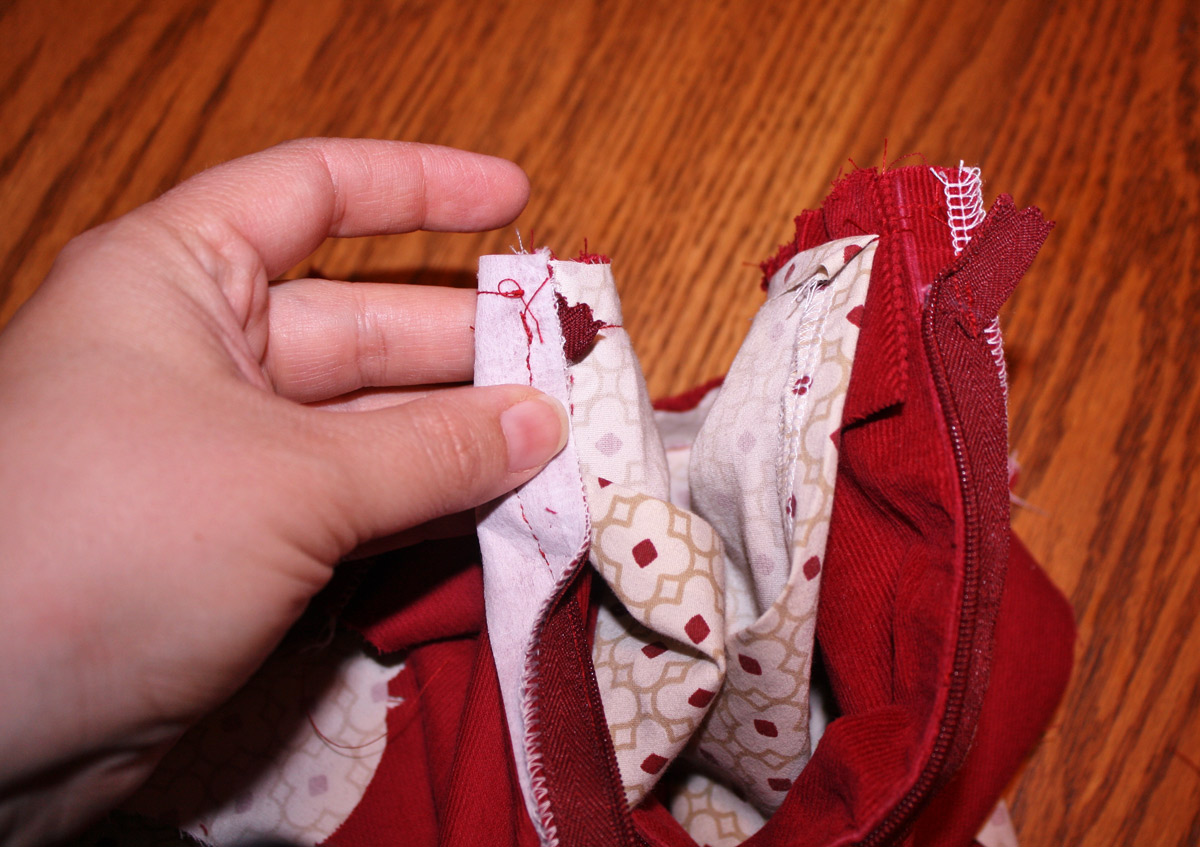
To make for a nice finish on the back of dress the back of the top of dress will fold over the lining. You can see it on the left side of the photo below. The right side is how it looks beforehand.
After folding over, pin in place, stitch. Then trim the seam allowance of the collar, turn, and press.
We have to sew up the side seams now! Pull the lining out the top of the dress with the wrong sides out.
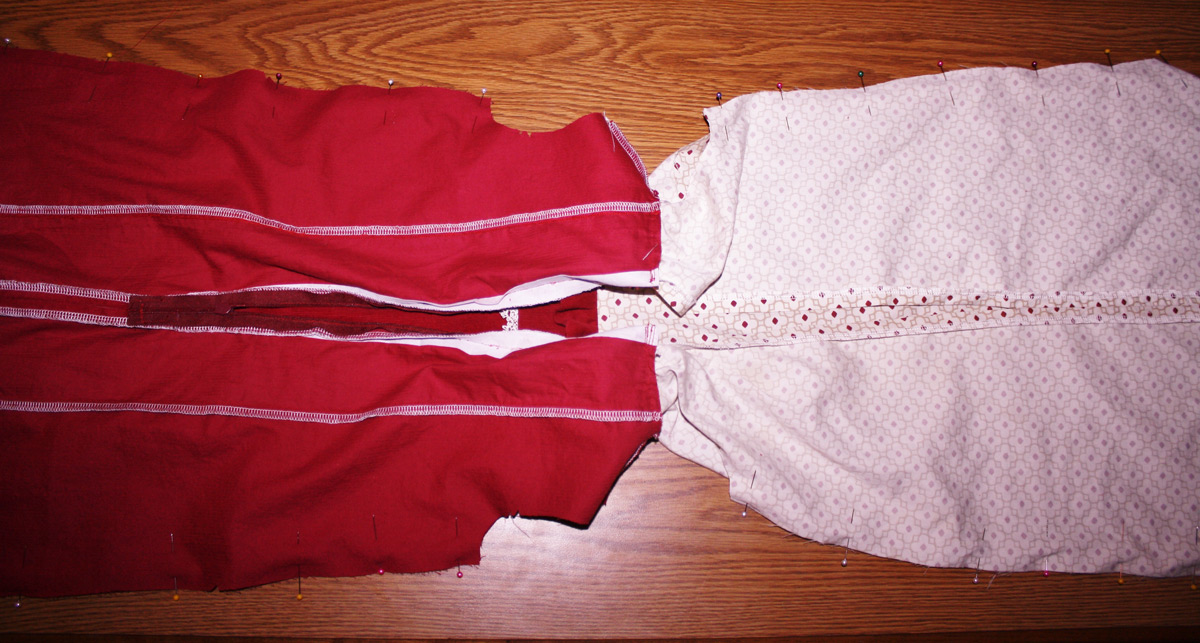
Pin the right side of the dress together and stitch. Repeat the side seam with the lining. Pull the lining back into the dress and turn it right side out.
Looking pretty good now, is it not?!? (This is where my little girl wants to try her dress on every time!) To keep the lining in place while sewing the sleeves on, pin the lining to the outer dress at the arm scythe and baste them together.

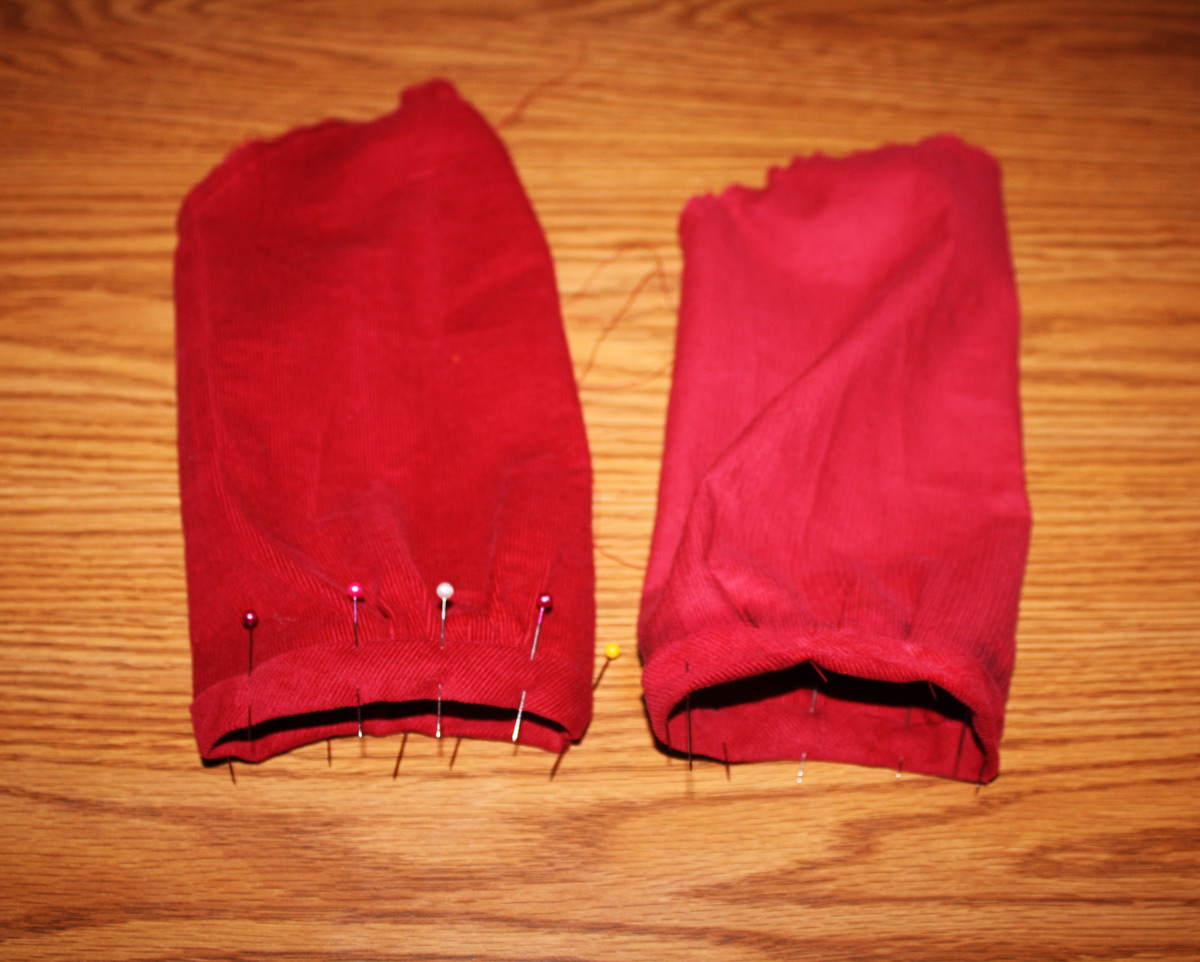
Prepare the sleeves by stitching a gathering stitch at the top of both sleeves. For view B, add a gathering stitch between the dots at the lower edge that were transferred from the pattern.

Then fold the sleeves in half, with right sides together, and pin. Stitch the underarm, then finish the seams. Press.
For View B, stitch the short ends of the sleeve binding together with right sides facing. I like to press the 1/2″ seam allowance before stitching the sides together because it is easier this way for me, rather than pressing it after the seam has been sewn. After stitching, press the seam allowance open.

Pin the raw edge of the sleeve binding to the sleeve, pulling up on the ends of the gathering threads to center part of the sleeve to make the sleeve and binding the same length. Stitch, then trim the seam allowance before pressing the seam toward the binding.

Turn the sleeve right side out and fold the sleeve binding around the seam allowances and pin it into place. Before I stitch mine I turn it inside out again and stitch from the inside because it’s a bit easier for the tinier sizes.
Then pin the sleeves into place at the armholes, right sides together, stitch, and finish the seam allowances.
Are you excited yet? I love this part of everything I sew! Now all that you need to do is to hem the lining, then the hem the dress. You can hand stitch the dress hem, but sometimes I machine stitch mine. It really depends on the fabric I am using and the look I want. The very last thing that needs to be sewn is to attach the dress lining to the back of the dress to cover the zipper tape. Pin it in place first, then hand stitch.
That’s it. We are done!
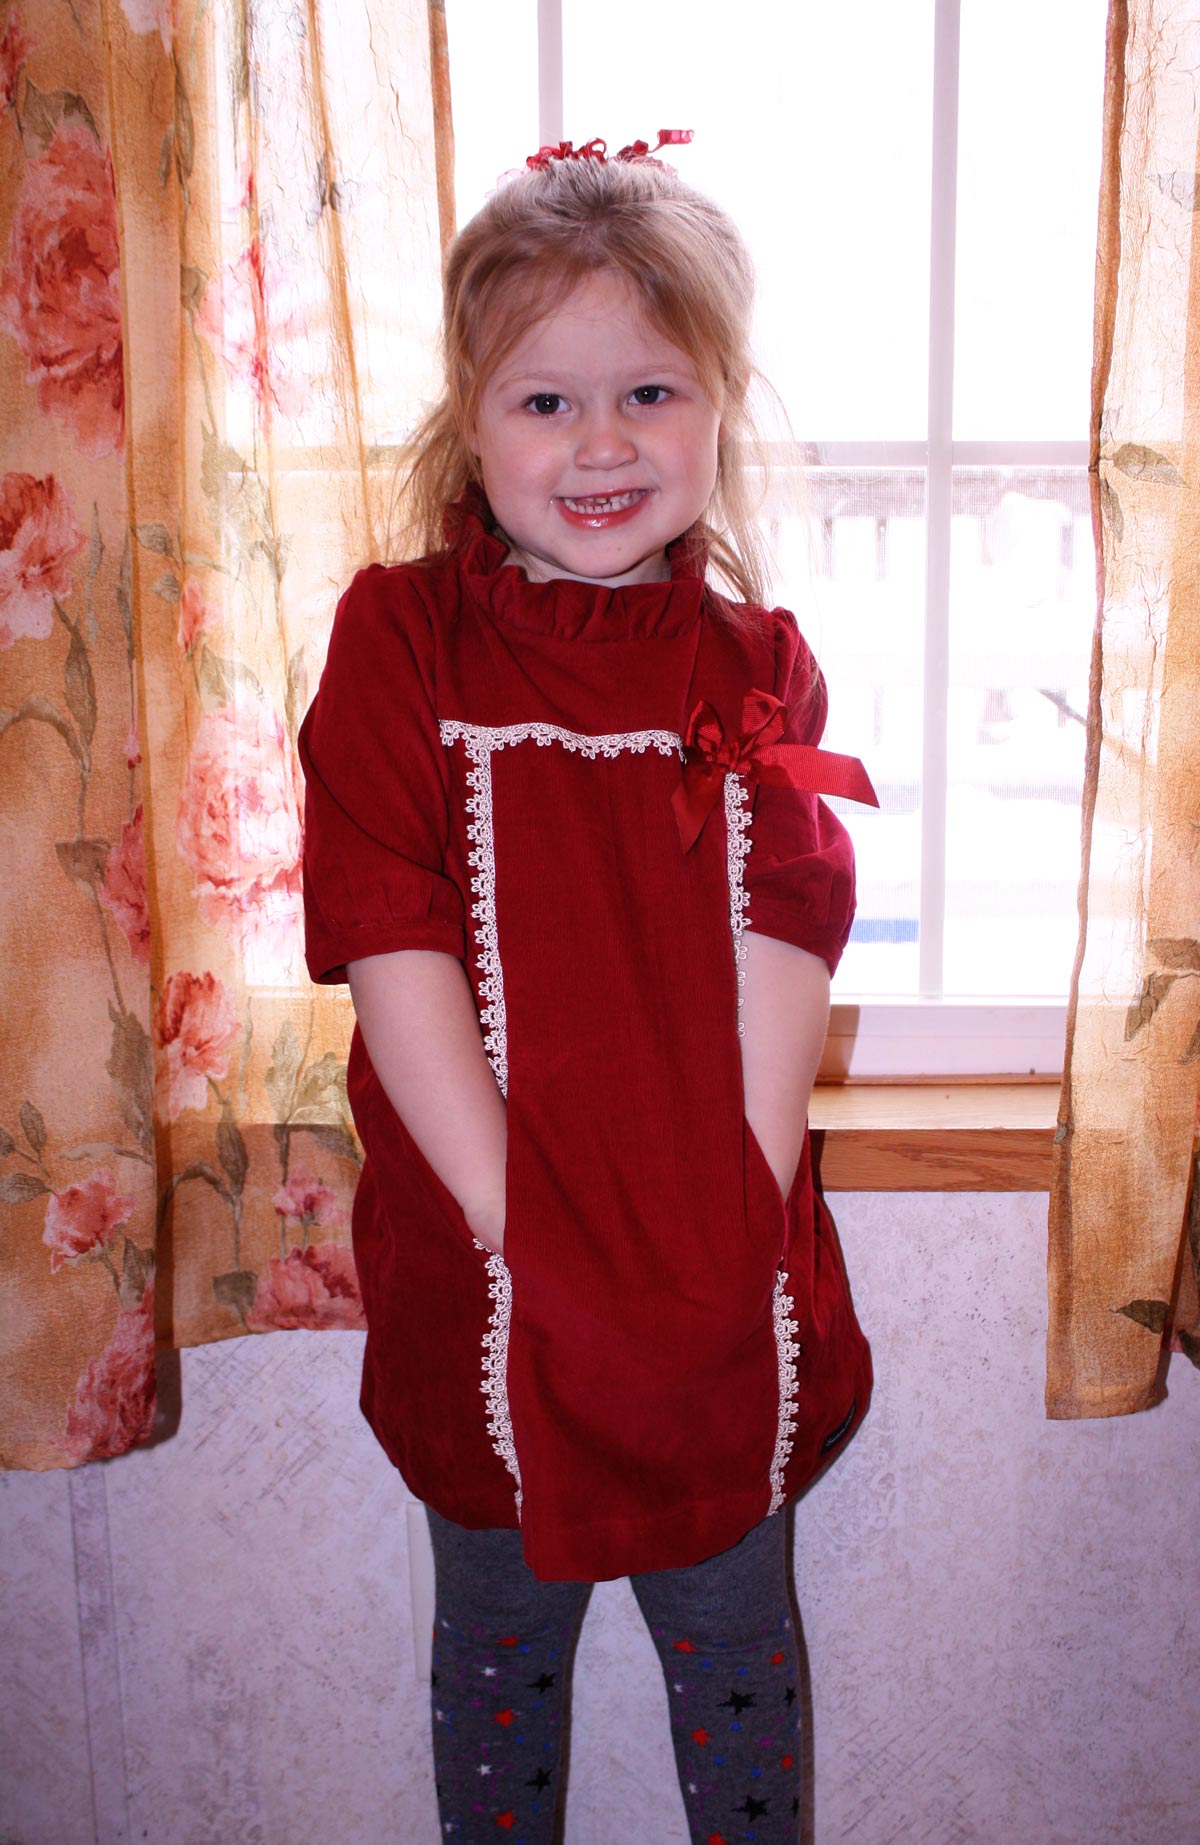
This is one of the most satisfying dresses for me to sew. Thank you, Liesl, for having me!
The tutorial was perfect in every way, Sharon. Thanks!
Thank you so very much Sharon.
Thank you so much for the tutorial, Sharon! Very helpful. I love the finished dress.:)
Thanks for the tutorial, it was great to have photos as well as the pattern instructions when making this for the first time 🙂
Thanks. That helps a lot!! Beautiful dress, by the way. Love the lace and the bow.